With a massive thank you to a load of friends (you know who you are ) I have finally started the long overdue rebuild on my engine. It had some really bad oil leaks, the worst of which was through the piston rings!
I aim to write this up as a Knowledge Base article but I often aim to do that and never get round to it . So as a starter for 10, here are the pictures so far :
Photobucket slideshow of all photos (click little image below):
Individual photos:
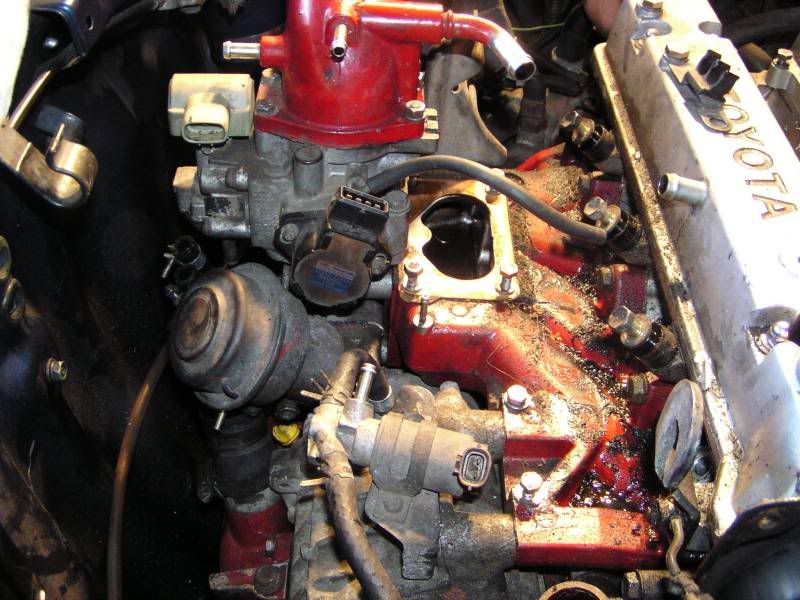
Intercooler and some pipework removed already - what a mess
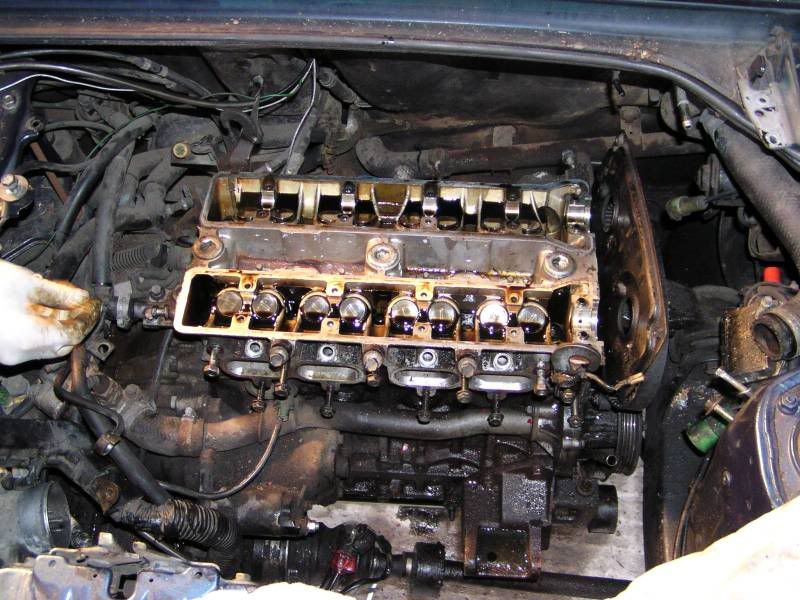
Wiring loom removed plus some more bits.
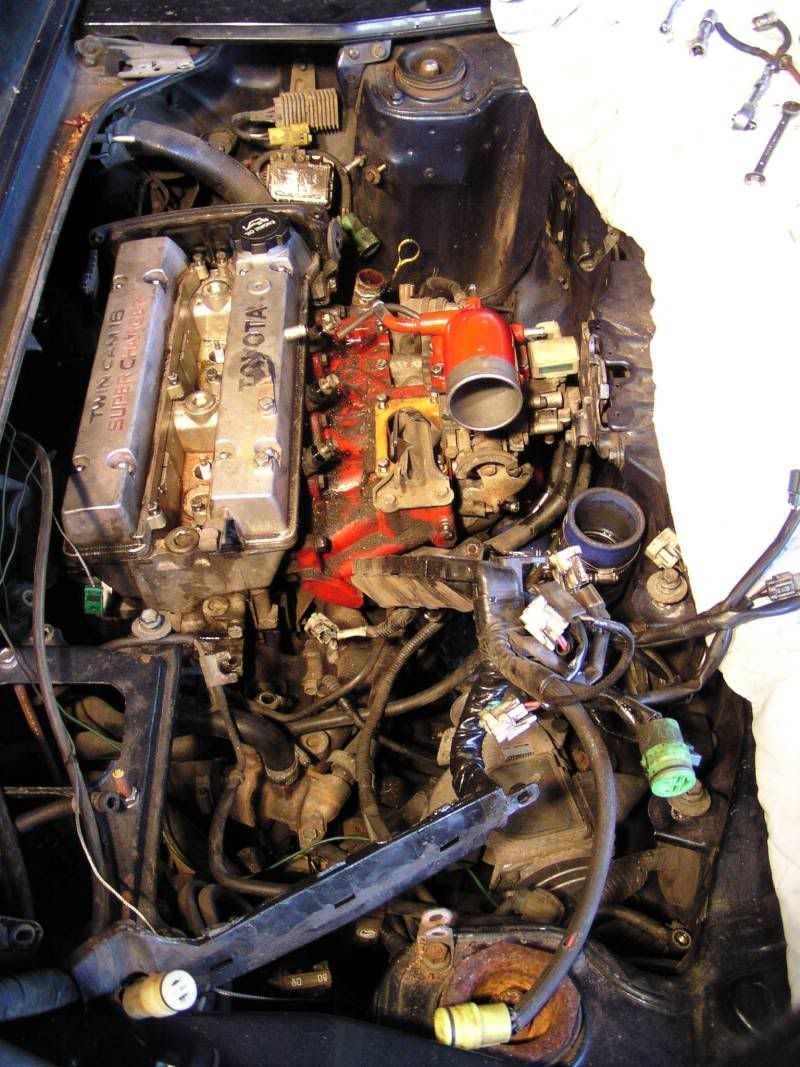
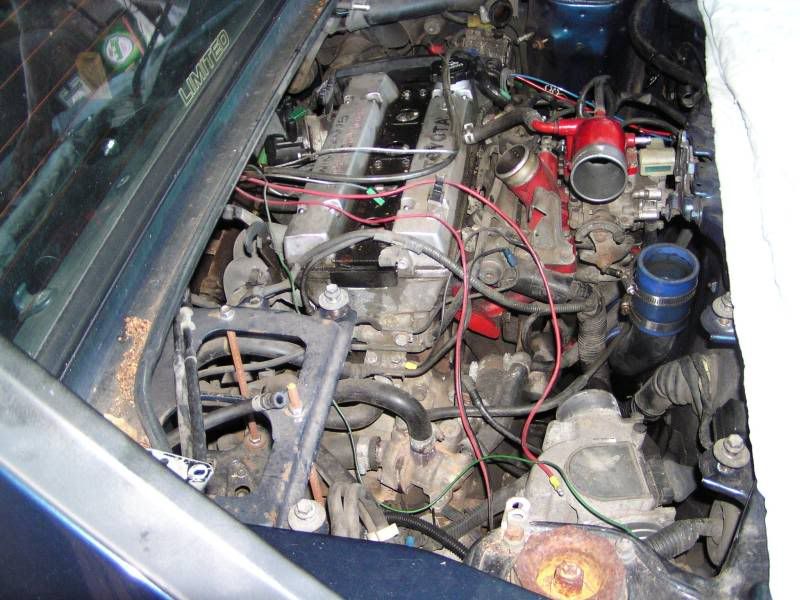
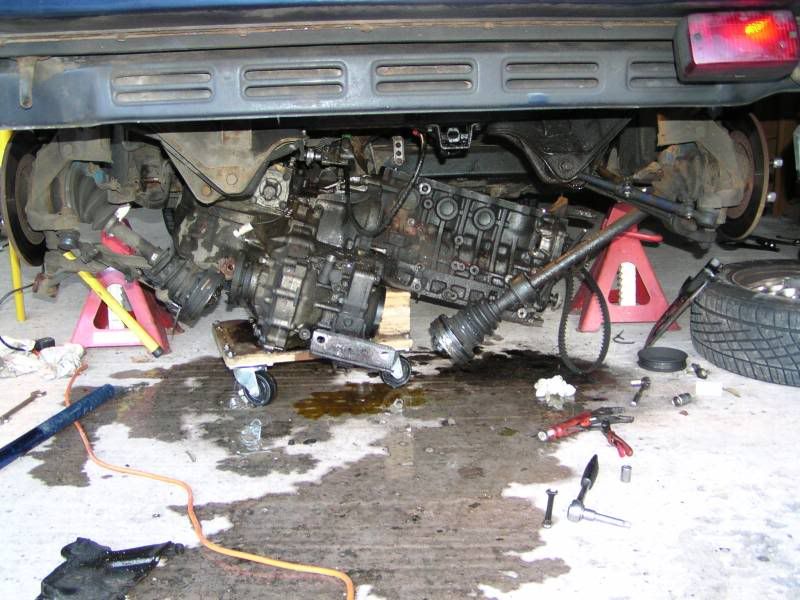
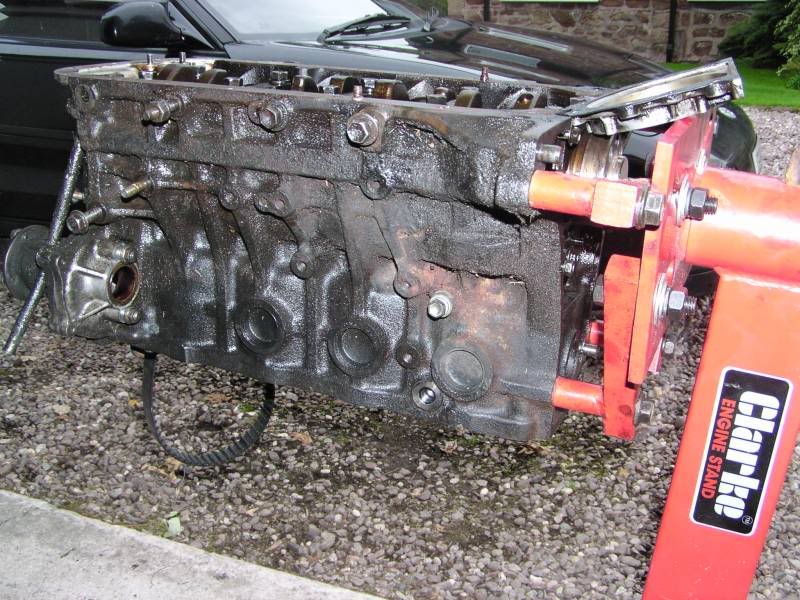
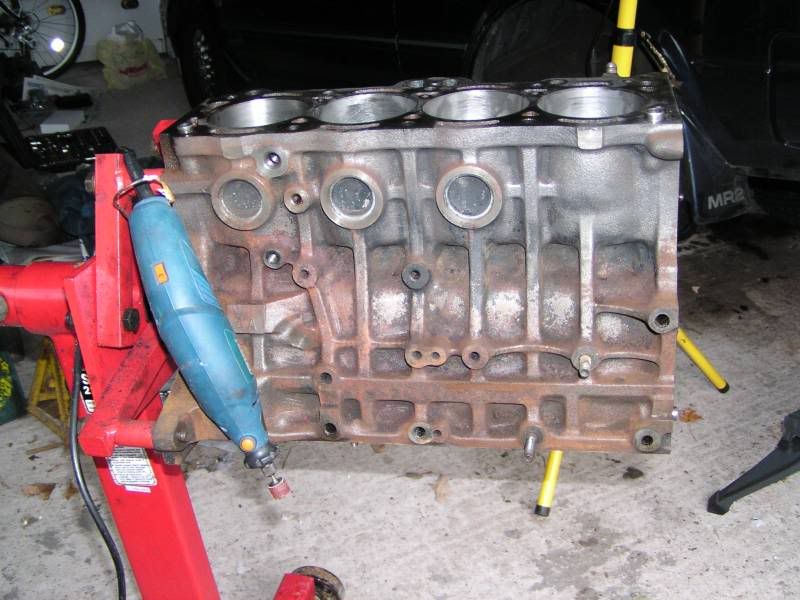
The whole engine was filthy due to the oil leaks.
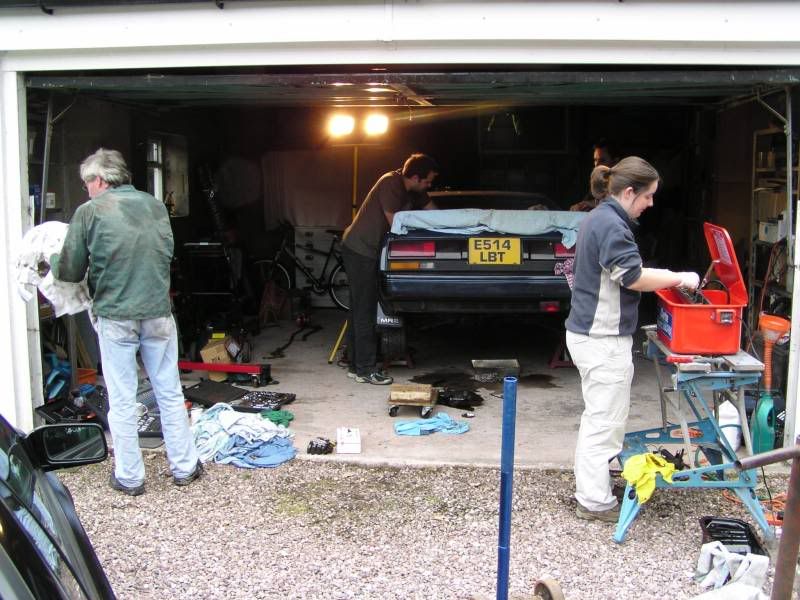
I had lots of help last weekend for which I am extremely grateful
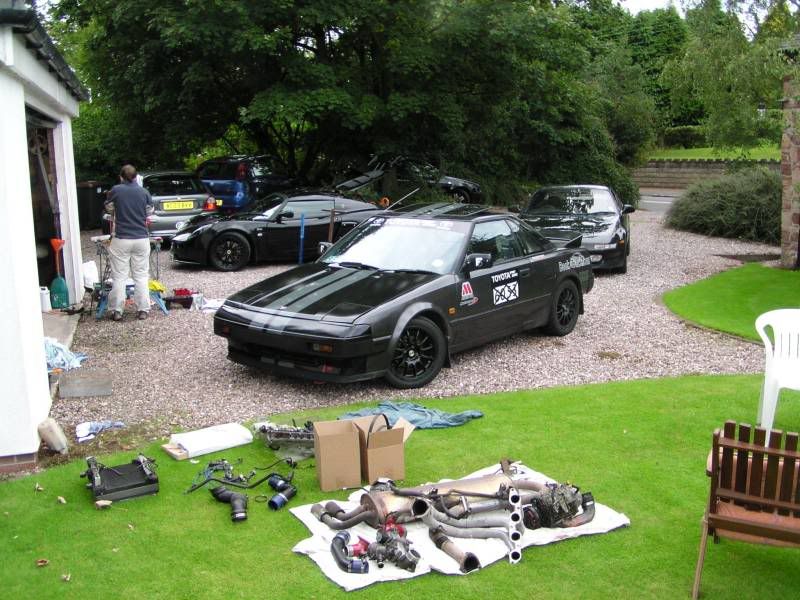
The carpark (including Alex and Anna's new MR2 - which has a really weird bodykit on it )
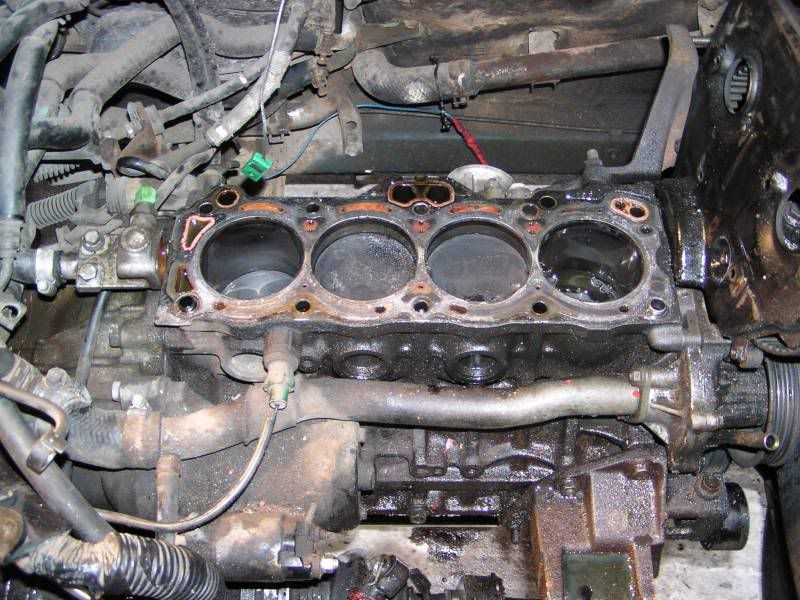
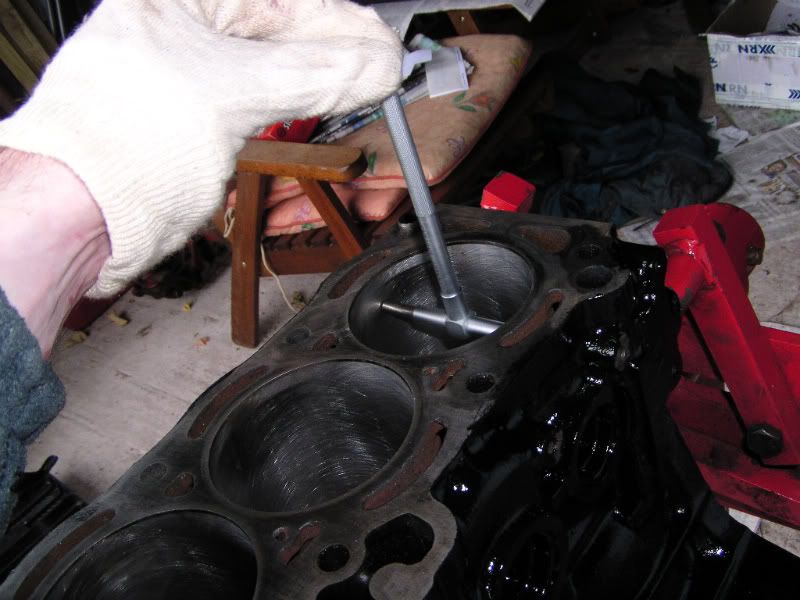
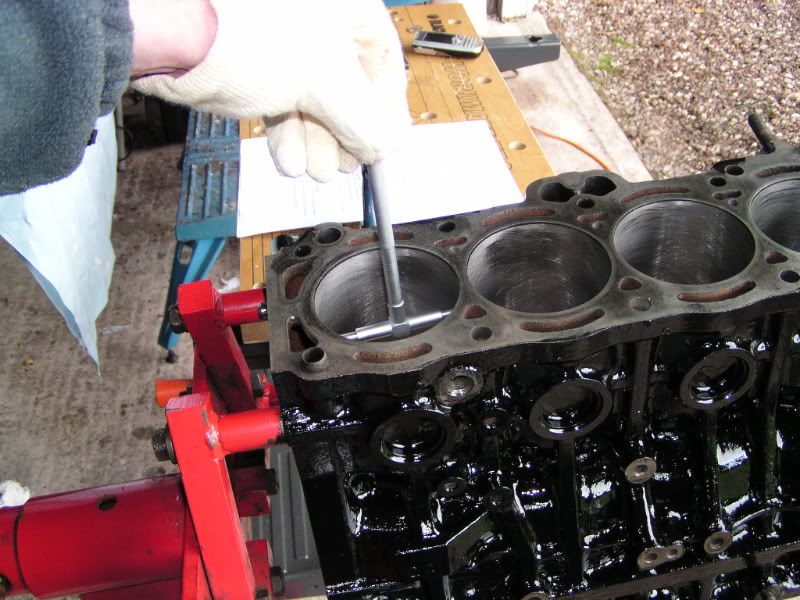
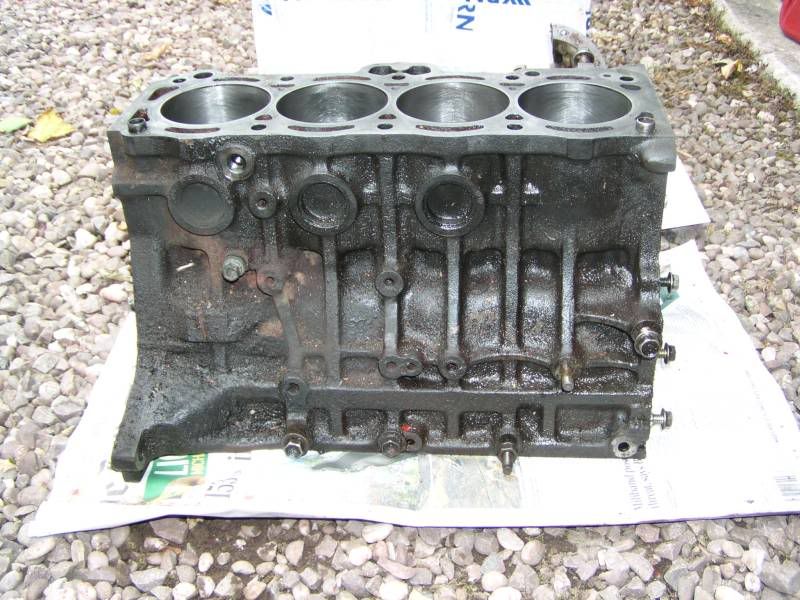
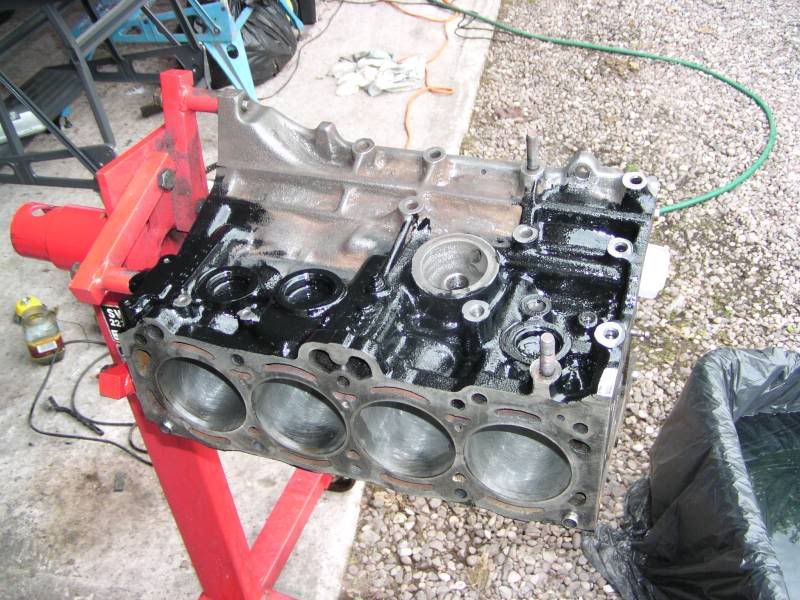
Scratch down No.3 cylinder bore
No.3 piston. That doesn't look quite right
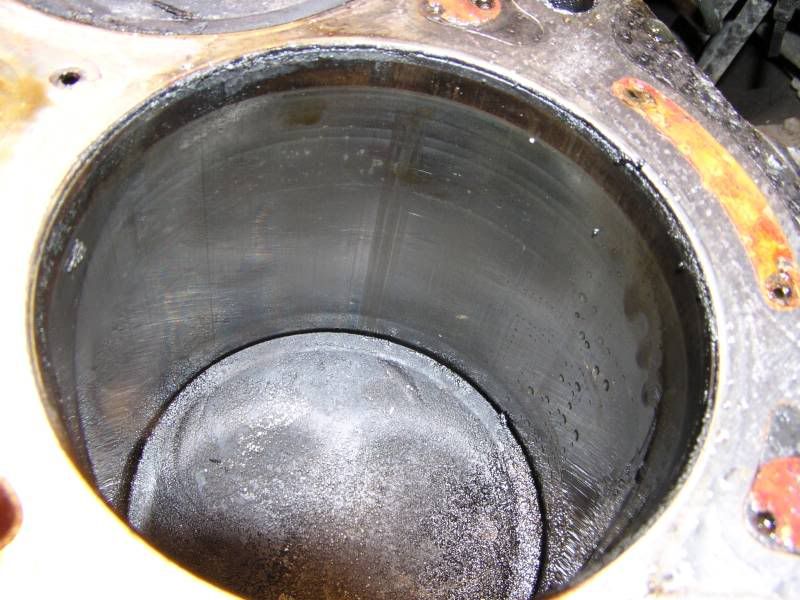
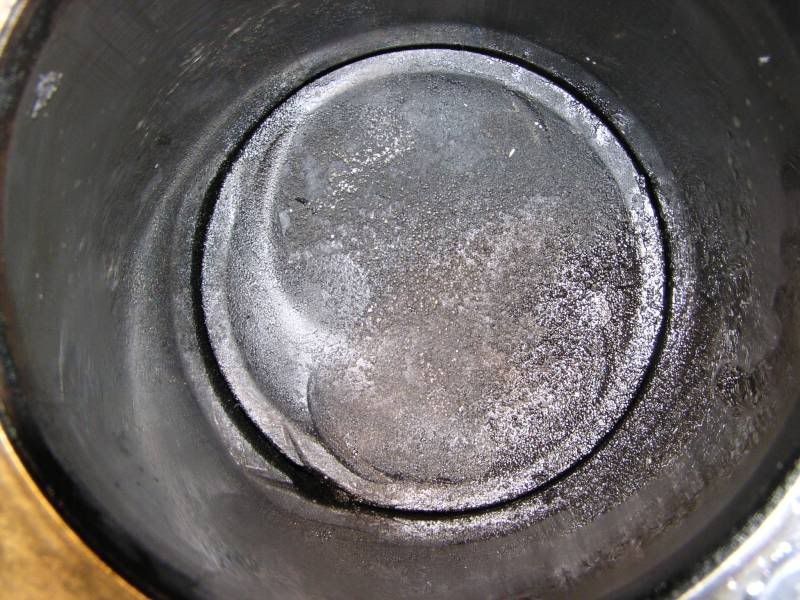
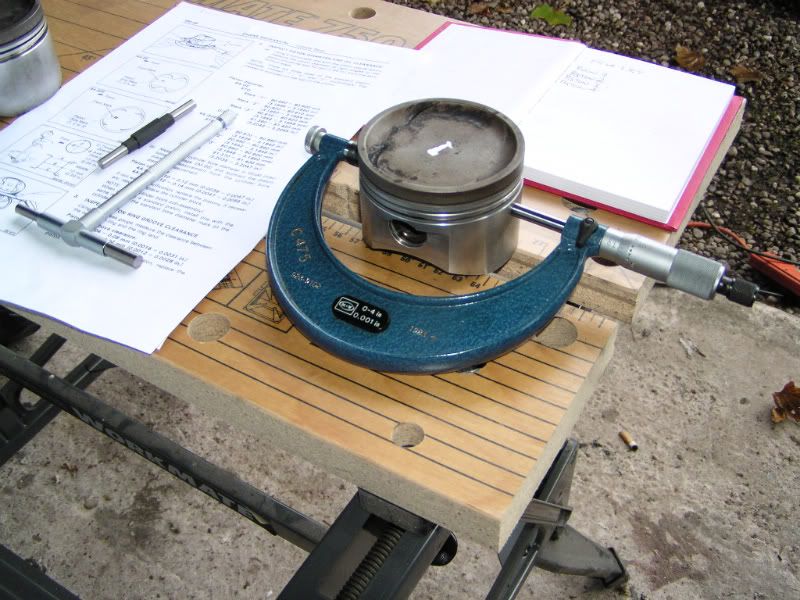
Hmmm, it's suffered detonation and has melted This piston ring groove is *slightly* deformed
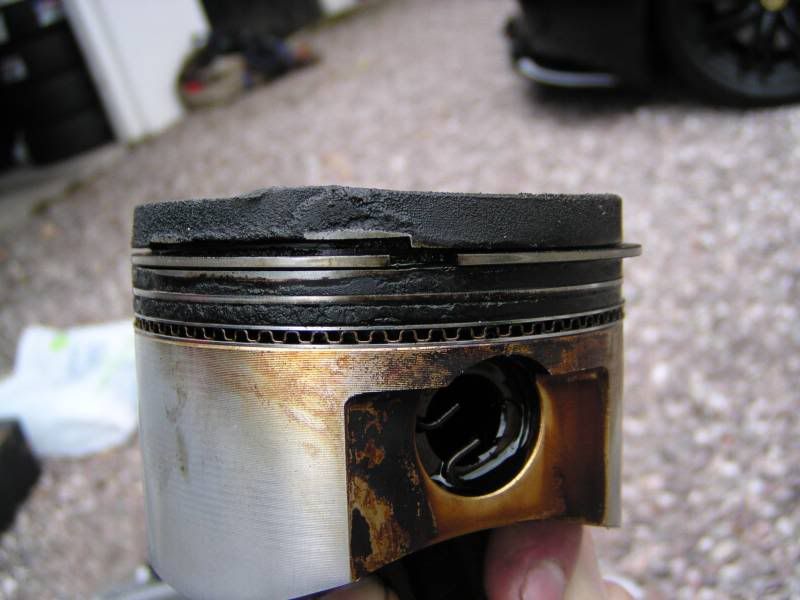
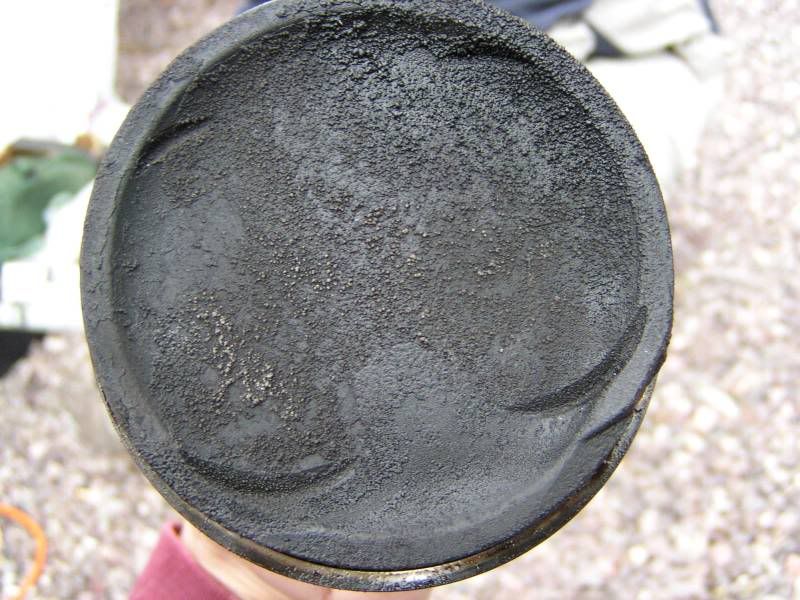
Aluminium deposits on the piston crown. The piston crown has hit the head.
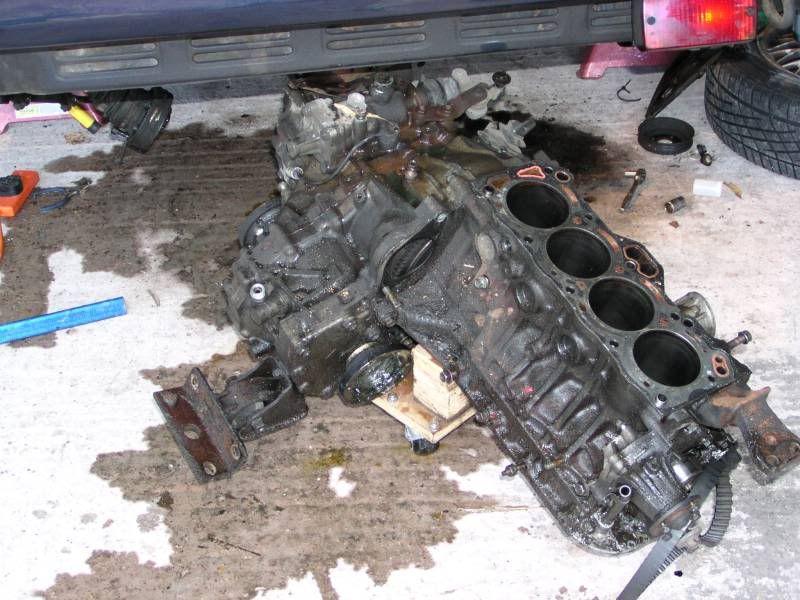
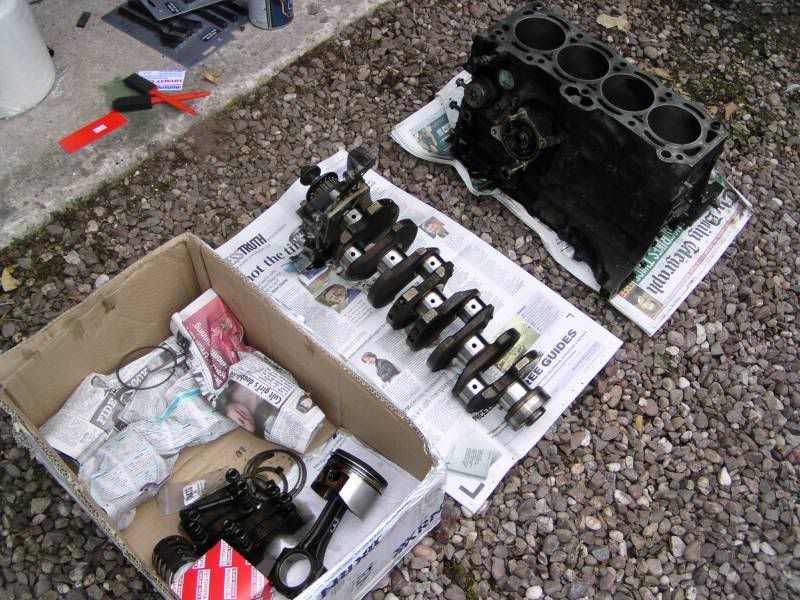
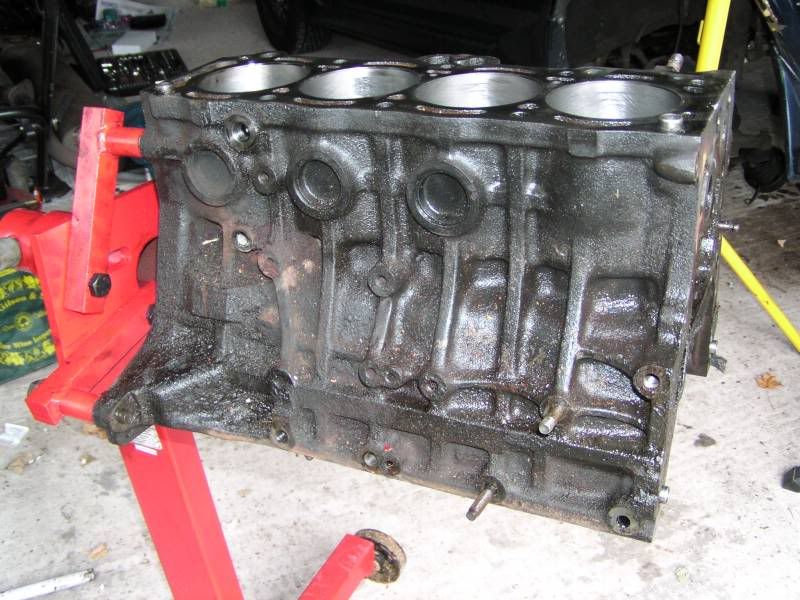
Time to get the block out then...
Homemade trolley helps a lot
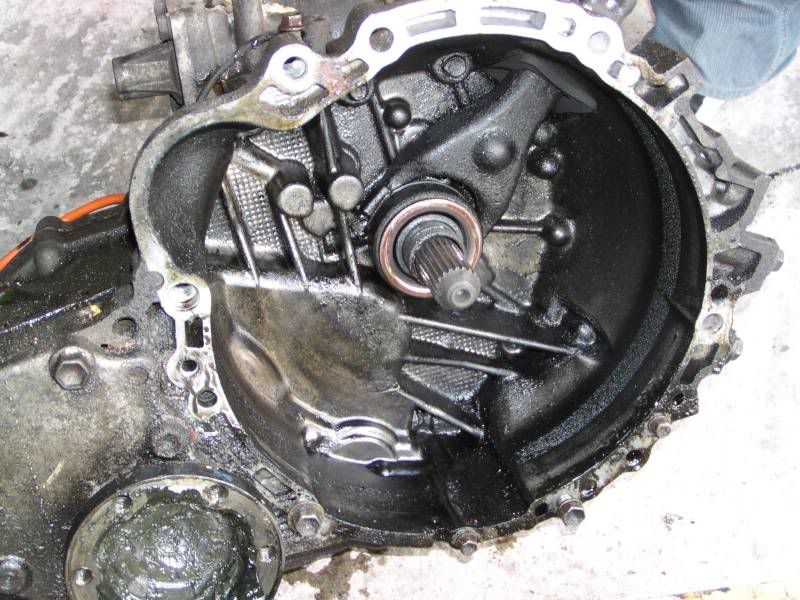
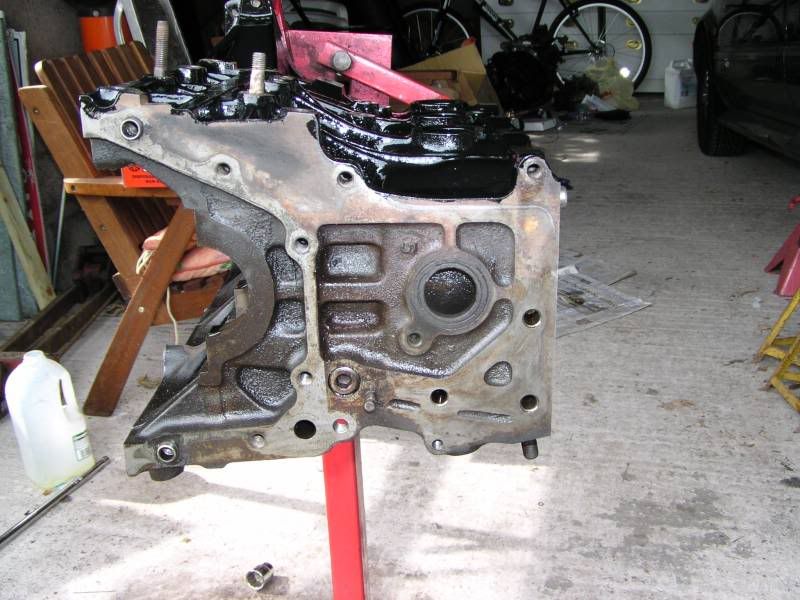
The gearbox bellhousing was covered in oil - the crankshaft oil seal had been leaking.
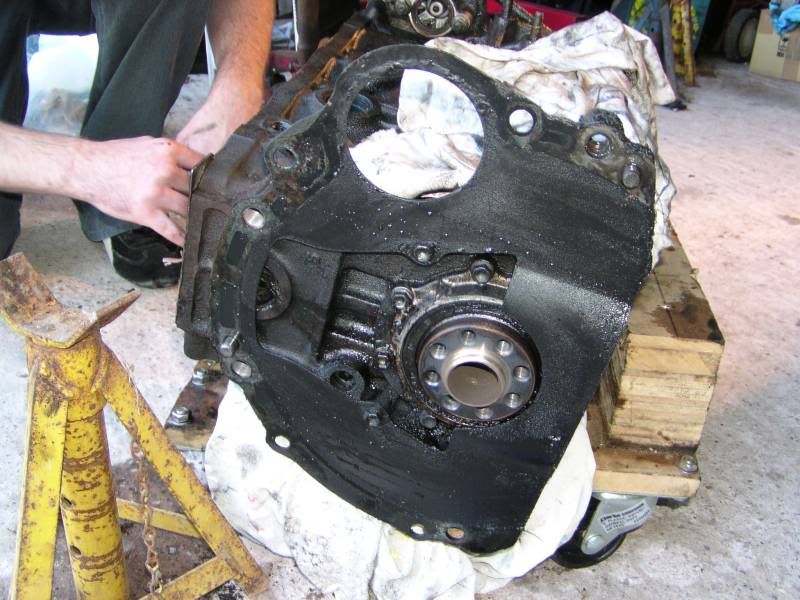
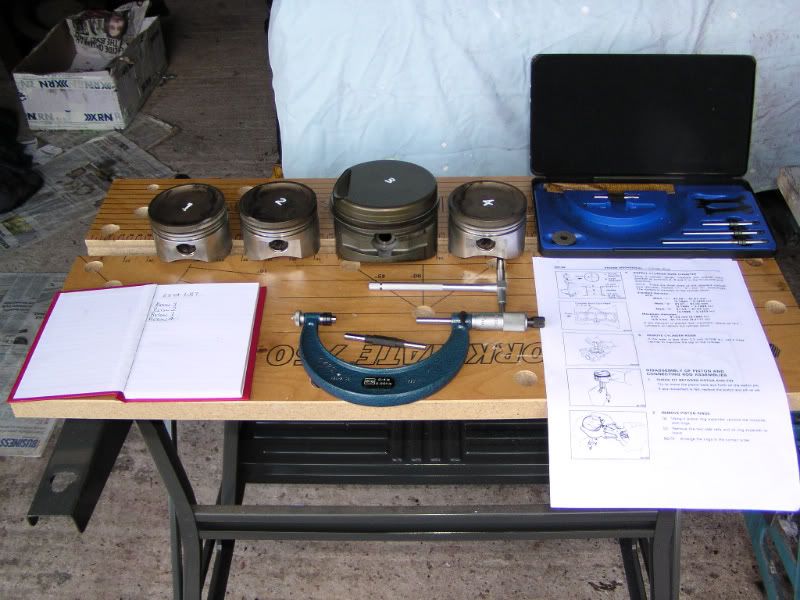
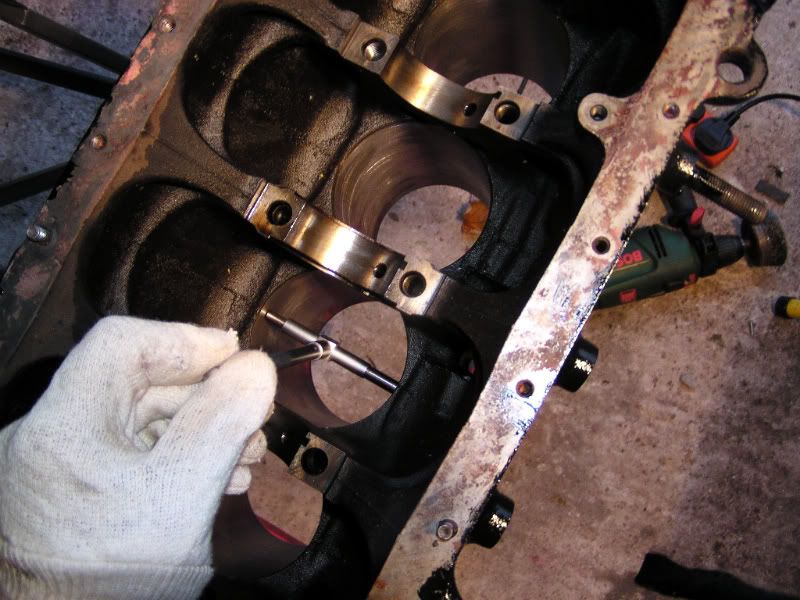
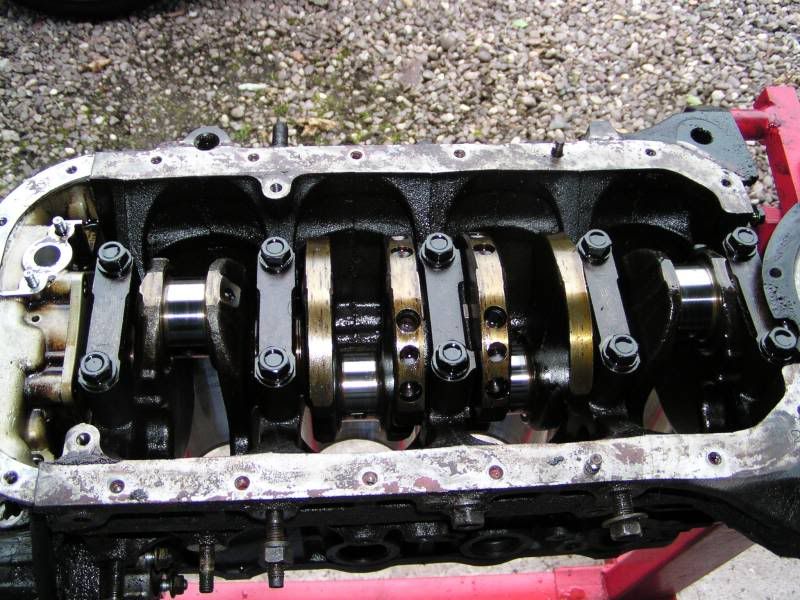
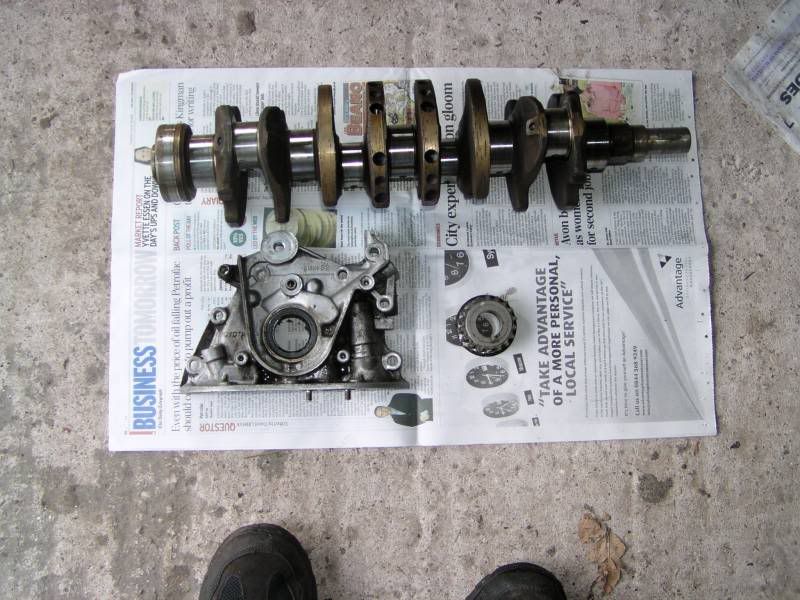
Crankshaft inspected (including mains). Seems fine, but will be sent for a polish.
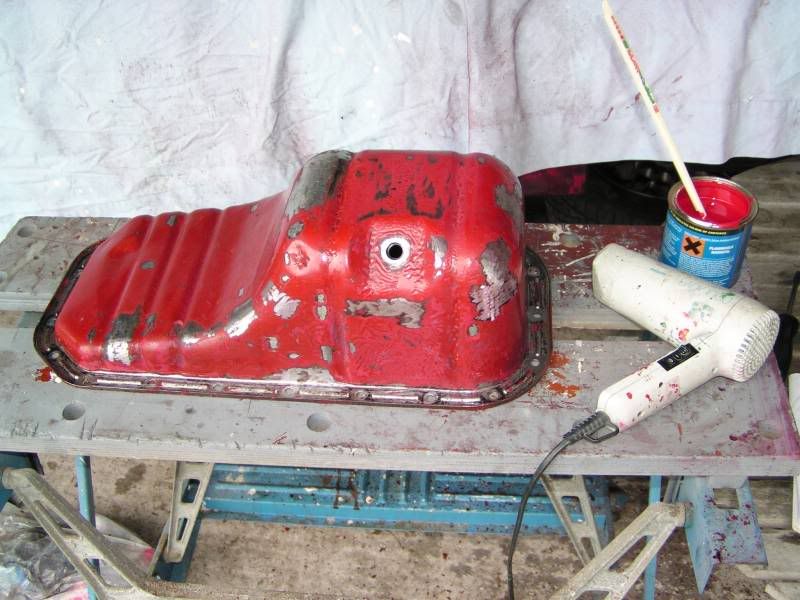
Battered sump had previously been refurbished but had rusted due to stonechips
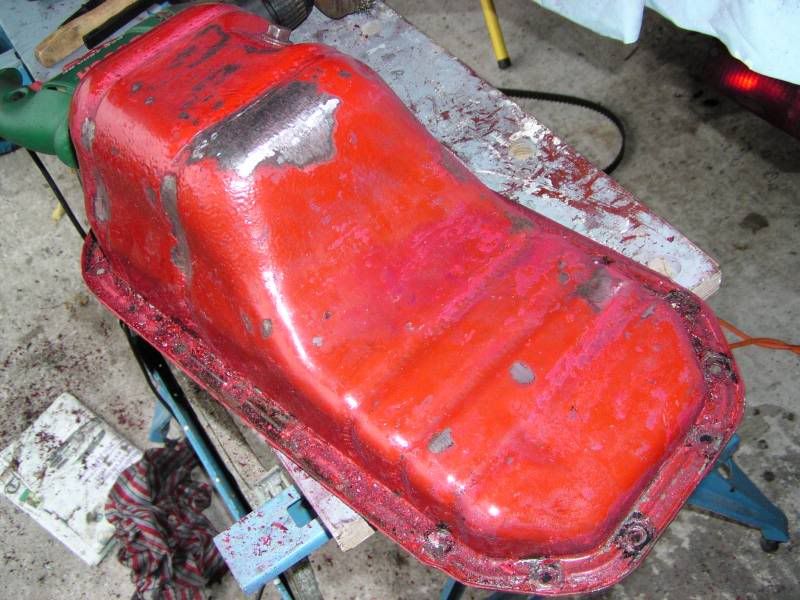
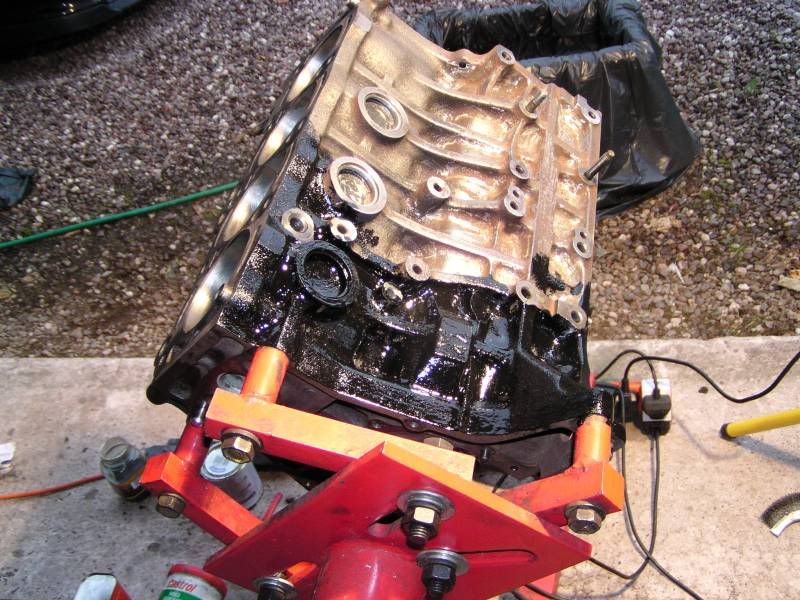
New rust removed and ready to be painted.
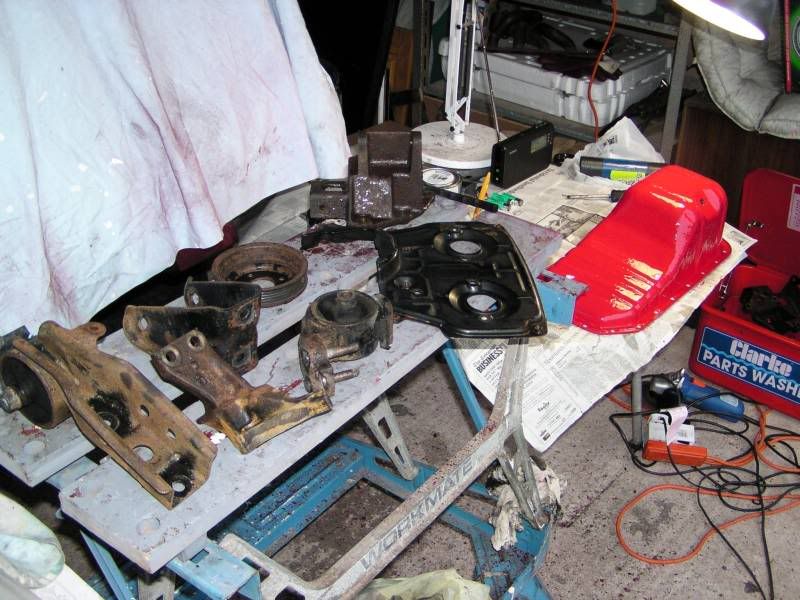
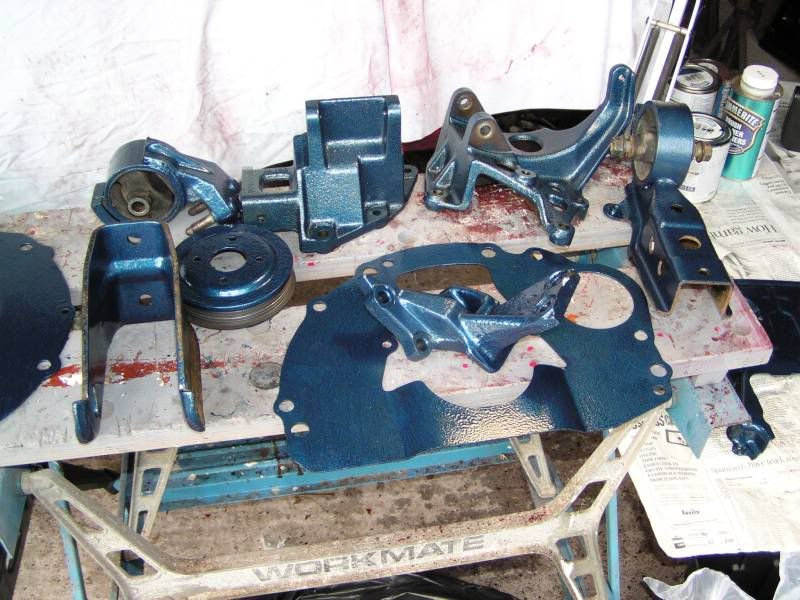
Various bits of previously oil covered rusty metal parts degreased, wire brushed and ready to be....
....Hammerbodged
Block was rehoned to remove marks. I am hoping I don't need a rebore. I am getting a replacement piston on Sunday night and will then accurately check piston to cylinder clearance and ring gap with the new rings.
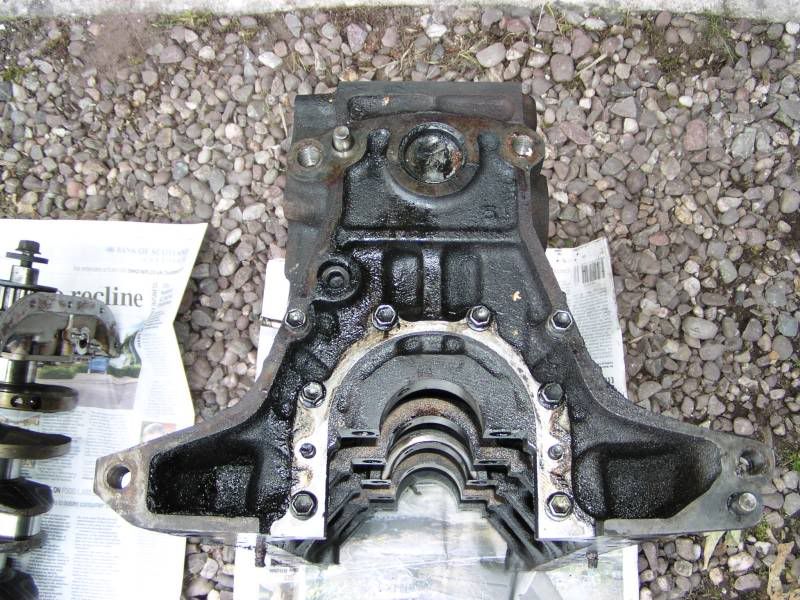
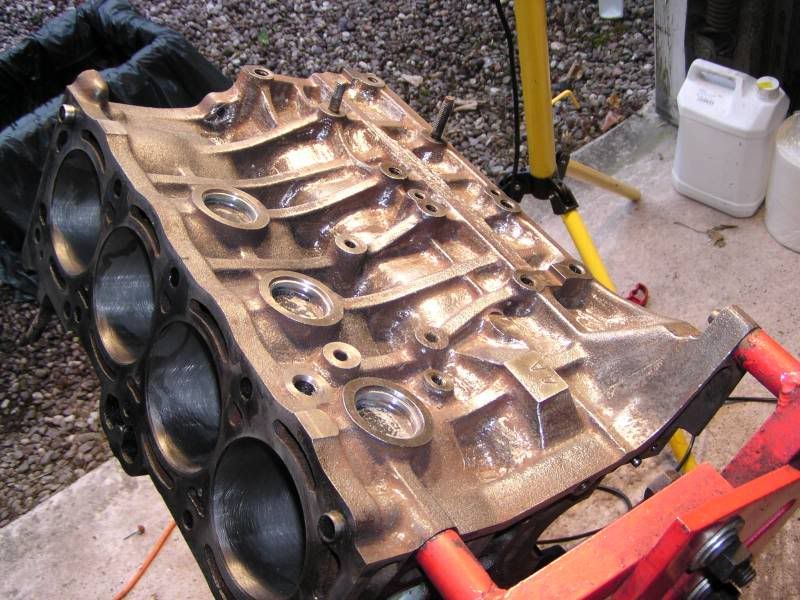
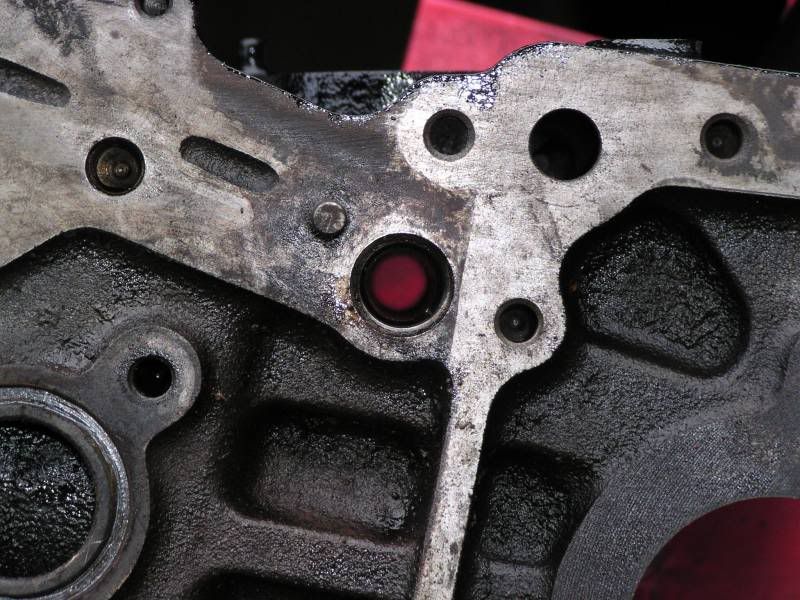
It is important to remove the plugs from the feed gallery to the main bearings. This way you can flush out all the contamination properly.
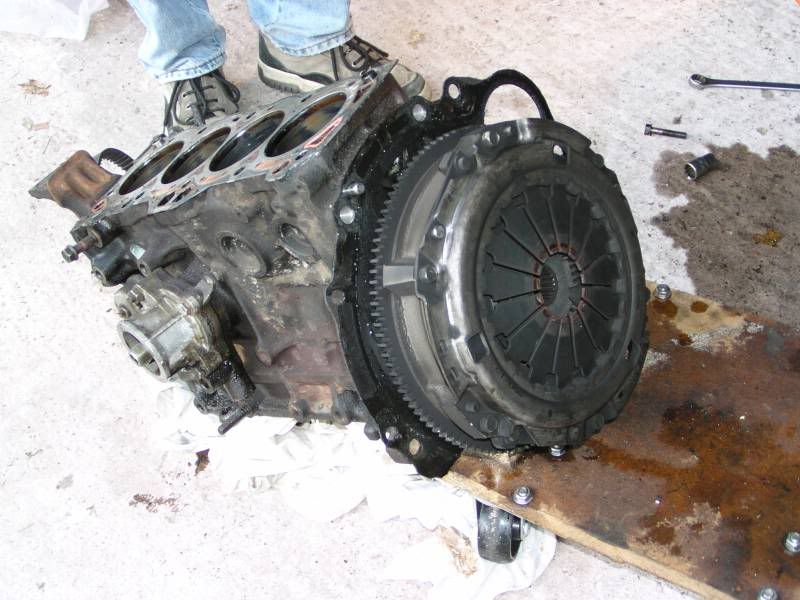
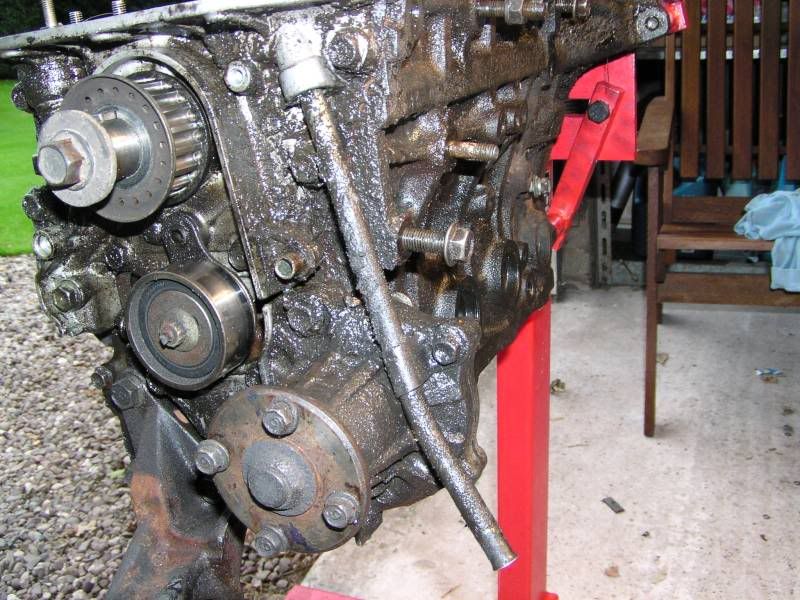
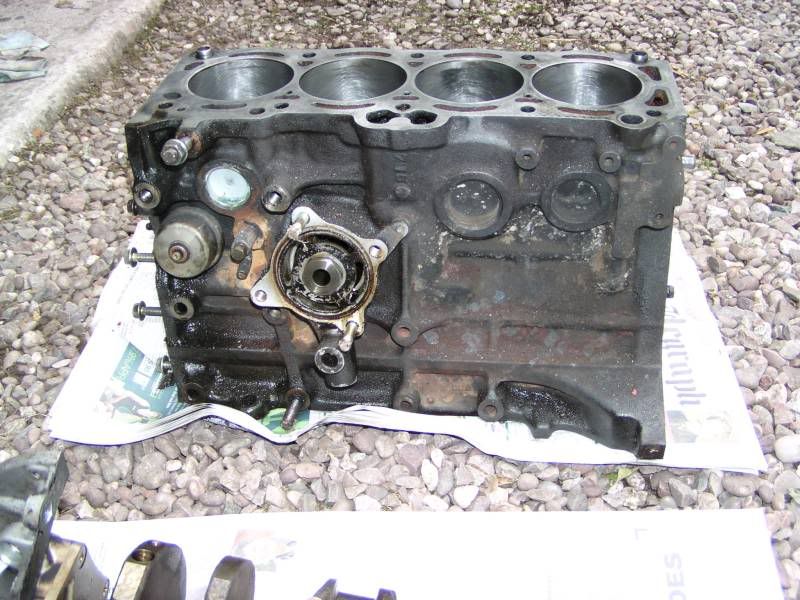
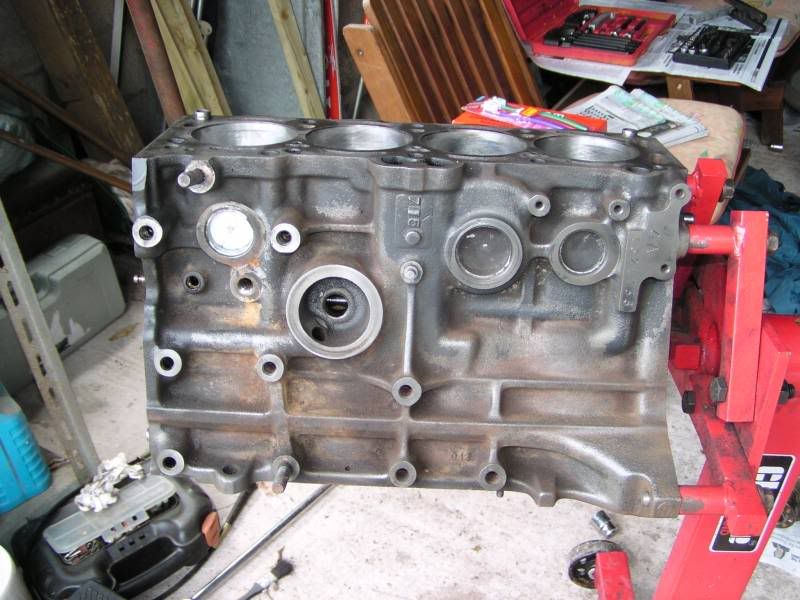
The oilpump is retained by the timing pulley.
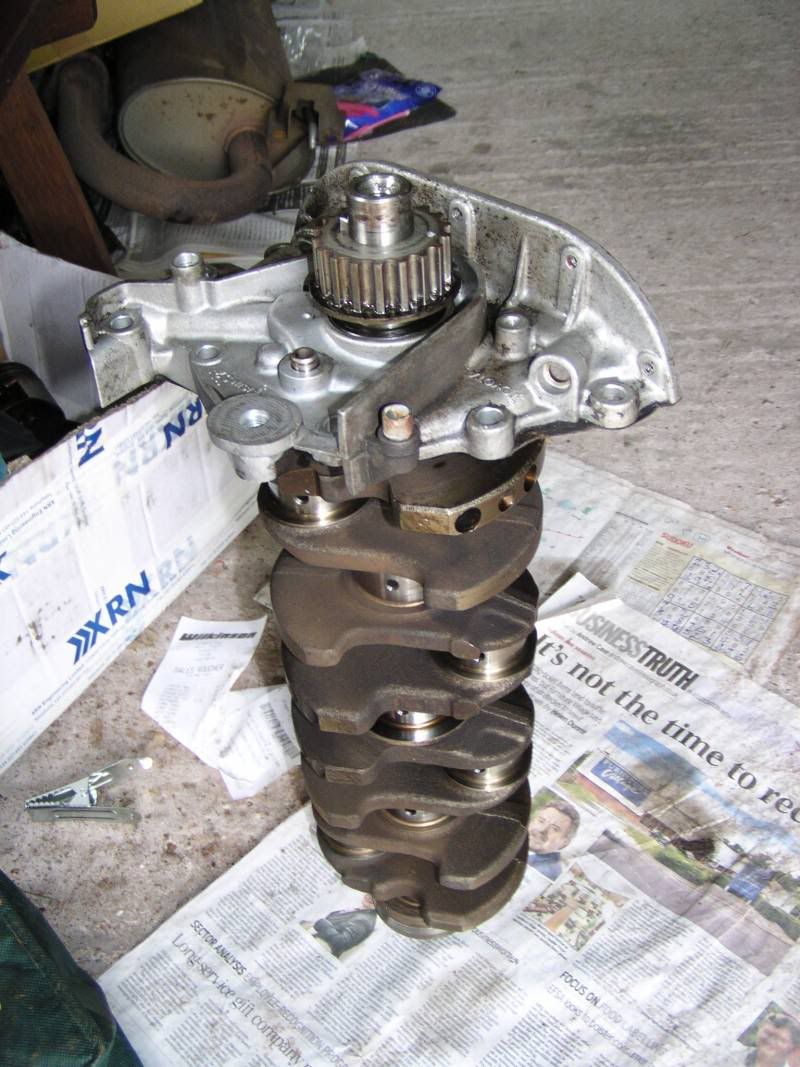
I've removed the pulley and the oilpump as the crank is going away for a polish.
And that's where I'm up to as of this morning (Saturday 30th August)....
Anyone fancy helping me bung the entire rebuilt lump back in next weekend?
4AGZE Engine rebuild in pictures (56K no way)
Moderators: IMOC Moderators, IMOC Committee Members
-
- Posts: 6149
- Joined: Tue Jan 25, 2005 10:37 am
- Location: Market Drayton Shropshire
- Contact:
4AGZE Engine rebuild in pictures (56K no way)
Last edited by Icsunonove on Sun Aug 31, 2008 7:49 am, edited 5 times in total.
Re: 4AGZE Engine rebuild in pictures (56K no way)
excellent pics and subject ,some more with text would be great
rebuilding my n/a this winter and this is very helpfull
-
- Posts: 6149
- Joined: Tue Jan 25, 2005 10:37 am
- Location: Market Drayton Shropshire
- Contact:
Re: 4AGZE Engine rebuild in pictures (56K no way)
Cheers Chris . I'm just editing the first post to put a little bit of explanation in. At a later date I *aim* to write it up properly and submit it into the Knowledge Base.
-
- Posts: 563
- Joined: Wed Oct 03, 2007 6:22 pm
- Location: leicestershire
Re: 4AGZE Engine rebuild in pictures (56K no way)
cant beat getting stuck into a full rebuild, very satisfying when your done
how did you go about the scoring, just honed it out? or new block/rebore etc?
im assuming if you just honed it then you got a spare piston a used that as a replacement?
how did you go about the scoring, just honed it out? or new block/rebore etc?
im assuming if you just honed it then you got a spare piston a used that as a replacement?
Re: 4AGZE Engine rebuild in pictures (56K no way)
great thanks your experience will help me greatly
Re: 4AGZE Engine rebuild in pictures (56K no way)
Looks like a daunting task!
btw your lawn looks immaculate!
-
- Posts: 6149
- Joined: Tue Jan 25, 2005 10:37 am
- Location: Market Drayton Shropshire
- Contact:
Re: 4AGZE Engine rebuild in pictures (56K no way)
crazybrightman wrote:
how did you go about the scoring, just honed it out? or new block/rebore etc?
im assuming if you just honed it then you got a spare piston a used that as a replacement?
Neil, I've just had it rehoned at the moment. There's a really good engine rebuild place less than half a mile from my Dad's house, so I let them do it.
I am getting a spare piston from a broken engine tonight and will take some accurate measurements on bore and piston to bore clearance tomorrow. I also have new standard piston rings already so I can check the ring end gap. I've already spent quite a lot of money on parts, no engine rebuild is particularly cheap.
I am hoping I can get away without a rebore. It's going to put the cost up dramatically. The rebore itself is only £60, buth then add in new pistons £200 and new oversize rings £75 and it starts to get really expensive.
owai wrote:btw your lawn looks immaculate!
LOL! It's not my house, it's my Dad's. He wasn't too impressed with me covering his beautiful lawn with filthy greasy engine parts
Re: 4AGZE Engine rebuild in pictures (56K no way)
id recommend pulling the oil pump apart whilst its out and checking all of the tolerances. its easy enough with an impact driver. if that fails somewhere further along the road then it will cause substantial damage, so whilst its out its worth inspecting it properly. and maybe even tweaking the oil pressure if you run more power than stock
-
- Posts: 6149
- Joined: Tue Jan 25, 2005 10:37 am
- Location: Market Drayton Shropshire
- Contact:
Re: 4AGZE Engine rebuild in pictures (56K no way)
Jim-SR wrote:id recommend pulling the oil pump apart whilst its out and checking all of the tolerances.
Yes, I'll be doing that.
JimSR wrote:and maybe even tweaking the oil pressure
Eh? It's not adjustable is it?
Re: 4AGZE Engine rebuild in pictures (56K no way)
Ive read somewhere and on a couple of occiasions that the oem oil pump is actually over enginerred and its very strong ,and restricted by the size of the oil galleries ,I also read it somewhere and please dont quote me on this, that the pump is so good it can pump the oil to the top end of the engine faster than it can drain down at very high revs ,I will find where i read it and try and send it to you ,but I dont think the pumps are an issue unless its knackered
and yes i know i cant spell lol
Re: 4AGZE Engine rebuild in pictures (56K no way)
"56k No Way".....!!
You're not wrong there.......it took about 30 seconds to open all those pix on the BB connection at work......
-
- Posts: 7608
- Joined: Sun Nov 13, 2005 6:28 pm
- Location: Newbury
Re: 4AGZE Engine rebuild in pictures (56K no way)
chrismanchr wrote:Ive read somewhere and on a couple of occiasions that the oem oil pump is actually over enginerred and its very strong ,and restricted by the size of the oil galleries ,I also read it somewhere and please dont quote me on this, that the pump is so good it can pump the oil to the top end of the engine faster than it can drain down at very high revs ,I will find where i read it and try and send it to you ,but I dont think the pumps are an issue unless its knackered
and yes i know i cant spell lol
Yep very true,pumps too much oil tothe head.
Raw engineering (build the striker) acually enlarge the oil ways from the head to the block and restrict the oilways from the pump to the head.
Re: 4AGZE Engine rebuild in pictures (56K no way)
Icsunonove wrote:I am hoping I can get away without a rebore. It's going to put the cost up dramatically. The rebore itself is only £60, buth then add in new pistons £200 and new oversize rings £75 and it starts to get really expensive.
Normally when you buy new oversized pistons they come with rings, but still £300 you may not need to spend.
Alan...
Re: 4AGZE Engine rebuild in pictures (56K no way)
the majority of engines struggle more to get oil OUT of the head than to get it there in the first place. youve got a pump pushing the oil up there under pressure. then once its there youre relying on gravity to push it back down. if you pressurised the head then you wouldnt get it to flow up there in the first place, so you tend to run larger and larger oil returns (hence the external oil drain on the smallport heads, and which is added to racing largeport engines) the more and more oil youre moving
as for increasing pressure, its not so much adjustable as it is tweakable. the pressure is determined by a sprung loaded blow off valve in the oil pump. its fairly easy to get apart, and once inside youve just got a "valve" (its a round block of metal) that blocks off a bypass hole, with a spring behind it to preload it. when the pressure is enough to compress the spring, the oil can go through the bypass hole and thus it doesnt flow out of the pump until the pressure drops back down again. if you put a shim of some variety behind the spring then it will take more force to open the bypass valve, and thus youll have higher oil pressure. its probably worth doing, just stick 2-3mm extra preload on the spring (by sticking a piece of something 2-3mm thick behind the spring inside the valve chamber) and it should help a little. youre not going crazy enough to worry about anything failing under pressure then, but it will be an improvement on standard
Re: 4AGZE Engine rebuild in pictures (56K no way)
Tom one thing that was mentioned somewhere was that No.3 looked like it extended above the block with the ring catching on the block on it's down travel, lifting the crown.
If this is the case is it possible the con rod has also streatched? Have you had them checked too?
85 MK1 MR2 Track N/Ail | 99 528i SE Touring | 01 Mandarin VX220
-
- Posts: 6149
- Joined: Tue Jan 25, 2005 10:37 am
- Location: Market Drayton Shropshire
- Contact:
Re: 4AGZE Engine rebuild in pictures (56K no way)
I'll check it but i doubt there's a problem.
Update:
Checking bores and pistons.
Stuff you'll need. 3-4" external micrometer (or 75-100mm), 3" or 75mm standard, telescopic bore gauge or stick micrometer or bore comparator.
Calibrate the micrometer using the standard (ideally at 20 degrees C):
Measure the pistons. Maximum wear will be about 10 - 20mm below the oil scraper ring. Warning: The pistons are not round when cold. Measure exactly in the middle of the piston skirt.
Measuring the bores. Take six measurements (middle, top and bottom in both axial and thrust directions). Maximum wear will be in the thrust direction, approximately 20mm below the top.
Measuring in axial direction at the top:
Take lower measurements from underneath:
Results:
The correct bore to piston clearances are:
4-AGE = 0.10-0.12mm (3.9 to 4.7 thou)
4AGZE = 0.12-0.14mm (4.7 to 5.5 thou)
-
- Posts: 563
- Joined: Wed Oct 03, 2007 6:22 pm
- Location: leicestershire
Re: 4AGZE Engine rebuild in pictures (56K no way)
cylinders 2 and 3 are a bit worn up top then, not sure how severly as i cant get my head around imerial!
what did the pistons measure?
-
- Posts: 6149
- Joined: Tue Jan 25, 2005 10:37 am
- Location: Market Drayton Shropshire
- Contact:
Re: 4AGZE Engine rebuild in pictures (56K no way)
They are just within tolerance. The 4AGZE has a bigger piston to bore clearance than the 4AGE because of the extra heat generated. Since I am running a much higher boost than standard being on top tolerance is probably no bad thing.
Re: 4AGZE Engine rebuild in pictures (56K no way)
one of your pistons seems to have put on alot of weight since removal
i dont think any rebore is gonna fit that one in ! lol
how much did the hone cost?
about the bore clearance ,ive heard of race engines having so much piston to bore clearance that the pistons will move quite alot in the bore (and sound like a ball in a bell) but then again they never get started up cold ,but its quite amazing what you can get away with ,I looked at your measurments and although I'm not an engineer ,i think they look fine ,Ive seen a few mr2 engine rebuilds in the forums and other websites and ive never seen one yet need a full rebore
Re: 4AGZE Engine rebuild in pictures (56K no way)
chrismanchr wrote:,Ive seen a few mr2 engine rebuilds in the forums and other websites and ive never seen one yet need a full rebore
You obviously didn't read Anna & Speedy's thread then
85 MK1 MR2 Track N/Ail | 99 528i SE Touring | 01 Mandarin VX220