Thought I'd start the new year with a bit of an update.

Ongoing domestic issues limit the time I can spend working on the car, but I have managed to make some progress.
The radio/cd player that came with the car was a bit basic and had no provision for powering a sub amp.
As money was a bit tight at the time, I decided to replace this with a higher spec Kenwood single din unit.
So when I fitted a rear view camera the obvious choice seemed to be to go for a wireless camera to work with my Garmin satnav.
I have long regretted both decisions.
To my eyes, a double din head unit always seems to look far better in an mr2 than a single din, and only being able to use the rear view camera when the sat nav is connected up is a pain.
So when I spotted local mr2 owner yokomomr4bx was selling his double din head unit, I decided it was time to go for the setup I should have installed in the first place.
Unfortunately saving money in the short term, doesn't always work out in the long run.
I therefore replaced my single din Kenwood head unit with double din Sony XAV 601BT.
I had originally intended to re-use my existing camera via a wireless link, but wasn't happy with the results on the larger screen, so purchased and installed new Auto-vox HD rear view camera.
As I had to pull two new power cables through to the boot, I thought I may as well pull a new video cable to improve picture quality.
The Auto-vox HD camera is only a budget model, but compared to the Garmin camera via a wireless link the image quality is much better with far less noise.
The other advantage of the new camera is that it's designed to fit on the top edge of the number plate, making it less prone to water splash from the road.

I've fitted an over ride switch adjacent to the ash tray so that I can manually switch on the rear view camera display, as well as allowing it to switch on automatically when reverse gear is selected.
The power feed to the camera is controlled by a relay in the boot.
In the normal rest position the camera is connected to the reversing lights supply, but when the over ride switch is engaged the relay changes over to the fused ignition power feed from the switch.
A further cable runs from the camera power feed, via a fuse, to the head unit.
This triggers the head unit to automatically switch to the camera signal when power is fed to the camera.
All was going well until I was hit by further battery woes!
During a spell of hot weather I ended up with a flat battery again.
I tried to recharge the Halfords battery, which had been replaced under guarantee less than a month before, but after several attempts to charge the battery the only result was a hot charger and zero volts measured across the battery.
However you looked at it the battery appeared to be dead, possibly shorted out internally.
The mr2 is my only car, so there was no easy way to take the battery back to Halfords to be tested and replaced, and to be honest after two failures I was losing faith in Halfords own branded batteries.
I therefore decided to purchase a Yuasa HSB005 battery on-line for next day delivery.
I've always fitted Yuasa batteries in my bikes, and they've been pretty reliable, so this seemed like the best option.
Especially as the Yuasa battery has greater capacity and carries a five year warranty.
Battery duly arrived next day and was installed, and all seemed well.
.
.
As evening fell my neighbour knocked on the door to warn me that my brake lights were on.
After fitting the new battery, I only checked the car started OK and that the voltmeter went up a bit when the engine was running, so I had no way of knowing if this was an existing fault that I hadn't noticed, or one that had just occurred.
If it was an existing fault it might explain why the previous battery was flat.
As a temporary measure I pulled the brake light fuse, until I had time, and daylight, to investigate.
Having searched the internet for clues, the following day I checked the brake light switch and found the small plastic pad that the brake light switch plunger rests on had disintegrated and the plunger was now free to pass through the hole that the pad fits into.
I suspect that hot spell may have been the final straw for what was probably an old and brittle pad.
For now I've reshaped a plastic panel retainer as a replacement.
Having re-adjusted the brake light switch I've had no further problems with this.
As the image quality of my HD rear view camera looked so much better than my existing dashcam, this started to annoy me, so I decided to upgrade to the newer A119 model.
The A119 has a higher spec and incorporates GPS in the mounting bracket, doing away with the additional windscreen mounted gps unit used with the A118.
The power feed for the A119 also connects to the bracket rather than the camera, making it much neater and easier to un-clip than the earlier model.
The optional polarizing filter also helps to reduce reflections from the windscreen, which could sometimes be an issue with the A118.
The A119 is of course only a budget camera, and not in the same league as the likes of GoPro, but front and rear camera image quality is now pretty much the same.
In the past I've found the ODB1 a useful tool for fault finding, and decided to explore the possibility of wiring one in permanently, and trying to get the output to display on my head unit.
As I didn't want to cut into the loom, I purchased a replacement ODB1 unit from IMOC member auzzam.
This is the later model which is pre-wired with a suitable plug for the engine bay diagnostics port.
Unfortunately when I first fitted this it was tight against the engine bay lid when it was closed, so I had to modify
(bend) the port bracket to improve clearance a bit.
It now works a treat on my phone, but I haven't as yet mastered the mirror function to bring the display up on my head unit.
But I will keep at this, as I'm sure it should be possible.
I've often wondered whether the Bride XL rail would help in my quest to fit my Mirco bucket seat as low as possible on rails.
So when IMOC member C35Rob posted a drivers side rail in the for sale forum it seemed like a good opportunity to find out without having to shell out lots of money to import one from Japan.

The bride rail is much lighter than the Sparco frame and alloy side mounts I was previously using, and allows the harness crotch straps to pass freely through the centre hole without fear of catching on the seat adjustment mechanism.
It's also possible to tilt the seat a bit further backwards with the Bride frame.
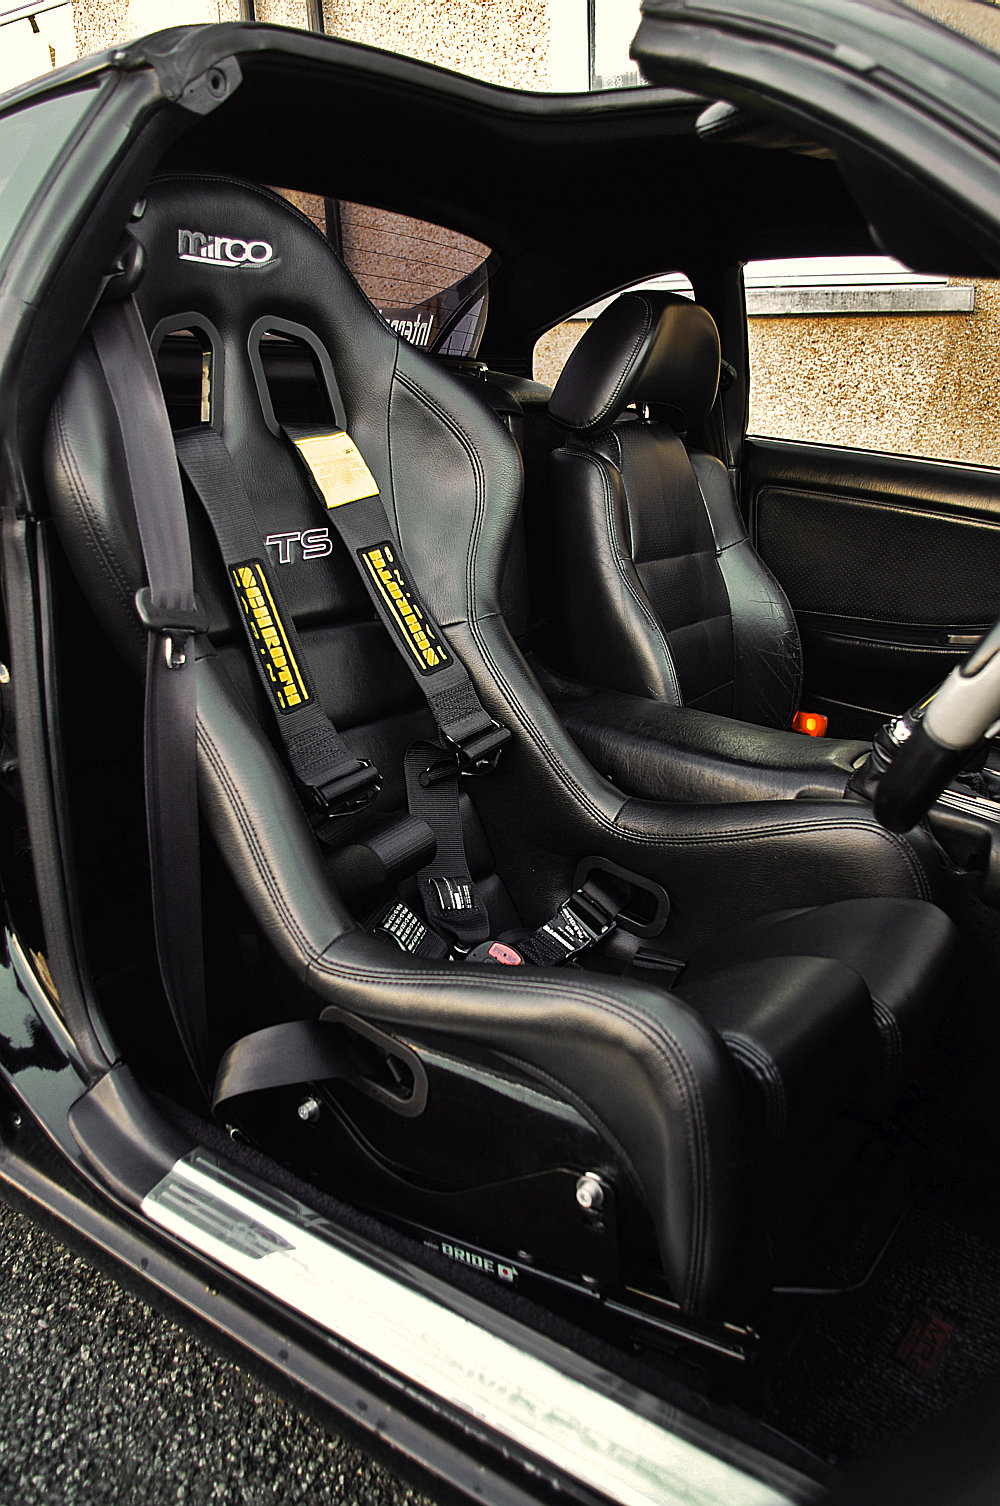
But on the the downside, I found I couldn't use the lowest front mounting holes as this didn't leave sufficient clearance to operate the seat adjustment mechanism.
I may try elongating the bottom hole into more of a slot come the better weather, as it really wasn't too far off.
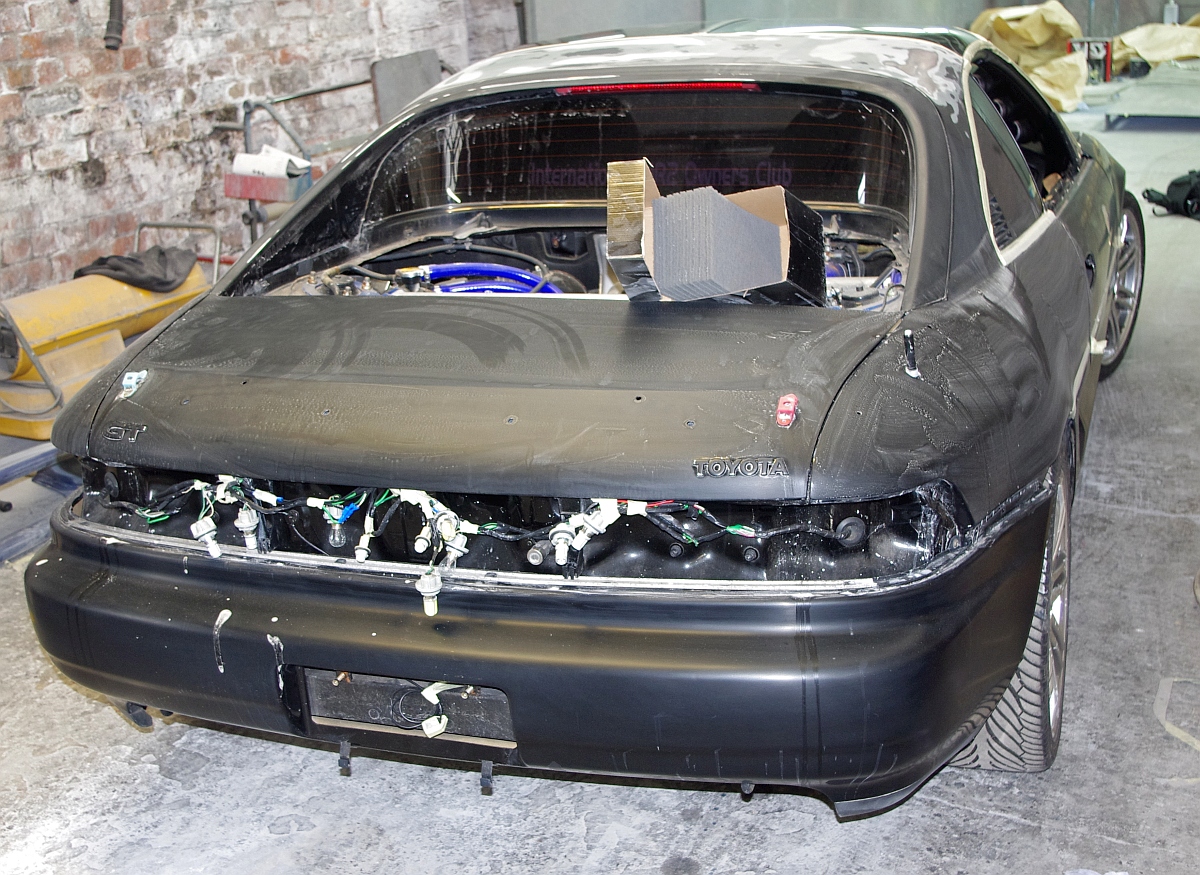
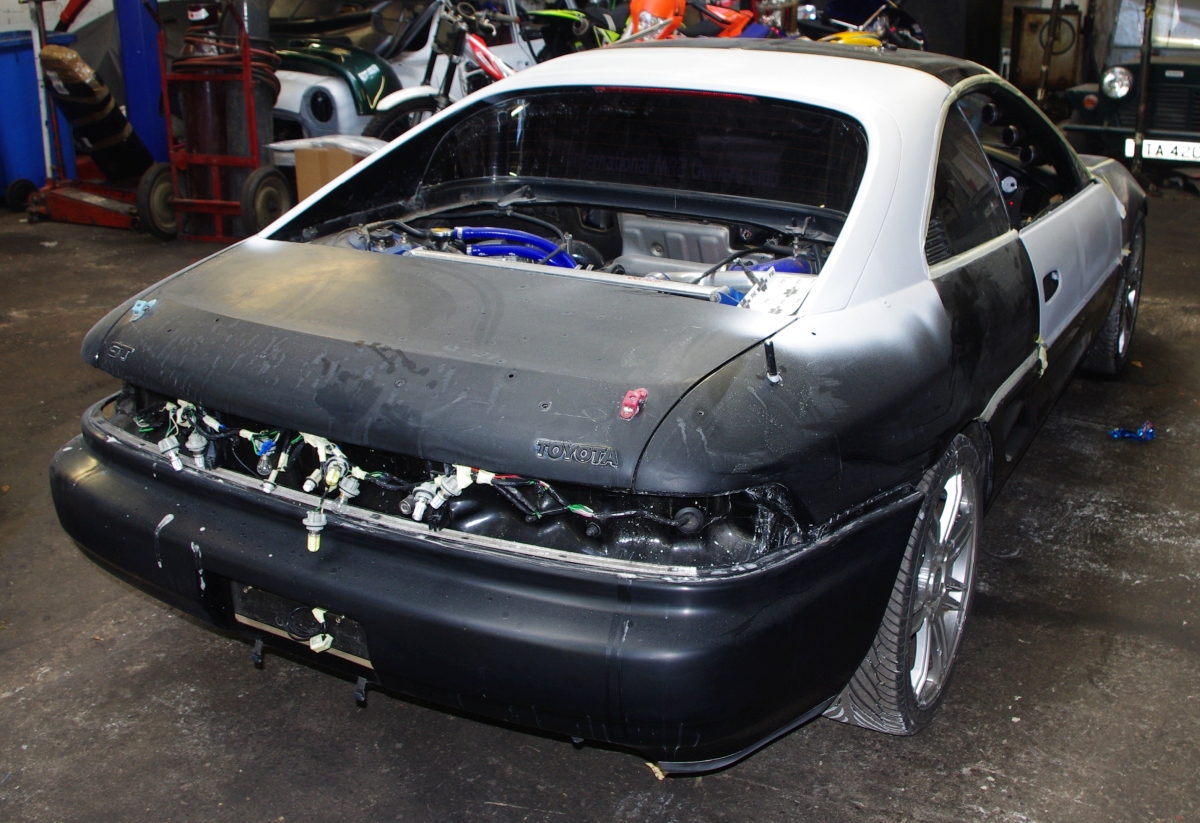
Sadly the crack on my reversing light centre panel, which I had previously repaired, started to open up again allowing water to get in behind the paint work, which consequently started to bubble.
I therefore purchased and replacement s/h panel, and decided to take this as an opportunity to try to improve the output of the stock rev3+ reversing lights.
Who ever thought it was a good idea to fit reversing lights side on was obviously more concerned about looks than illuminating the road adequately.
I experimented with various different lamps, but none seemed to provide any real improvement.
I even purchased a couple of led panels, but when I wired these up to test I was horrified at how hot they became.
Hot enough in fact to start to melt the adhesive backing.
So that idea was rejected.
In the end I spotted some 1156 BA15s P21W LED Lamps for sale on eBay which looked as though they were more biased to side illumination than the front, so decided to give them a try.
Having cleaned and polished the internal reflectors in the reversing light housings I was pleasantly surprised how much brighter they were than the stock lamps, and found they ran really cool.

I've also fitted Bay 15D Red stop/tail LED bulbs purchased on eBay.
I originally tried a white dual pin version of the led lamps I fitted in the reversing lights, but it looked to pink for my liking and I didn't think the difference in illumination between tail and stop function was sufficient.

The Bay 15D Red stop/tail LED bulbs solve both of these issues and really fill the rear lenses.
Unfortunately the photographs don't really do them justice as to the naked eye they look a solid red all over.
The following photo was taken with the inner fogs on to show the difference between tail and brake.

Whilst working on the rear lights, I also decided to swap the amber side triangles for the US red ones that include a cut out for a lamp holder.
I found with a bit of modification the stock rear number plate lamp holders are a reasonable fit, so I've now fitted led bulbs in these and wired them into the tail light circuit.
I've also purchased a couple of Bomex style extensions for the left and right side engine bay air vents which need cleaning up and painting before fitting, along with a couple of H3C Xenon Extreme White lamps for the front fogs, to hopefully make them a closer match to the crystal clear headlamp/Night Breaker combo fitted.
Hopefully this year I can also finally find time to fit retractable mirrors and new front door speakers, and repair, paint and fit a genuine Autopista rear spoiler which is currently cluttering up the loft.
Well that's the hope at least.
Paul