alan_uk wrote:
so its
aeroware front
Project REV5 Turbo ............ Lots of big changes
Moderators: IMOC Moderators, IMOC Committee Members
Re: Project REV5 Turbo ............ Lots of big changes
decent selection of parts there, it should look good. have you decided against the green now?
^ does that mean you've changed your mind about the bomex front?
EX MR2 owner, currently on a '00 Honda CBR600 Follow me on Instagram @c35rob
Re: Project REV5 Turbo ............ Lots of big changes
Yes mate but was gunna ring you friday as found a guy who wants it pay day told him £80 posted If thats ok by you ?
Re: Project REV5 Turbo ............ Lots of big changes
well update time again
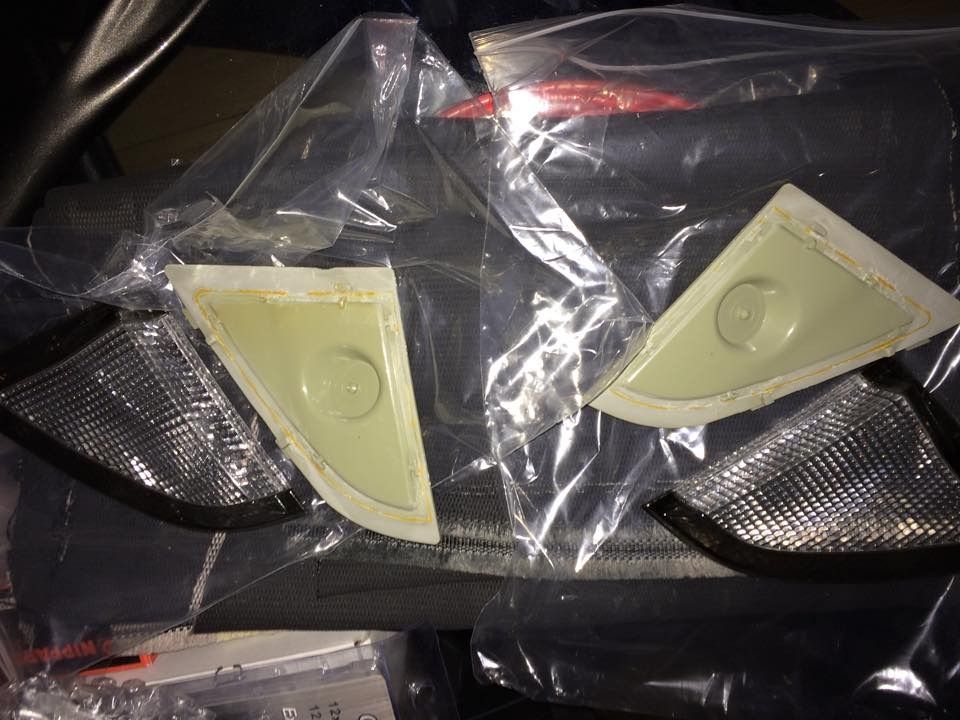
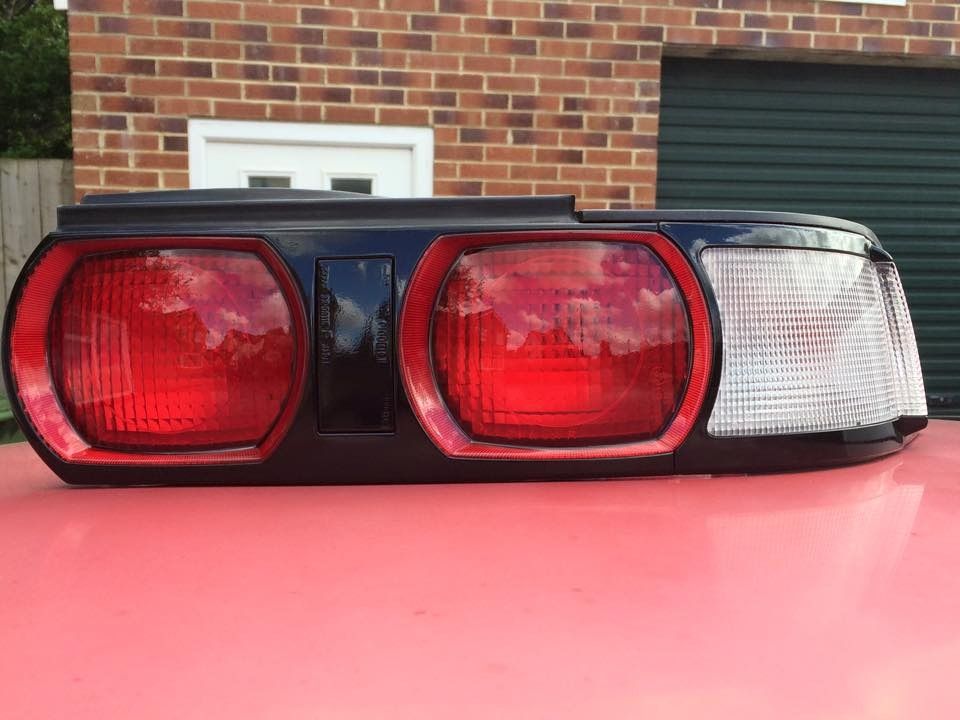
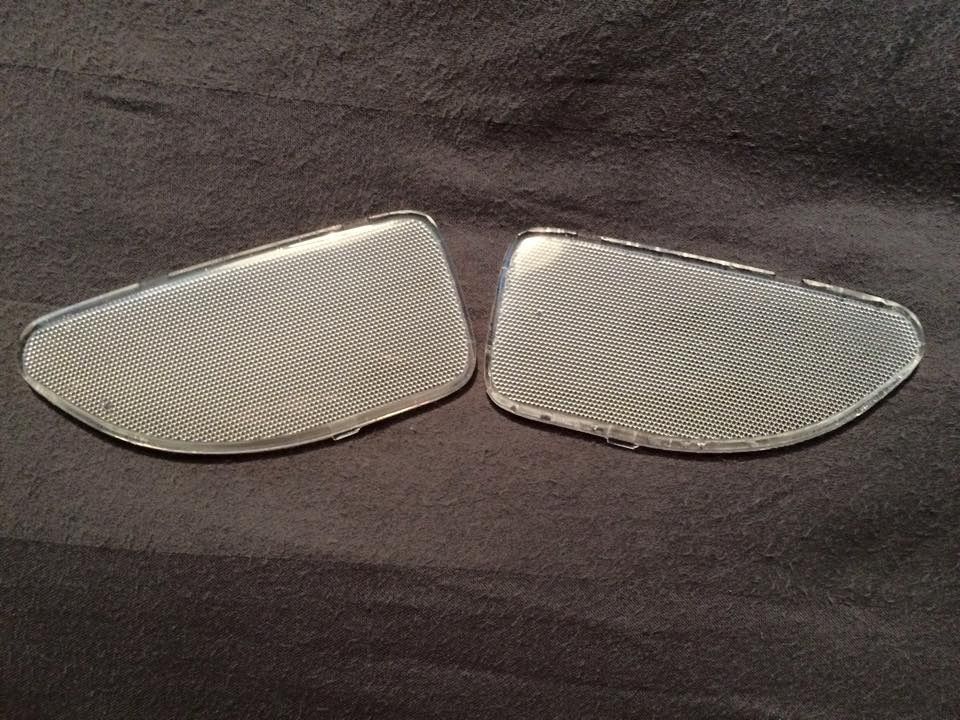
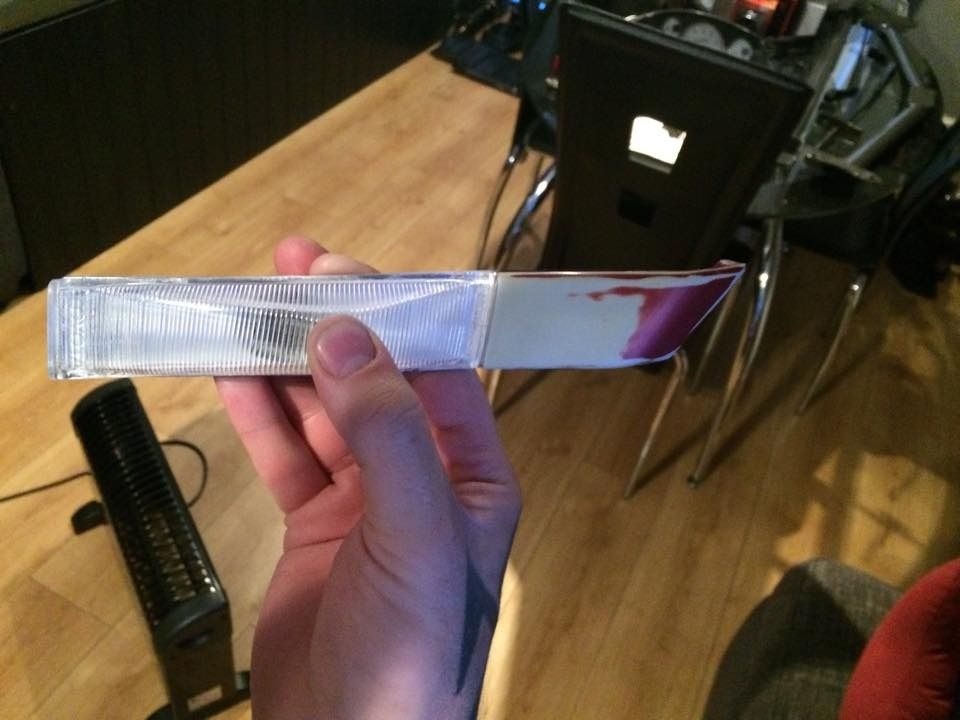
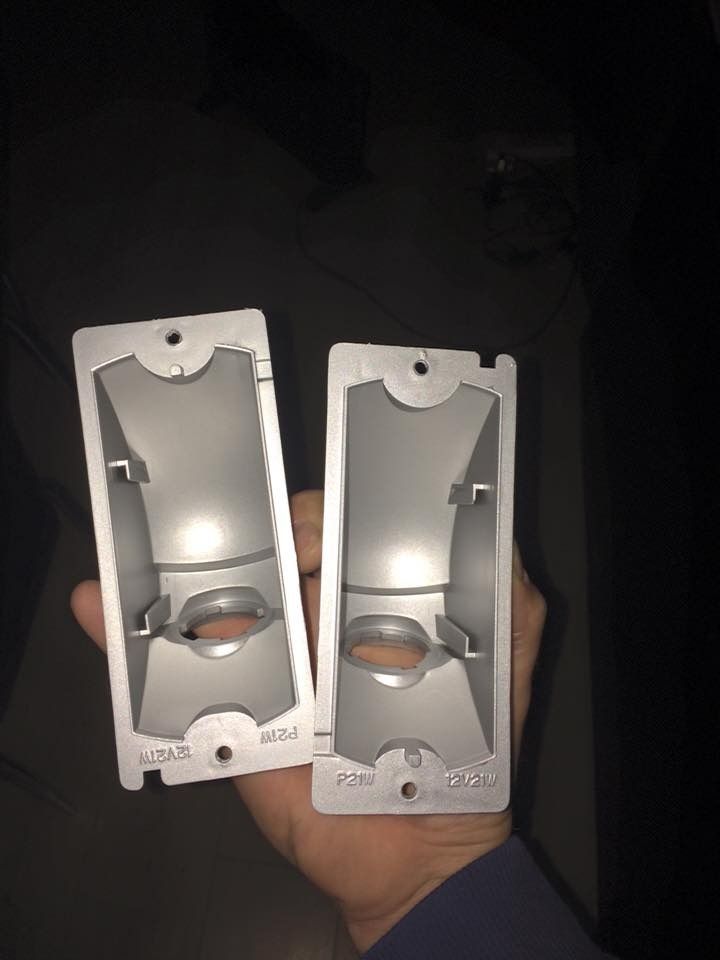
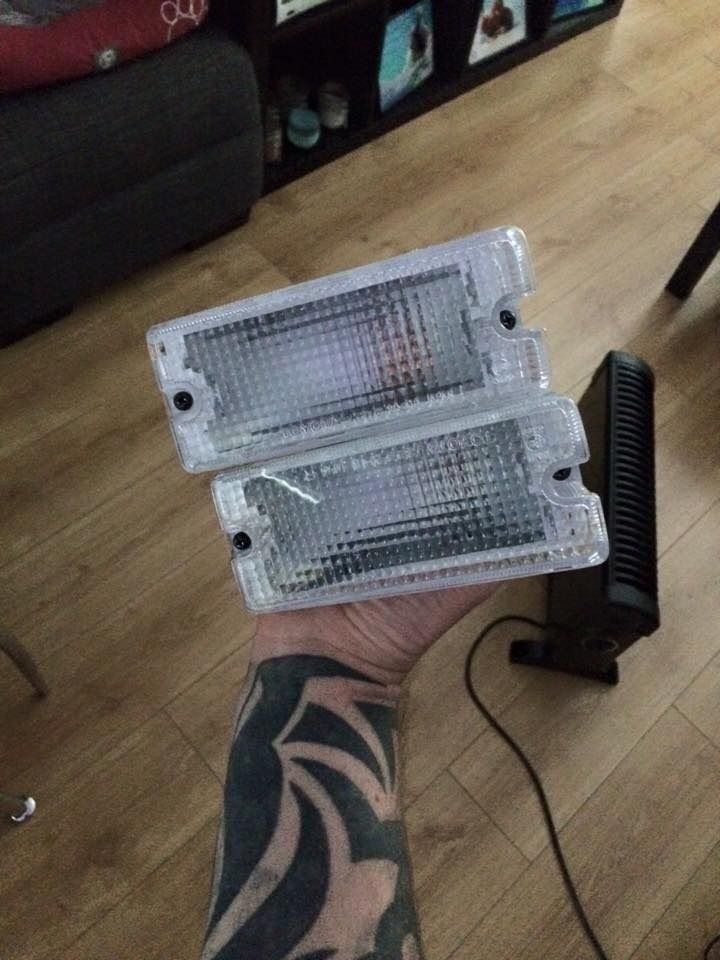
since my last update ive managed to split my uk lights and remove the horrid half mood following wolfie's guide which worked great
the amber parts didnt really survive all barring 1 triangle was smashed lol
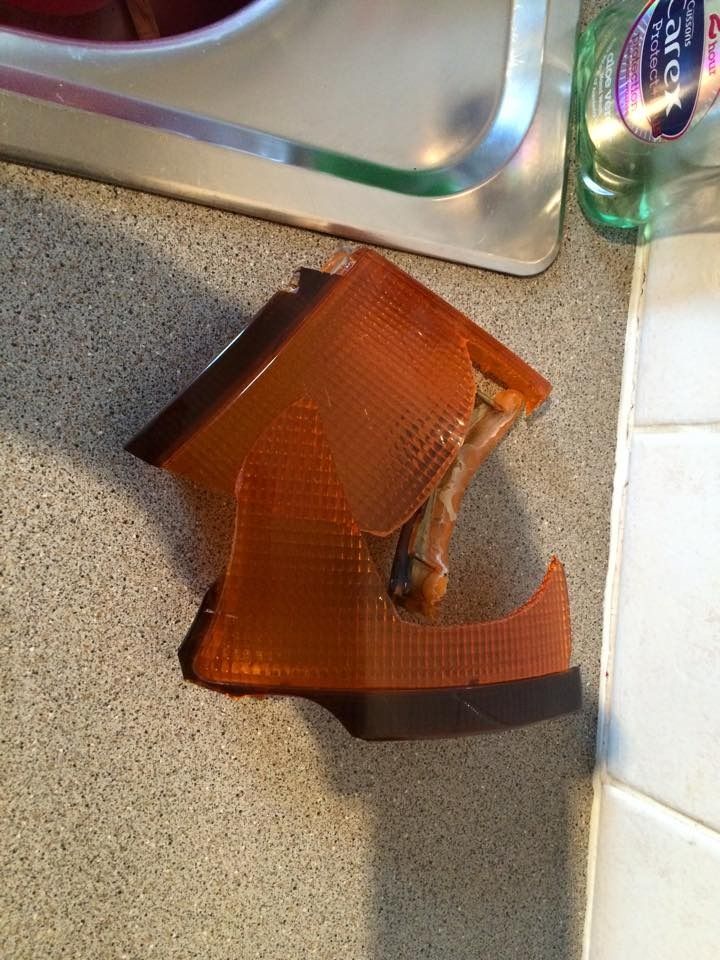
but there off and the half moon is removed which is all im bothered about
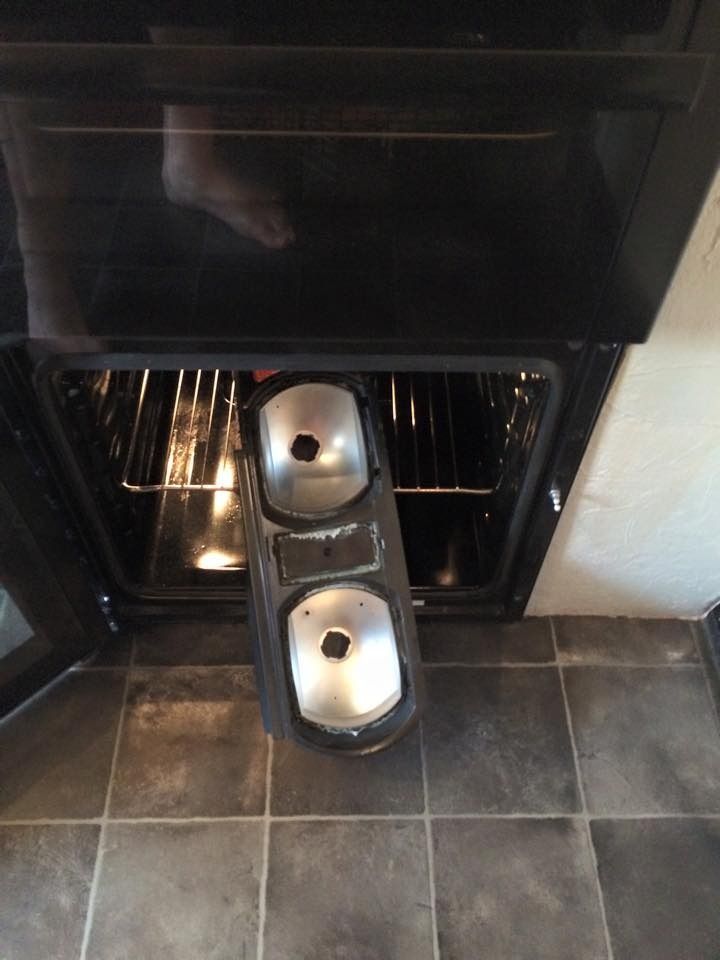
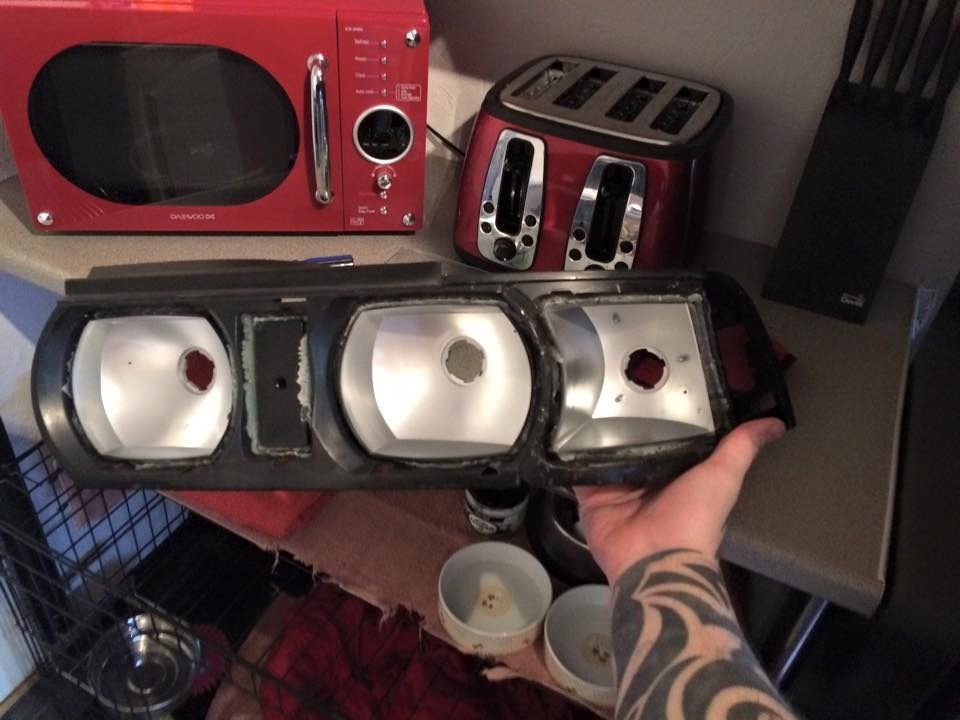
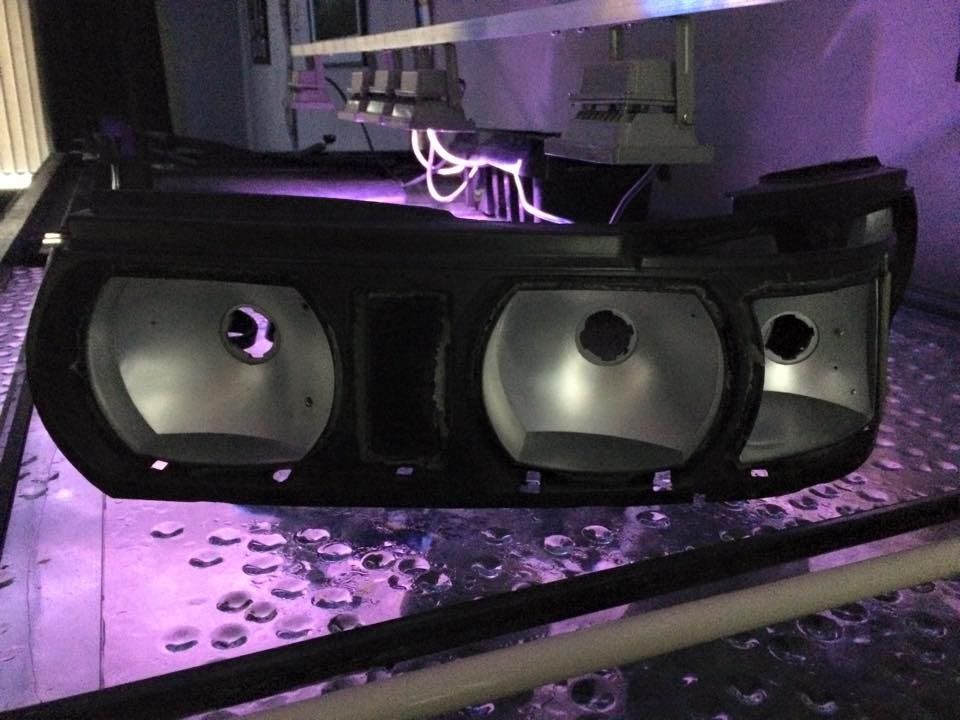
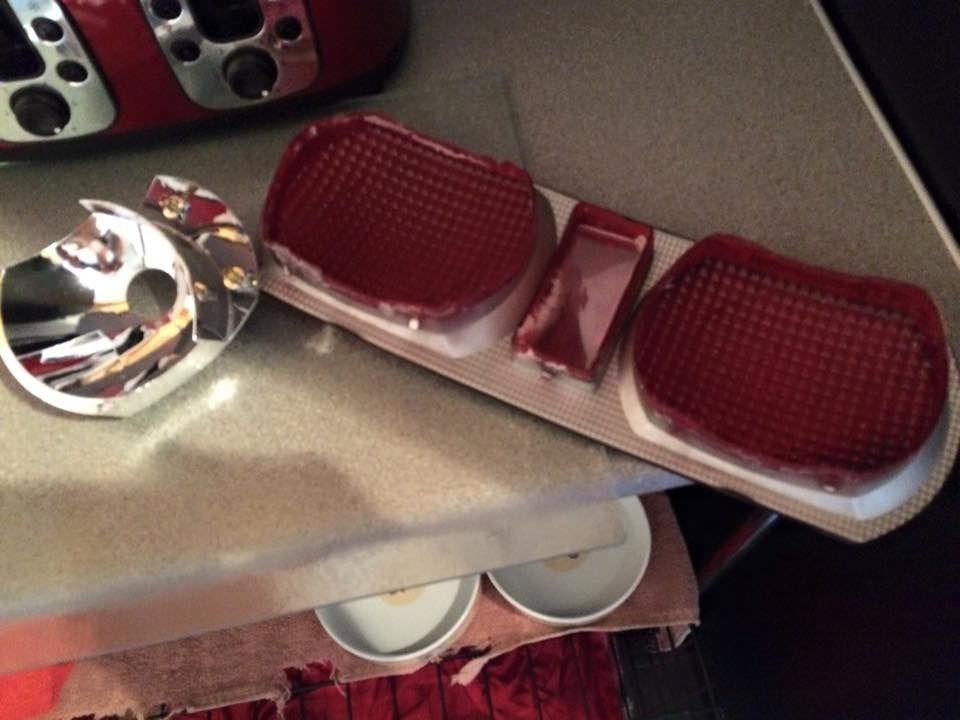

ive since sprayed the backing of the triangles a bright aluminium silver as to make them look brighter and cleaner
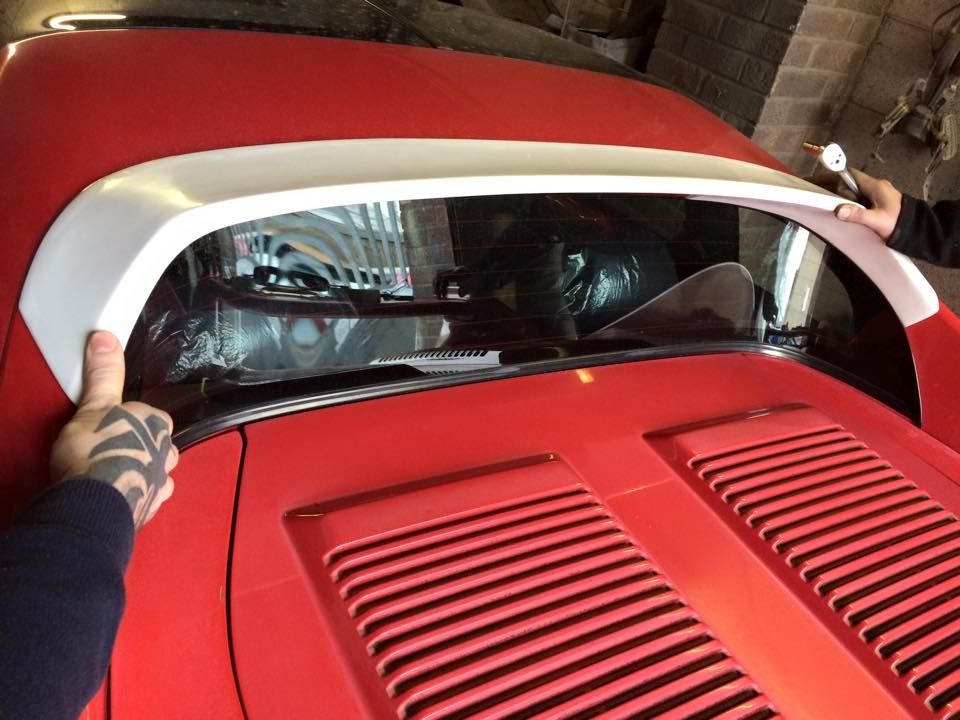
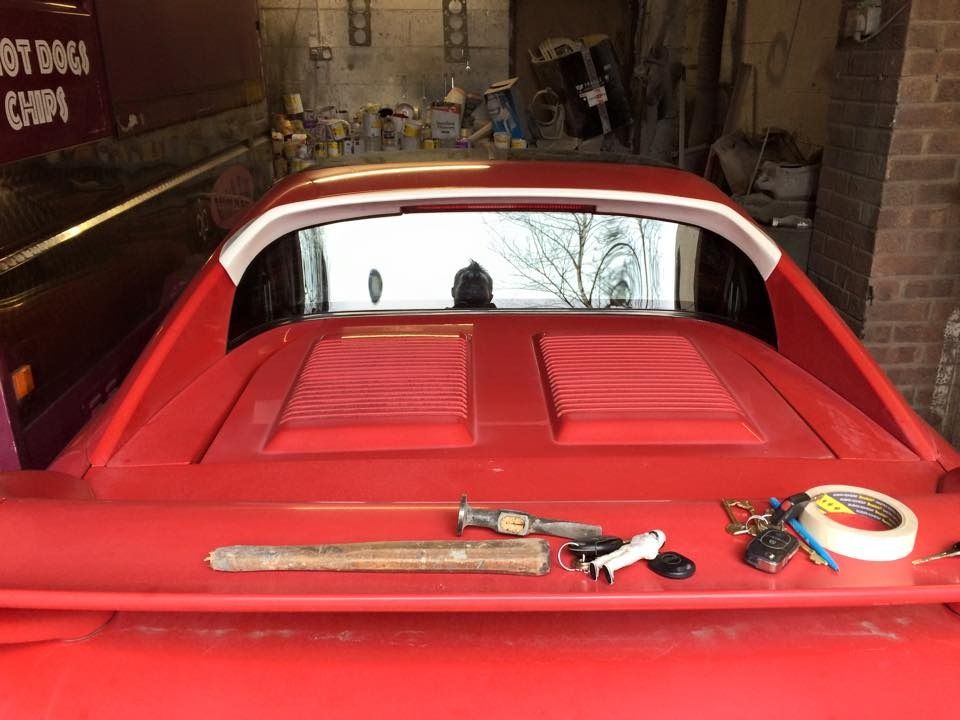
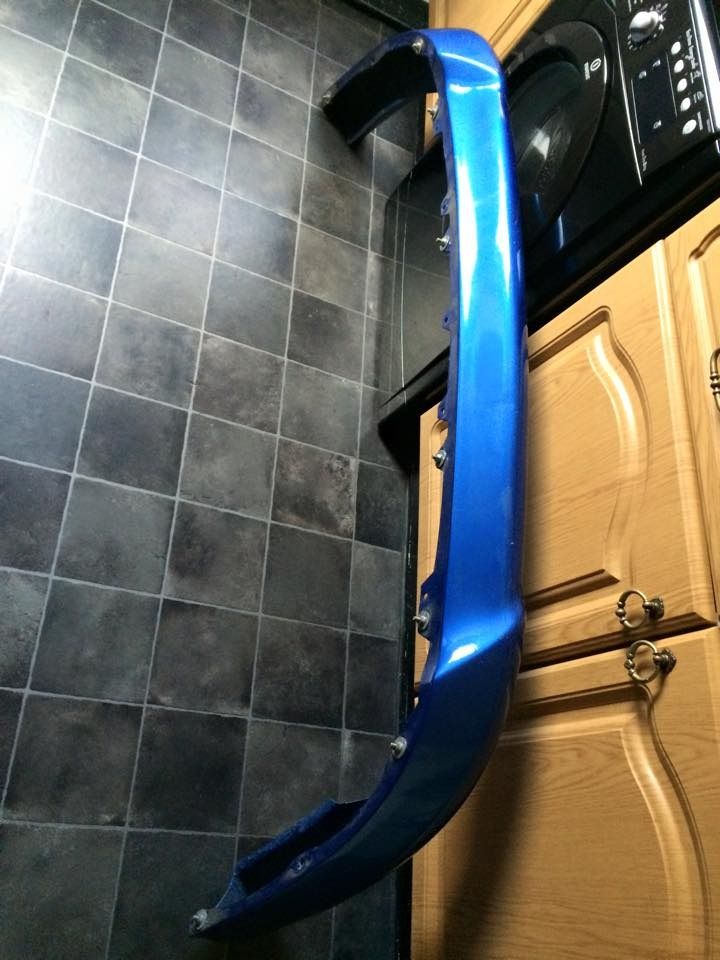
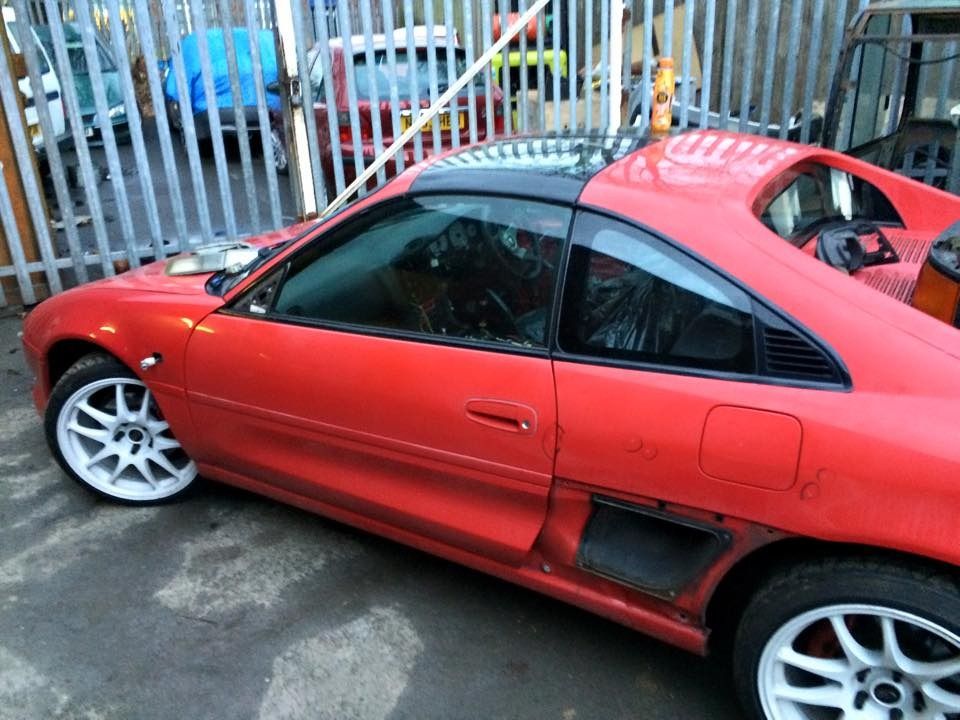
also managed to get hold of this little gem a madpsi roof spoiler its my fave purchase so far
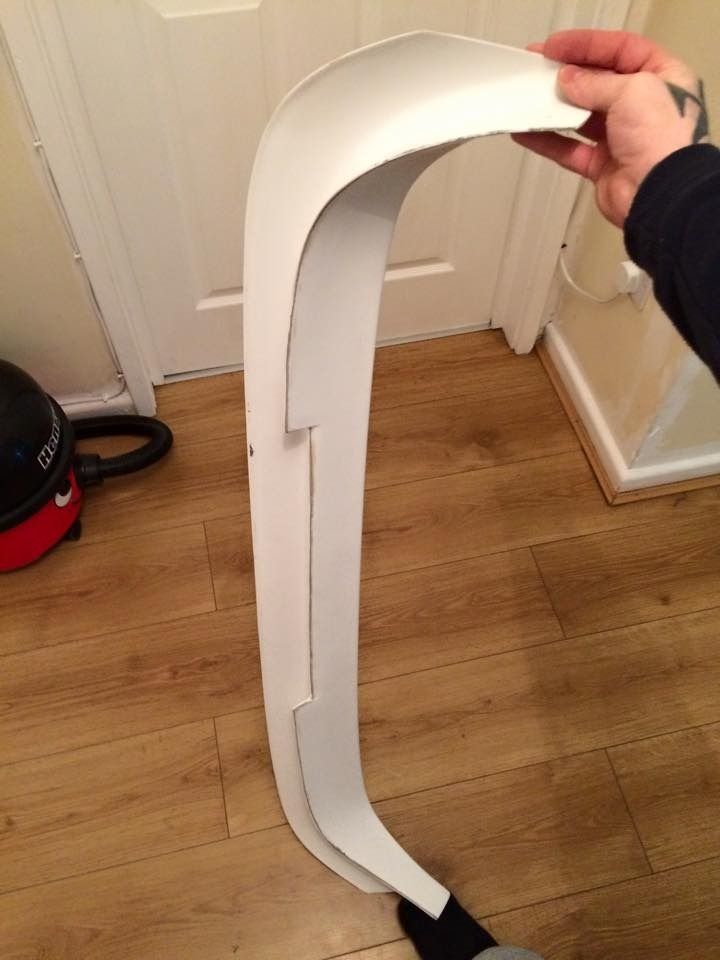
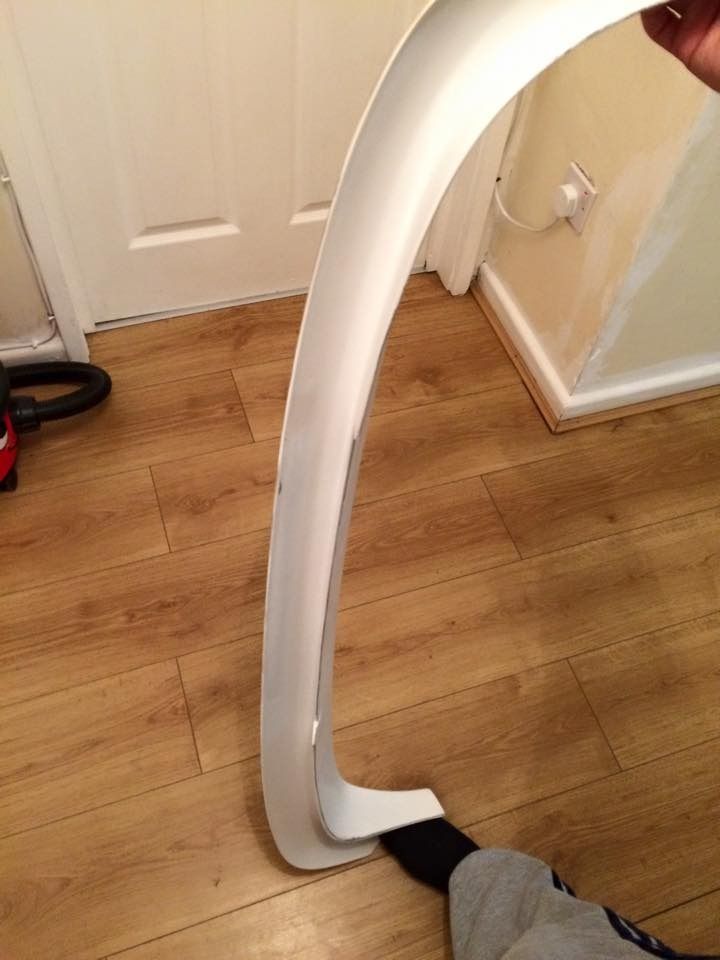
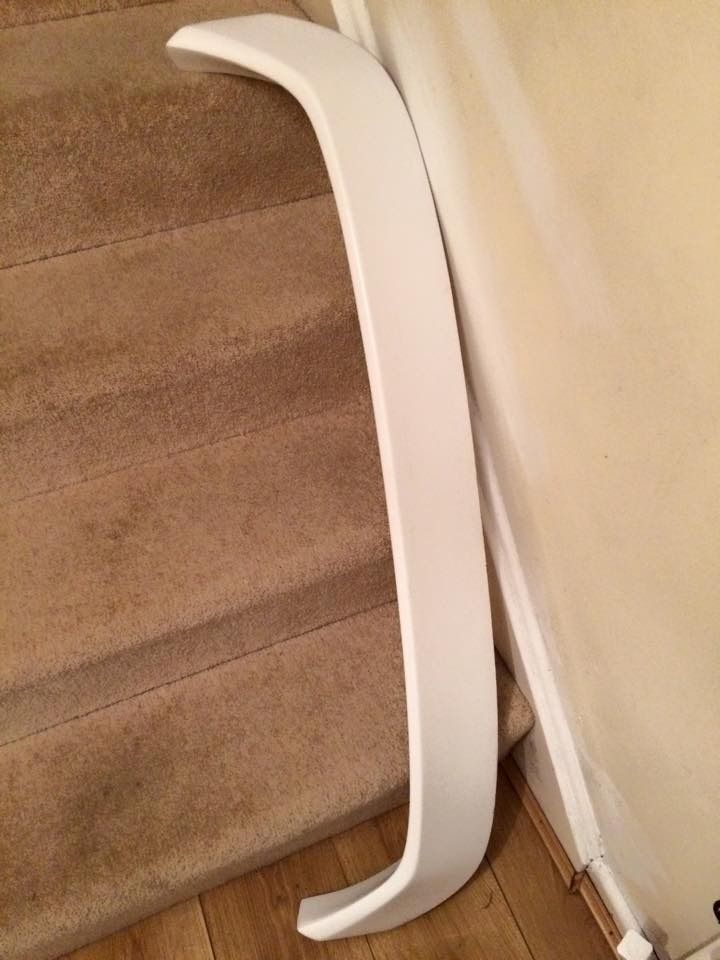
fits like a glove too
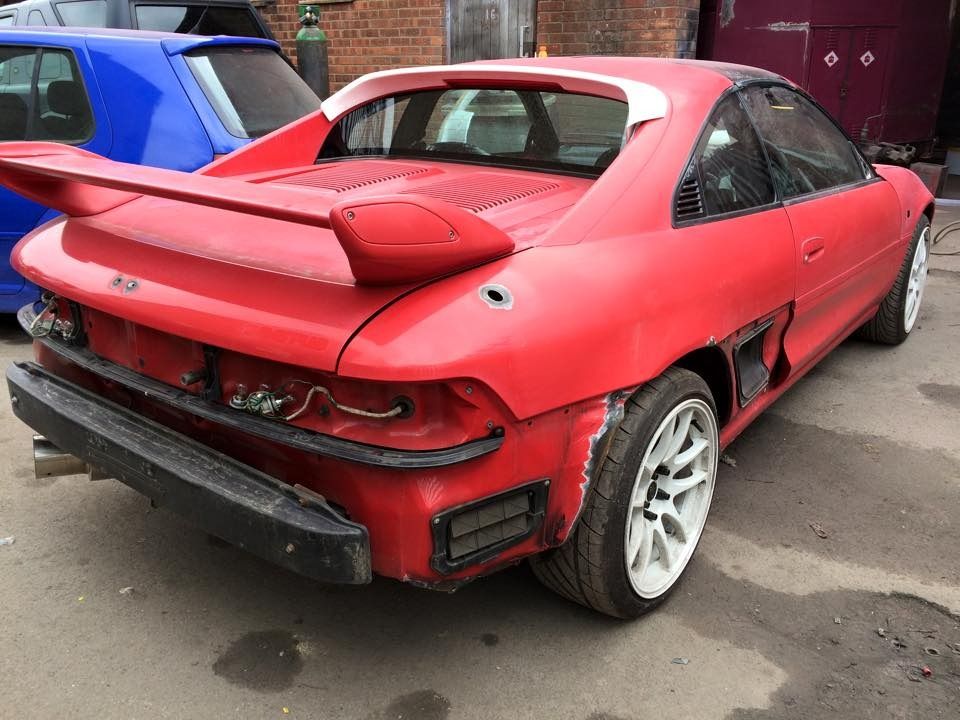
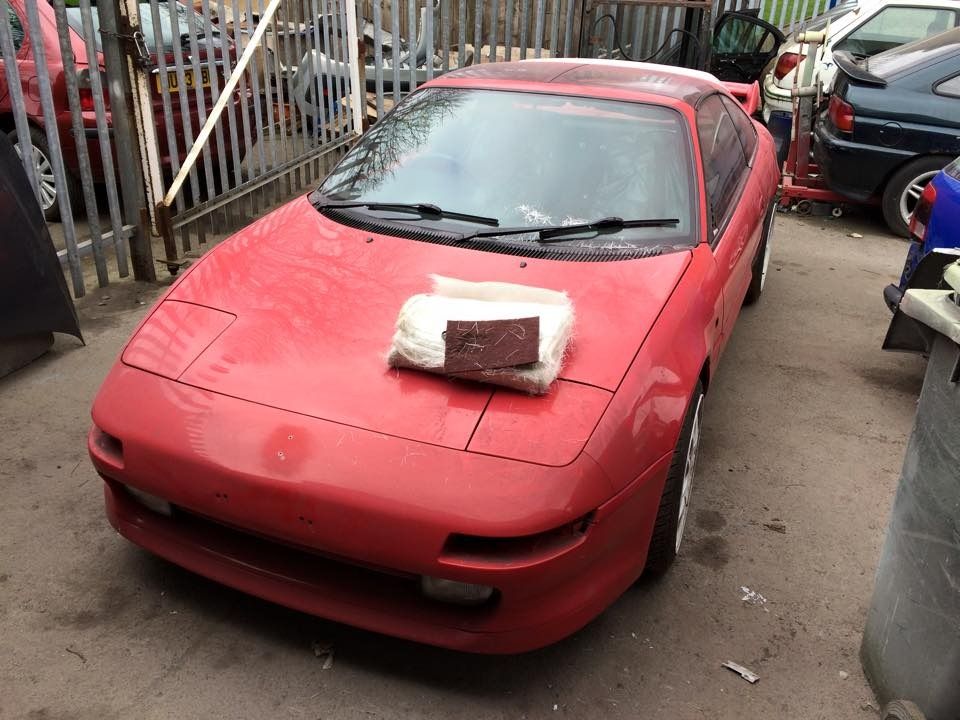
aeroware also arrived very pleased with this
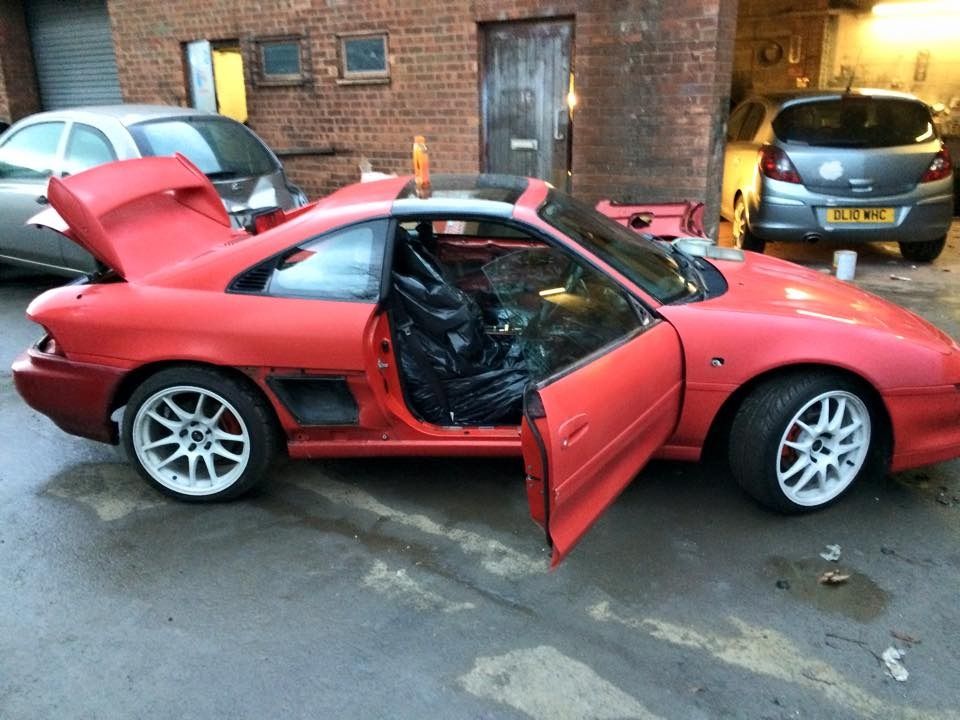
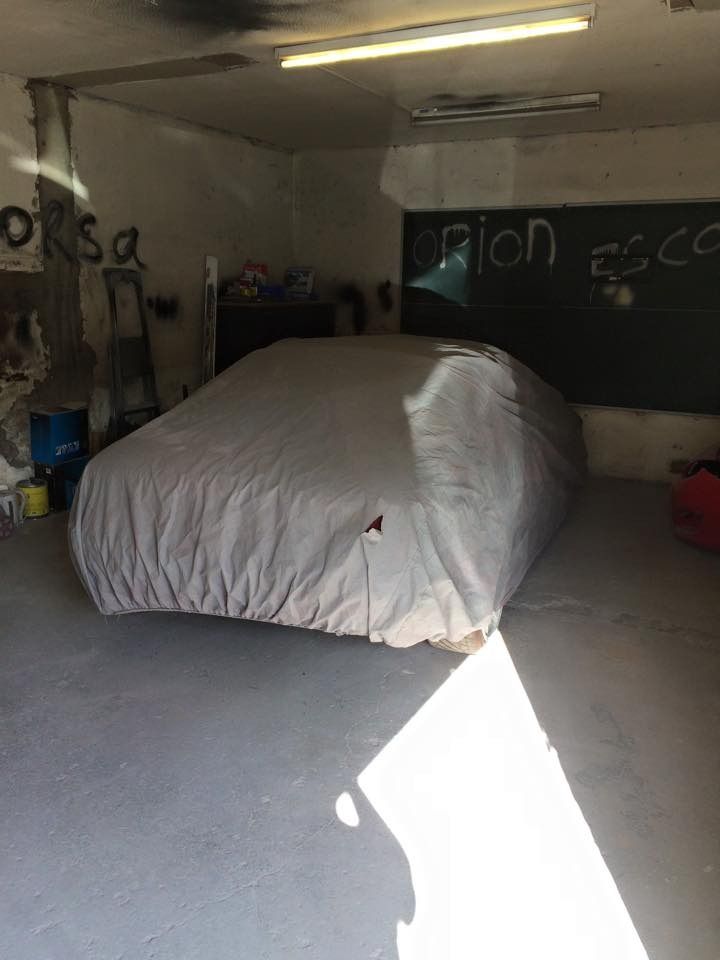
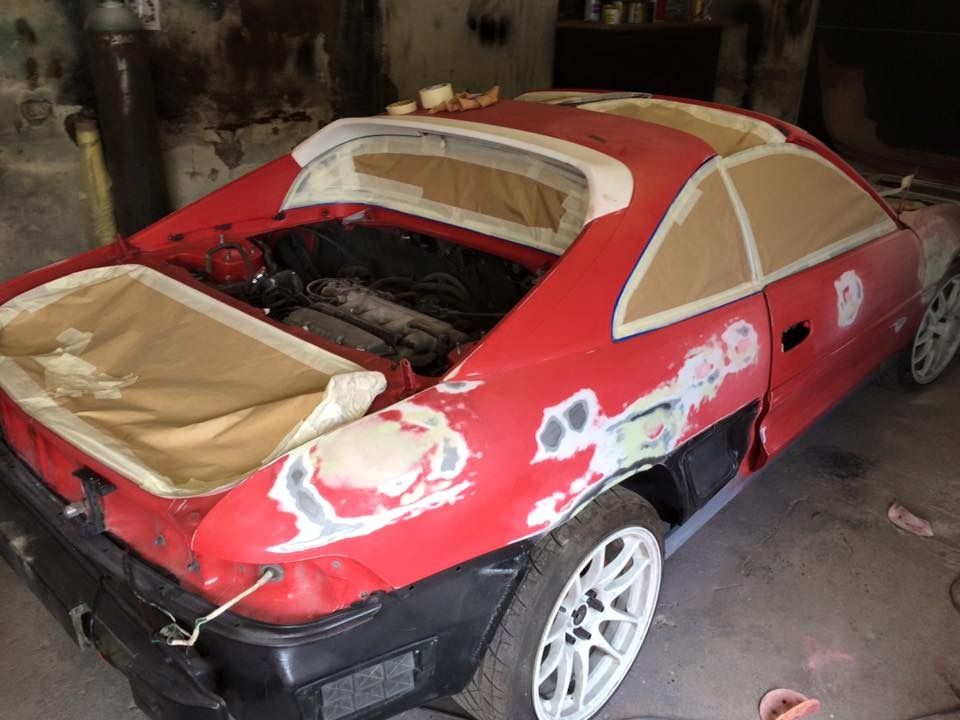
car is also now in the bodyshop
stripping:O
so yea thats how it sits at the present time
after a lot of debating on color and buying paint which im no longer going to use
lambo teal
mazda celestial blue pearl lol
i finally decided on nissan gtr KAD- gun grey metallic
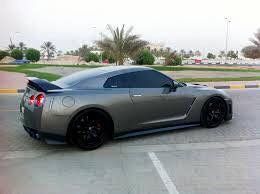
which is now ordered
just debating bronze or black wheels and doing my rev5 spoiler black too or not
since my last update ive managed to split my uk lights and remove the horrid half mood following wolfie's guide which worked great
the amber parts didnt really survive all barring 1 triangle was smashed lol

but there off and the half moon is removed which is all im bothered about


ive since sprayed the backing of the triangles a bright aluminium silver as to make them look brighter and cleaner

also managed to get hold of this little gem a madpsi roof spoiler


fits like a glove too


aeroware also arrived very pleased with this


car is also now in the bodyshop
stripping


so yea thats how it sits at the present time
after a lot of debating on color and buying paint which im no longer going to use
lambo teal
mazda celestial blue pearl lol
i finally decided on nissan gtr KAD

which is now ordered
just debating bronze or black wheels
Re: Project REV5 Turbo ............ Lots of big changes
Cant wait to see it in grey ... good choice.
I would grey the spoiler and paint the center and end caps gloss black...
I would grey the spoiler and paint the center and end caps gloss black.
Re: Project REV5 Turbo ............ Lots of big changes
Coming on great Alan. Certainly getting stuck in. I think the grey will look much better than the lambo colour you were previously going for.
Where did you get the roof spoiler from, I like that.
Looking forward to seeing it finished.
Oh, and regarding the wheels. BLACK! 
Where did you get the roof spoiler from, I like that.
Looking forward to seeing it finished.
Oh, and regarding the wheels.
Re: Project REV5 Turbo ............ Lots of big changes
haha yea decided wheels are going black
spoiler was from a company that used to do them many years ago in the uk but stopped and they had 3 left in old stock so sold them off cheap i got 1 another sold and there is 1 left available then thats it gone for good haha
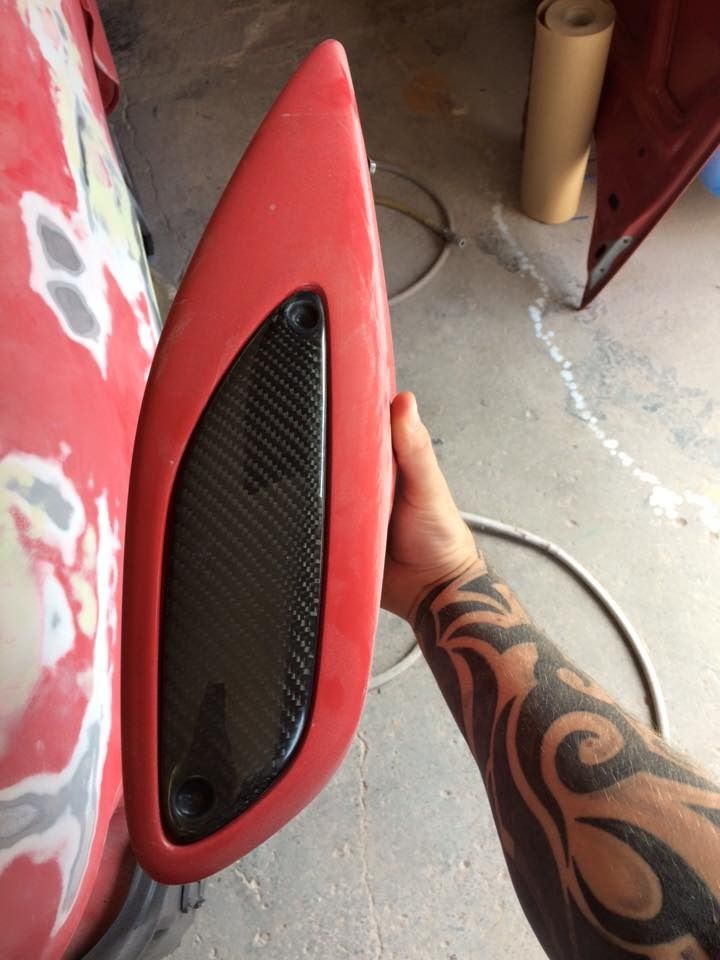
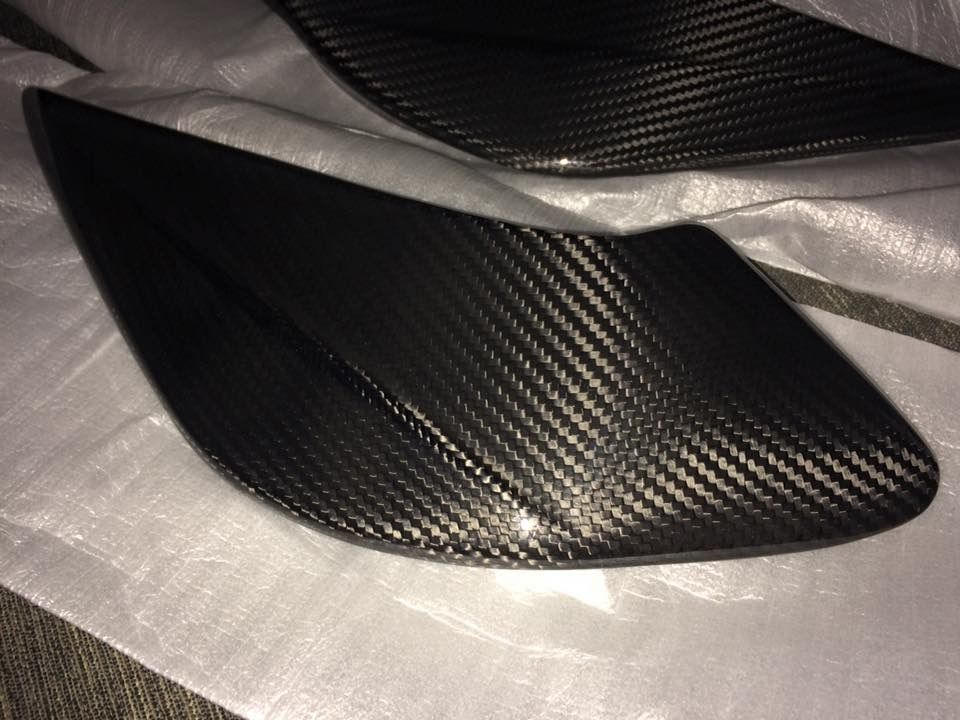
im kinda thinking of going all carbon as ive got a carbon border bonnet coming from the carbenfiber creations group buy
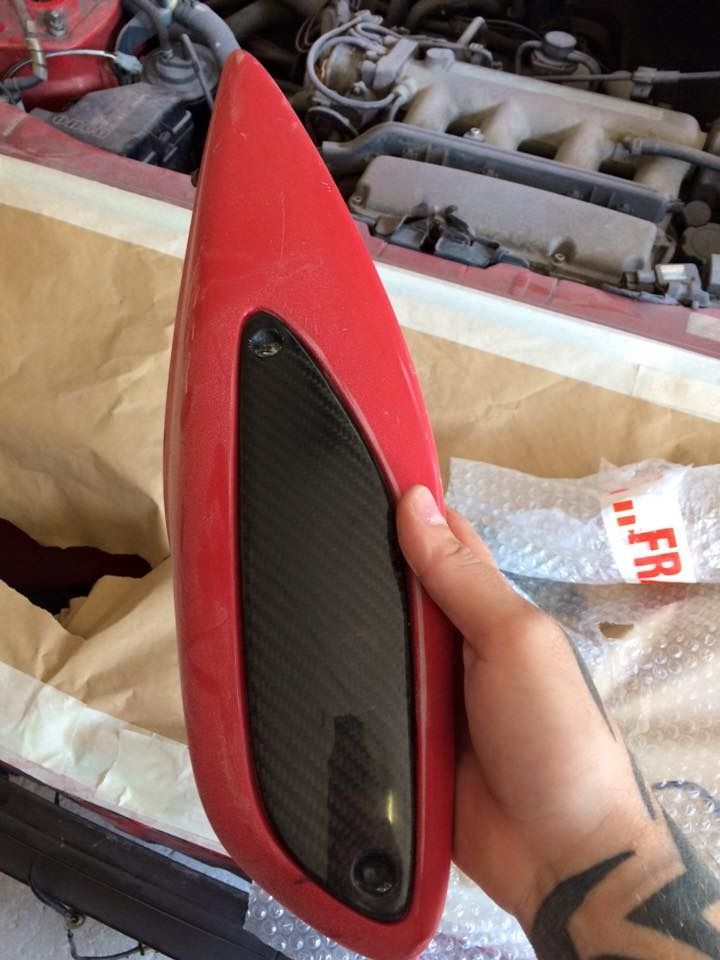
ben is also carbin skinning the toms winglets for me
im going to buy a rev5 carbon spoiler and rear light center panel
think carbon will go really well with the grey
spoiler was from a company that used to do them many years ago in the uk but stopped and they had 3 left in old stock so sold them off cheap i got 1 another sold and there is 1 left available
im kinda thinking of going all carbon as ive got a carbon border bonnet coming from the carbenfiber creations group buy
ben is also carbin skinning the toms winglets for me
im going to buy a rev5 carbon spoiler and rear light center panel
think carbon will go really well with the grey
very much needed update lots has changed
well were do i start
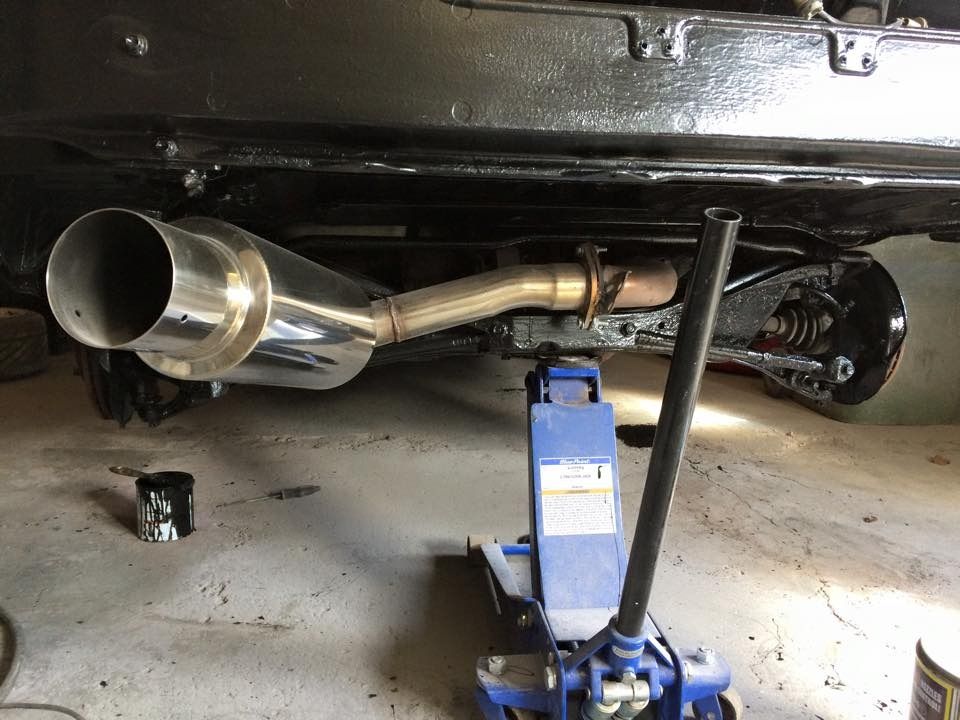
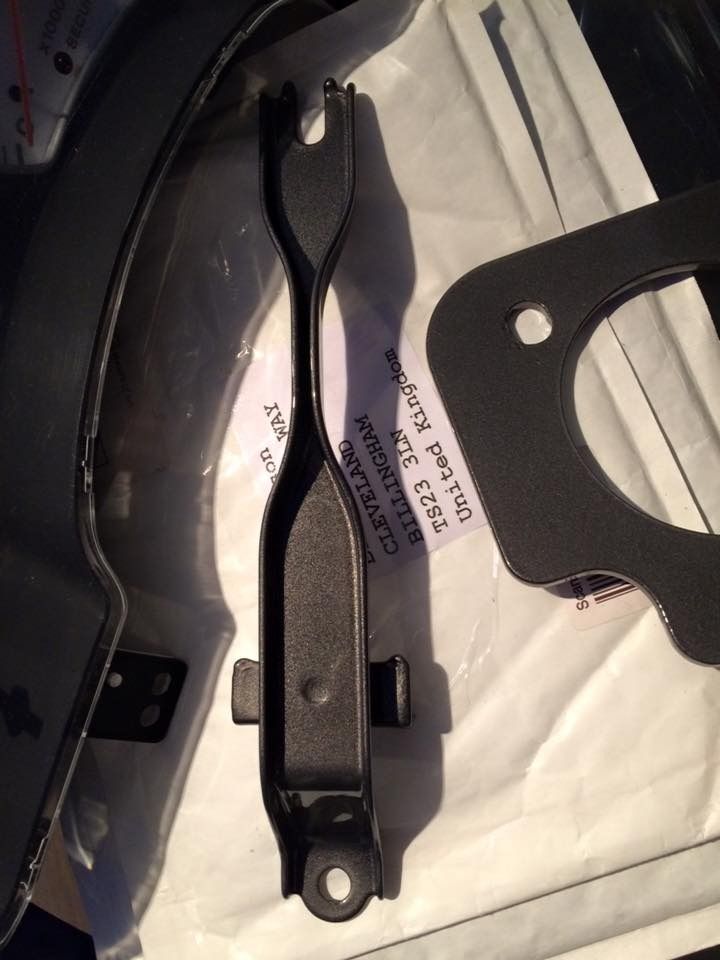
progress wise the car has not moved forward at all lol due to the wife being involved in a crash in her new mk3 thankfully was just panel damage and exhaust bracket and is now all sorted and looking better,
anyhow i thought i had made a decision kit wise and had al what i wanted which was
aeroware front splitter
toms skirts and winglets
pp rear spats
then i found a bomex 3 piece rear and some abflug arches for the rear and decided i wanted to do that
almost instantly i decided i didnt like this look or the idea of wheel spacers so sold them on and bought another pair of pp rear spats lol
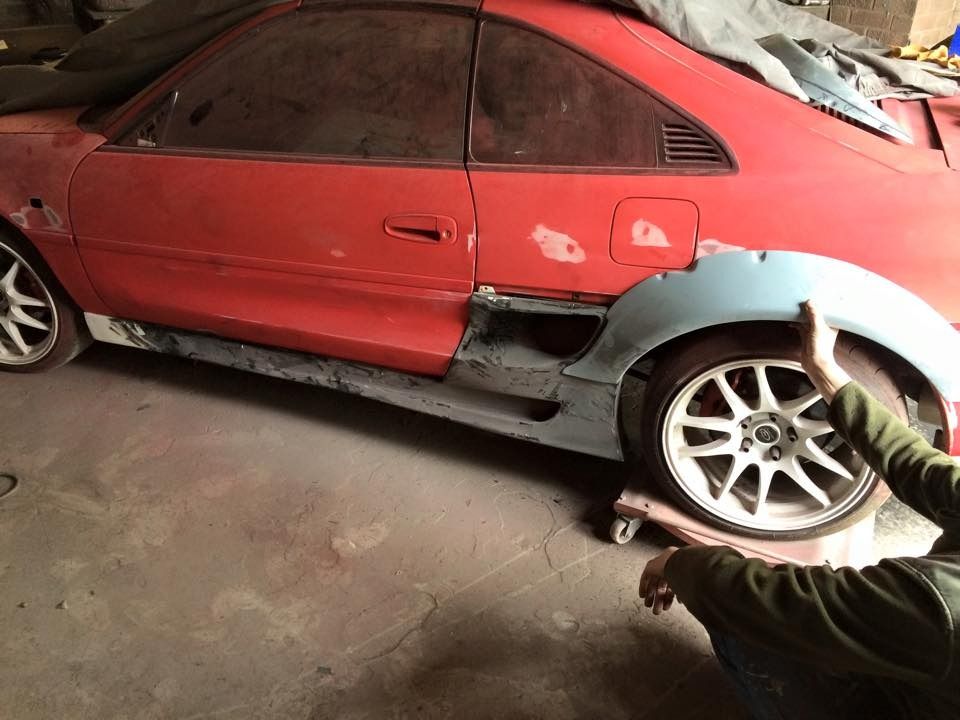
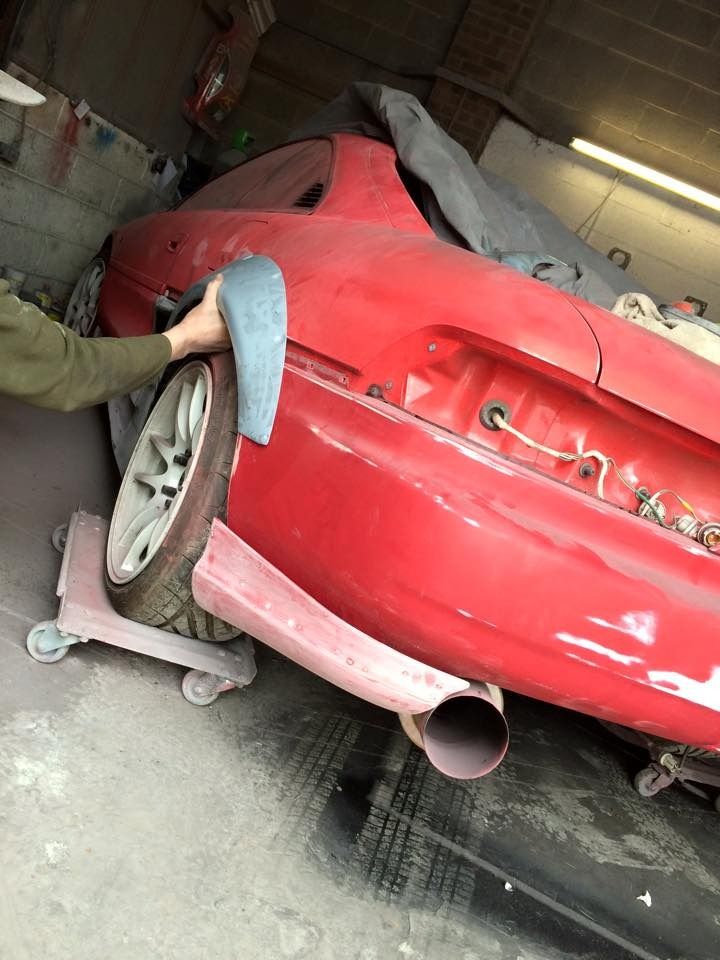
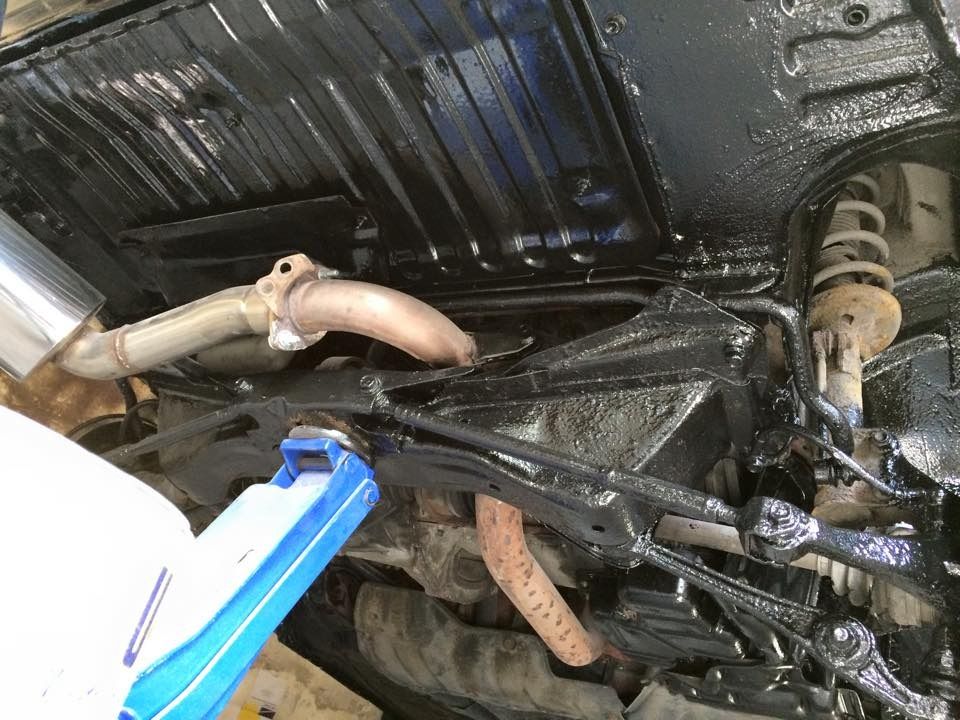
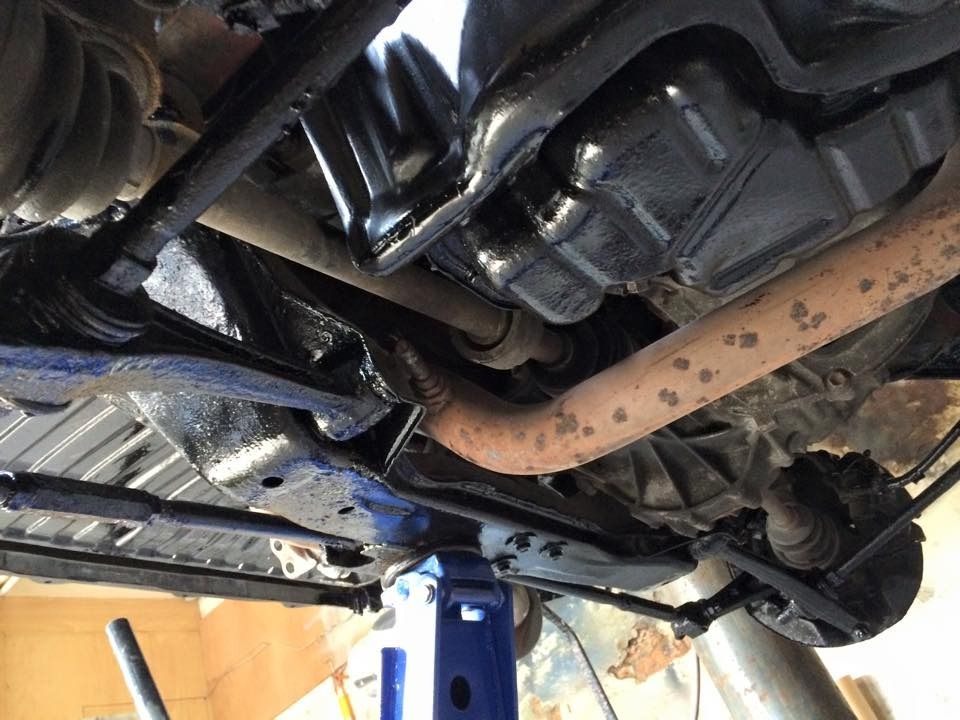
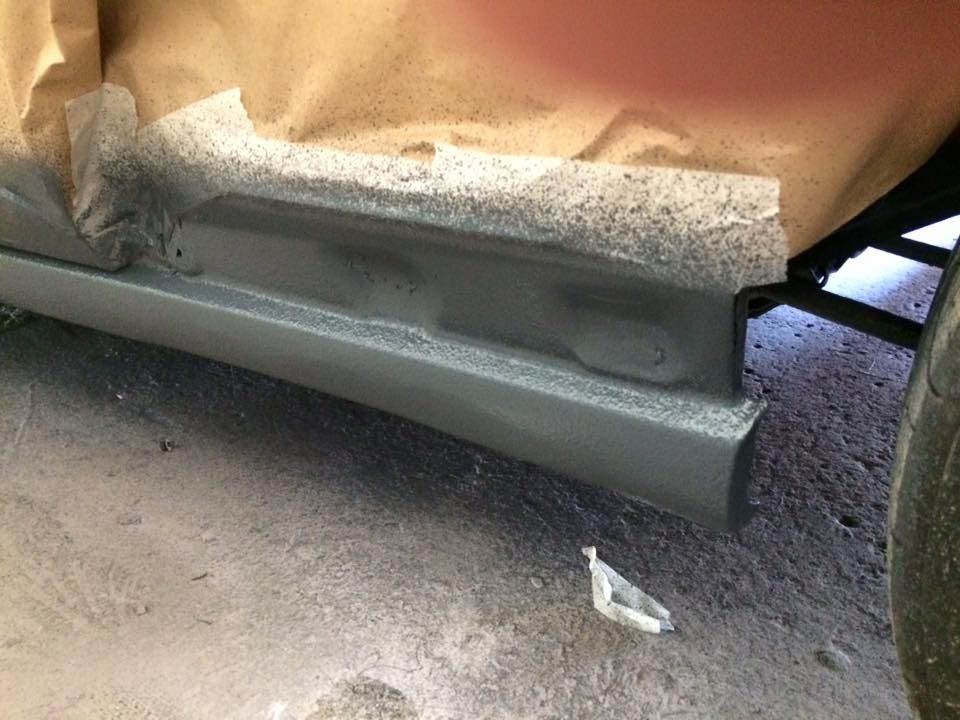
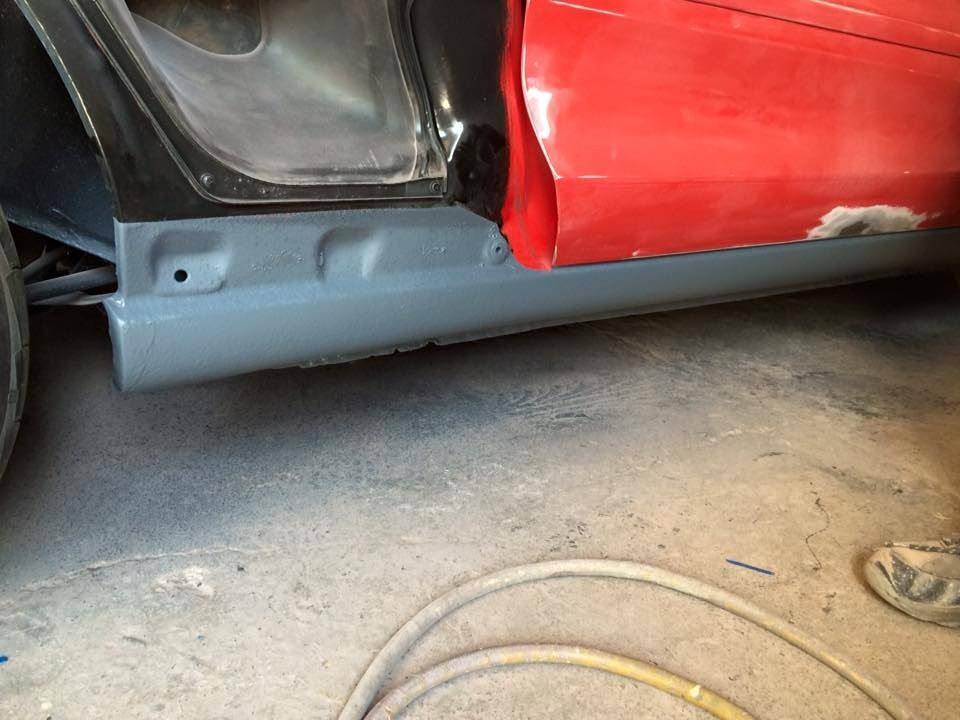
i then progressed in regards to cleaning up and undersealing the full car
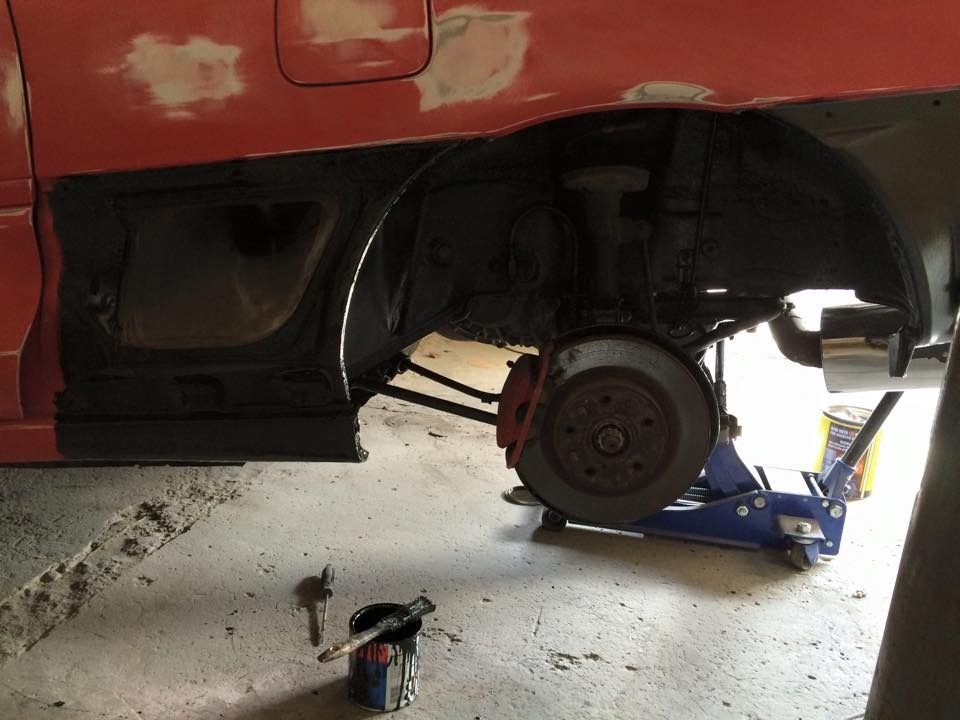
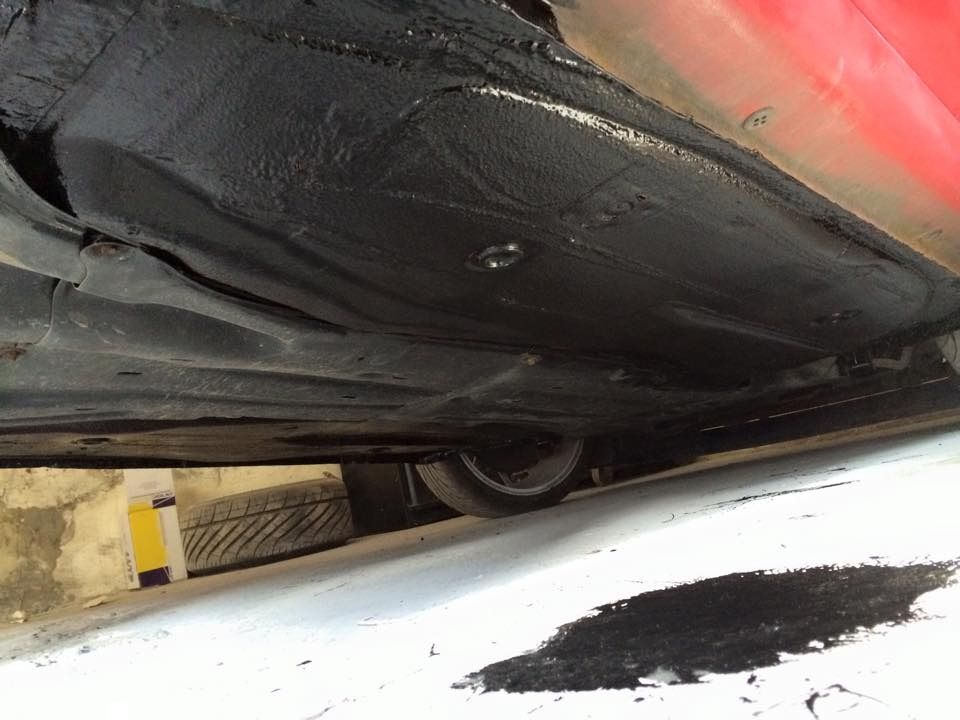
also removed the new outer sills and fixed the rusty inner sills that had been hidden
they will be prepped and stone chipped before paint
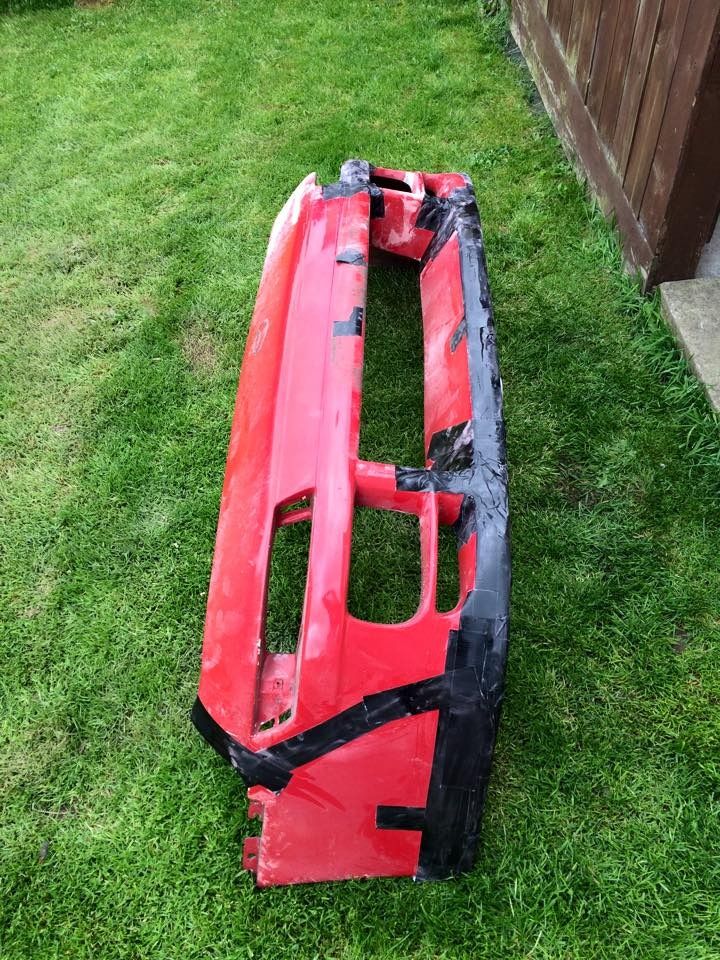
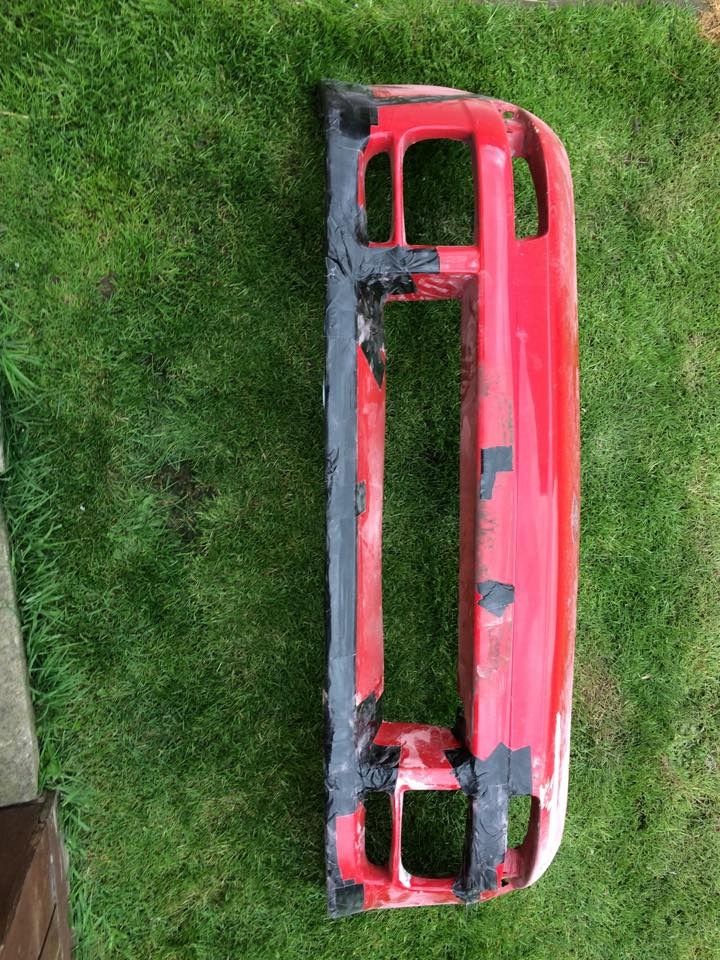
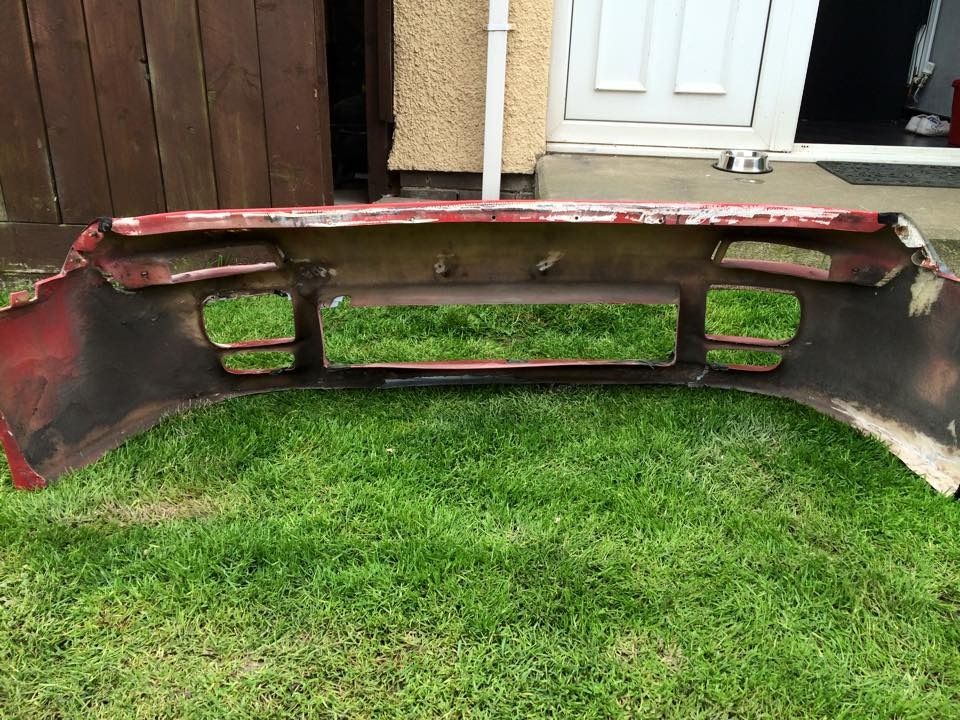
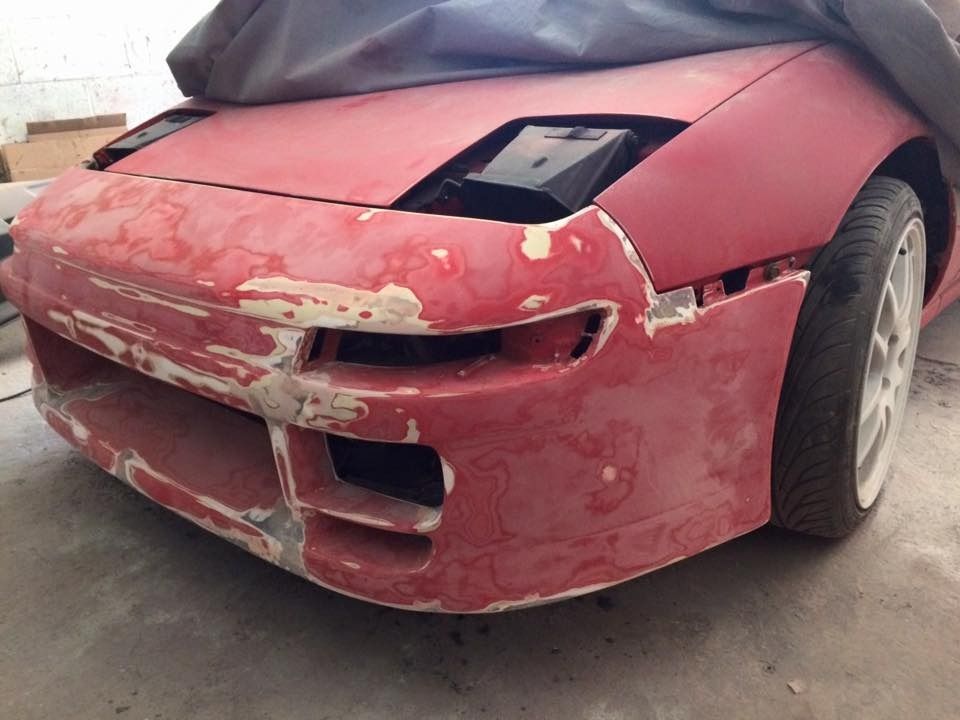
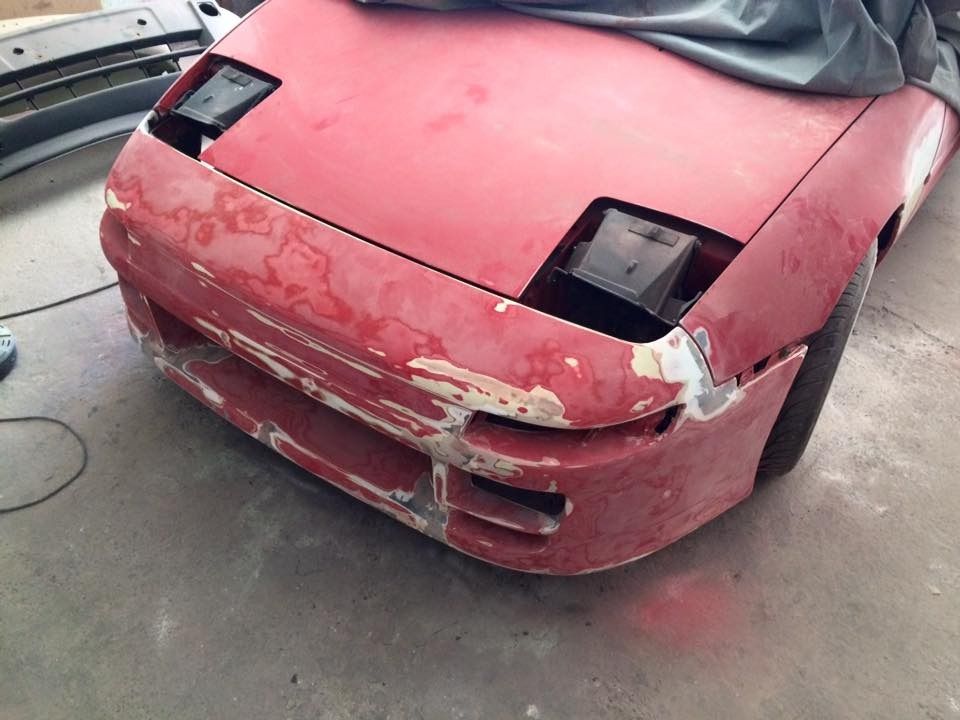
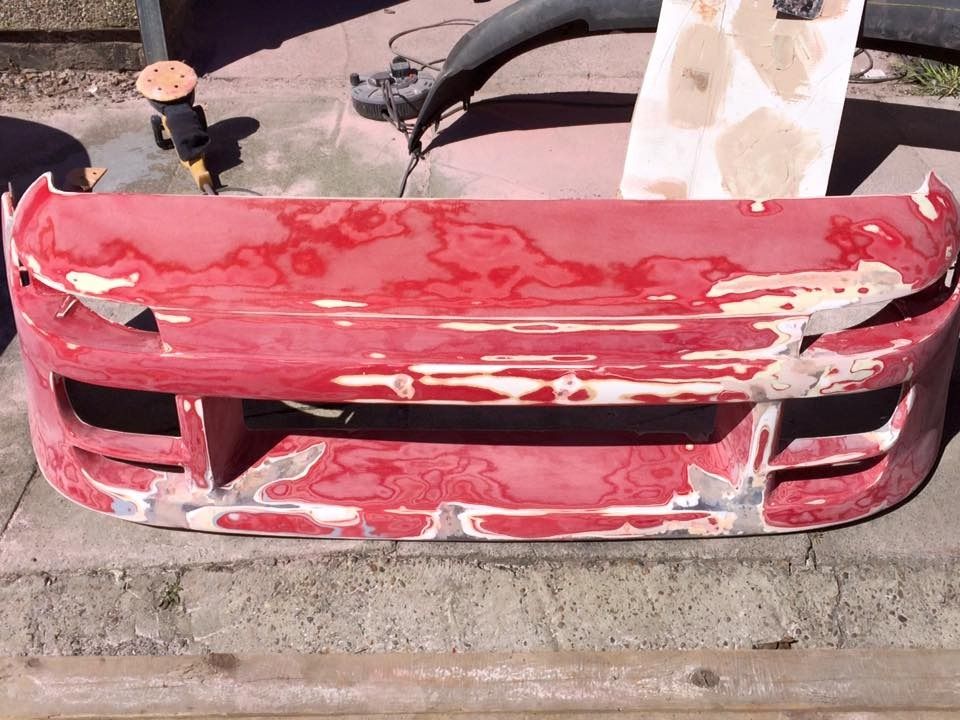
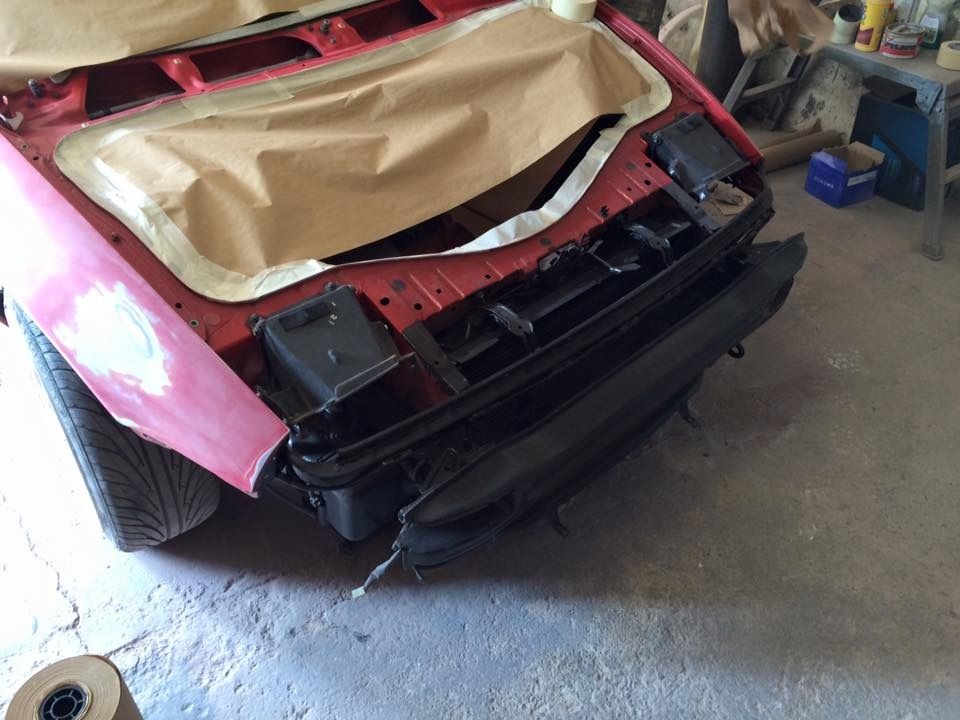
anyhow since around 2009 i have been looking for a kei office front bumper and todfay my 6 year long obsession came to life when i found 1 local on ebay for£40 yes £40 lol so i went straight there today to buy it
pic from ad that got my heart racing lol
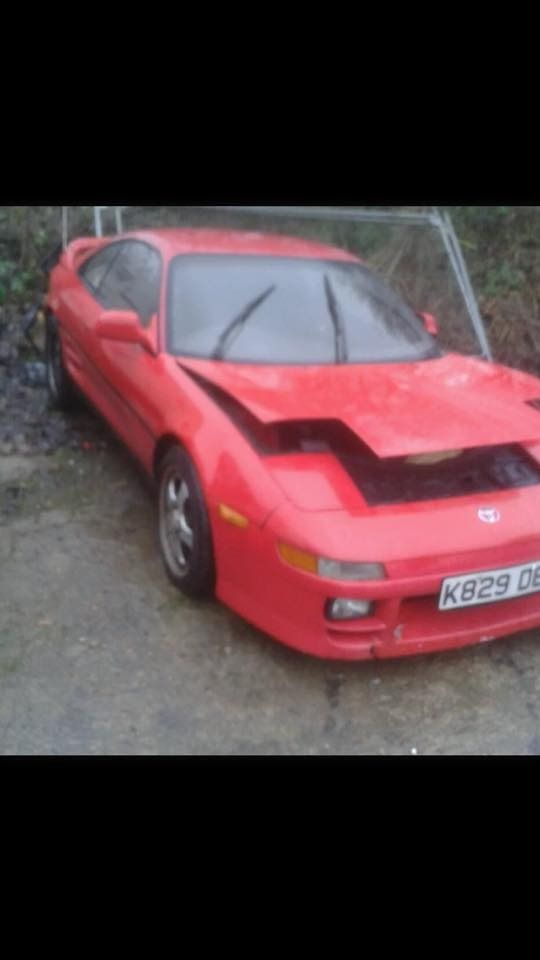
anyway upon getting it home it was slightly worse for ware but ive ground it all back and duck taped it up ready to start layering it up with matting tomorrow
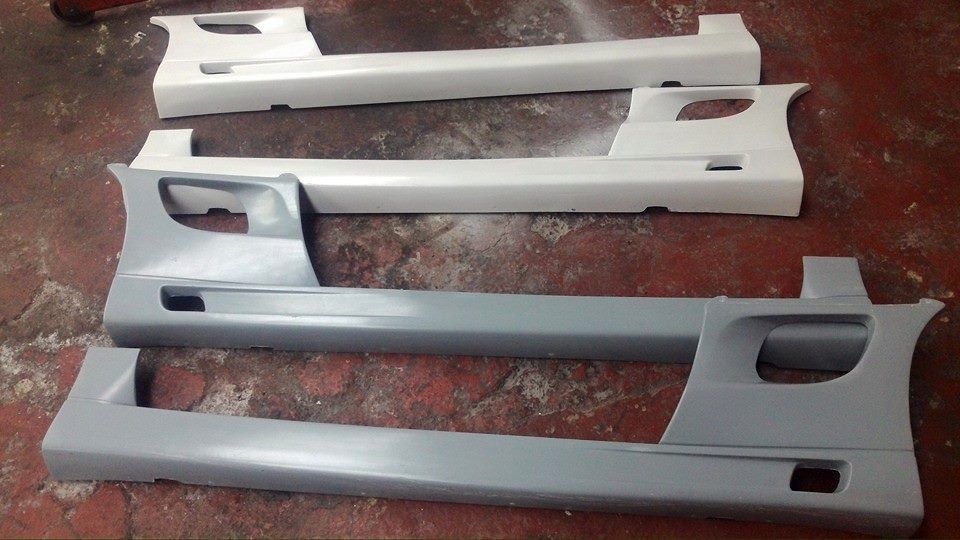
also decided to order some greddy skirts from patrick as they go great with the kei bumper
ive been lucky to also sell the toms skirts and the aeroware all today also lol
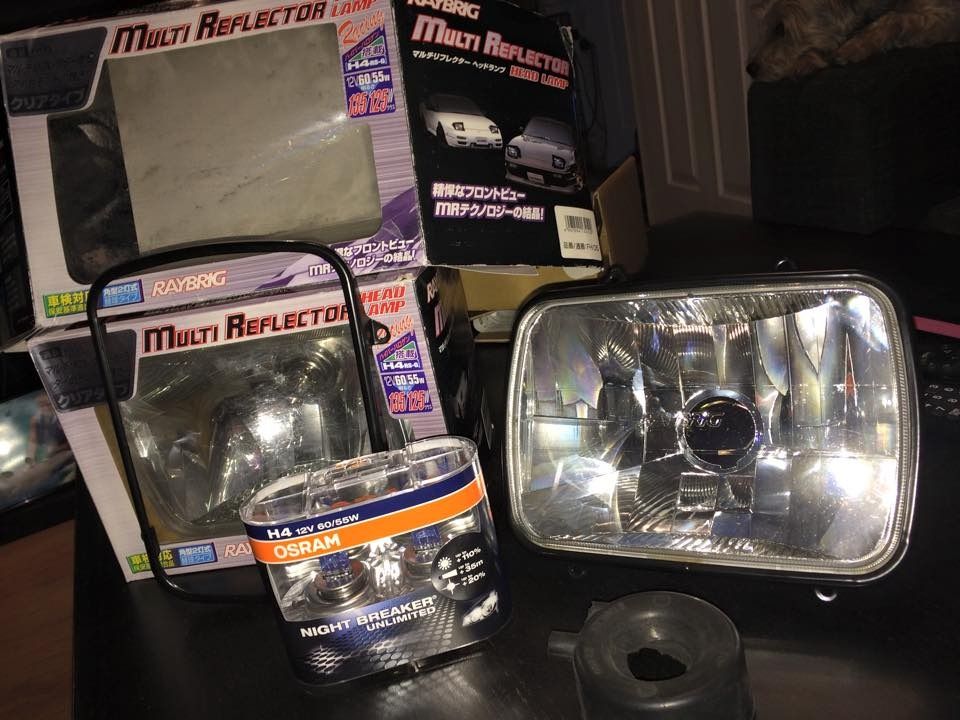
also picked up some other goodies
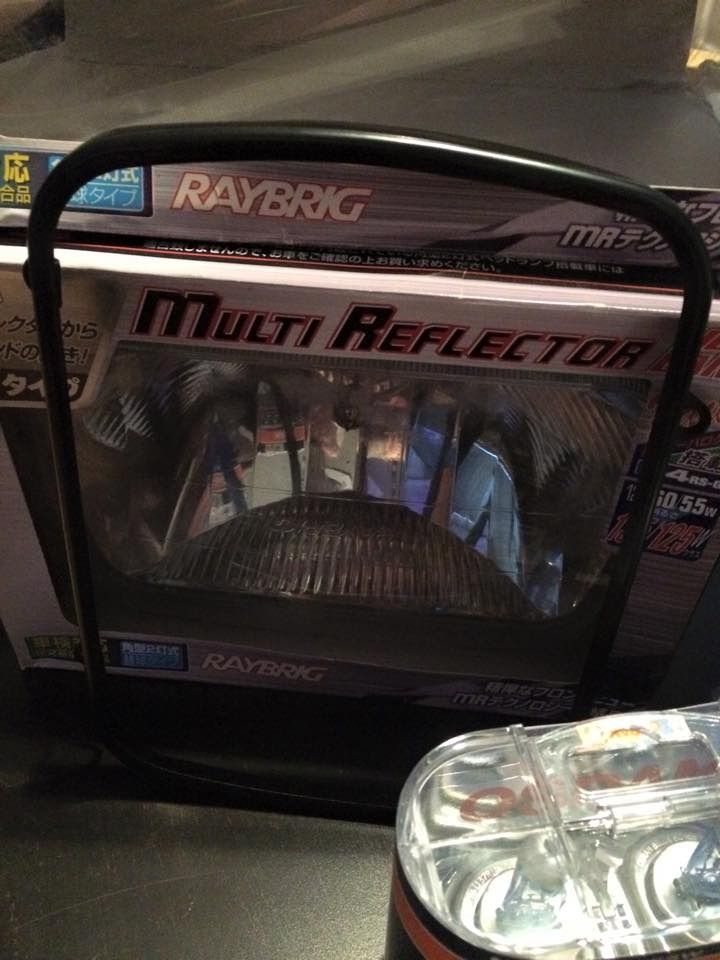
genuine raybrigs
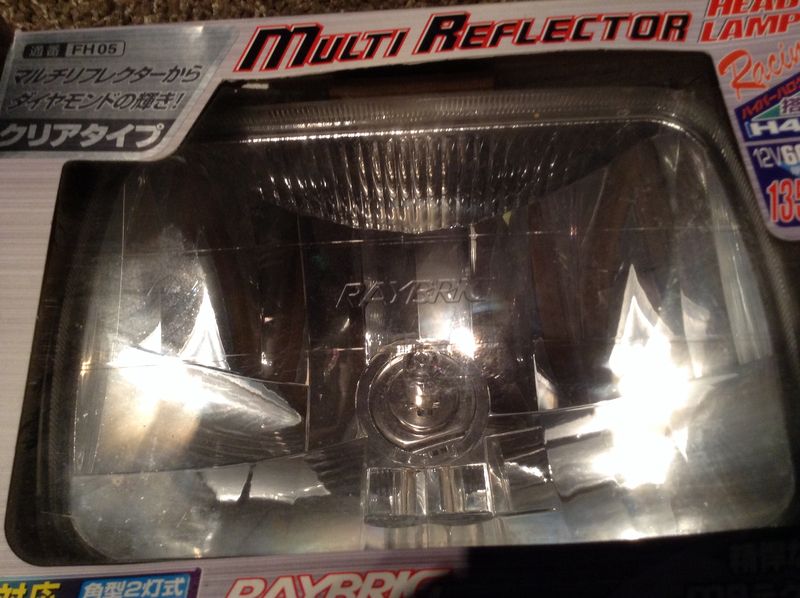
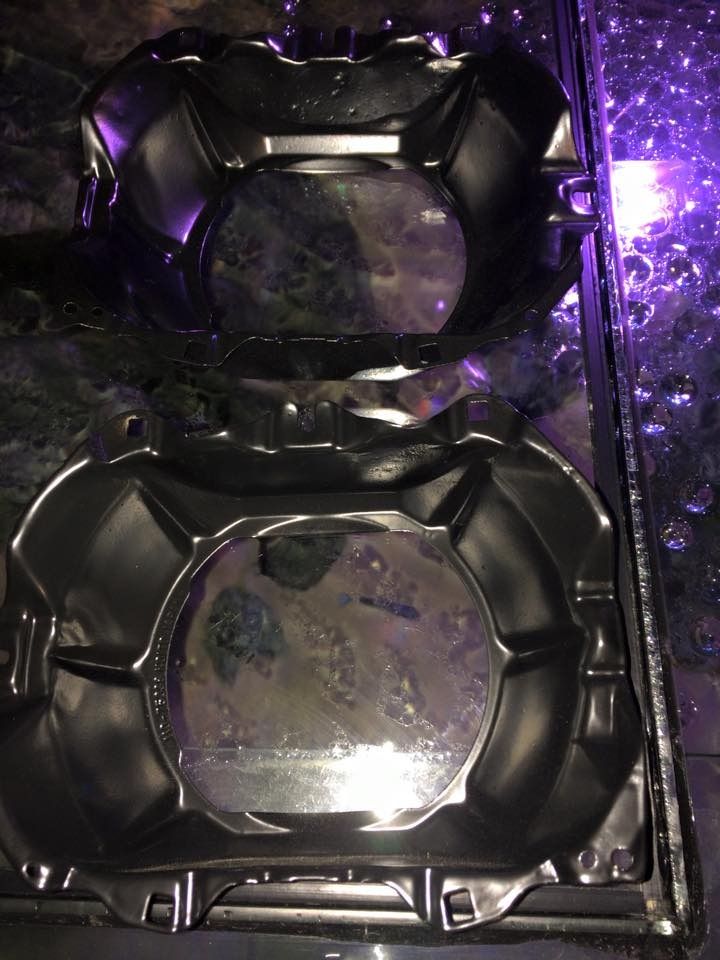
i also picked up a pair of jdm headlight cups which ive had powder coated satin black along with the surrounds for the lights, and got some nightbreaker unlimited bulbs
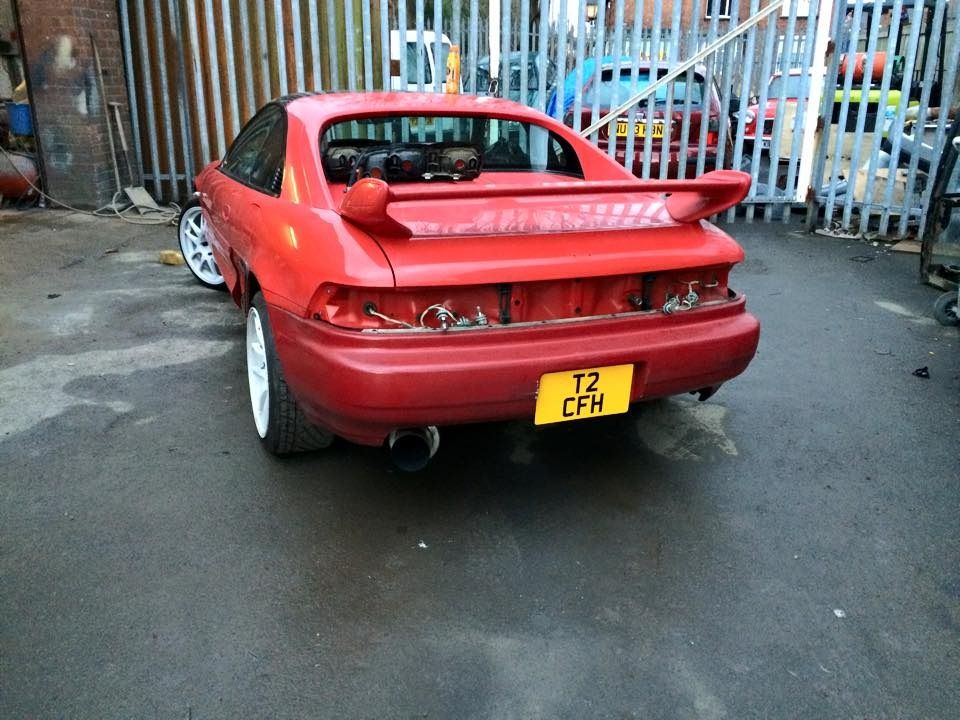
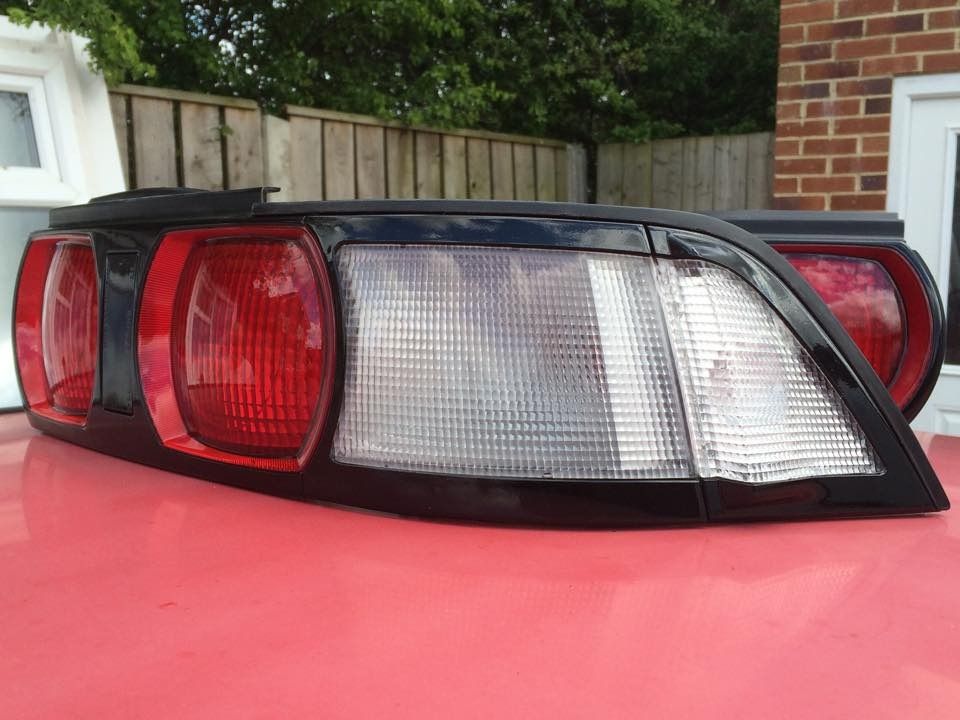
also fitted my clear rear corners and refurbed my rear lights
bought some brand new genuine toyota reverse lights
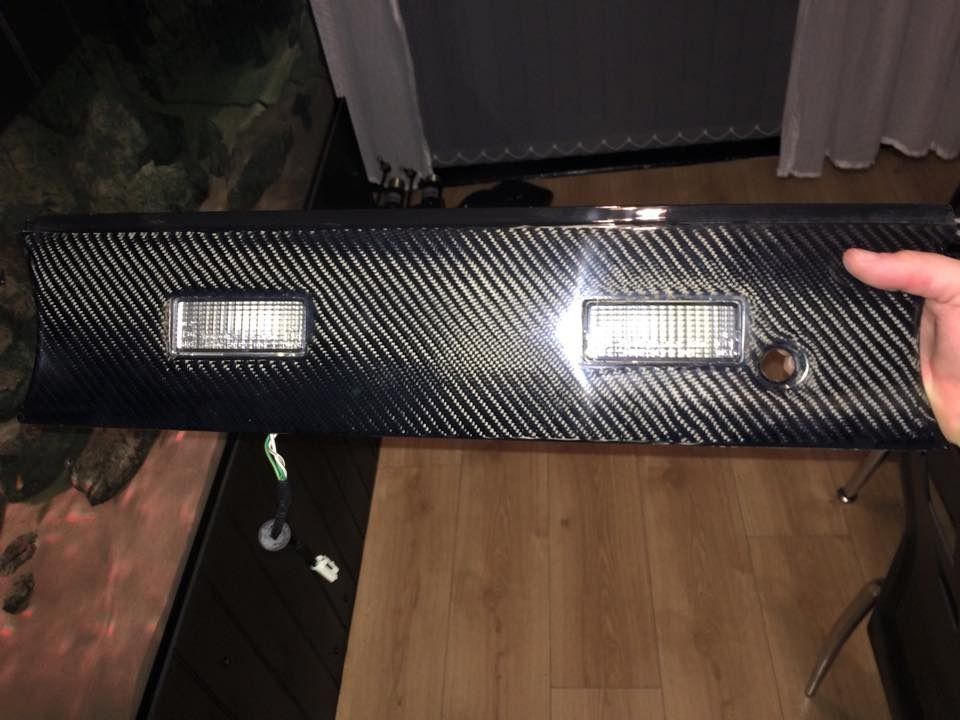
and carbon rear panel
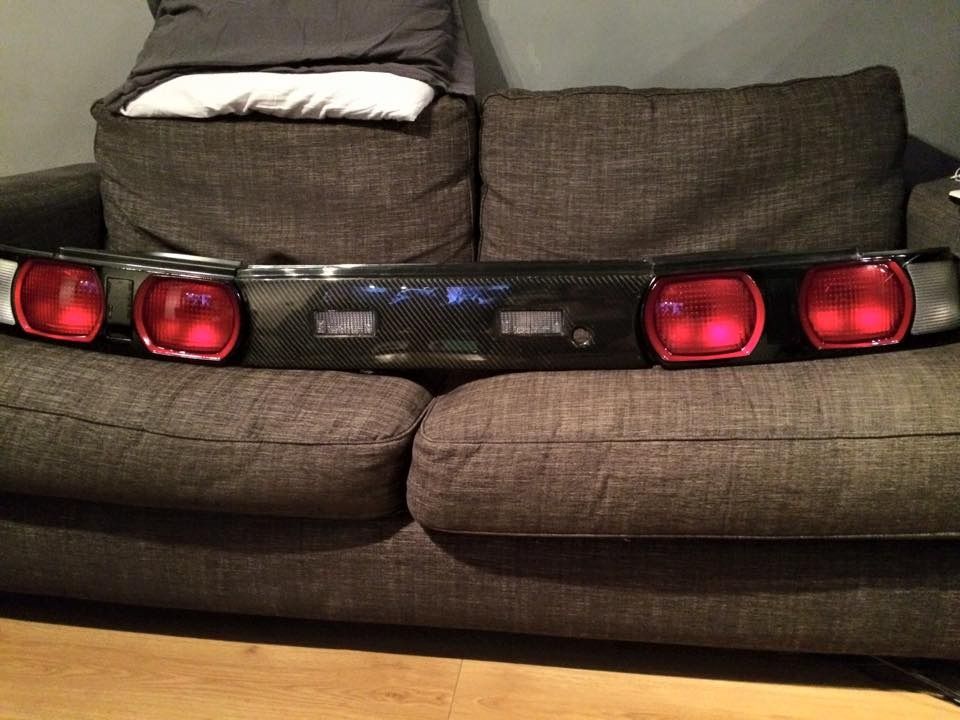
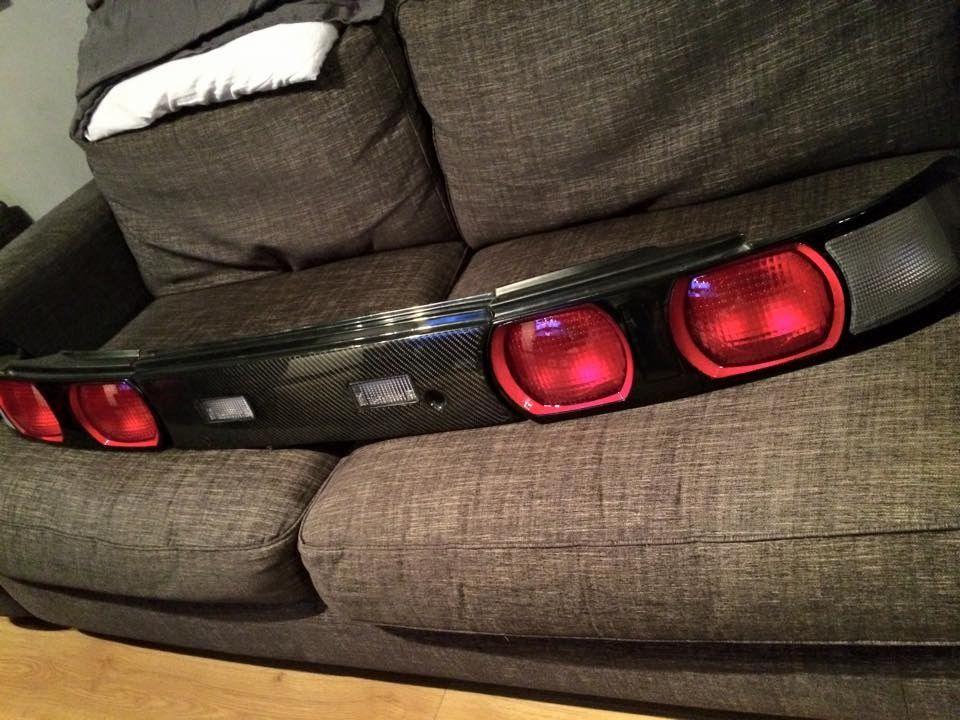
having jdm tail lights now i done the quad light mod but without the fogs so i fitted some gen7 celica fogs to my rear bumper
along with the carbon theme i also bought a
carbon rev5 spoiler and
carbon border bonnet from the carben group buy i got going
and this
also got these from wolfie
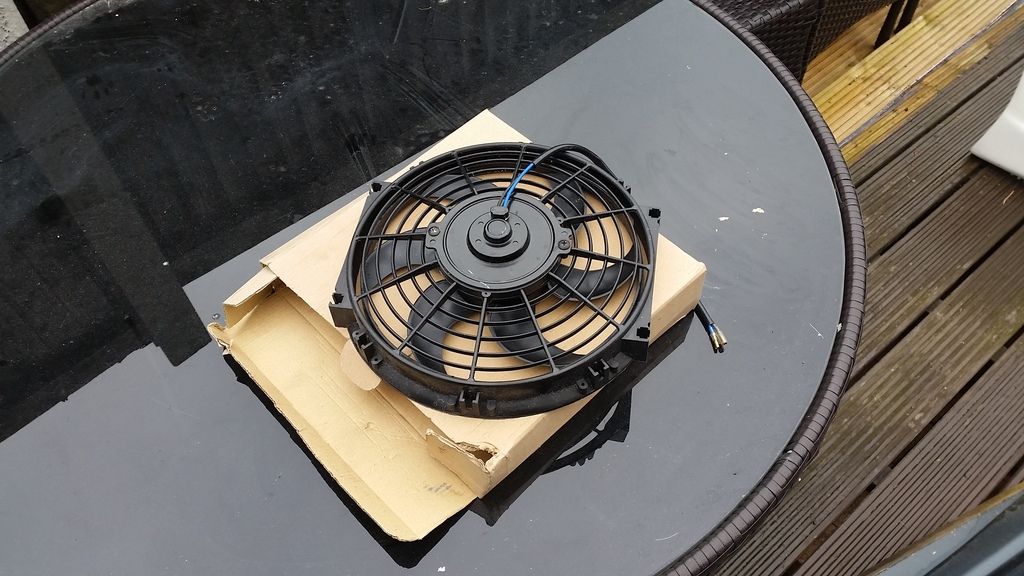
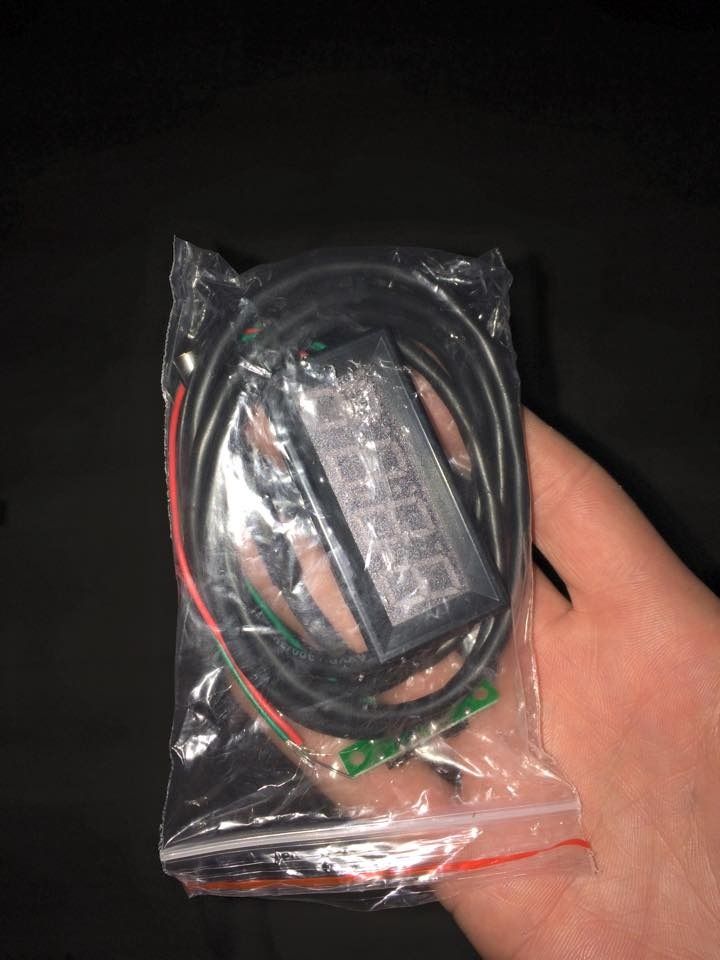
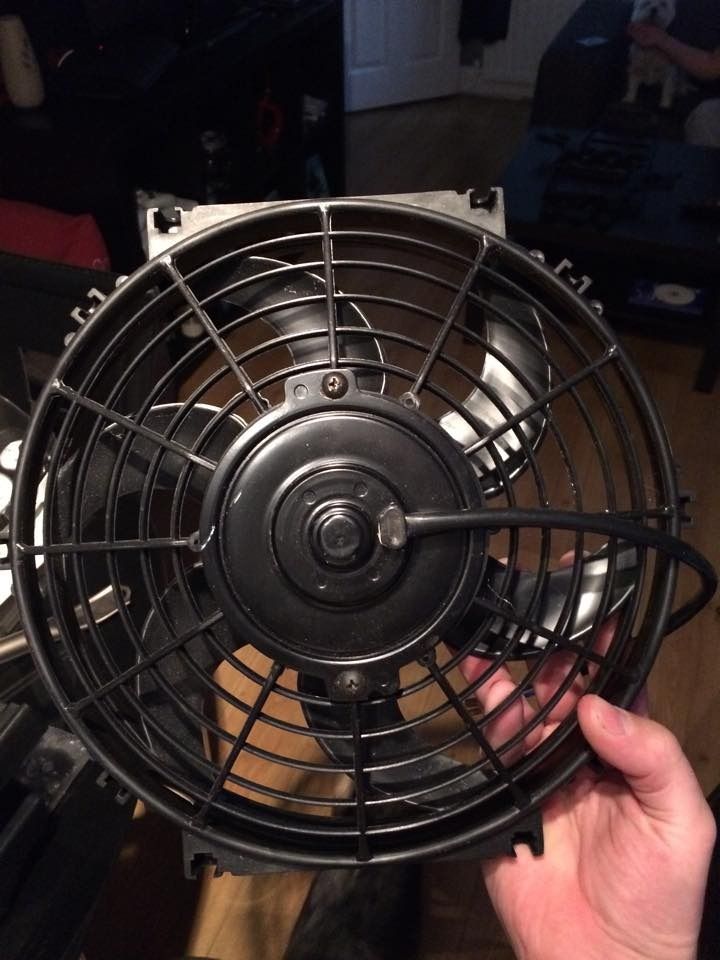
also picked this 10" spal fan up from a guy on here and bought a digital temp gauge and aircraft switch to have it on manual switch
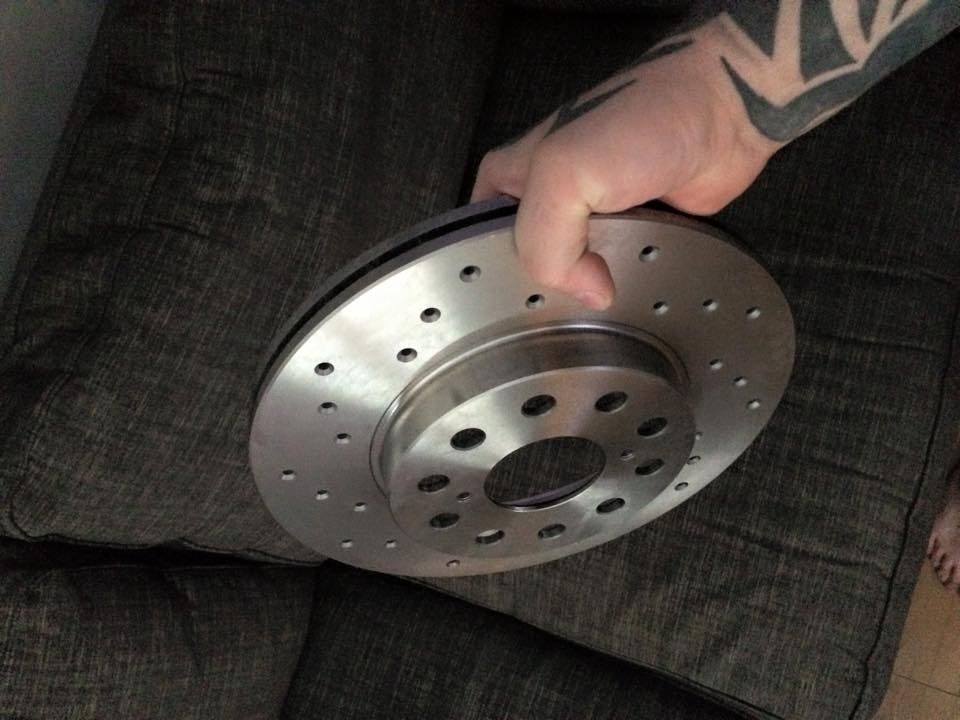
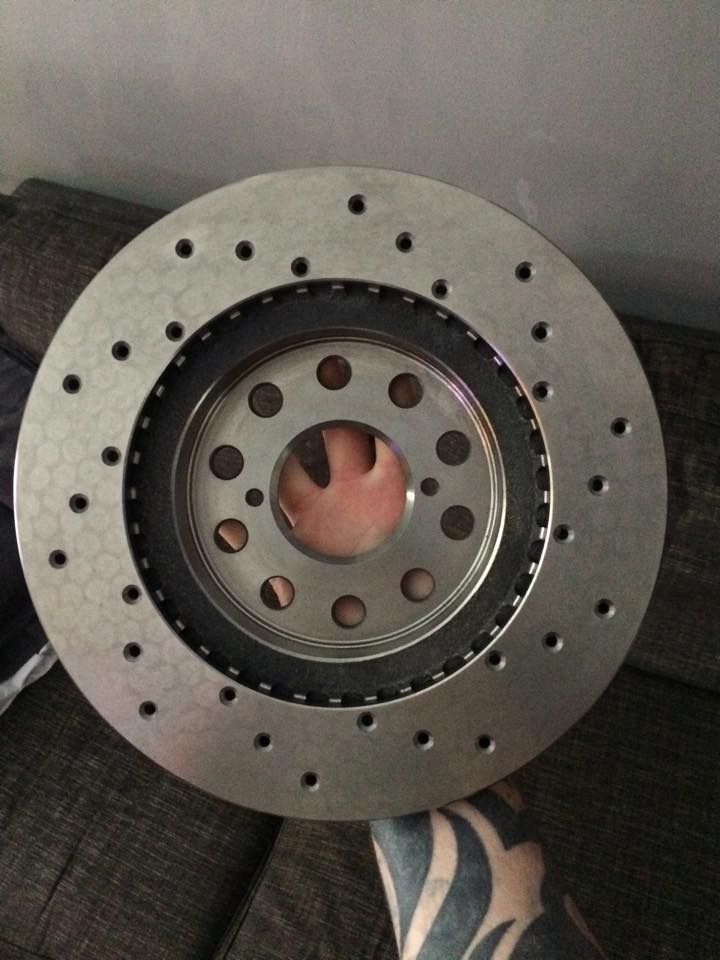
got some new drilled only front and rear discs and mintex pads and braided brake lines all to fit
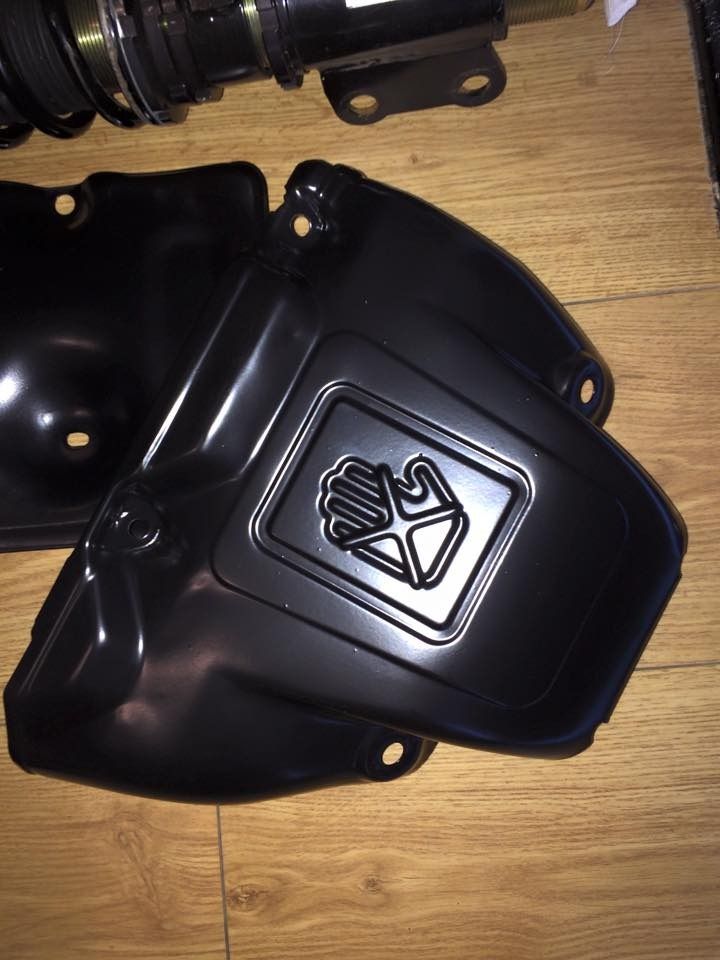
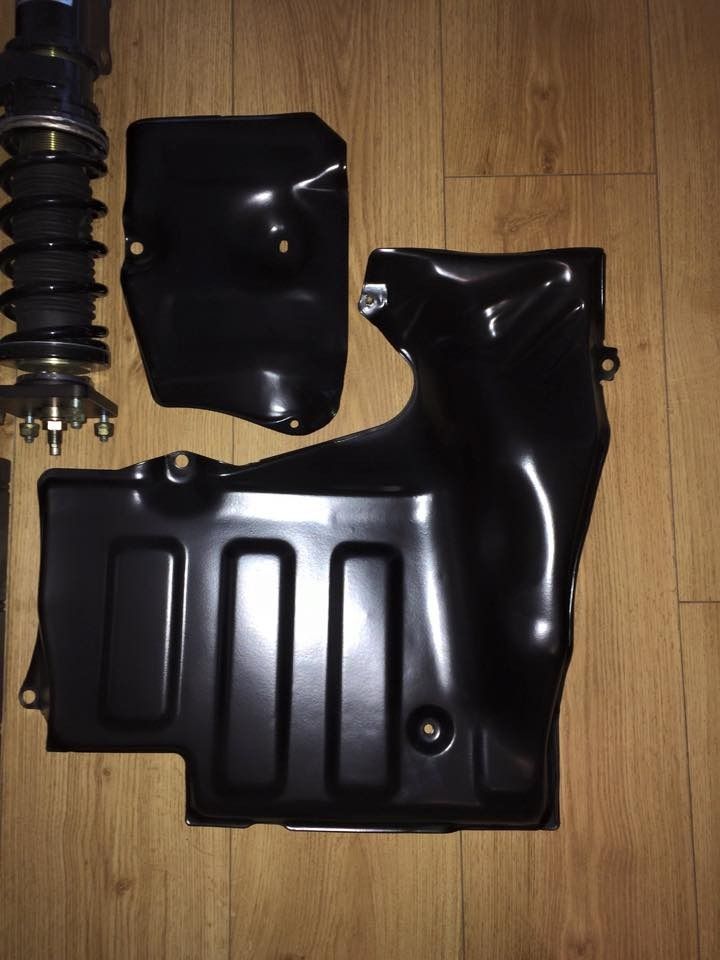
and had all my manifold heat shields powder coated
and these in preparation lol
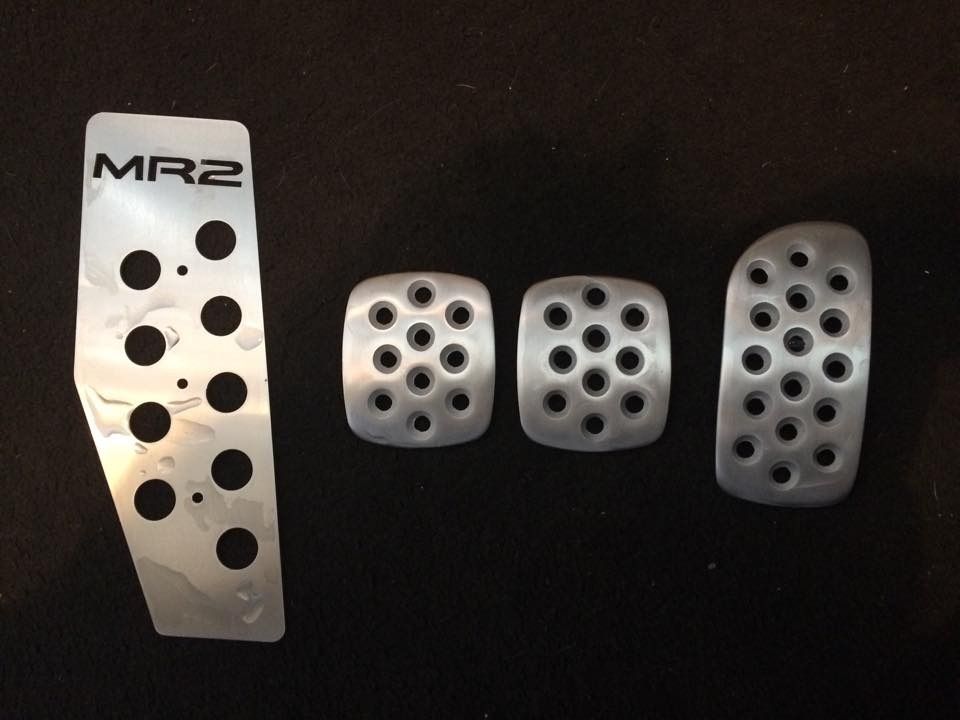
and got these little touches
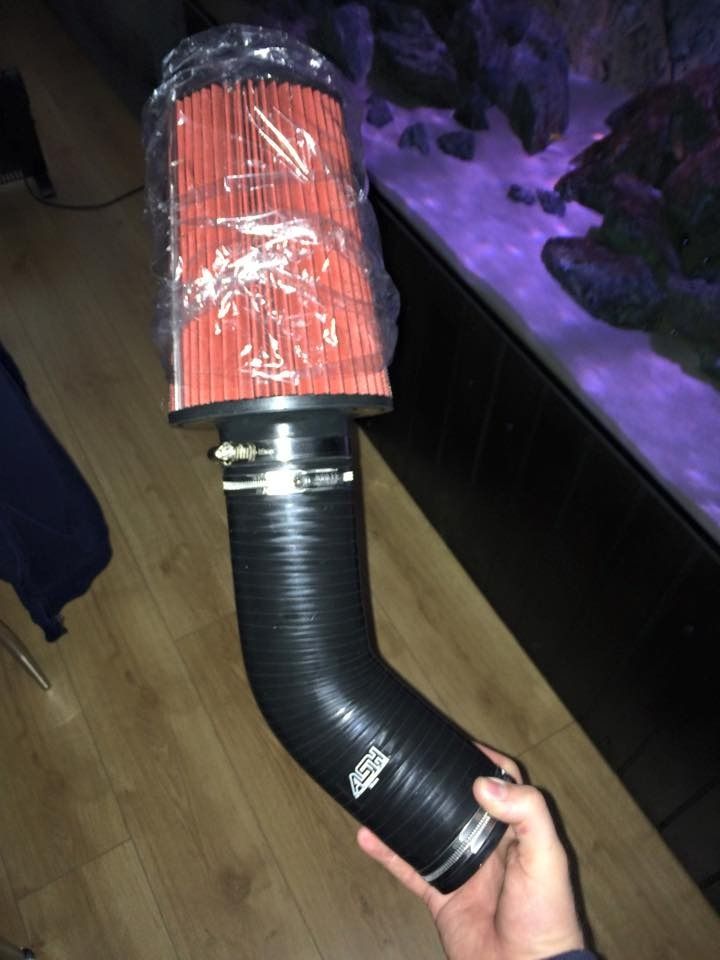
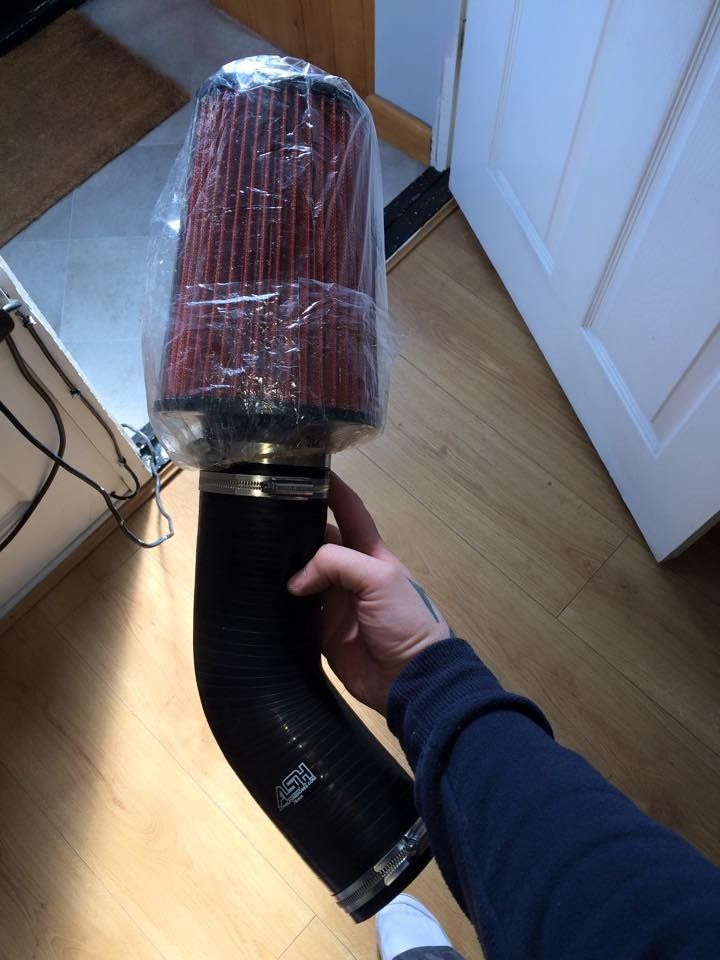
got a huge induction kit lol
have picked up a few other bits n bobs too most of which are not really show worthy but spending a good long week on it this coming week to get it pushed along
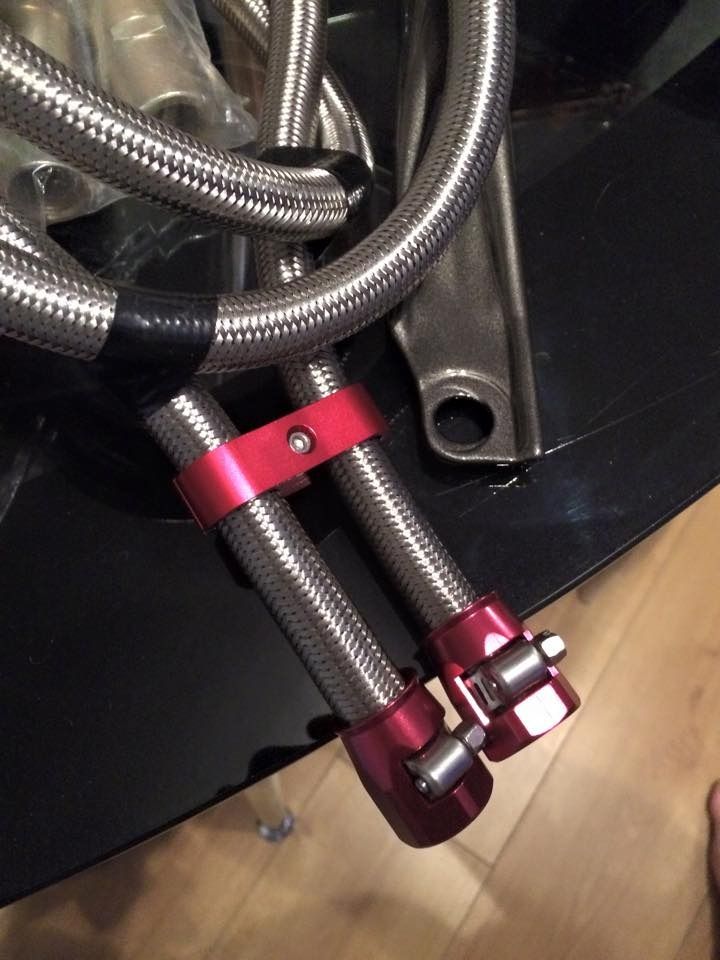
also bought myself a cusco catch can and braided lines with sytec annodised red fixings and spacer clamps
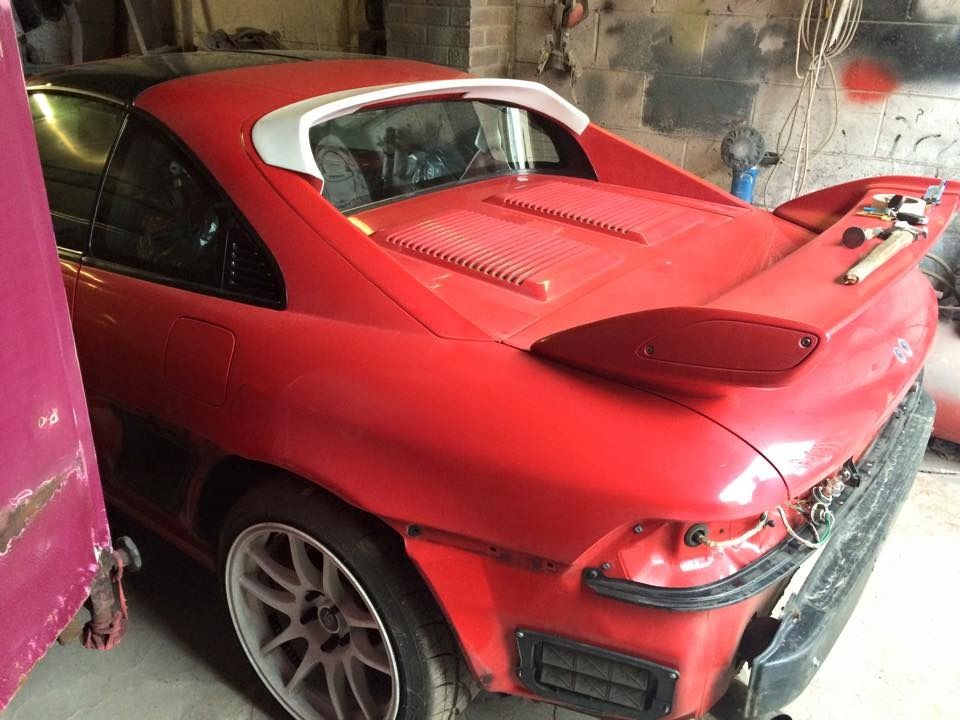
and it currently sits like this
so the final body mods plans are
kei office front bumper
blade splitter for front bumper
greddy gracer skirts
pp rear spats
carbon rev5 spoiler
carbon rear light pane
madpsi roof spoiler
carbon border bonnet
ganador mirrors
and im very pleased
all i need now is an air walker rear bumper and ill have my ultimate mr2
progress wise the car has not moved forward at all lol due to the wife being involved in a crash in her new mk3
anyhow i thought i had made a decision kit wise and had al what i wanted which was
aeroware front splitter
toms skirts and winglets
pp rear spats
then i found a bomex 3 piece rear and some abflug arches for the rear and decided i wanted to do that


almost instantly i decided i didnt like this look or the idea of wheel spacers so sold them on and bought another pair of pp rear spats lol
i then progressed in regards to cleaning up and undersealing the full car


also removed the new outer sills and fixed the rusty inner sills that had been hidden
they will be prepped and stone chipped before paint
anyhow since around 2009 i have been looking for a kei office front bumper and todfay my 6 year long obsession came to life when i found 1 local on ebay for
pic from ad that got my heart racing lol

anyway upon getting it home it was slightly worse for ware but ive ground it all back and duck taped it up ready to start layering it up with matting tomorrow


also decided to order some greddy skirts from patrick

ive been lucky to also sell the toms skirts and the aeroware all today also lol
also picked up some other goodies
genuine raybrigs

i also picked up a pair of jdm headlight cups which ive had powder coated satin black along with the surrounds for the lights, and got some nightbreaker unlimited bulbs


also fitted my clear rear corners and refurbed my rear lights
bought some brand new genuine toyota reverse lights
and carbon rear panel


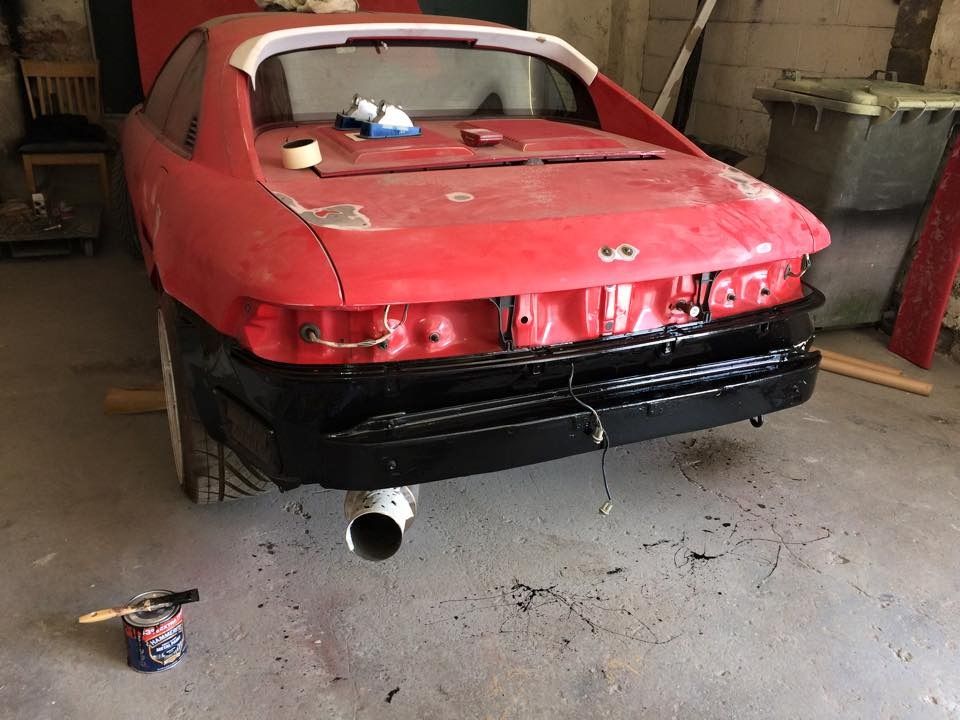
having jdm tail lights now i done the quad light mod but without the fogs so i fitted some gen7 celica fogs to my rear bumper

along with the carbon theme i also bought a
carbon rev5 spoiler and
carbon border bonnet from the carben group buy i got going
and this

also got these from wolfie


also picked this 10" spal fan up from a guy on here and bought a digital temp gauge and aircraft switch to have it on manual switch


got some new drilled only front and rear discs and mintex pads and braided brake lines all to fit


and had all my manifold heat shields powder coated


and these in preparation lol

and got these little touches

got a huge induction kit lol


have picked up a few other bits n bobs too most of which are not really show worthy but spending a good long week on it this coming week to get it pushed along
also bought myself a cusco catch can and braided lines with sytec annodised red fixings and spacer clamps

and it currently sits like this

so the final body mods plans are
kei office front bumper
blade splitter for front bumper
greddy gracer skirts
pp rear spats
carbon rev5 spoiler
carbon rear light pane
madpsi roof spoiler
carbon border bonnet
ganador mirrors
and im very pleased
all i need now is an air walker rear bumper and ill have my ultimate mr2
Re: very much needed update lots has changed
alan_uk wrote:
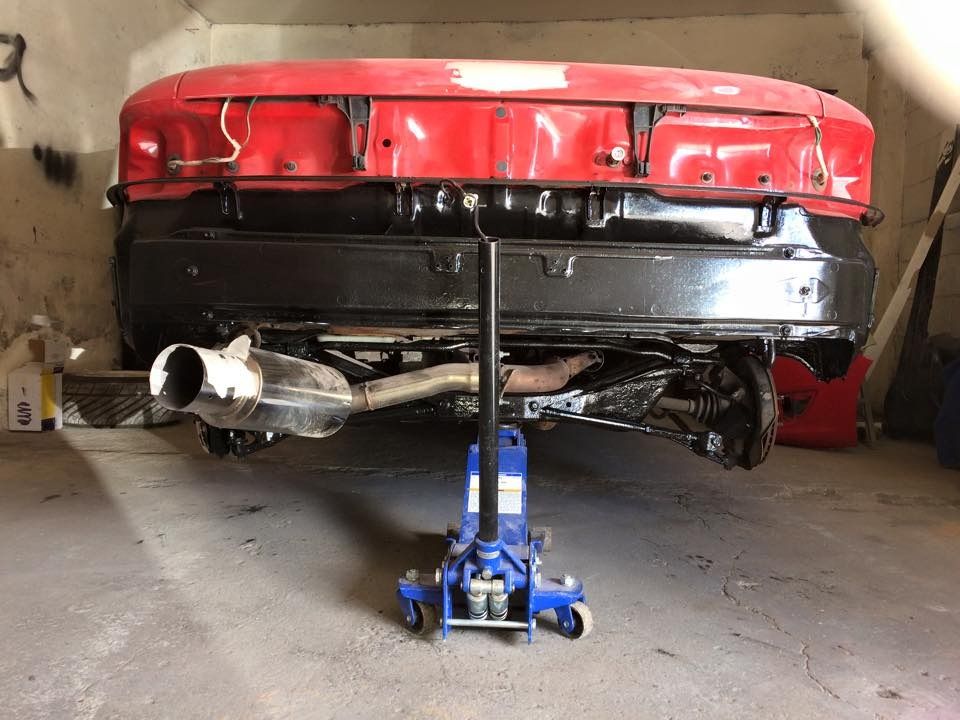
Did you use axle stands when you did all that work under there?
Impressed with your progress
Re: Project REV5 Turbo ............ Lots of big changes
haha no i braved it they were in use lol
Re: Project REV5 Turbo ............ Lots of big changes
Lol well im still here i wont be repeating it thats for sure
Re: Project REV5 Turbo ............ Lots of big changes
The breaker you got the front bumper off is local to me. I wondered what the bumper was when I saw it but it was canny used so I left it.
looks good progress. Wish I had some of your time/enthusiasm I just start getting stuff done on mine then quickly run out of steam.
looks good progress.
Re: Project REV5 Turbo ............ Lots of big changes
Lol you should of taken it mate worth a lot of money i got it for £40 lol
Re: Project REV5 Turbo ............ Lots of big changes
Coming along nicely Alan! Nice score on the Keith office bumper. Easily worth £200+.
Really looking forward to seeing the finished. 
Really looking forward to seeing the finished.
Re: Project REV5 Turbo ............ Lots of big changes
RedMR² wrote:Coming along nicely Alan! Nice score on the Keith office bumper.
Really looking forward to seeing the finished.
Cheers craig im hoping to have it done before summer dissapears lol but i want it right so its not always that straight forward
But right now everything is going good so undoubtedly i will get a kick in the teeth soon lol
Re: Project REV5 Turbo ............ Lots of big changes
RedMR² wrote:Coming along nicely Alan! Nice score on the
Really looking forward to seeing the finished.
Keith office bumper.
Re: Project REV5 Turbo ............ Lots of big changes
well update time
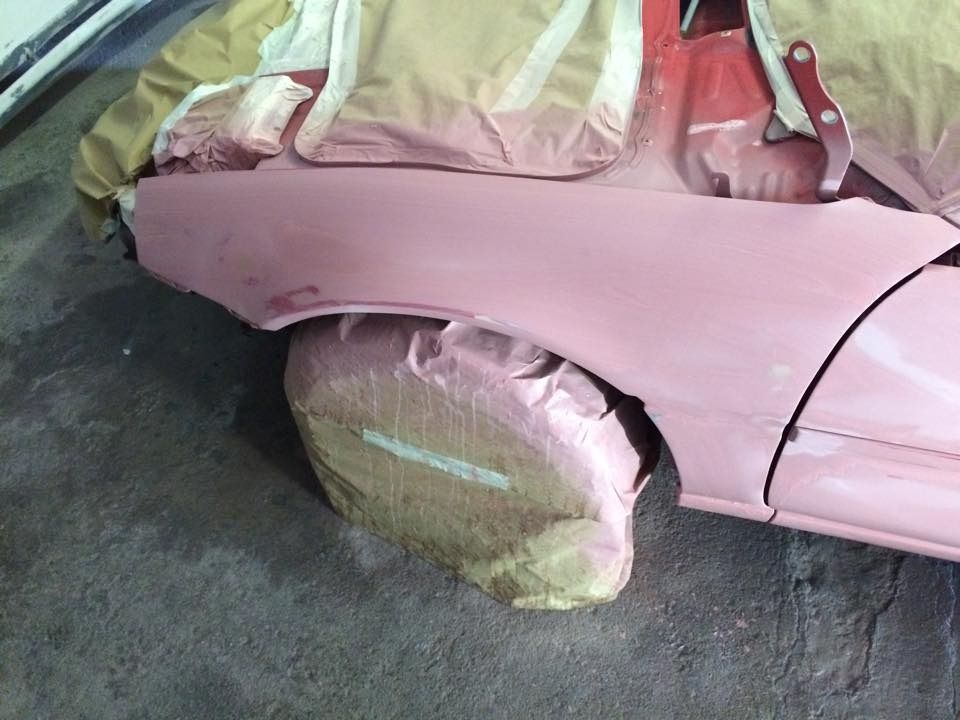
things are finally moving forward with her and im pleased to say the shel is in paint
got it all prepped tuesday so decided to crack on this week just in time as i go away on hols next week
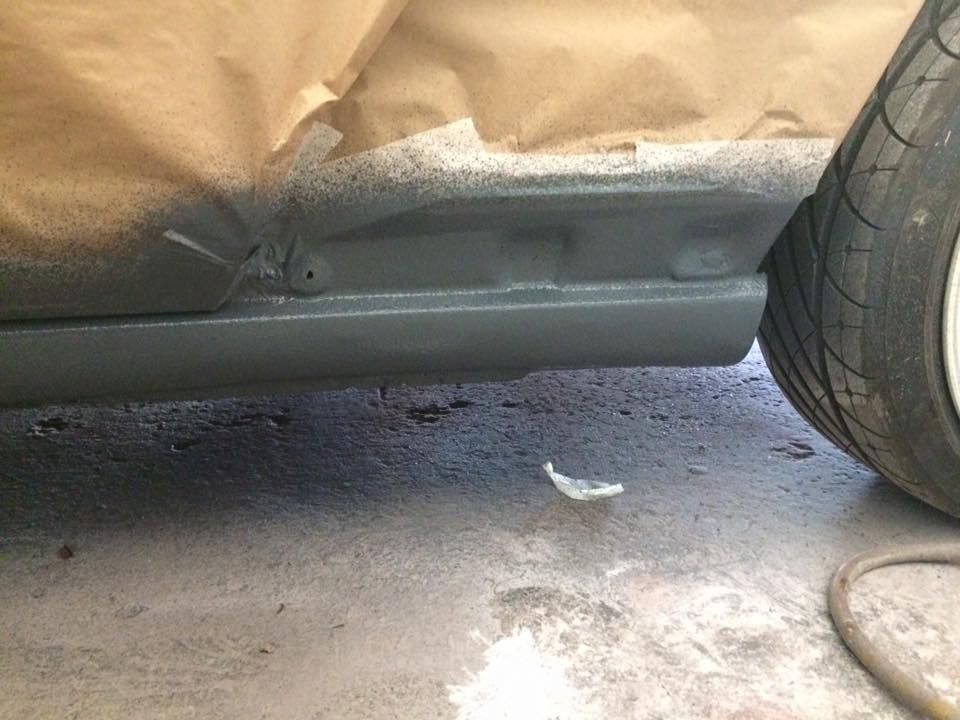
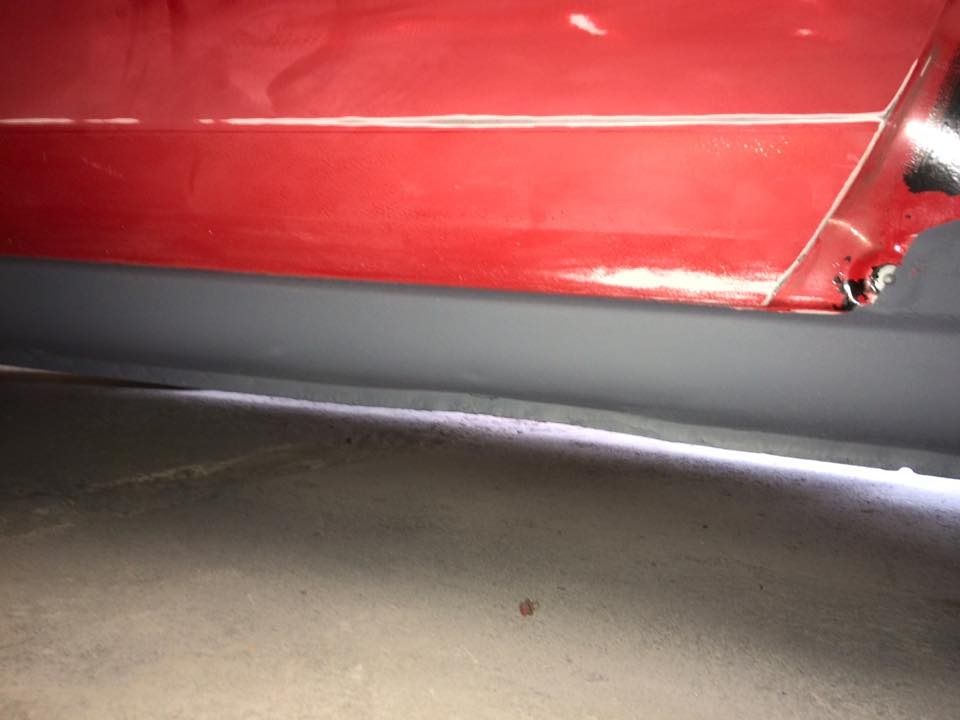
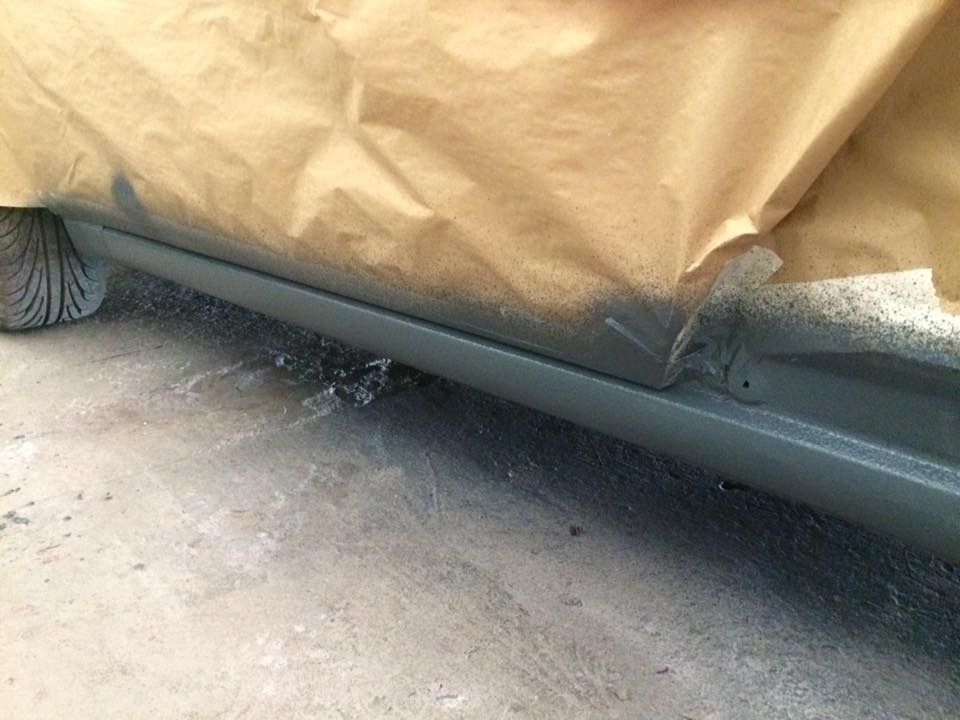
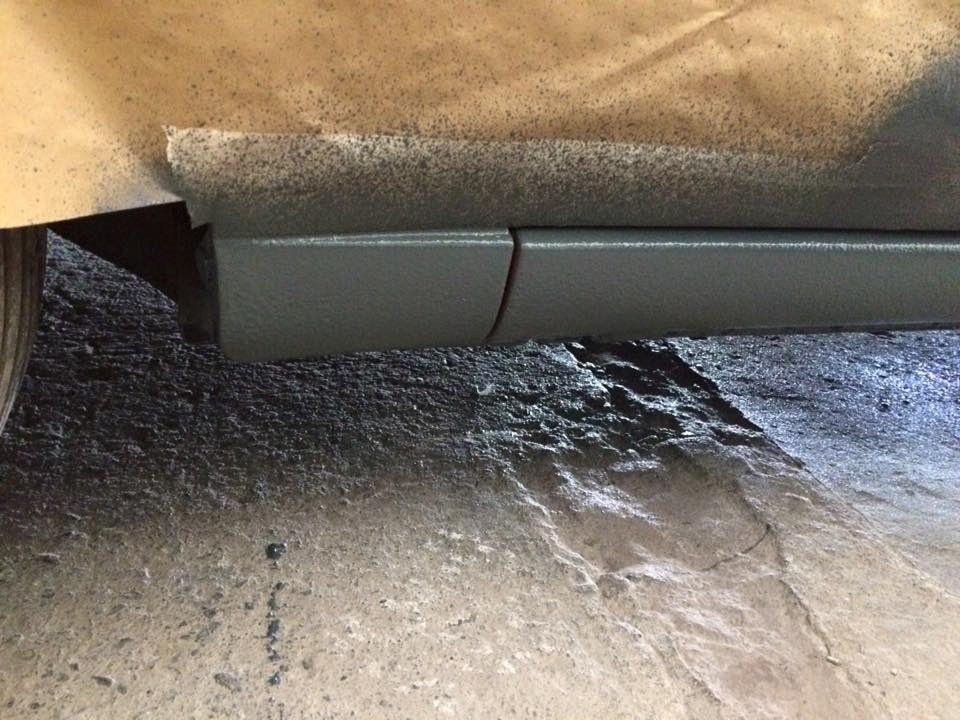
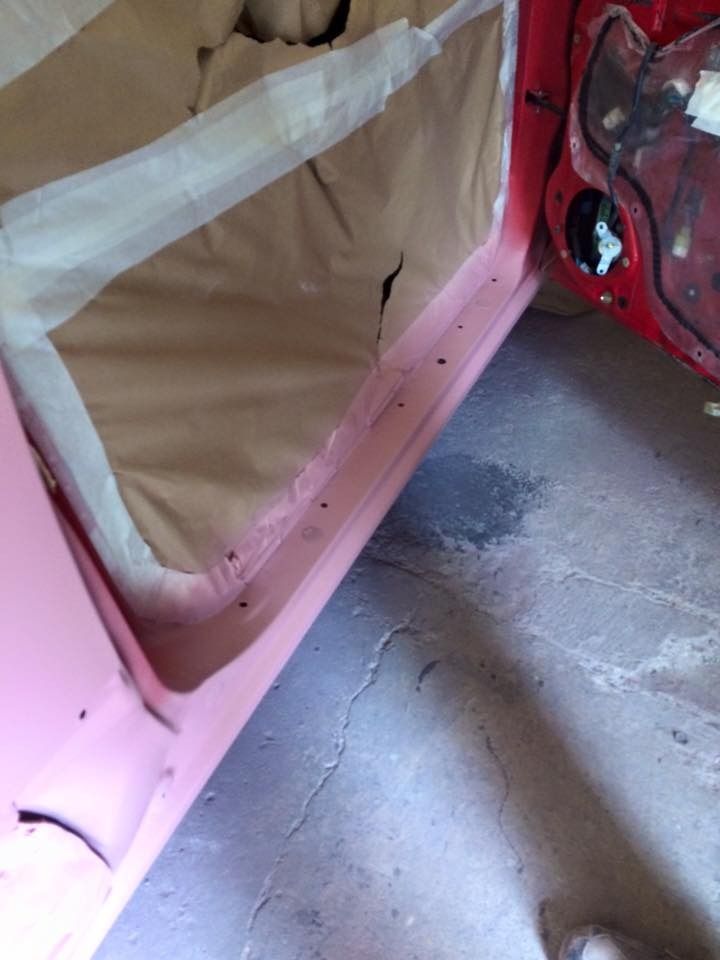
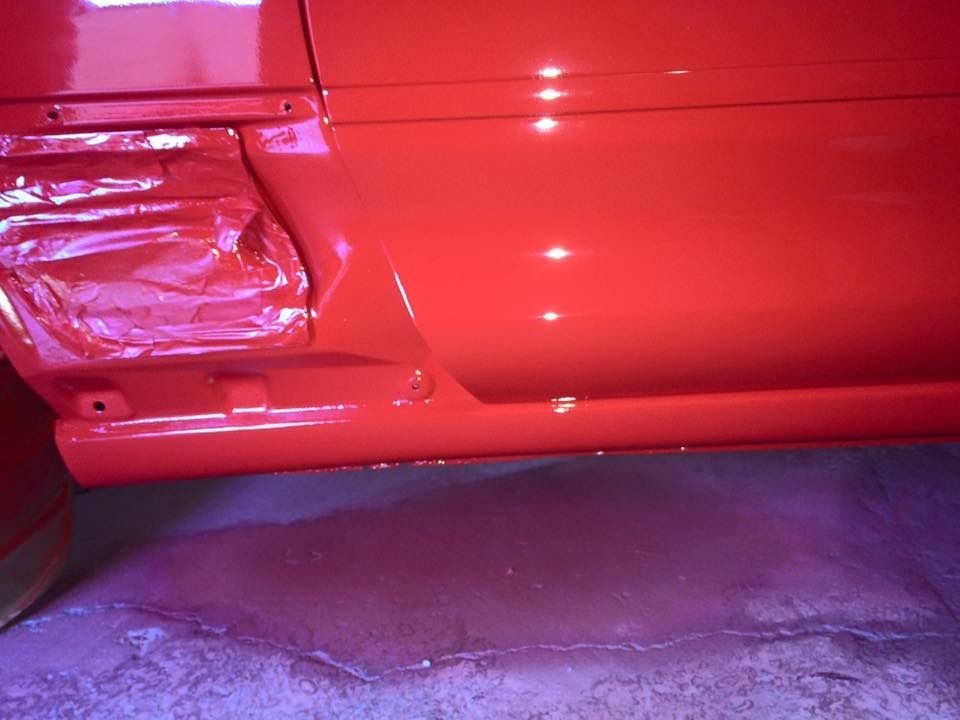
once the sills were all repaired and prepped i straightened up the channel underneath and then masked and stone guarded the full sill both sides
ive also got the kei office front almost perfect now too which is a relief
i also tried the carbon end caps in the rev5 spoiler legs to find there perfect fit also
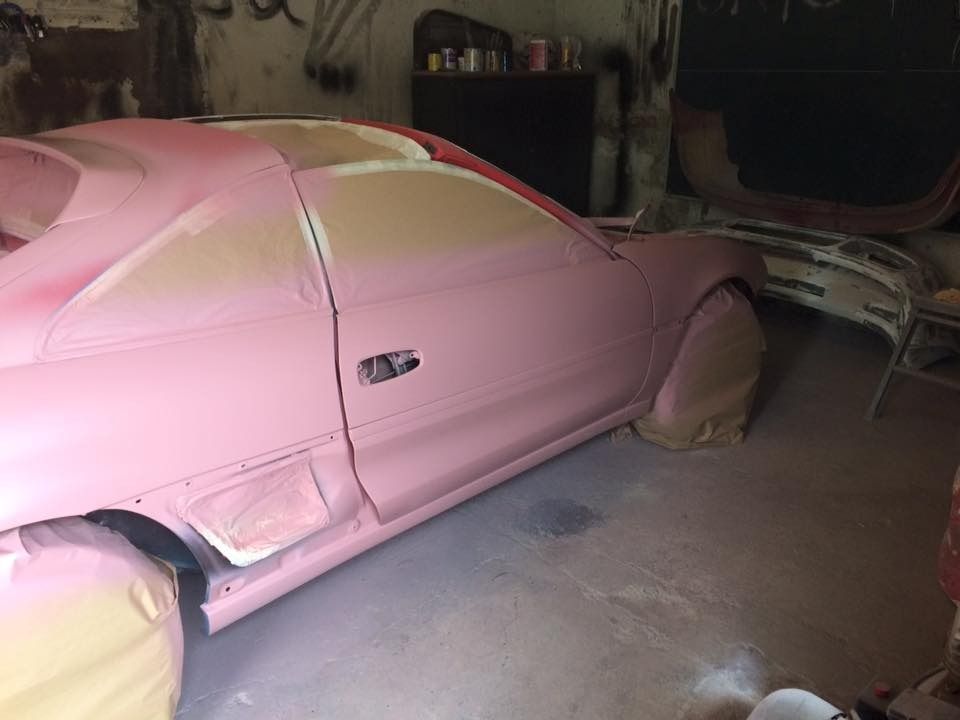
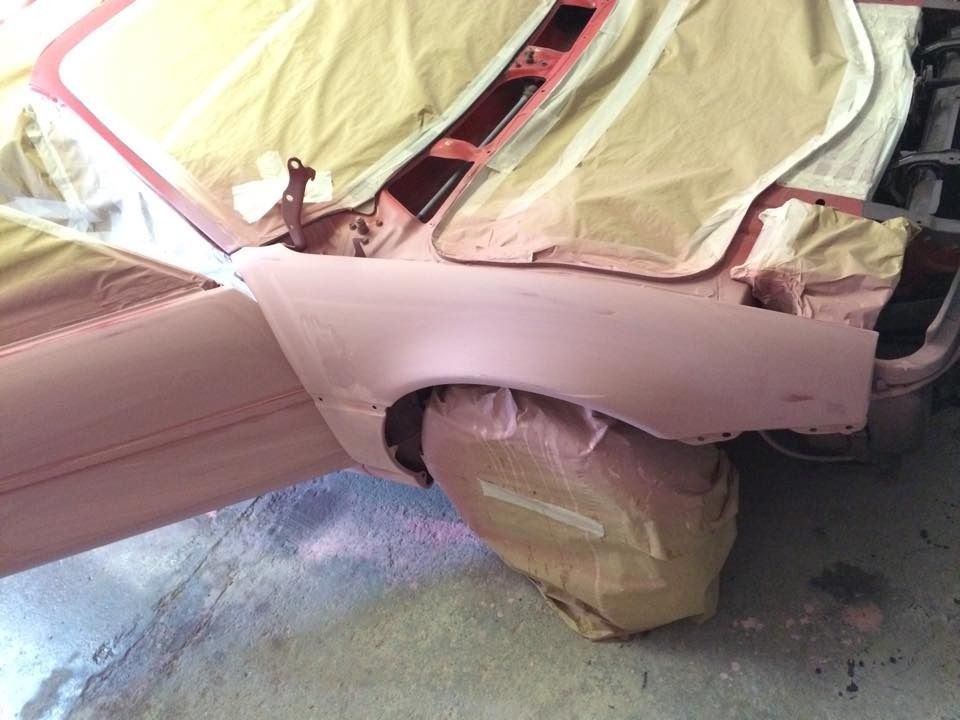
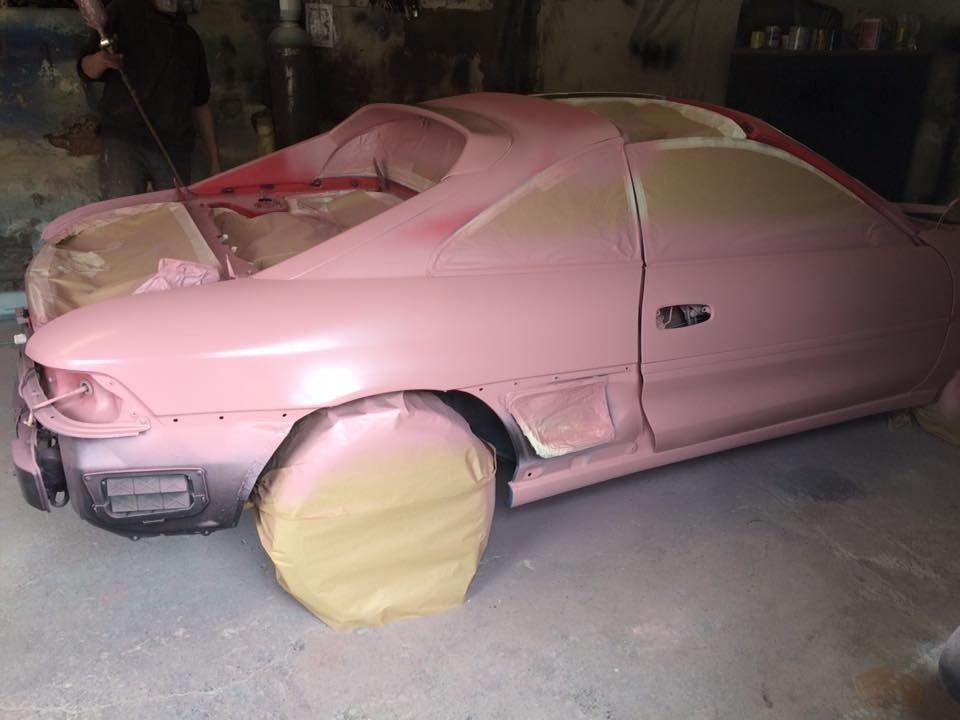
i then made a slightly tinted primer to lay down first for a nice even color which came out barbie pink lol

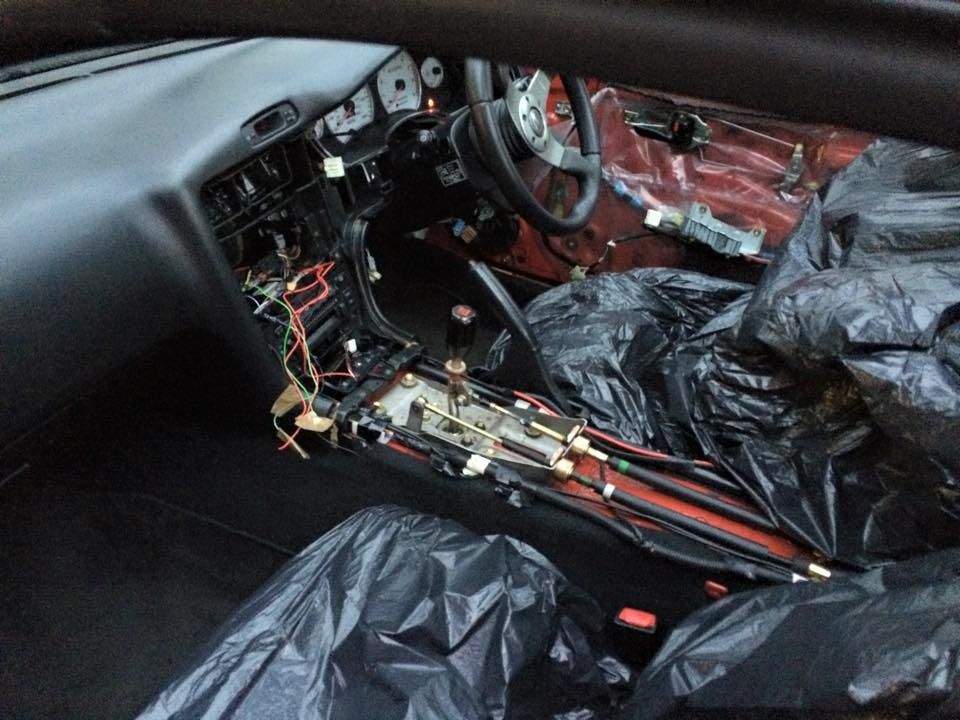
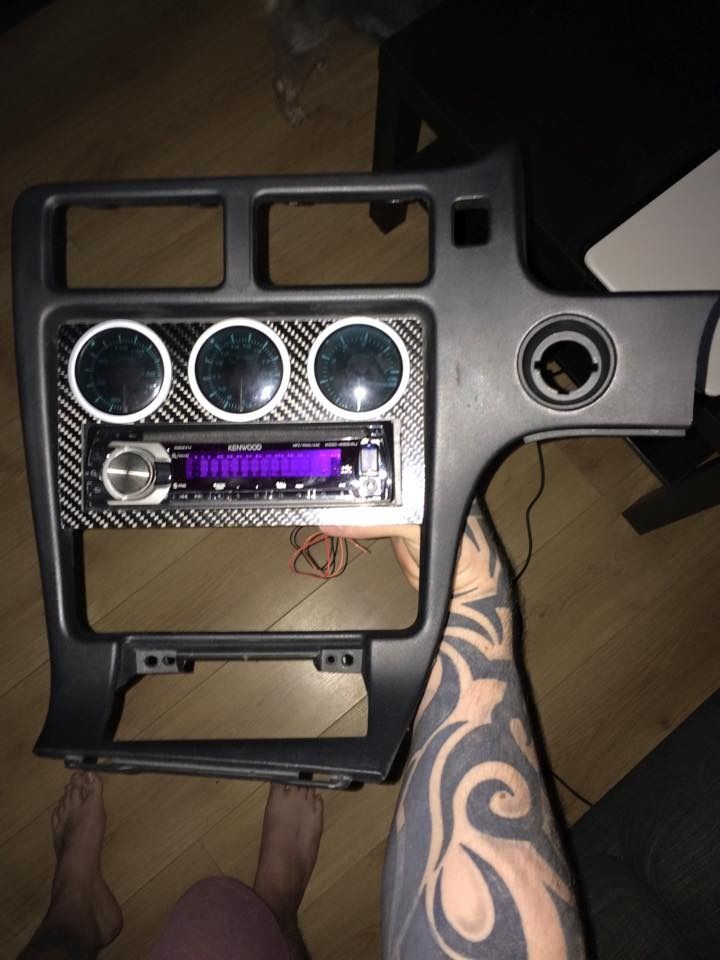
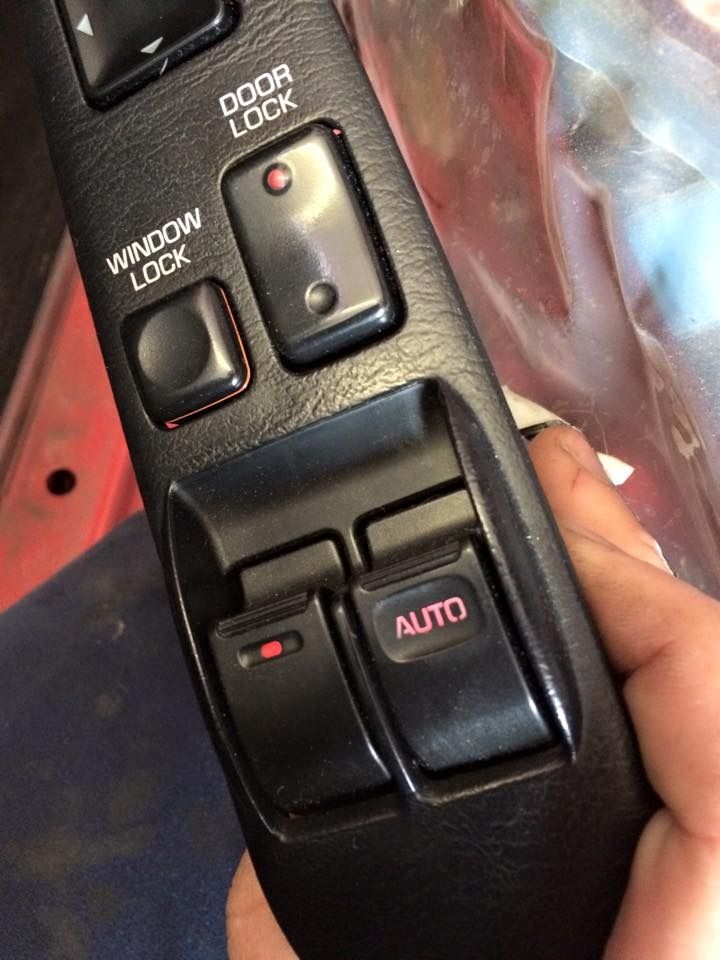
managed to chage the lights in my window switch to red led's also
got last few little bits powder coated grey
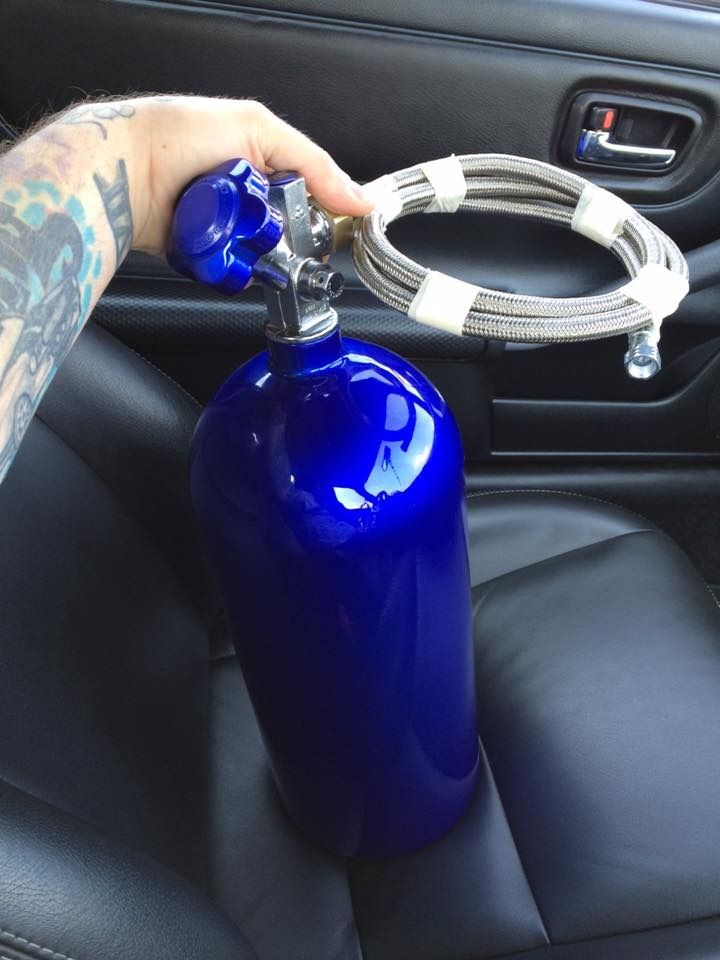
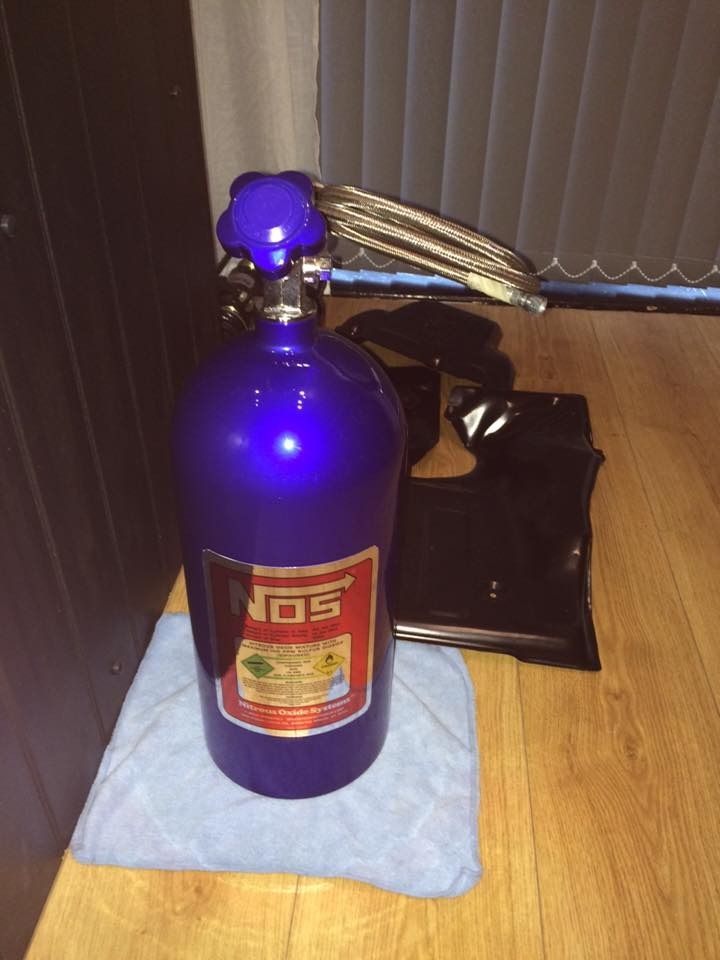
also purchased a nitrous kit but the bottle was tatty and tired
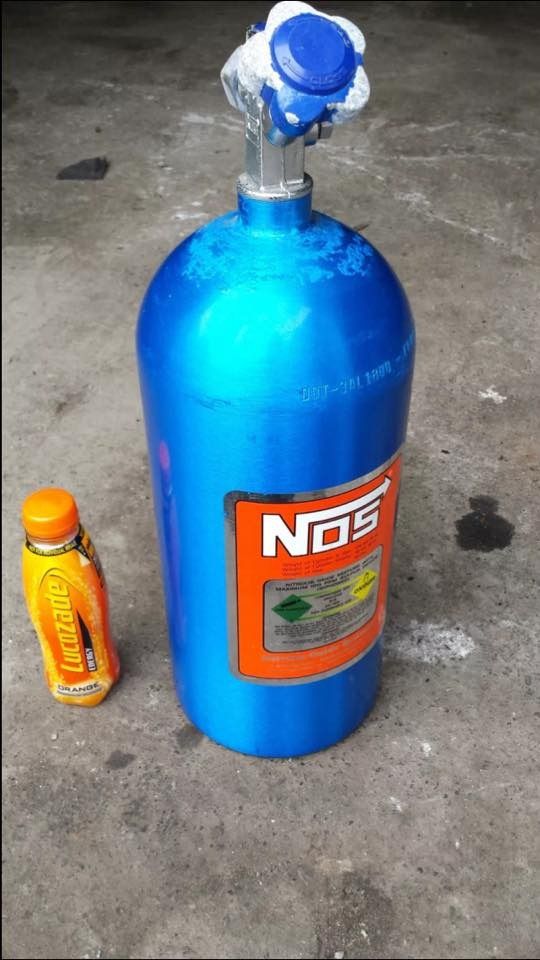
so had it stripped re coated new decals made up and hydrostatic tested and pleased to say it was all good
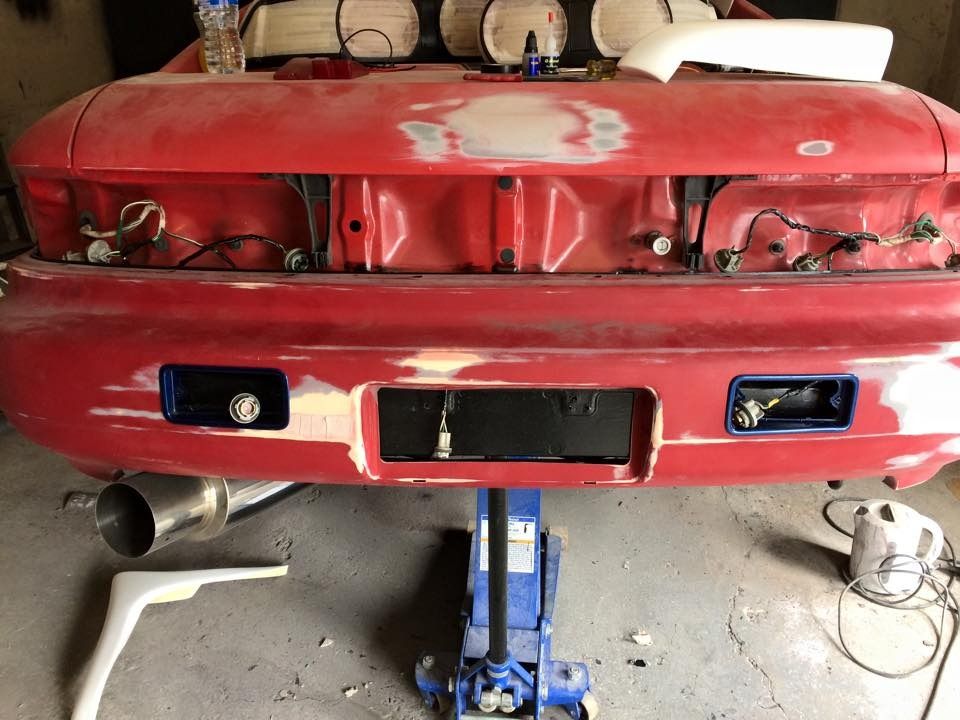
got my clear tobes ready to fit with the kei bumper sorted the wiring and welded up the wings
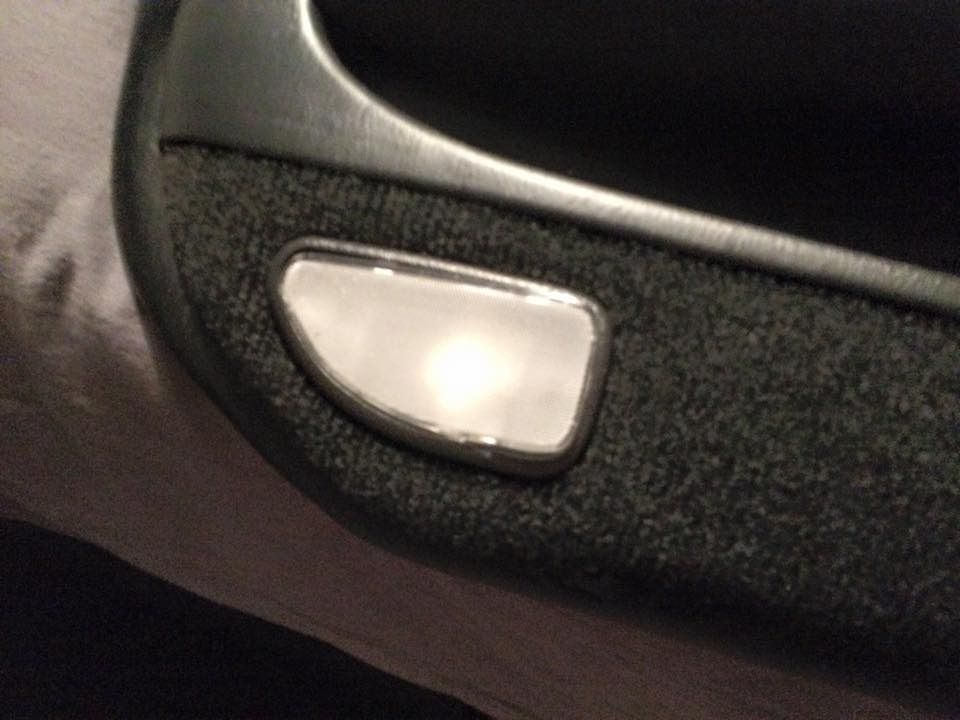
painted the insides of my rear fogs ready for the wolfie clear lenses
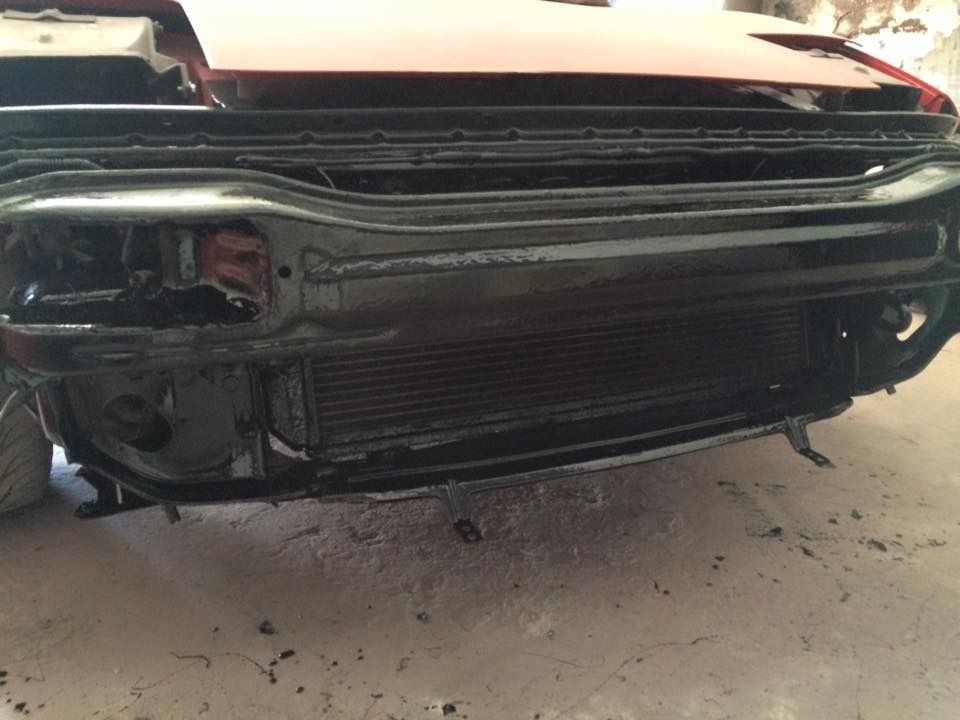
the full front end behind the bumper has also been cleaned up and painted black

got some more carbon

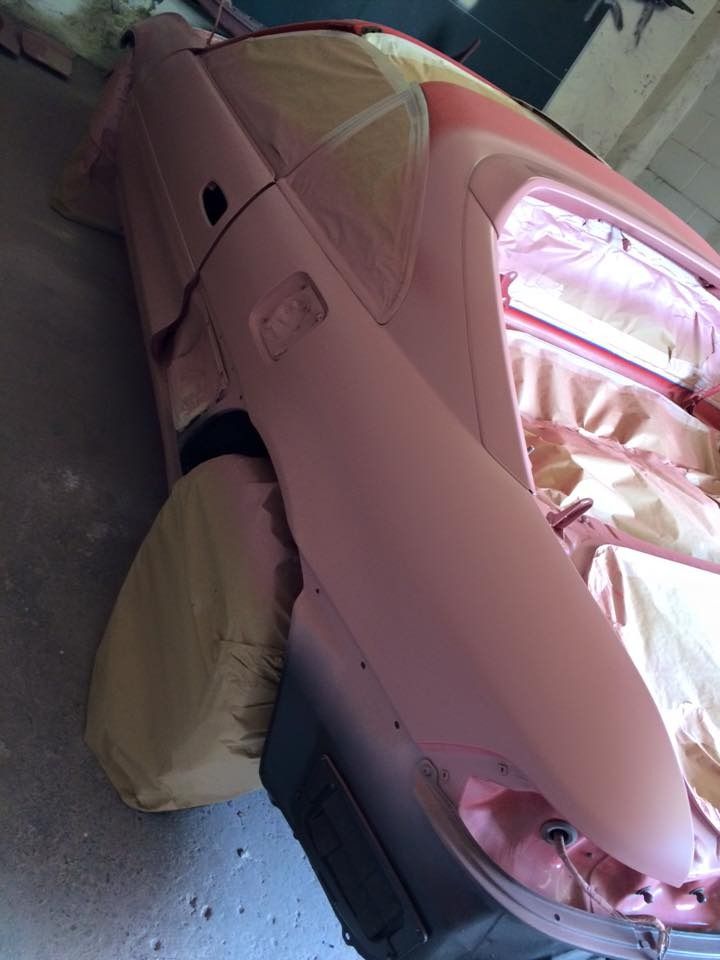
and then it was time to paint so here she is
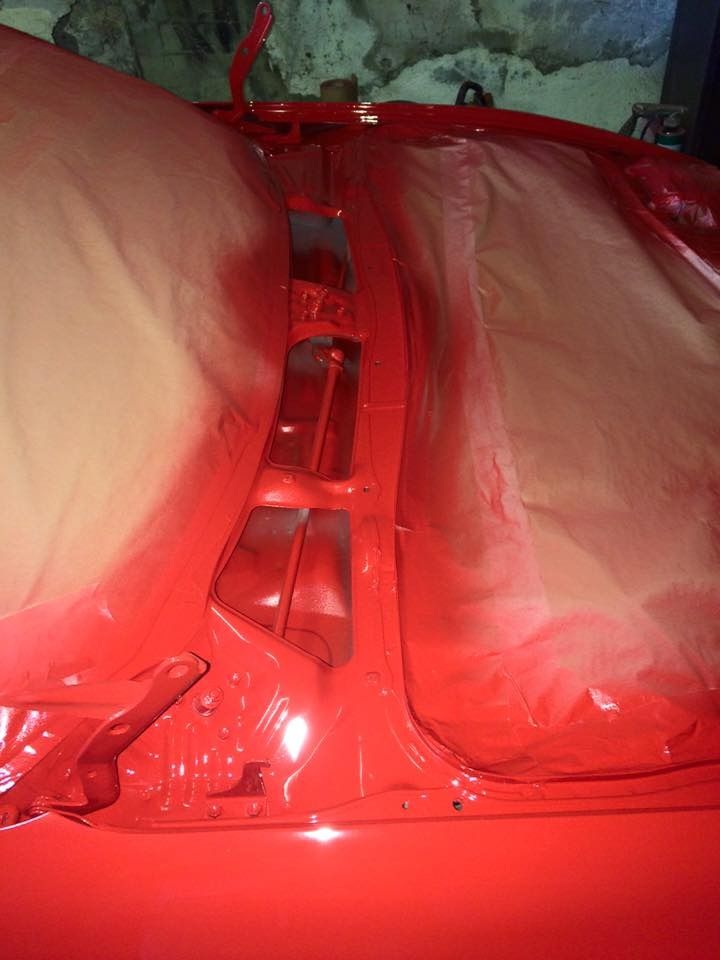
ideally i wanted the glass out and the rear hoop removed but the hoop was stuck solid with god knows what and the glass guy let me down do i wired the windscreen rubber and used fine line tape for masking up and took a chance:S if any problems arise i will in the future strip and re do it no biggie, anyway here is the pics
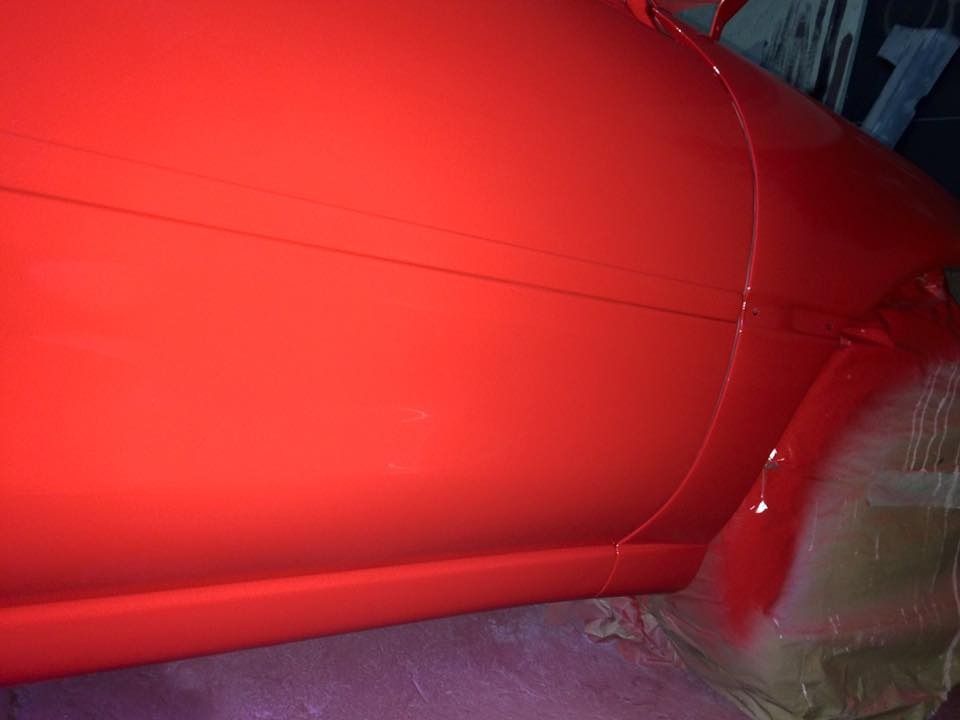
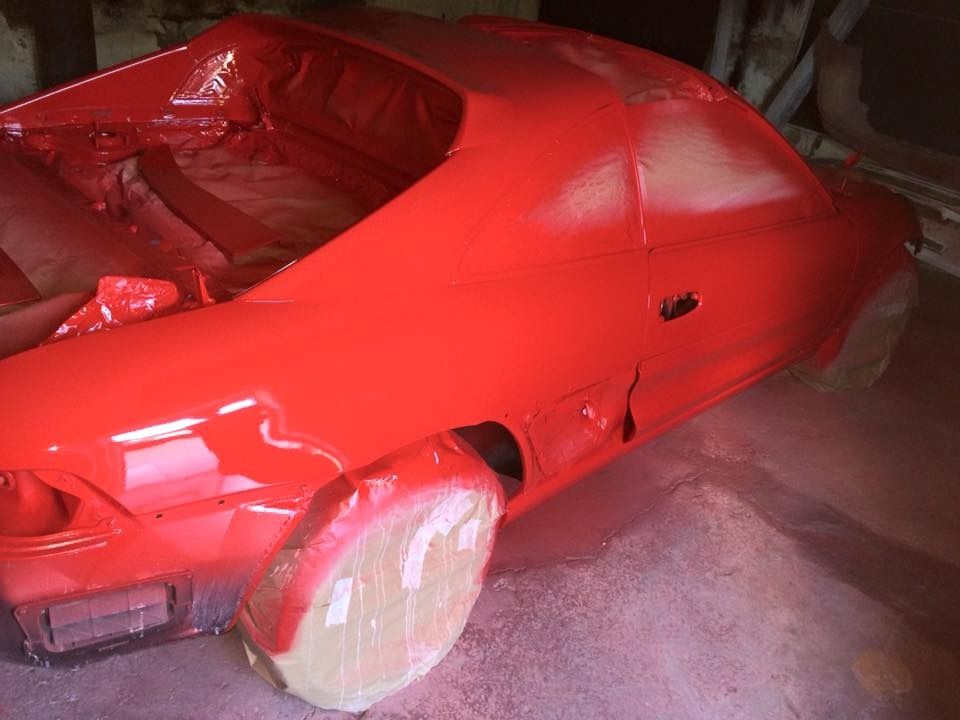
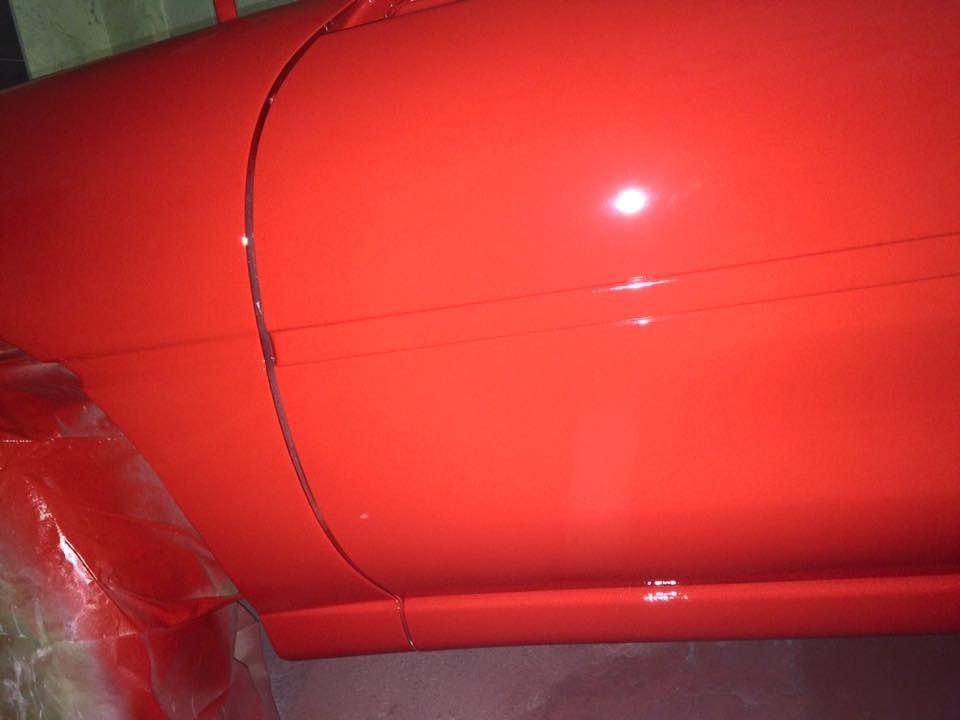

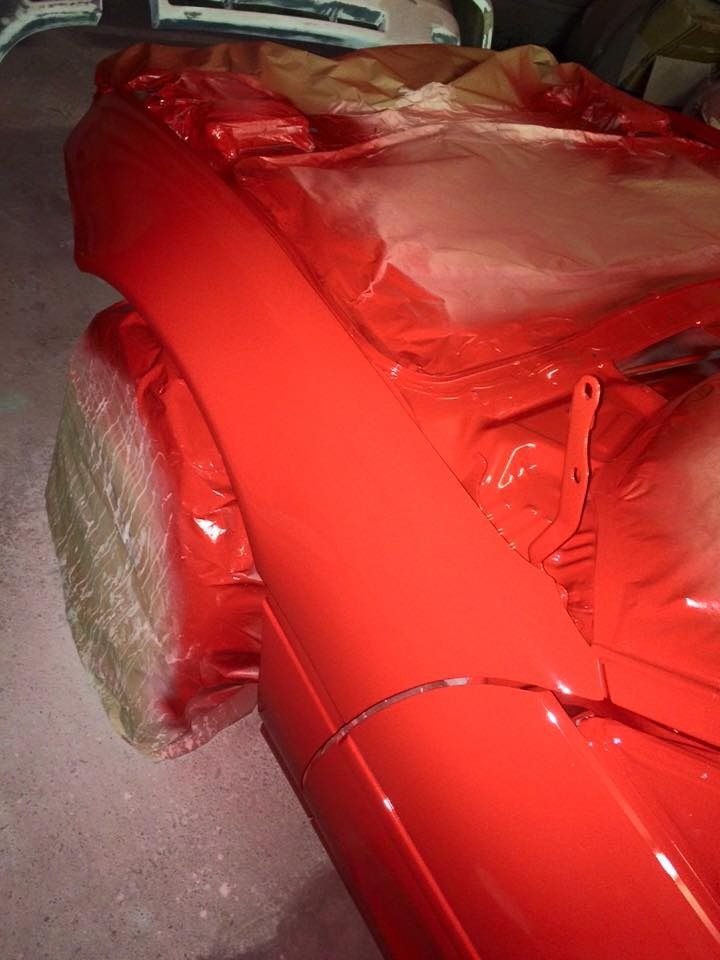
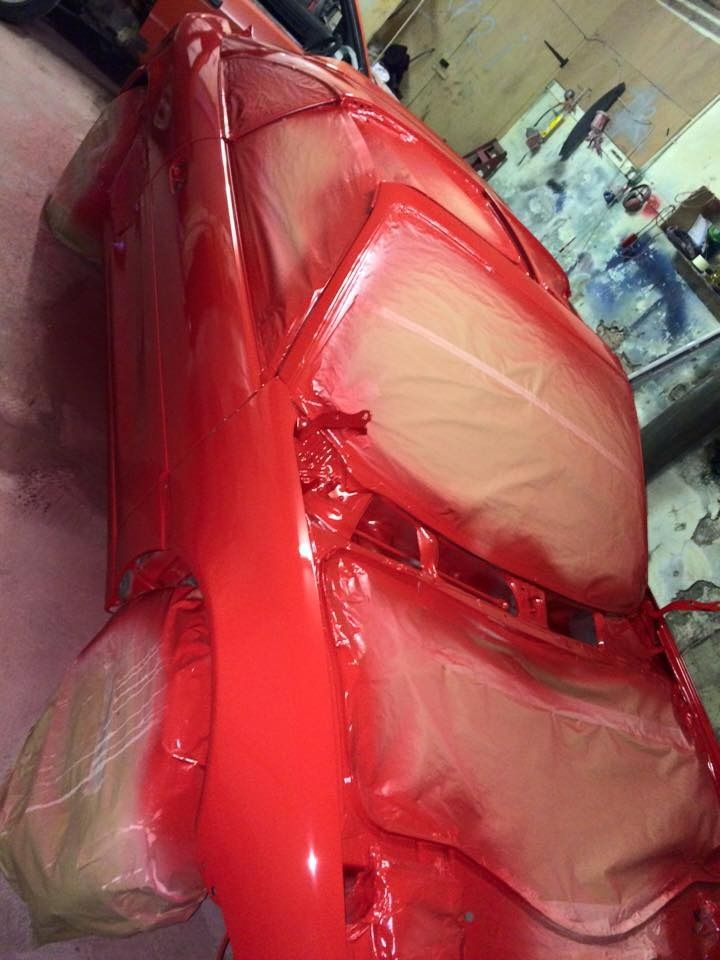
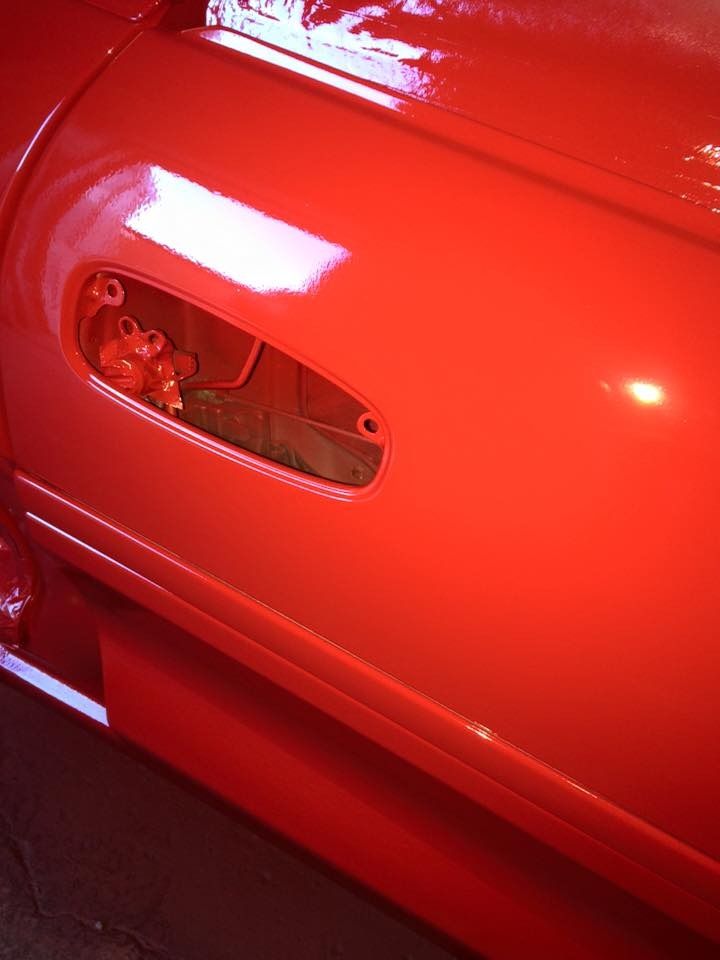
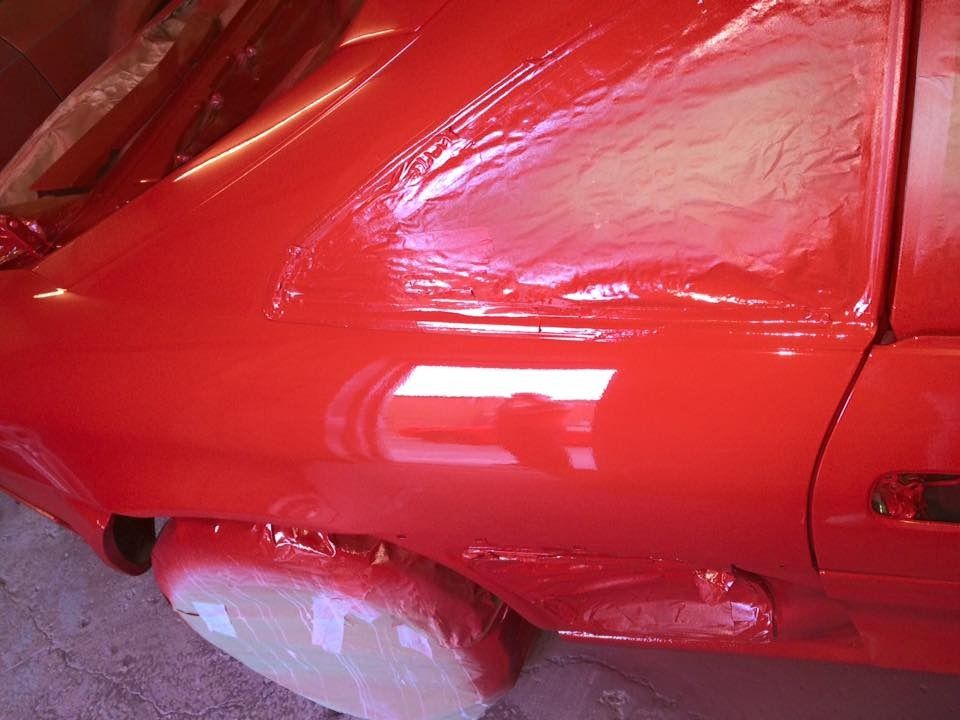
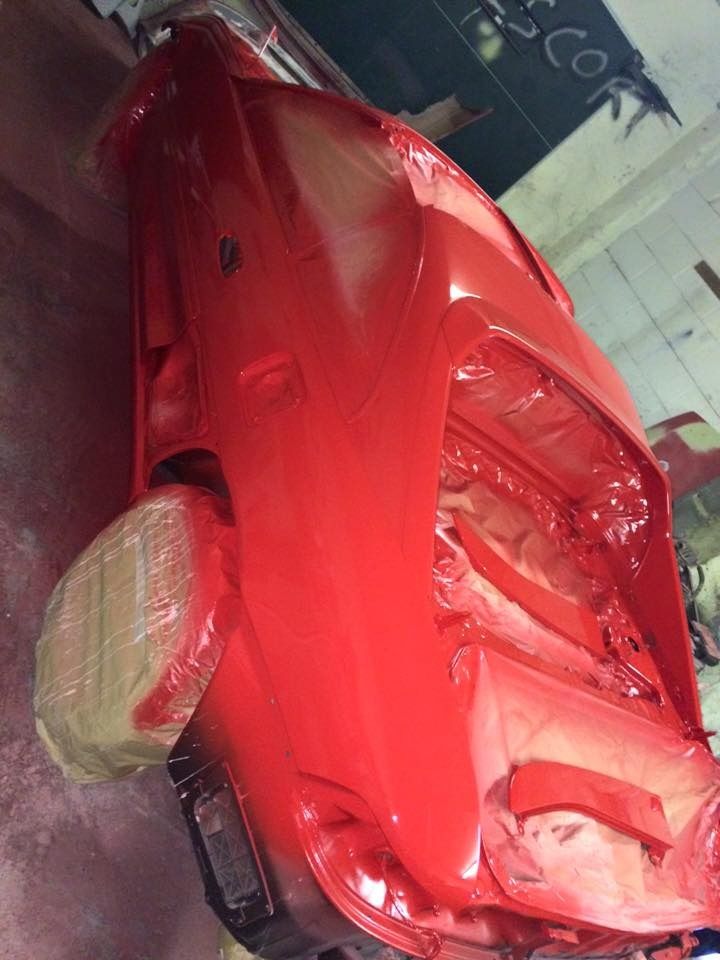
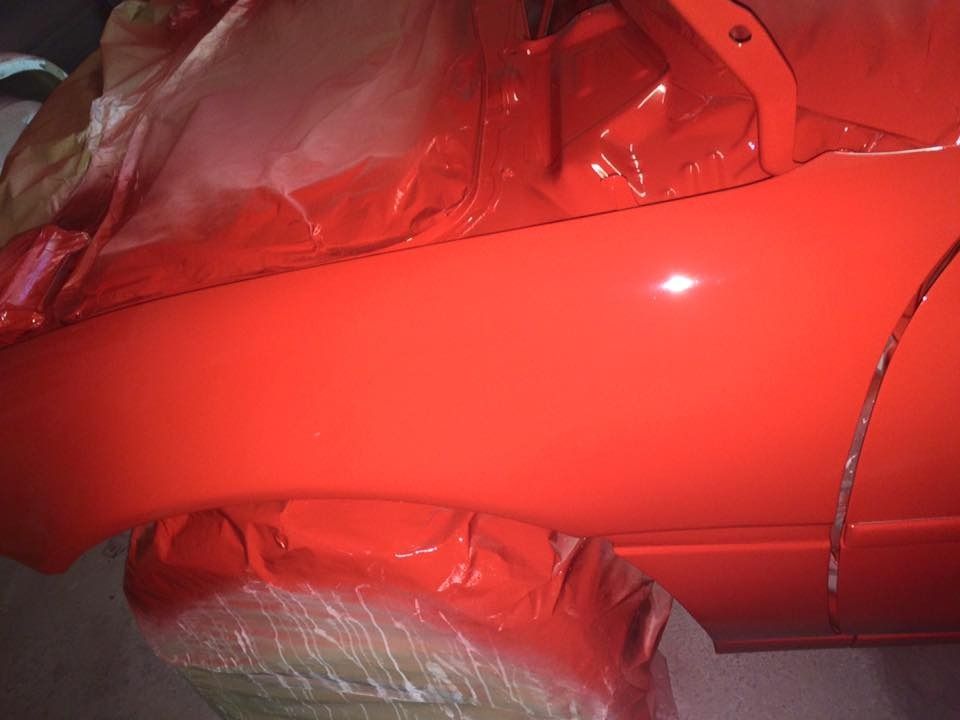
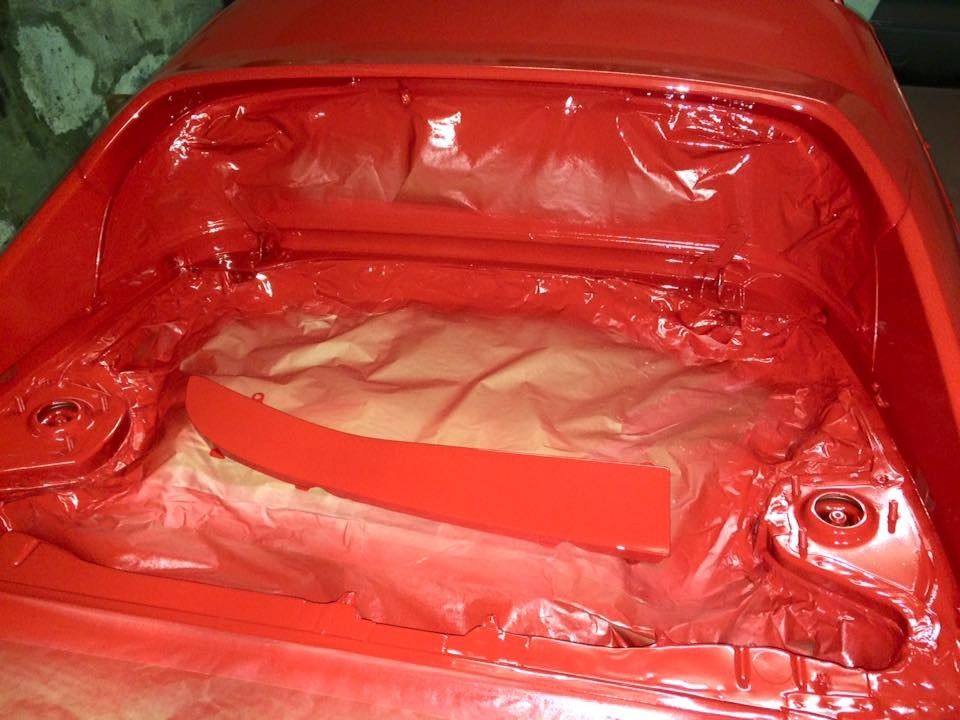

im very very happy with how it came out and pleased to say i done it all myself
laid 5 coats of super red over the 3 coats of pink primer which was wet flat first then a 50/50 mix of red with clear coat then a further 5 coats of clear
once its set and im back of hols i will wet flat a few coats down for a mirror finish but overall i love it
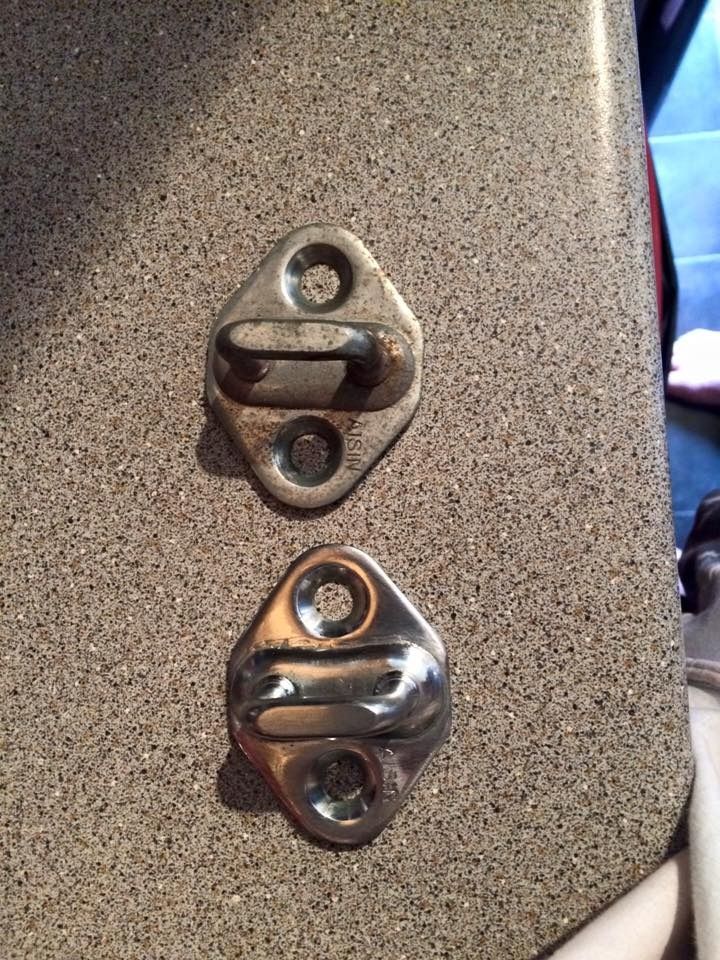
i also started polish9ing up the door strikers too which are coming up great
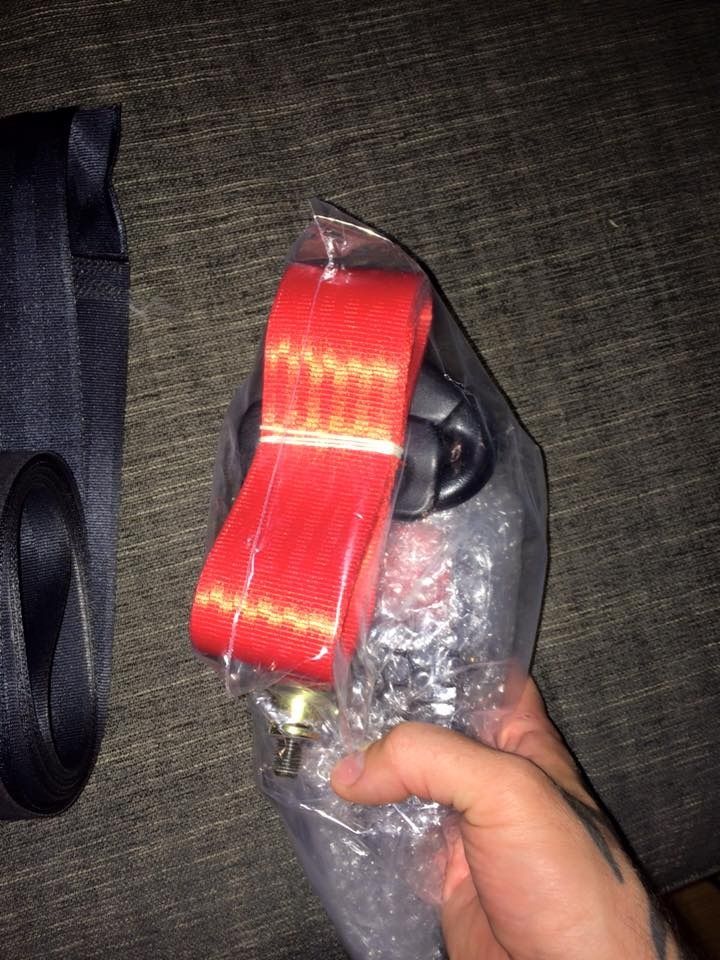
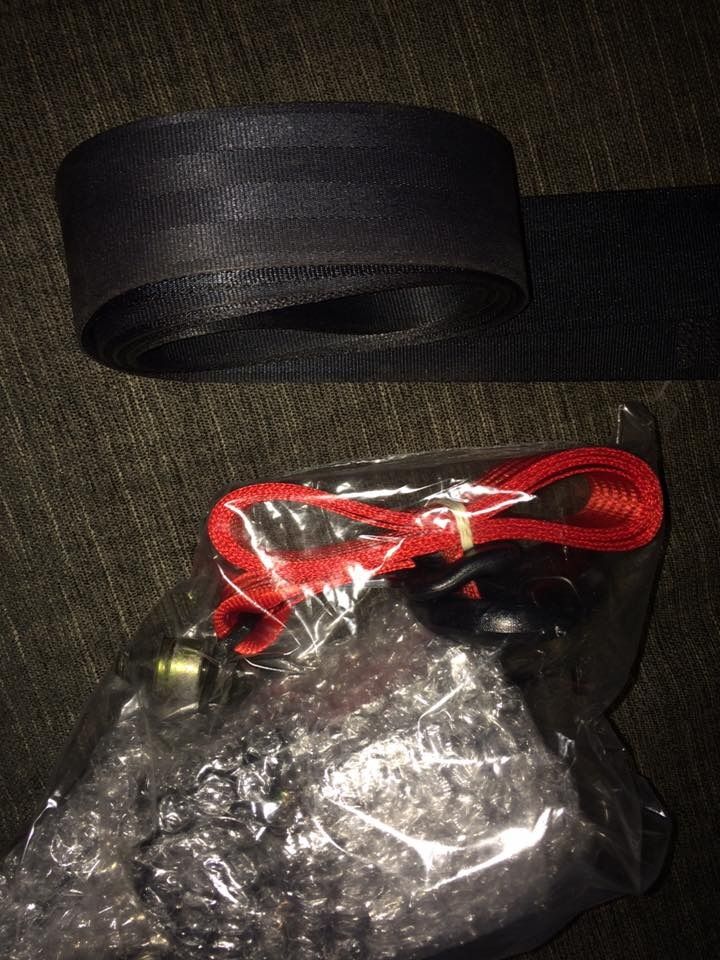
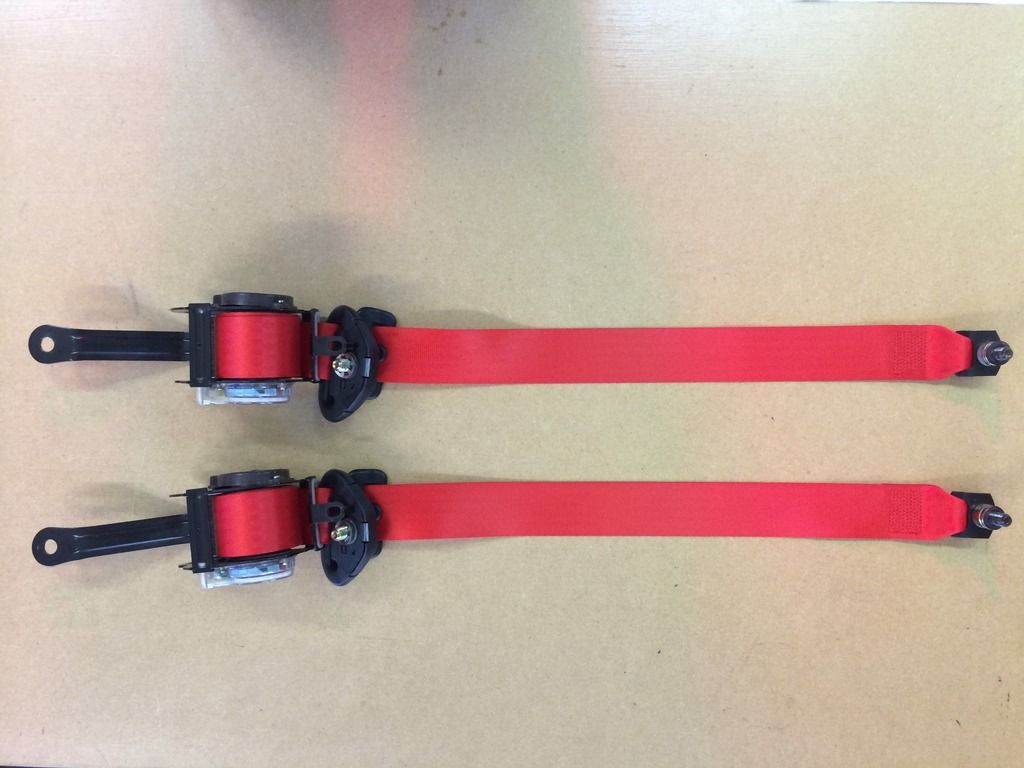
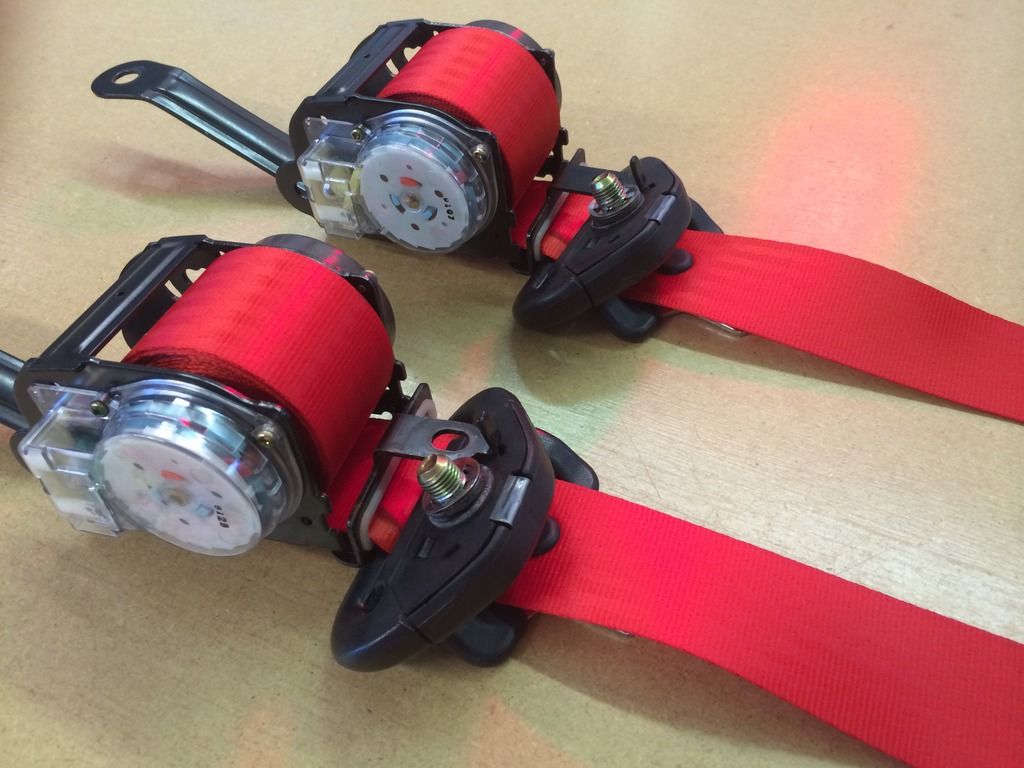
and also got my seatbelts back from fdts who have done an amazing job for the cost
ive also started down another road which is turning out to be expensive which is replacing all fixings and bolts with genuine toyota oem 1's lol but makes for a better job, also done al gaskets that have been removed too including which i was lucky to get door handle gaskets
so thats the story so far thanks for following
things are finally moving forward with her and im pleased to say the shel is in paint
got it all prepped tuesday so decided to crack on this week just in time as i go away on hols next week

once the sills were all repaired and prepped i straightened up the channel underneath and then masked and stone guarded the full sill both sides


ive also got the kei office front almost perfect now too


i also tried the carbon end caps in the rev5 spoiler legs to find there perfect fit also


i then made a slightly tinted primer to lay down first for a nice even color which came out barbie pink lol


managed to chage the lights in my window switch to red led's also

got last few little bits powder coated grey

also purchased a nitrous kit but the bottle was tatty and tired

so had it stripped re coated new decals made up and hydrostatic tested and pleased to say it was all good


got my clear tobes ready to fit with the kei bumper sorted the wiring and welded up the wings

painted the insides of my rear fogs ready for the wolfie clear lenses


the full front end behind the bumper has also been cleaned up and painted black


got some more carbon


and then it was time to paint
ideally i wanted the glass out and the rear hoop removed but the hoop was stuck solid with god knows what and the glass guy let me down do i wired the windscreen rubber and used fine line tape for masking up and took a chance


im very very happy with how it came out and pleased to say i done it all myself
laid 5 coats of super red over the 3 coats of pink primer which was wet flat first then a 50/50 mix of red with clear coat then a further 5 coats of clear
once its set and im back of hols i will wet flat a few coats down for a mirror finish
i also started polish9ing up the door strikers too which are coming up great

and also got my seatbelts back from fdts who have done an amazing job for the cost


ive also started down another road which is turning out to be expensive which is replacing all fixings and bolts with genuine toyota oem 1's lol but makes for a better job, also done al gaskets that have been removed too
so thats the story so far thanks for following
Re: Project REV5 Turbo ............ Lots of big changes
So its ended up red then. Cant argue at that. Everyone knows that reds the best .
The rear sail panel just has a few bolts inside the headlining and the screws at the bottom near inspection panels. Then it requires a really good tug. Suprisingly a few clips and not been moved for years it gets a real tight hold. I'd imagine it'll be fine anyway.
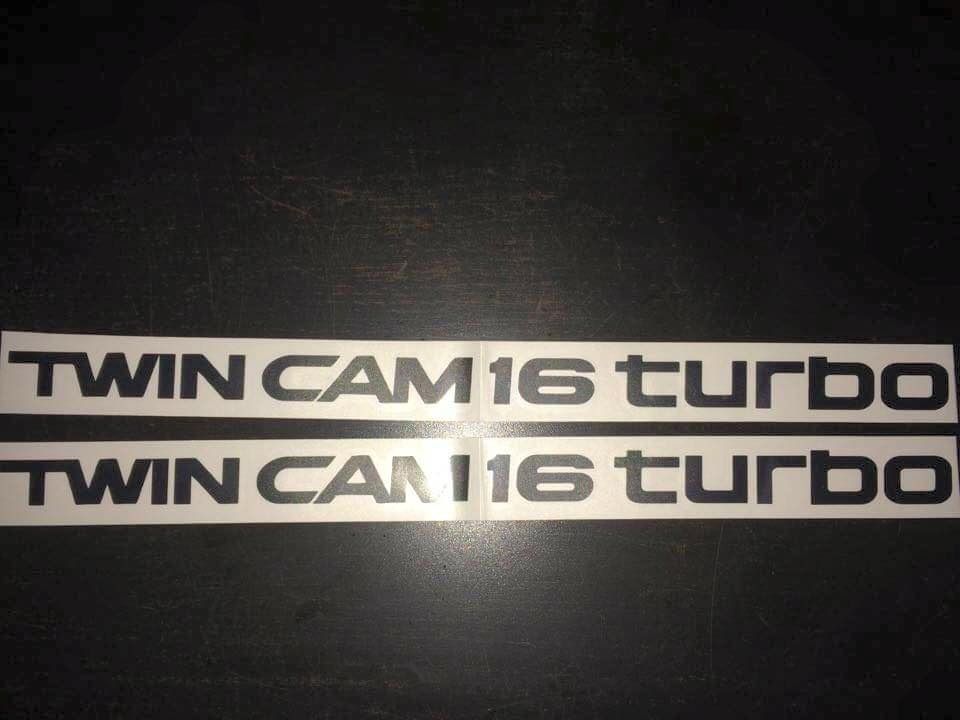
but seriously its looking good. Please dont fit the turbo stickers until its got a tubby in
but seriously its looking good.
Re: Project REV5 Turbo ............ Lots of big changes
haha the stickers will have to go on as im going to clear cote over them but its not going on the road until the engine is done anyway
i removed all fixings ive had it off on my other mr2's so knew about locating them but it was full of a rock hard black glue that was like melted plastic???
wasnt tigerseal but i have no idea what it was lol done now though it will be smashed off if any paint flakes off
i removed all fixings ive had it off on my other mr2's so knew about locating them but it was full of a rock hard black glue that was like melted plastic
wasnt tigerseal but i have no idea what it was lol done now though it will be smashed off if any paint flakes off