It took me in total one evening and one morning

.
.
.
left the filler to dry over night before I sand it down to a smooth surface.
As I said I was not patient
.
.
.
anyone else who is more patient and has more time than me
.
.
.
will have a fantastic finish and noone will be able to tell the difference.
I bought the kit from
www.furnitureclinic.co.uk
you are able to order them only online or by phone, I did it by phone and the chap was really helpful as to what kit to pick, cost me all in all in total
£45 incl delivery.
I have more than half of the small kit left for future repairs.
.
.
so worth the cost I think.
Steps are as follows
.
.
.
no need to remove the cover from the seat
Just remove the actual seat from the car and bring them home will make the job much easier as you can move around.
1.
Take seats out
2.
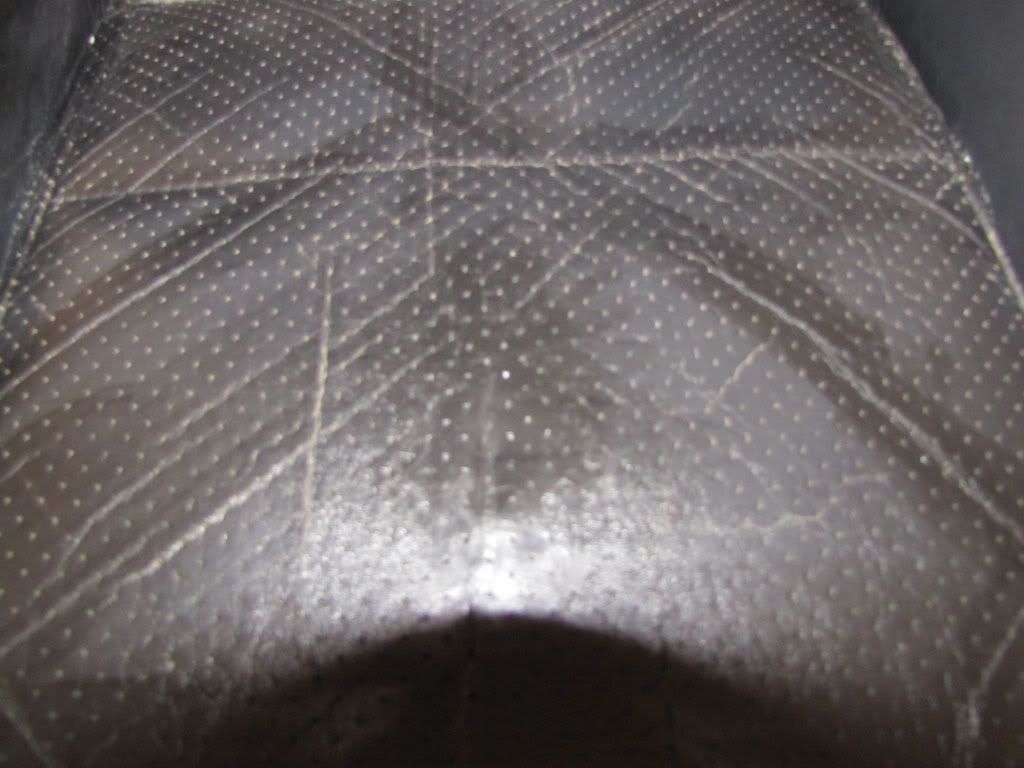
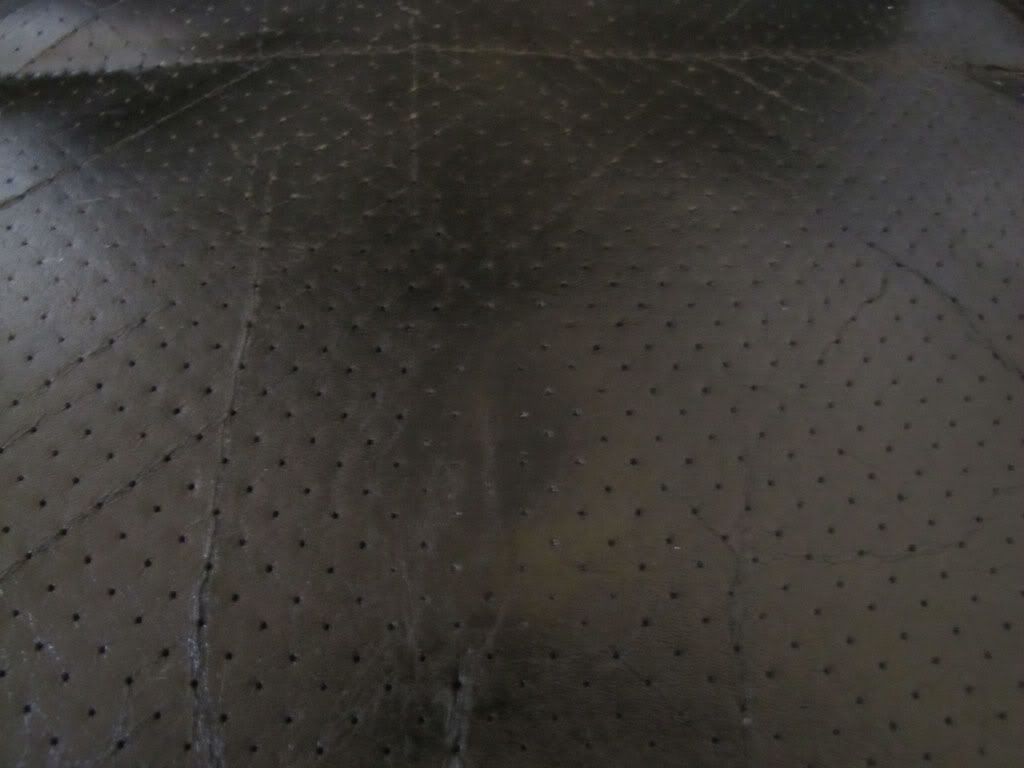
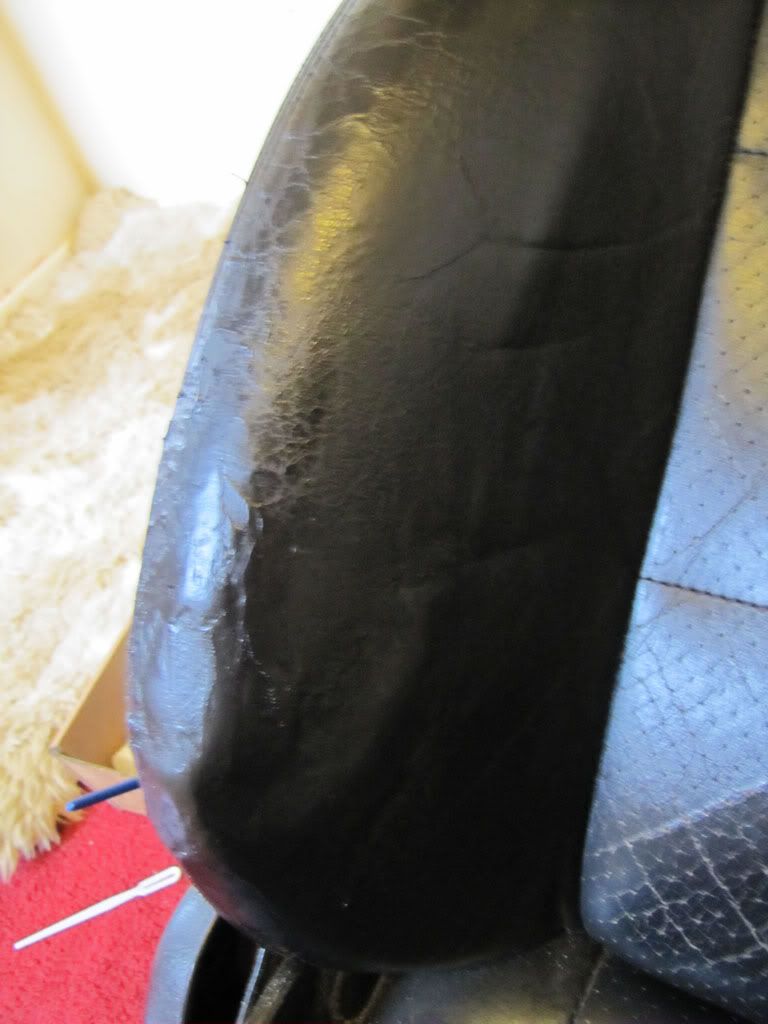
Clean the area and trim/remove any excess leather curling up and out make a nice finish.
3.
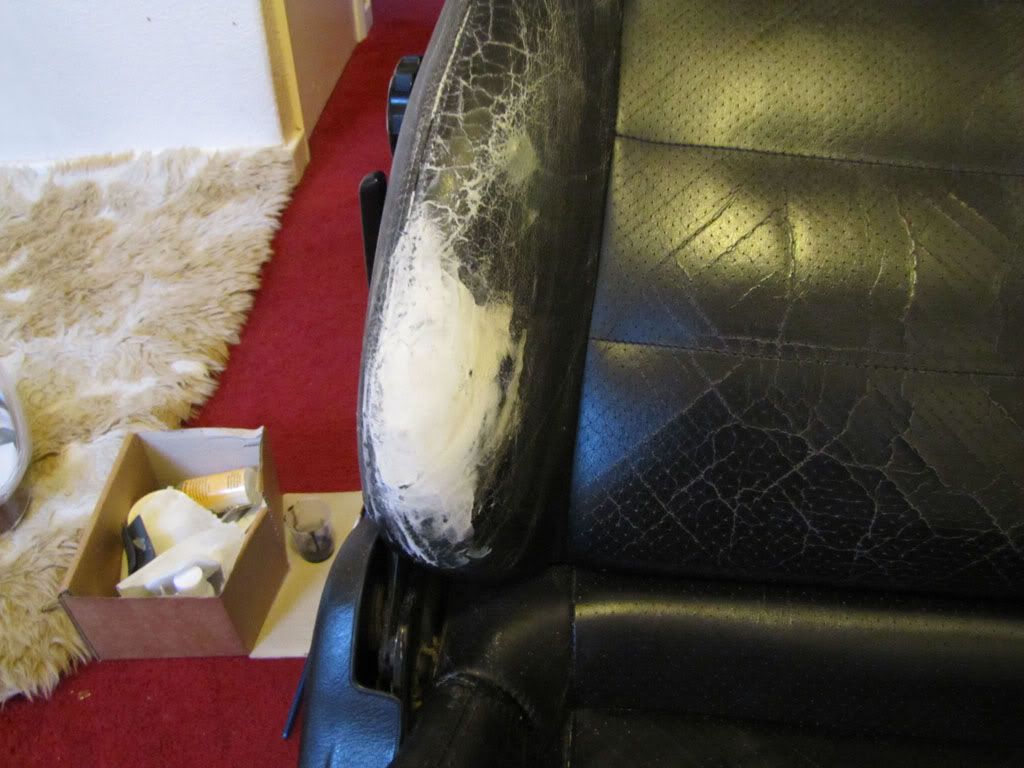
Cut enough cloth canvas to cover the hole and with the tweezers supplied tuck it in and under the leather as you can see in the pics.
4.
Use a paint brush and apply plenty of glue between the canvas and leather, let it set.
5.
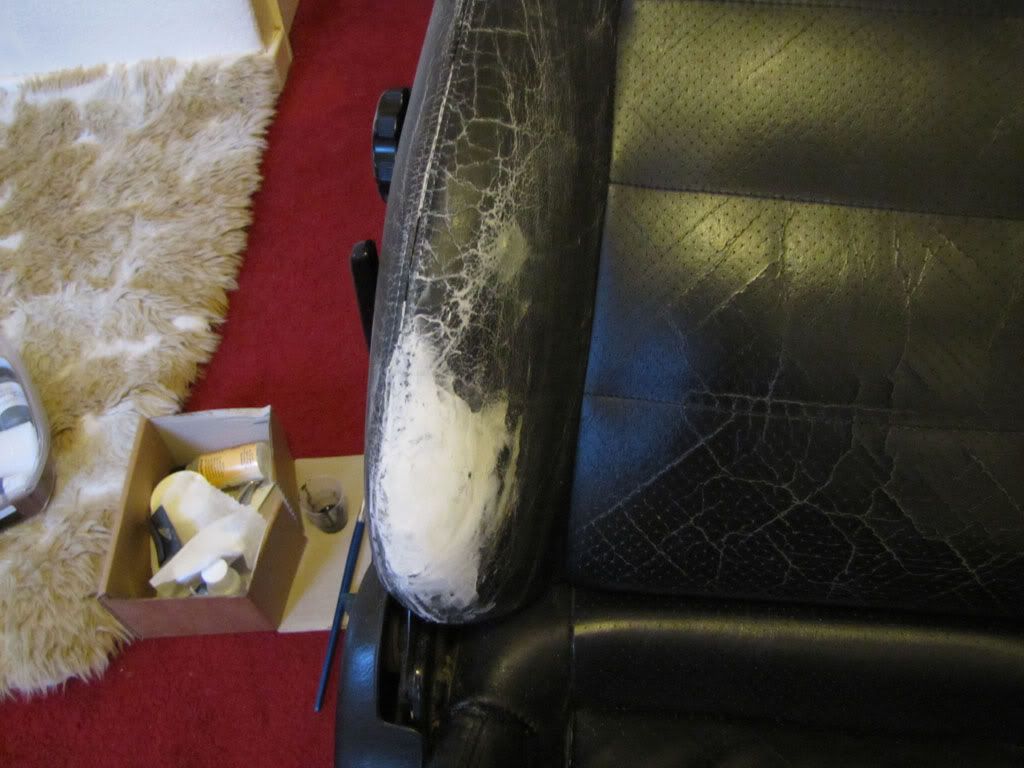
Now the fun starts, start applying a layer of filler with the pallete knife.
6.
Hair dryer and dry the layer
.
.
.
7.
Repeat step 5 and 6 every 20mins
.
.
.
for about 4 layers
.
.
.
on the last layer make it a nice smooth surface and level it with the rest of the leather so no hole is visible.
8.
Now let it dry over night.
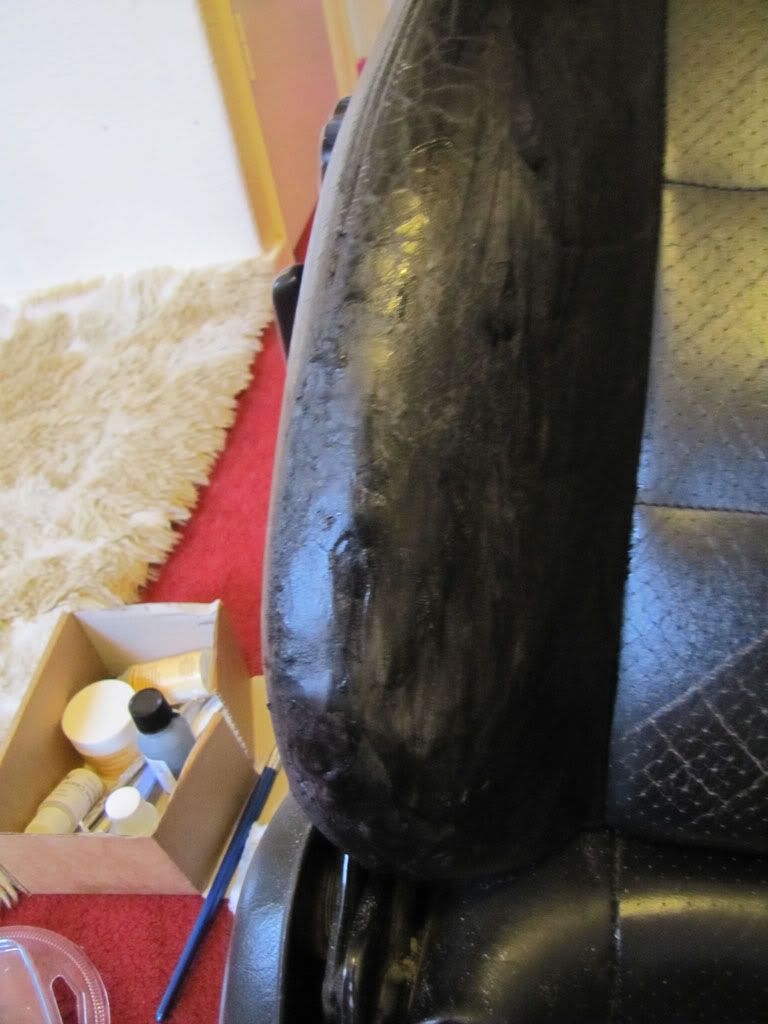
9.
In the mornign sand it down to a nice smooth surface.
10.
Use the alcohol cleaner
.
.
.
let it dry
.
.
.
and start applying the black paint.
11.
Hair Dryer
.
.
.
again
12.
After a few coats 6 for me
.
.
.
dry thoroughly
13.
Apply the finish matt with a hint of gloss did it for me mix them well before applying.
14.
Dry thoroughly with hair Dryer!
And voila!!!
as good as new!! trust me worth the result!
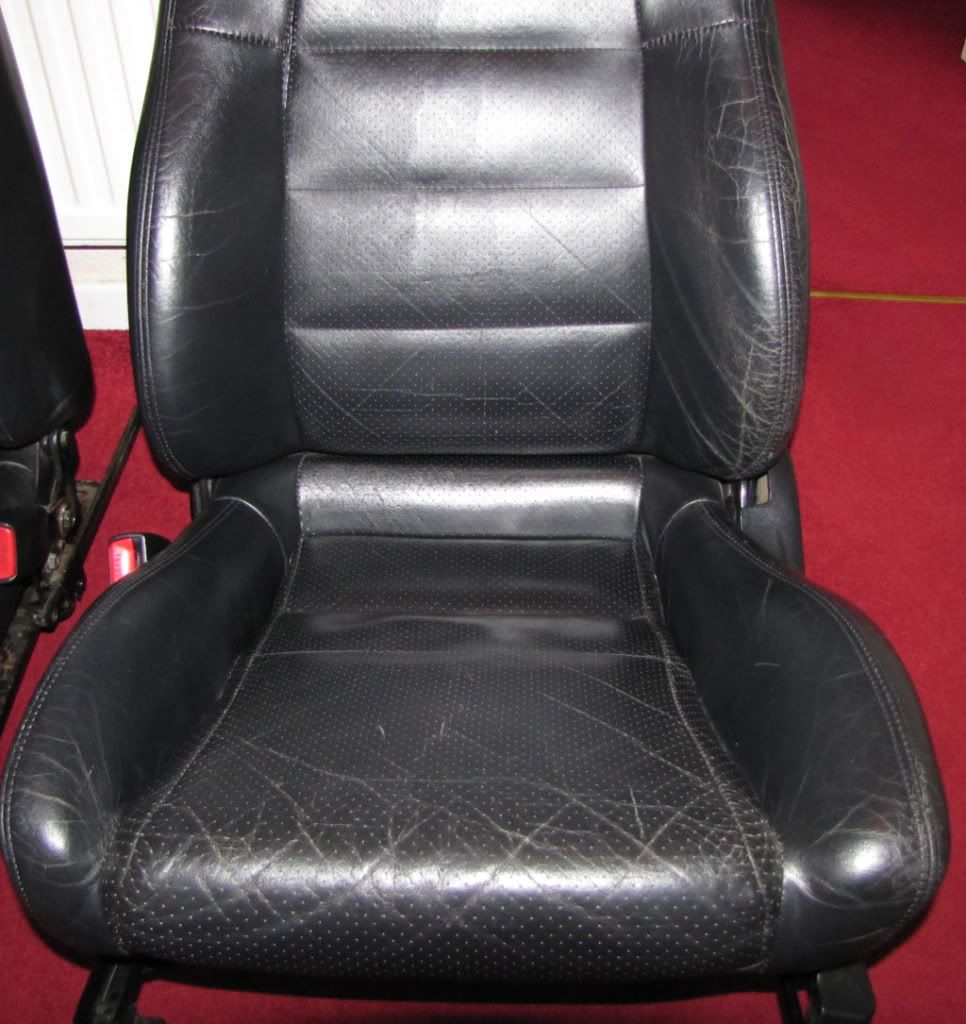
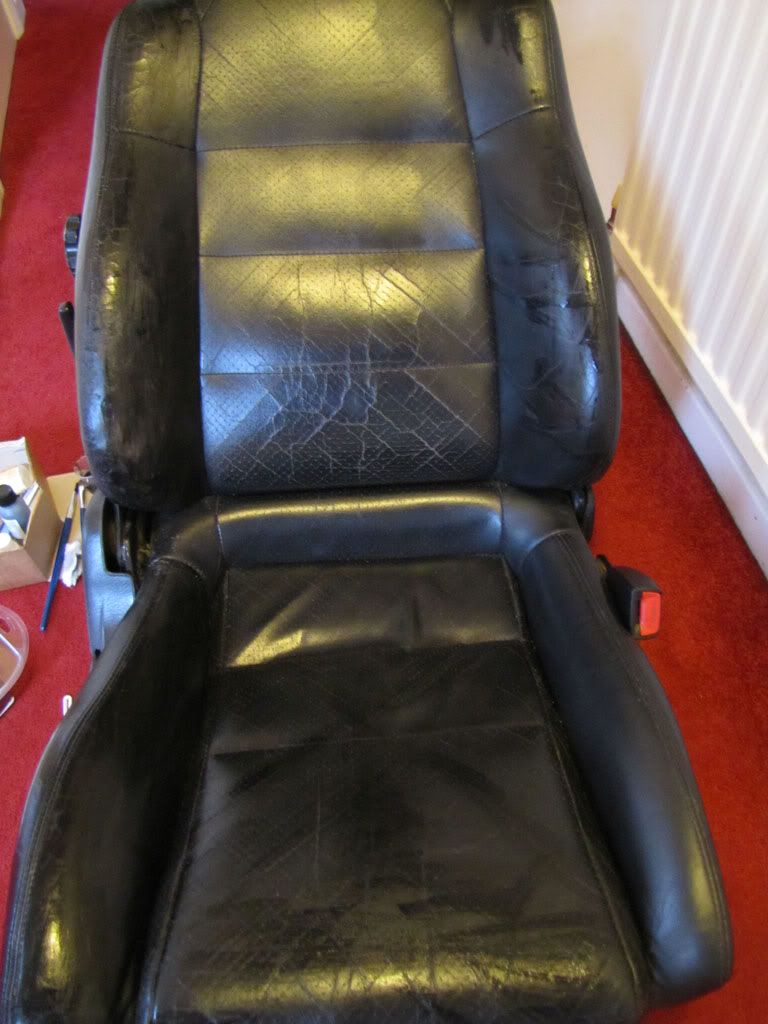
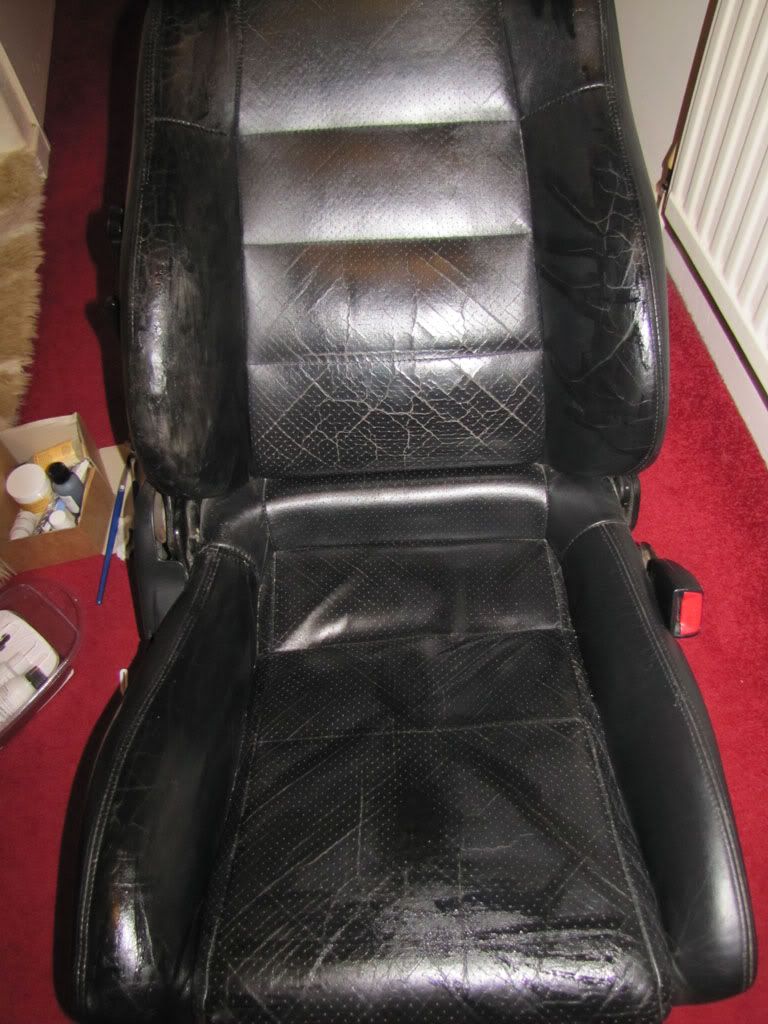
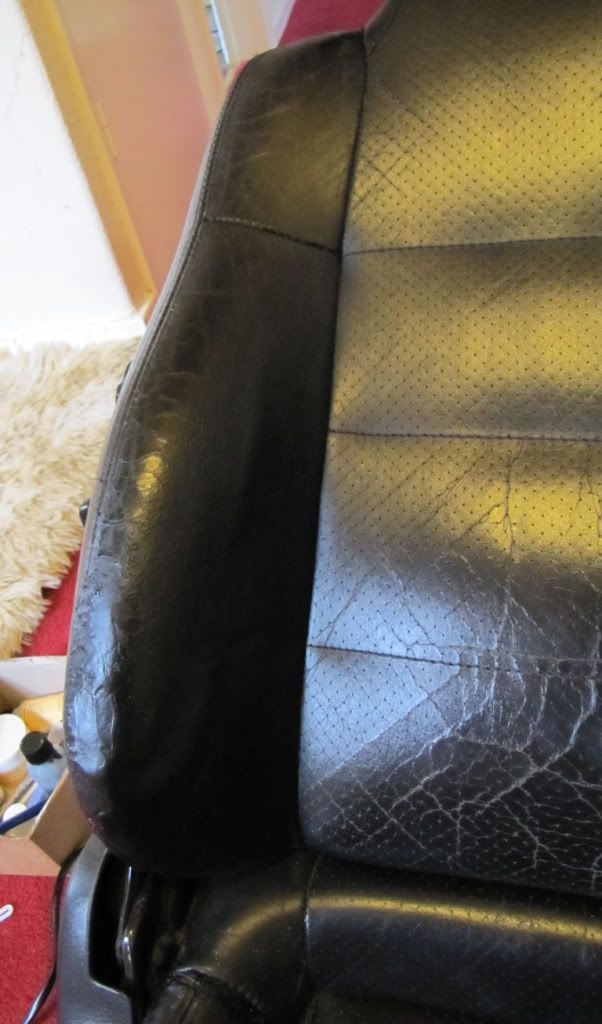
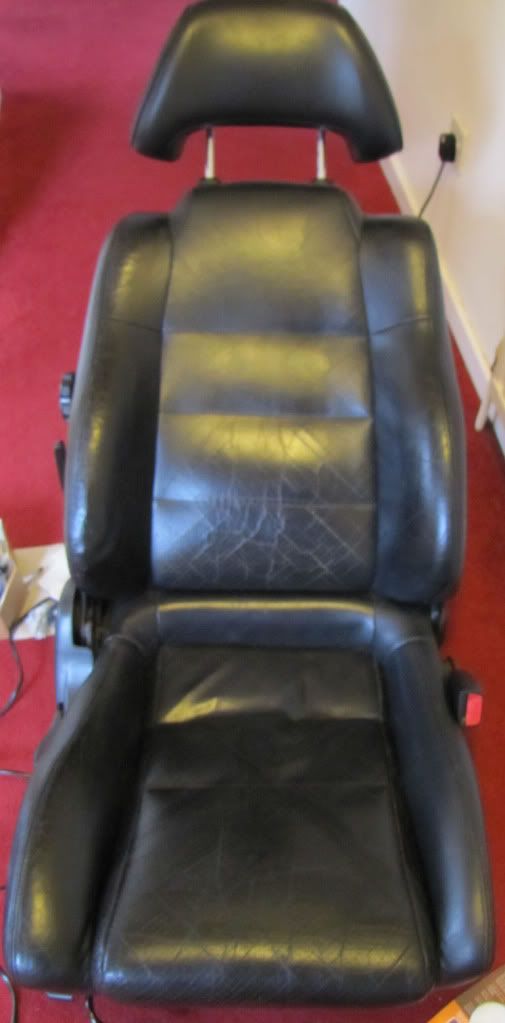
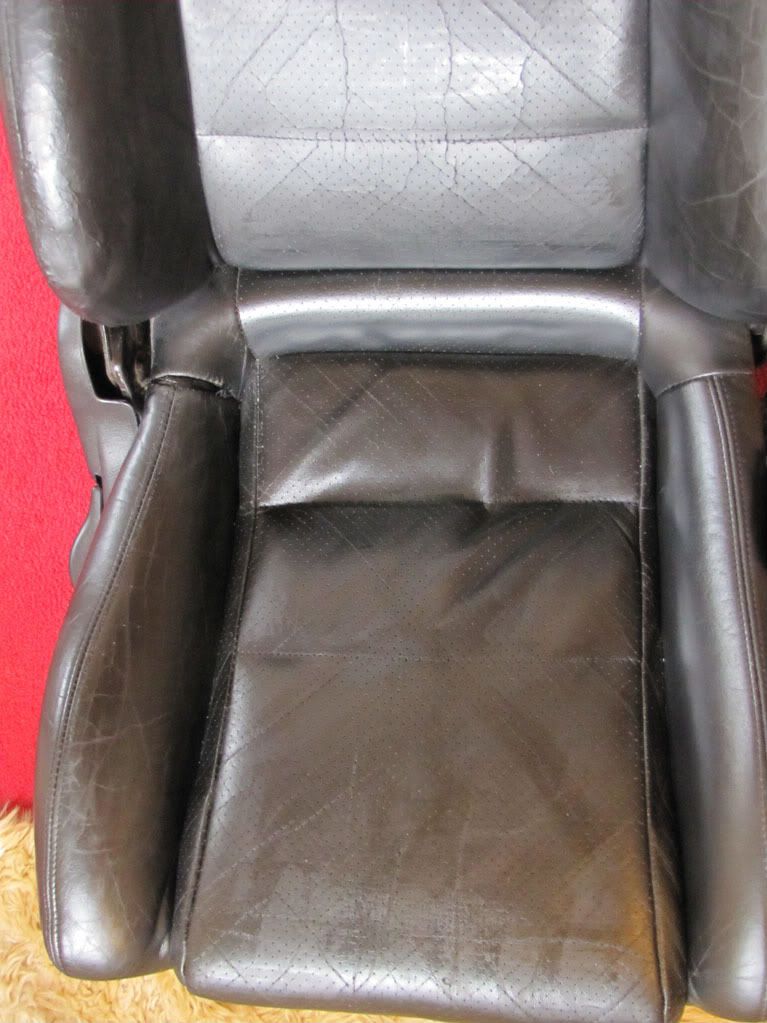
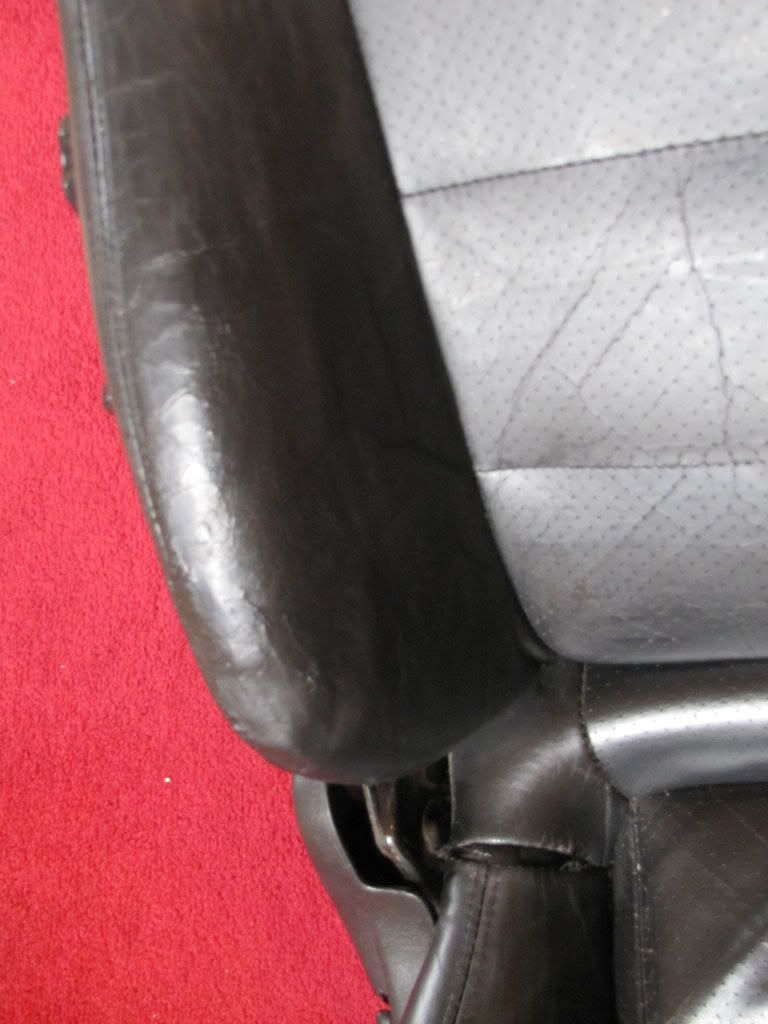
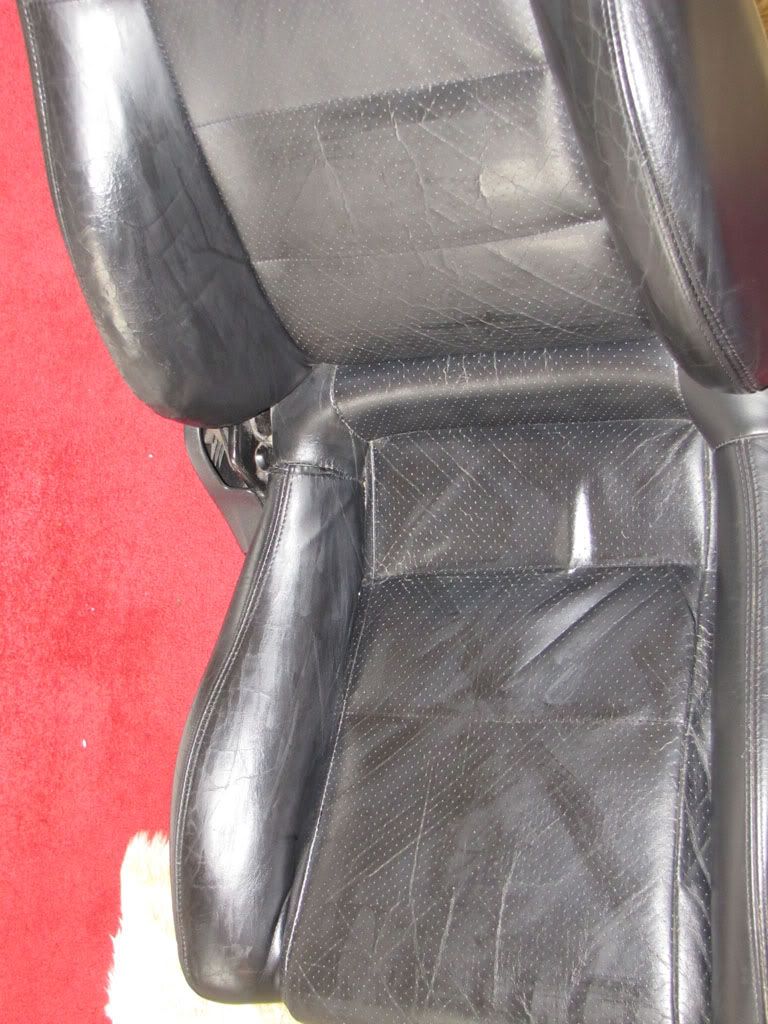
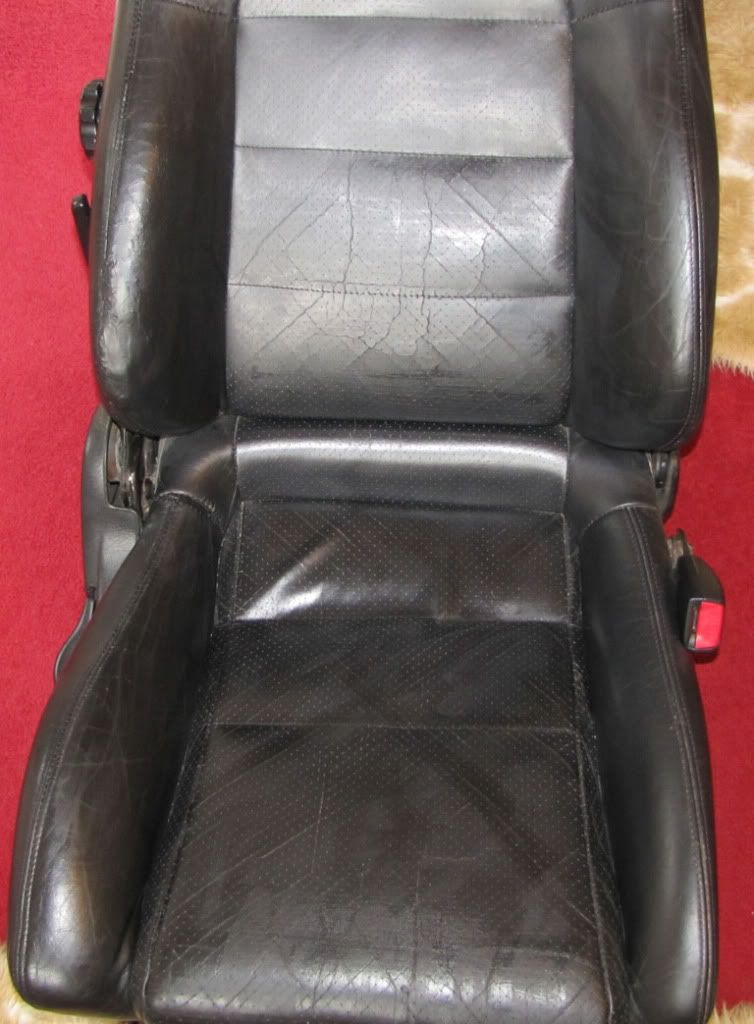
Before Driver's seat
:

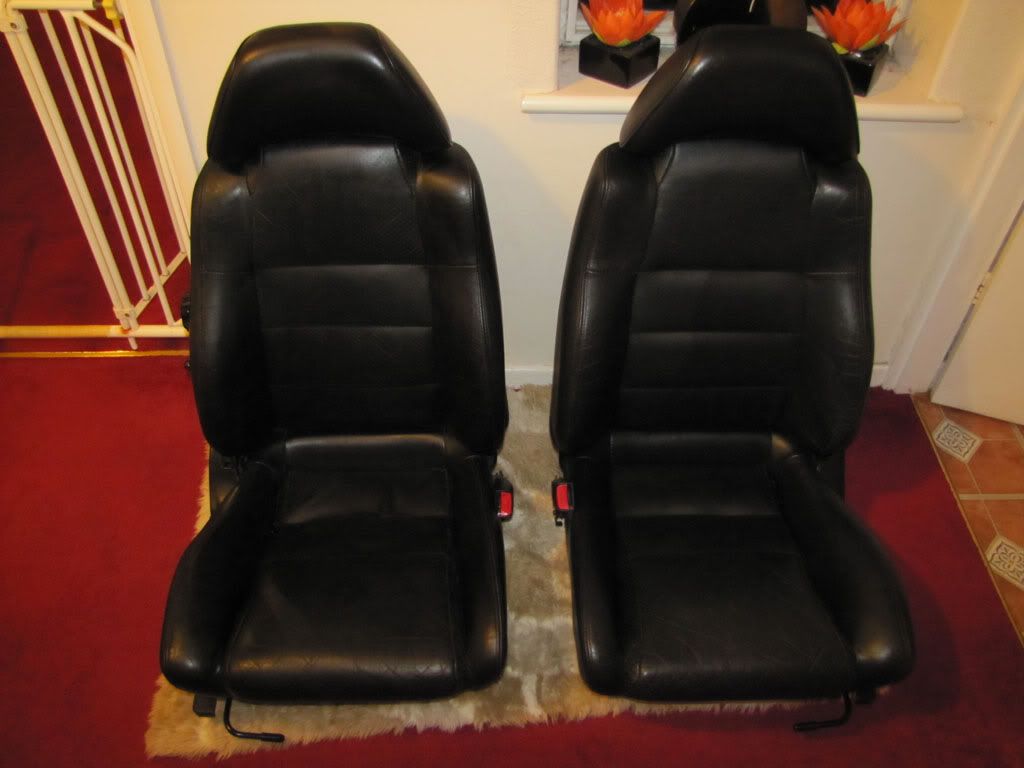
Before Passenger's seat this had only a stitching issue so I had to remove the cover to restitch
,.
.
.
no need to do kit repair
:
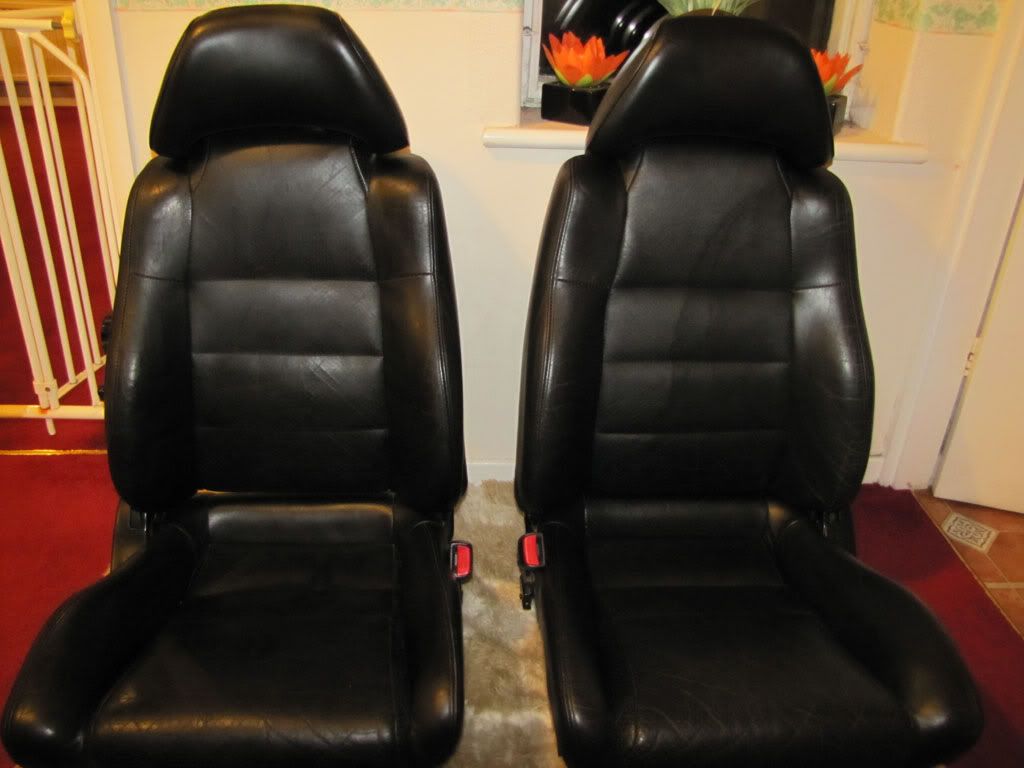
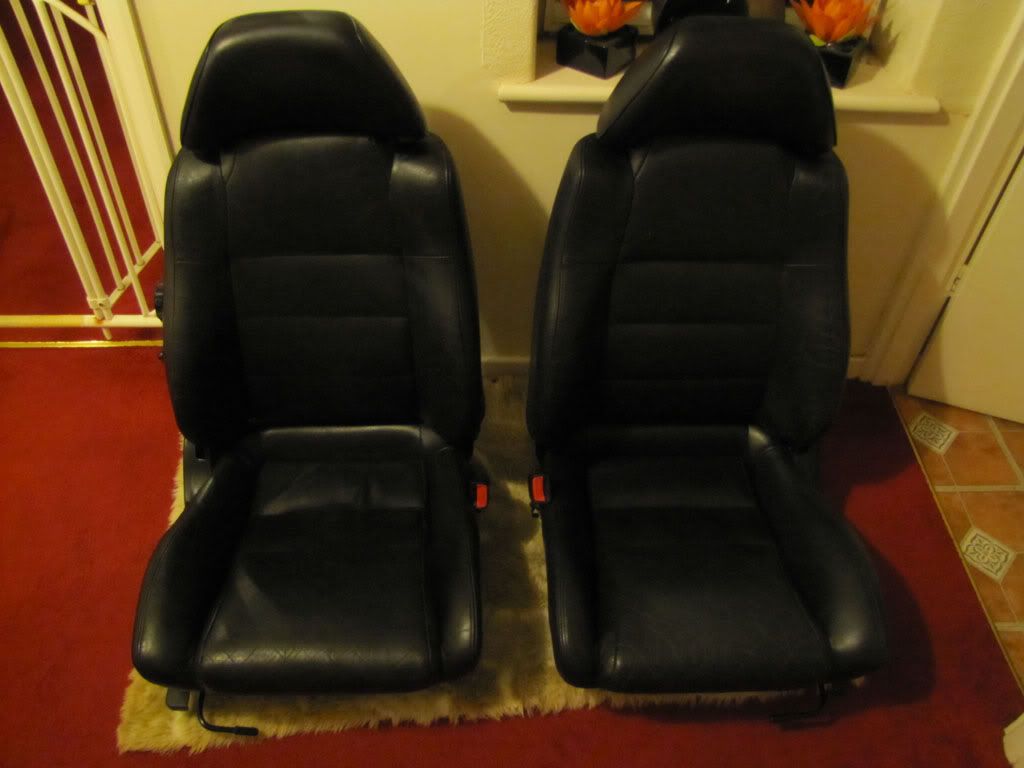
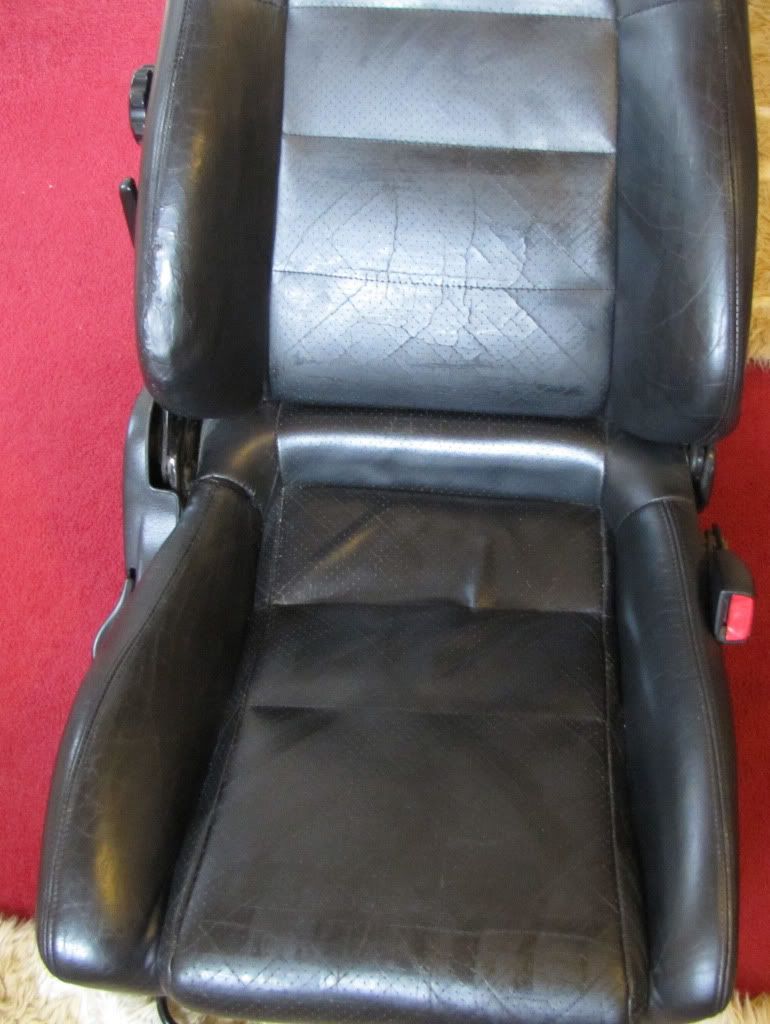
Overall after picture
: