Ok guys, i promised that i would do an article on curing the wet headlining syndrome on t-bar roofs as some of you have

& still are suffering from this.
As mentioned before the reason for this is water getting past the trim clips that sit below the trims that hold the t-bar rubbers on.
Nigel
( Russd1
) had this problem
& this weekend was supposed be the weekend to do it, unfortunately yesterday the heavens opened which only left today.
He also had to change the headlining as it had got so wet in the past that it had actually sagged at the top of the screen
& while we were at it i sprayed the headder rail
& whole top half of the car too, below are a series of pictures which i hope will explain the process.
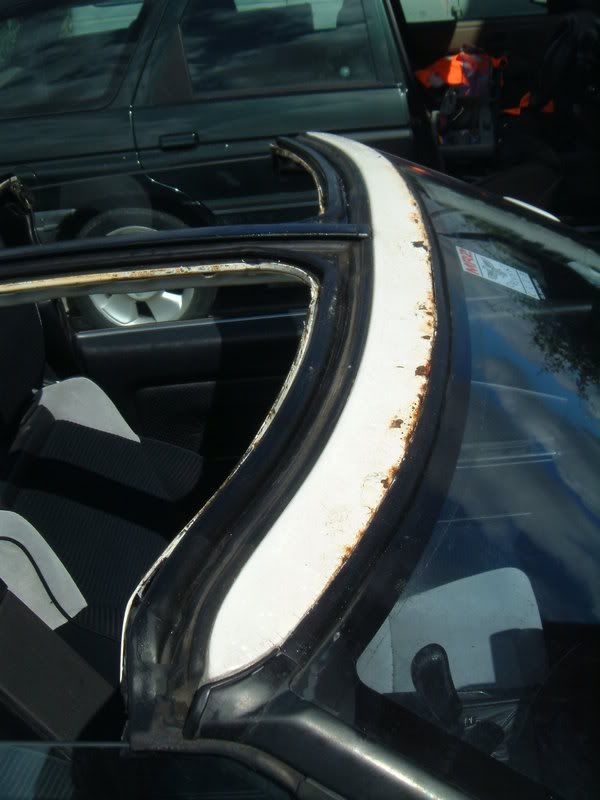
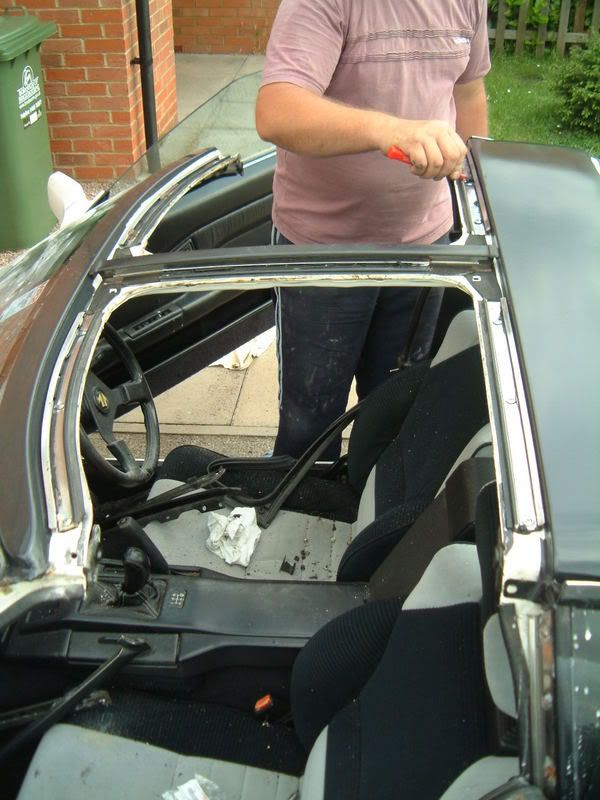
This is how the roof started, general rust on the header rail.
This next shot is the headlining removed

Start by taking the t-bar glass panels out
& in the corner of each t-bar rubber there is a solid plastic triangle piece held to the roof by screws, remove these screws
& put them in a safe place
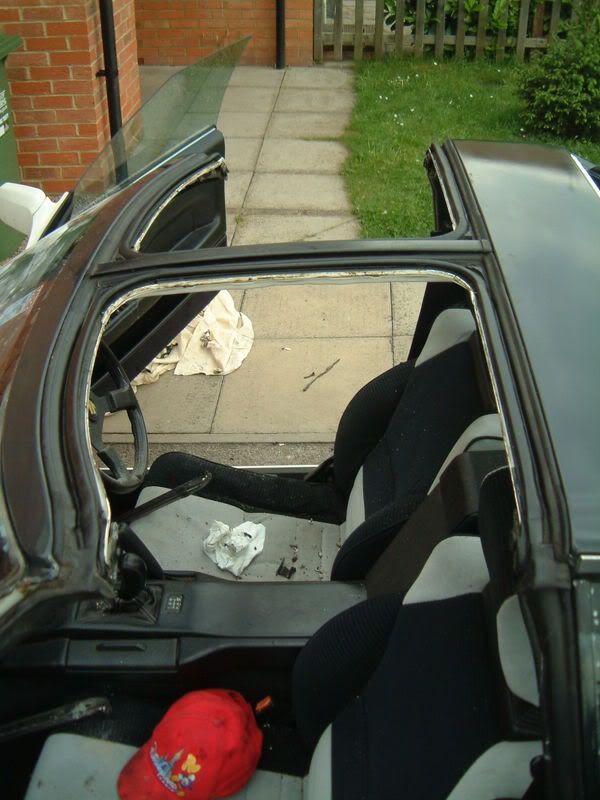
once the screws are removed, use a flat bladed screwdriver to prise up the plastic trim on the corner
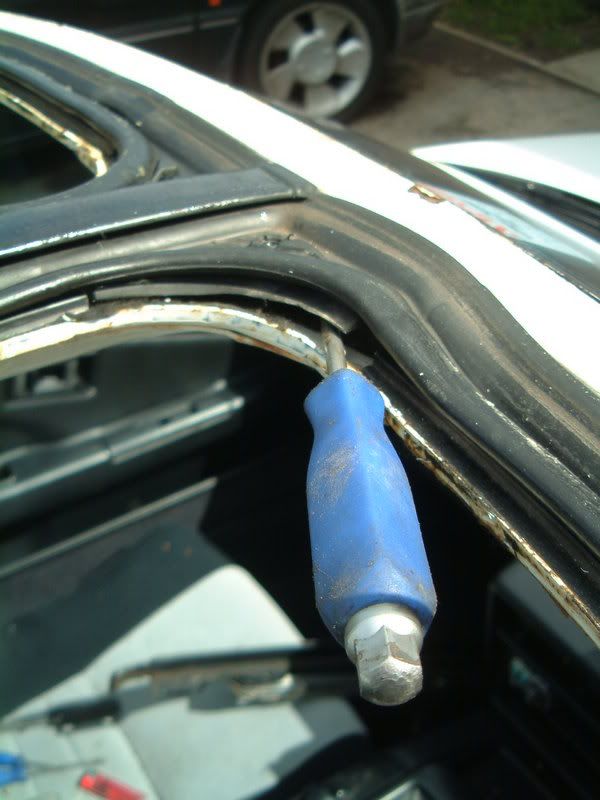
once the corners are out pull the rest of the rubbers from their runners, but do this carefully, they need only be pulled as far as the door opening
& repeate the same at the back of the roof

Once the rubbers are out of the way remove all of the Philips screws which hold down the trims
& if possible replace these with new ones as they may have rusted quite badly if your roof has been leaking
( Toyota Part No 90168 40061
) you will need 12 of these in Total
( the ones on the centre rail are different
)
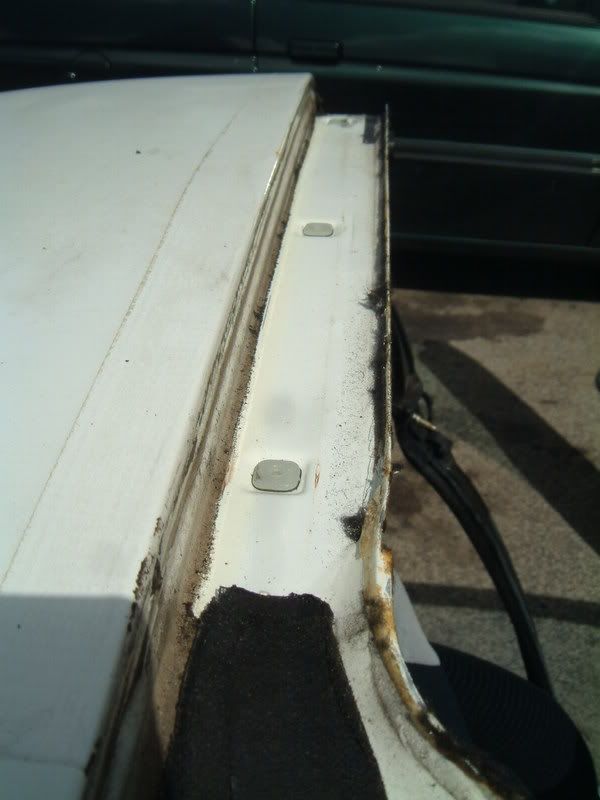
Once the trims are removed you can see the trim clips
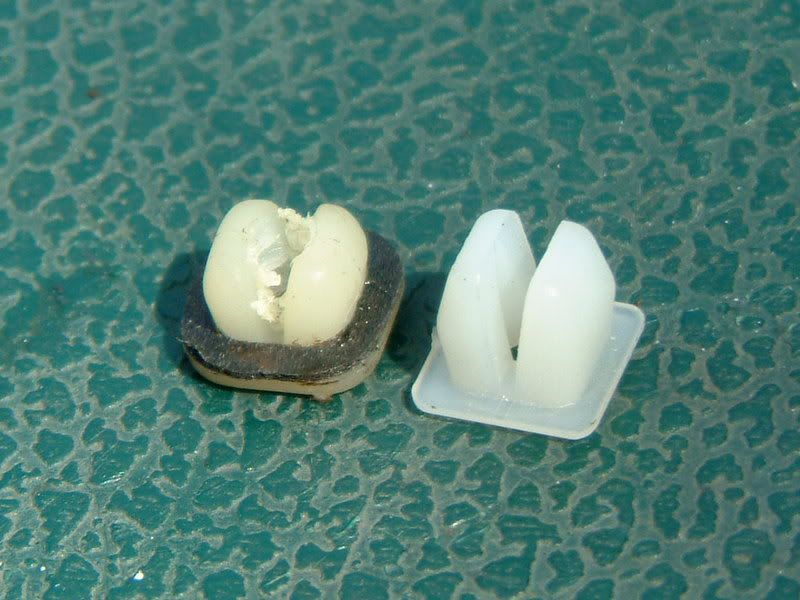
Old trim clips
& the new ones
( note the black rubber band on the original clips, these often perish which allows water beneath them
) the new clips have longer legs on them which help keep them in place.
Unfortunately i dont have a part number for these new trim pegs, so if anyone has a number i will include it here for others to use.
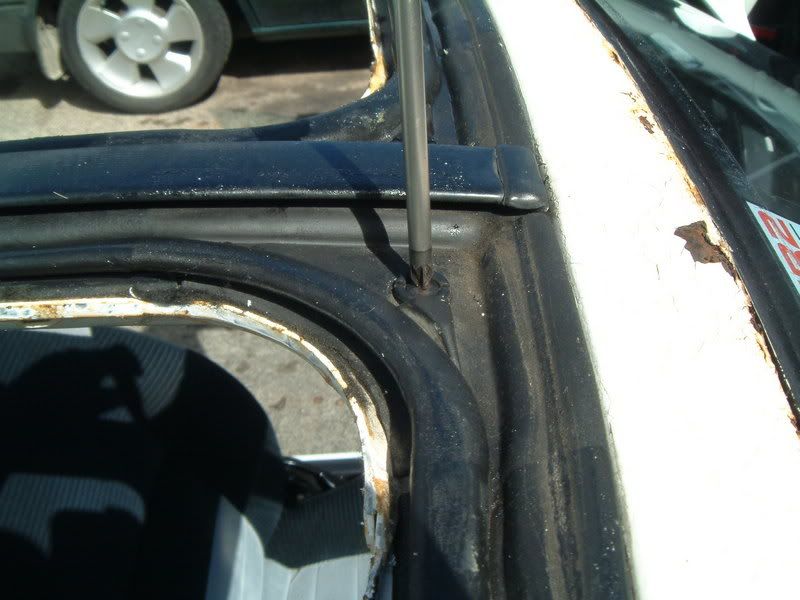
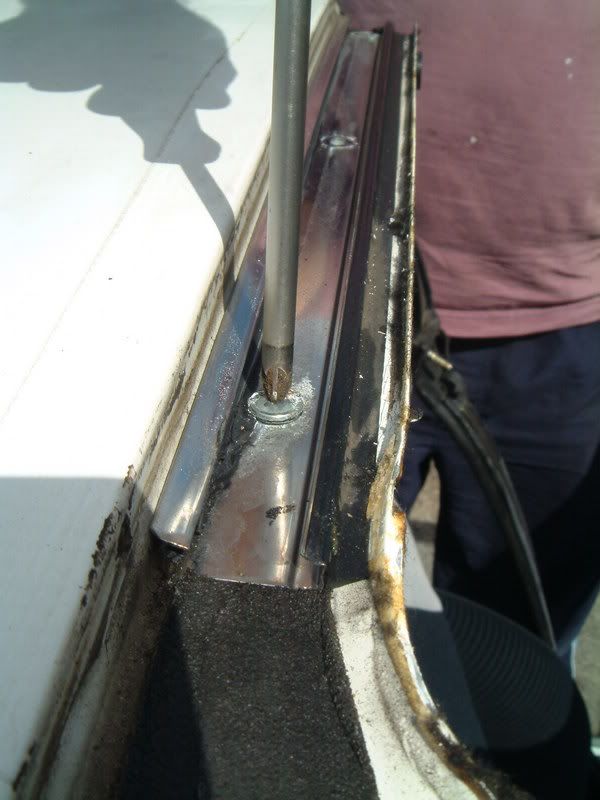
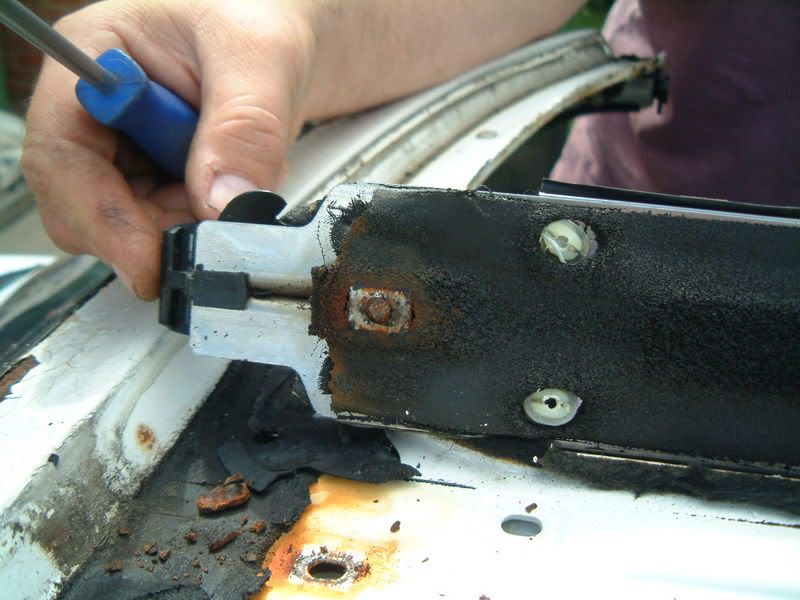
The centre rail causes problems of its own, because the roof flexes the retaining bolts snap off from the underside of the rail as they are only spot welded on
!!

, add a touch of rust with this
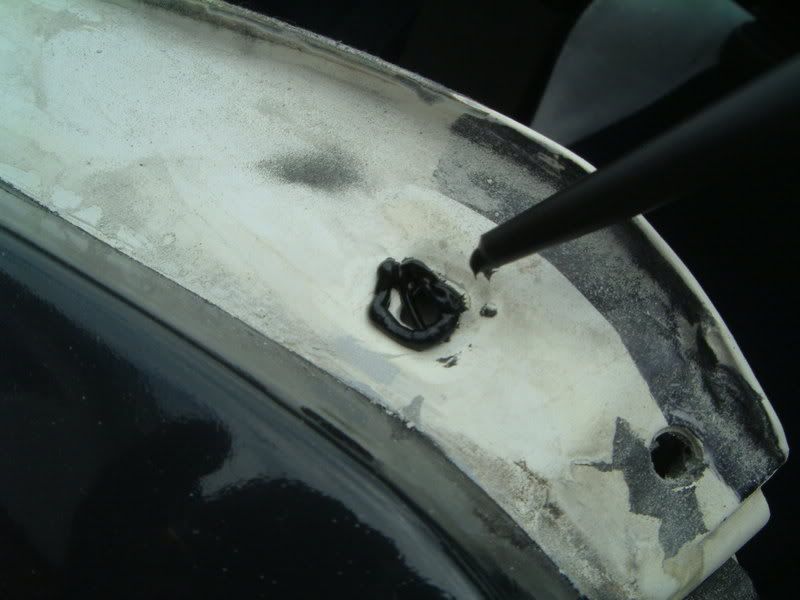
& it offers next to no leverage on the glass panels which slot into it, the picture below shows a sheared off bolt
& the rust staining.
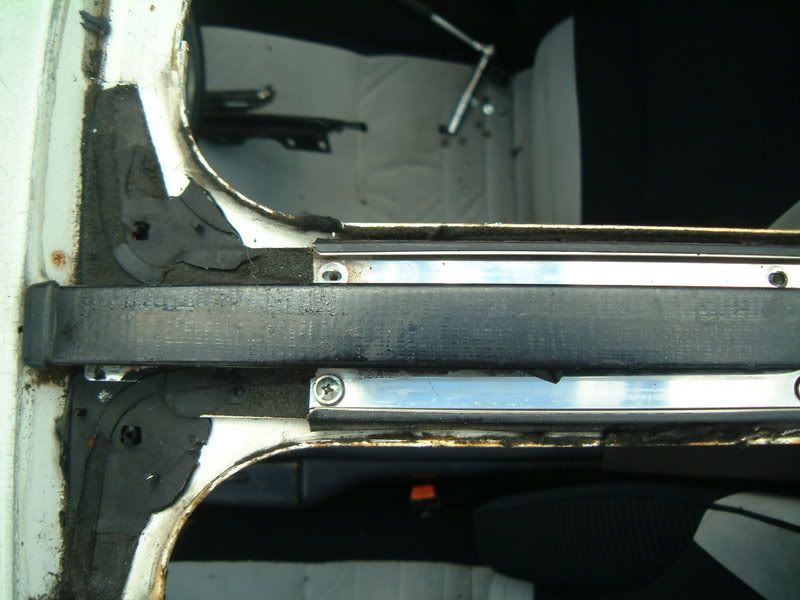
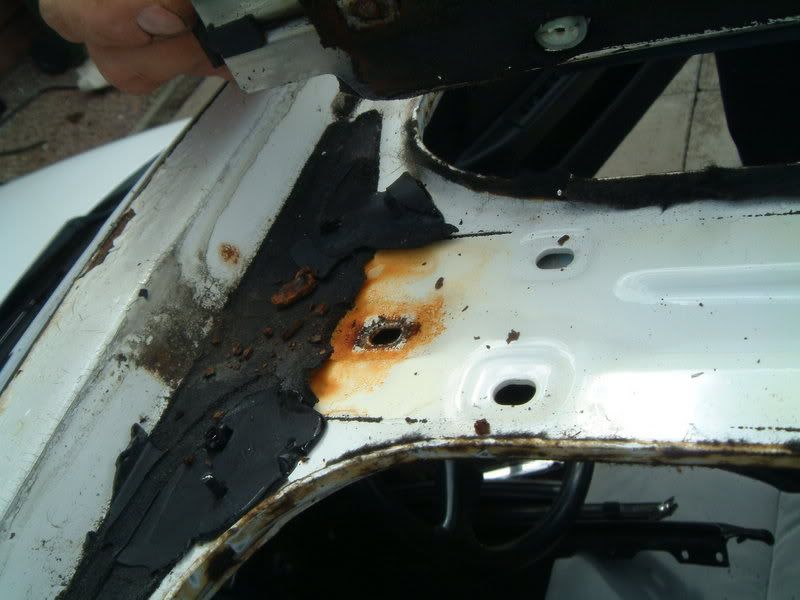
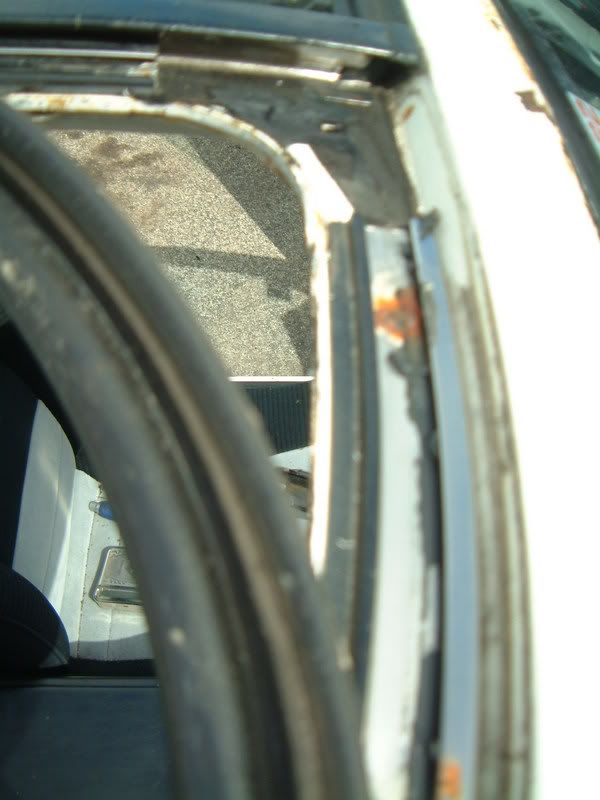
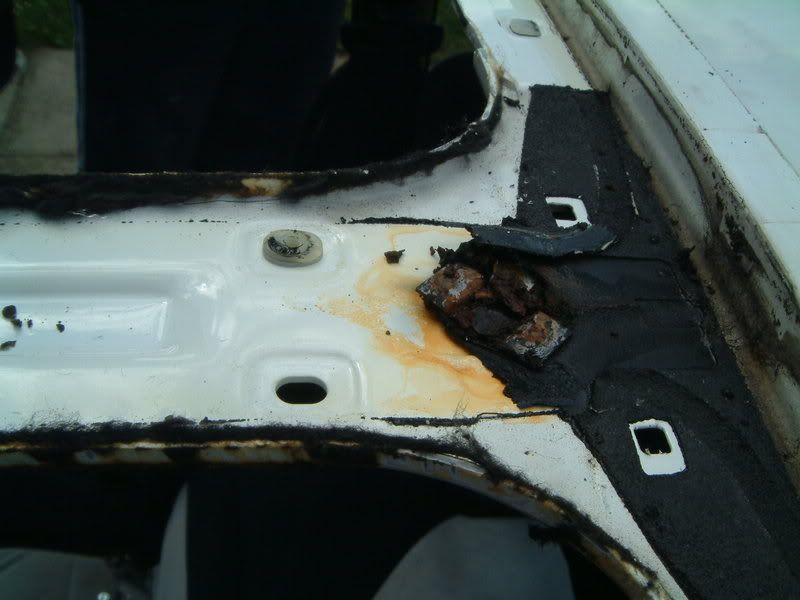
& the same with the rear of the centre bar, you can actually see the remaining clip which has broken loose of the centre rail, also note the staining around the hole.
.
.
thats where the water gets in as well as around the front trims
!!.
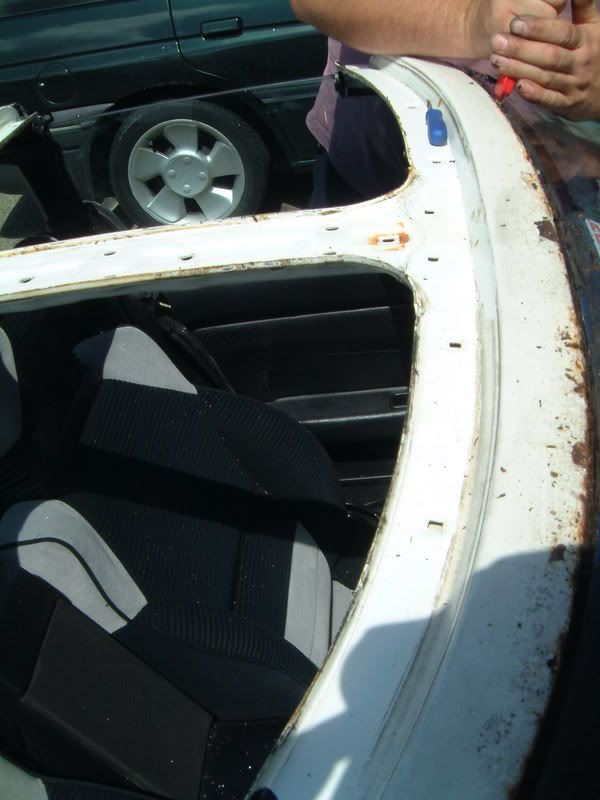
This picture shows all the trims removed
& the whole area thoroughly cleaned.
Prise out all the old clips, then with a sealant gun run a square of sealant all the way around the slight indentation of where the clip fits into the roof, then press a new trim clip in place
& smear the sealant around the edges of the clips to help keep that water out.

Take each metal trim piece
& lay a line of silicone sealant along the botom of the trim in the centre
& make sure you do a circle around the screw holes for extra protection, then all you need to do is start refitting the trims, you cant get them mixed up they will only go in one way.
Once done the roof should look like this

.
Dont be fooled into thinking this is a small job.
.
.
its not, it took us most of the day, although we also sprayed the roof too,
& cutting corners or only doing part of the roof is just a waste of time, if the roof leaks then the whole lot needs doing, i can guarantee that if it has been done properly then you will never have a wet headlining again.
Hope this has given you the enthusiasm to try for yourself, cheers, Jinxy