Superedition project part 1 of 3 completed ~ Pic Heavy ~
Moderators: IMOC Moderators, IMOC Committee Members
-
Lauren

- IMOC Committee
- Posts: 38632
- Joined: Mon Dec 13, 2004 5:37 pm
- Location: Greater Manchester
- Contact:
Re: Superedition project part 1 of 3 completed ~ Pic Heavy ~
autobody wrote:
O yeah I still got that, I just need a mint visor to put it on.I've already paid for two from ebay which were advertised as mint and they come all scratched

As Mark had them screen printed at great expense, that decal is about as close to the original as you can get.
2020 GR Yaris - Circuit Pack 
Re: Superedition project part 1 of 3 completed ~ Pic Heavy ~
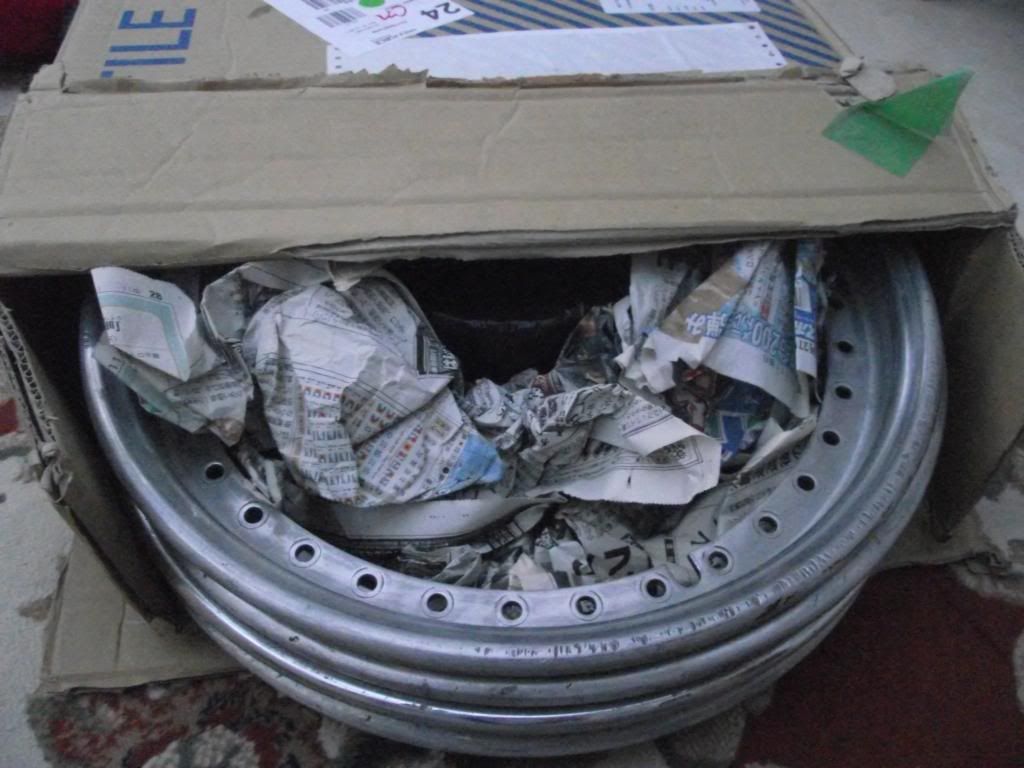
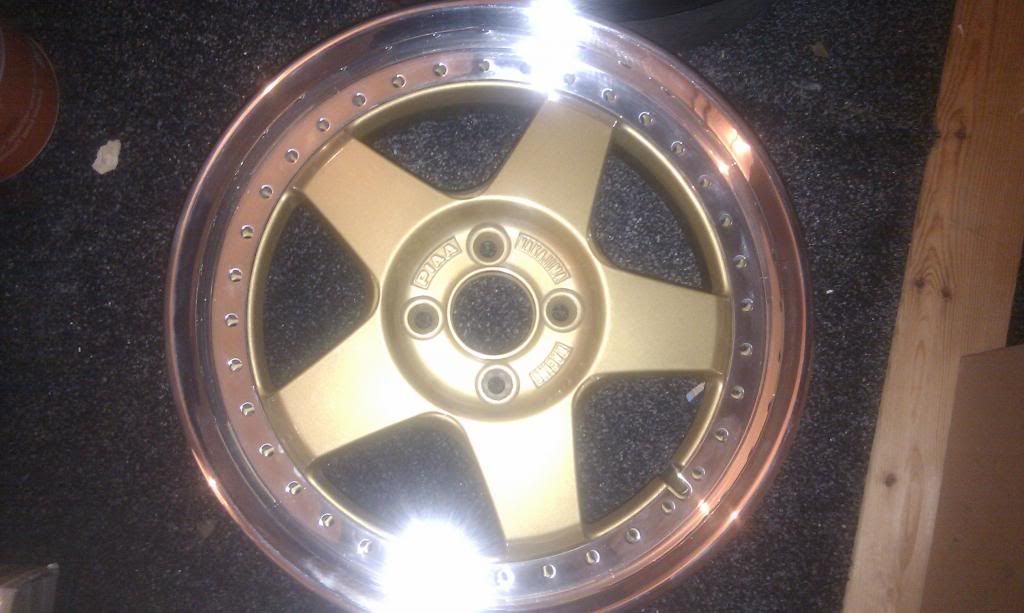
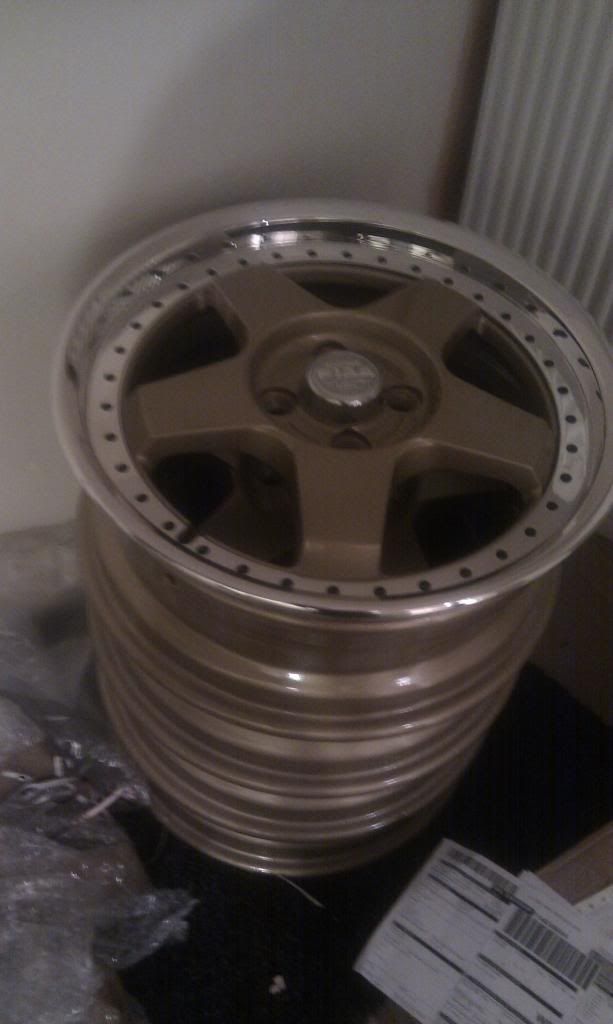
A project over the winter just gone was to get the alloys referb. I do not have a pic of what they looked like when they are split but found this pic, they are 3 pieces:
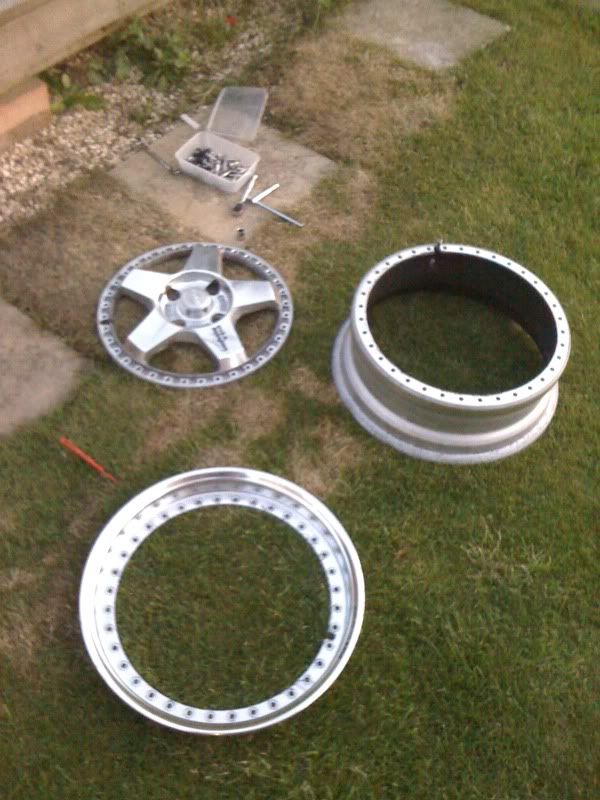
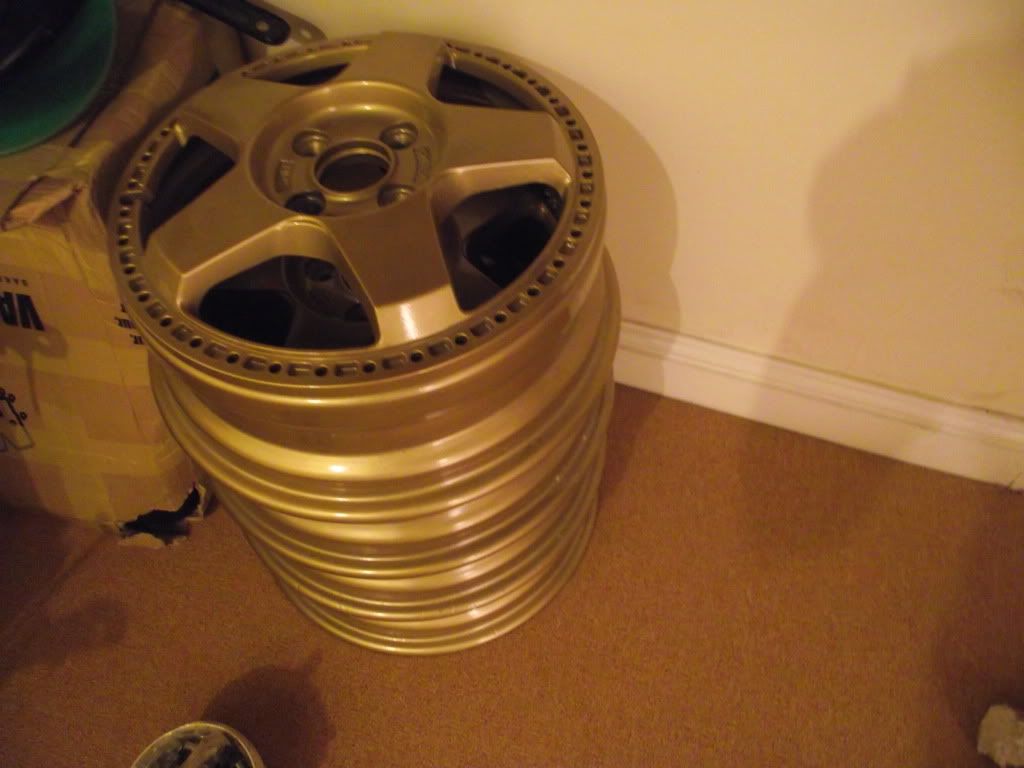
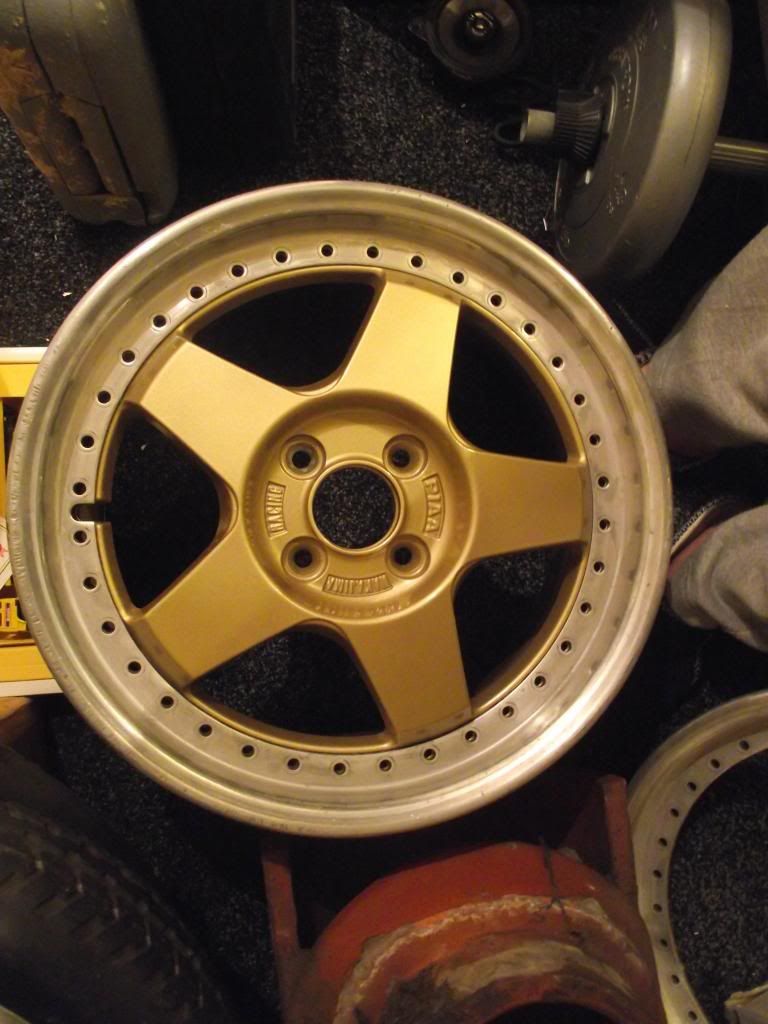
I got the seller to powder cote them gold as his dad had a company so got that done cheap:
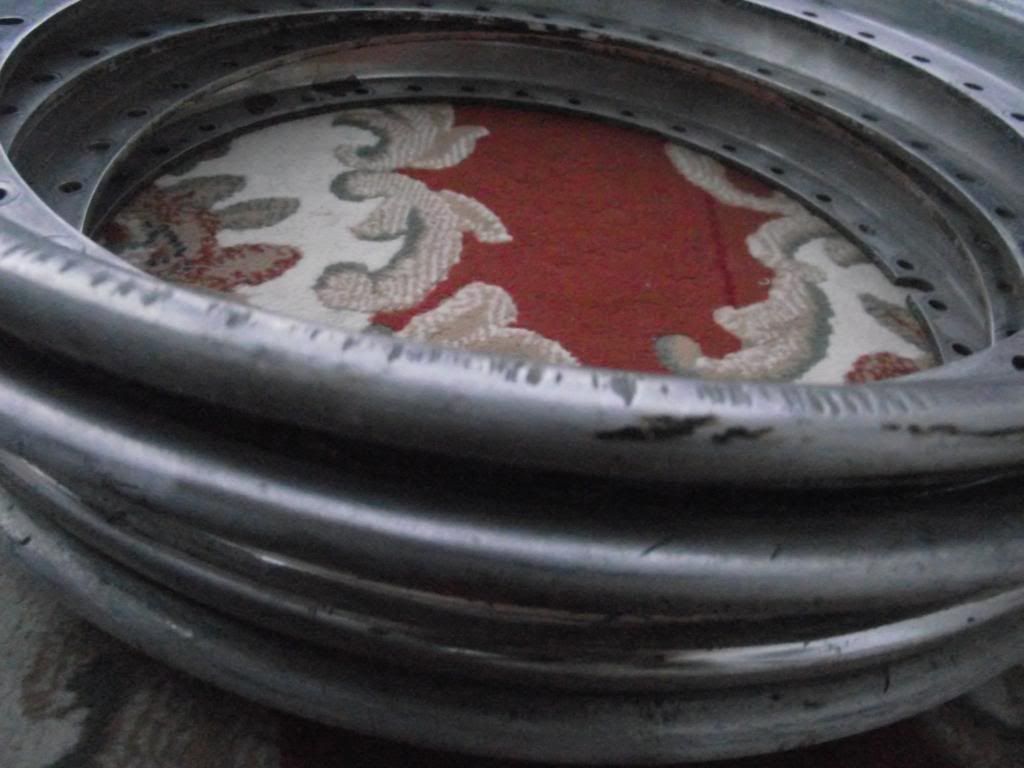
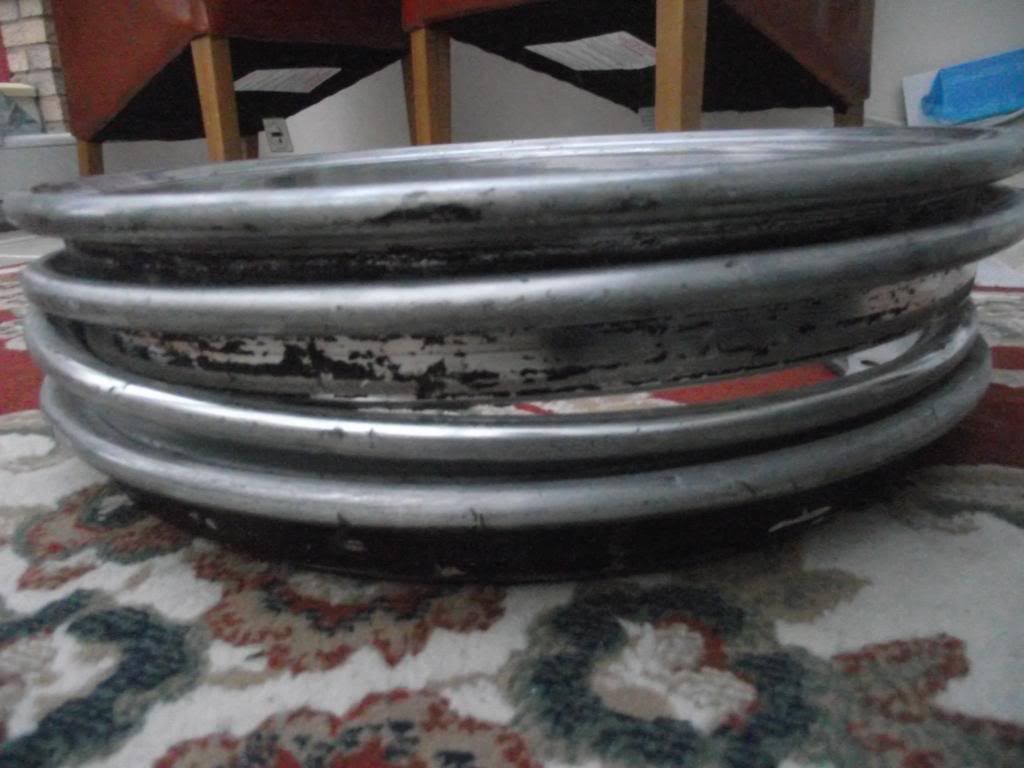
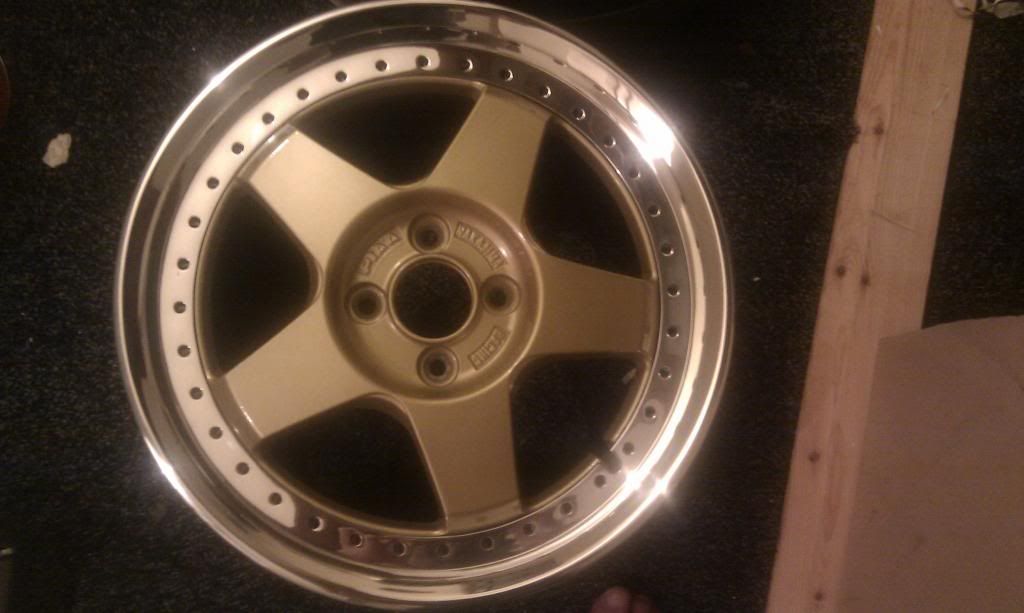
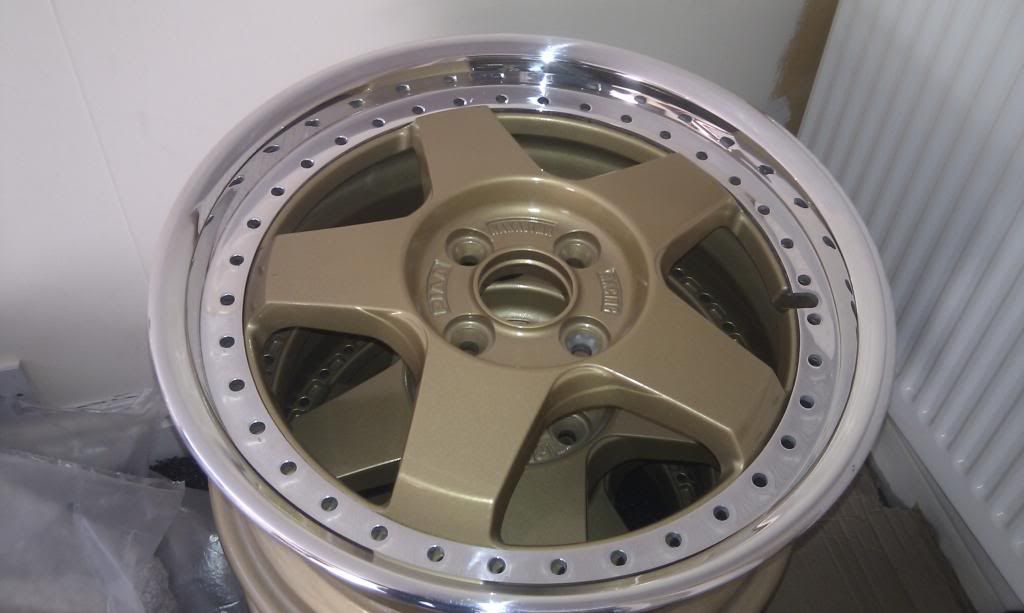
Next was the rims, I could have sprayed them but wanted the mirror shine. so before :
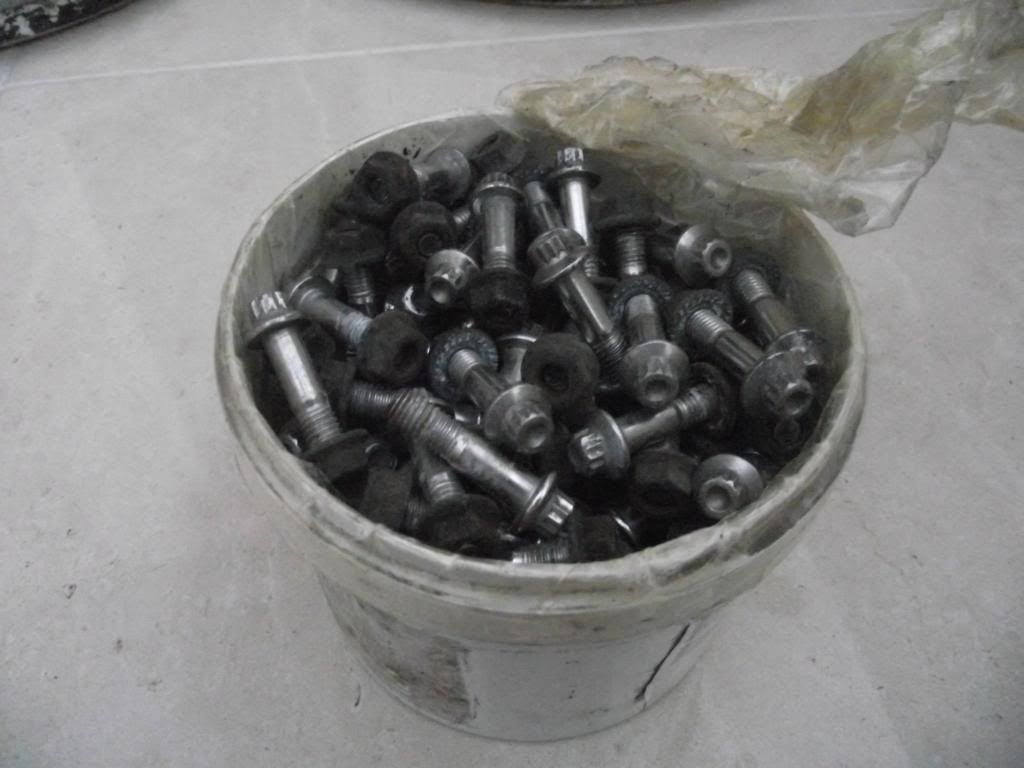
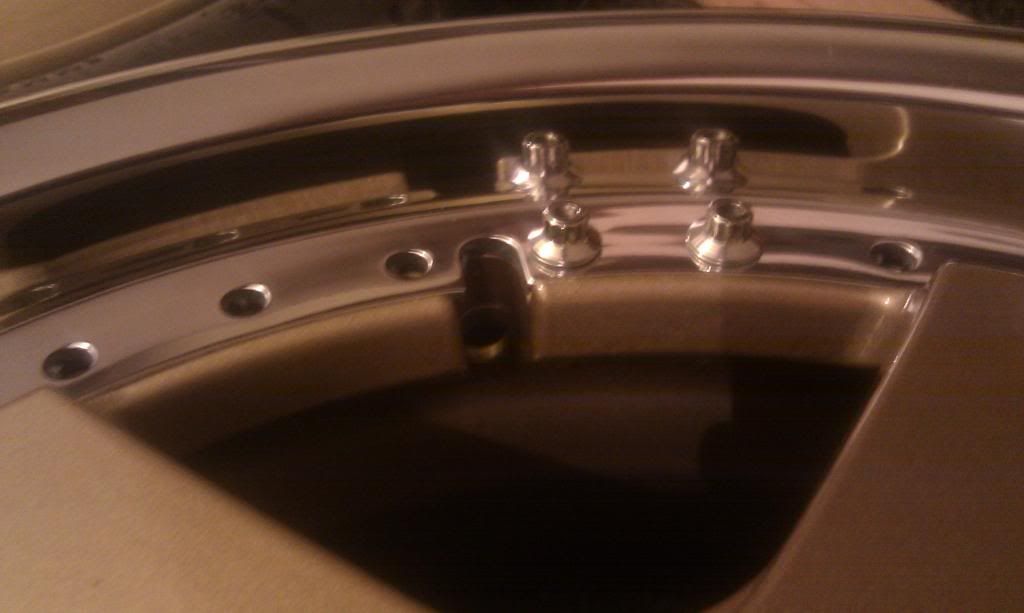
the nuts also needed a clean:
I got the seller to powder cote them gold as his dad had a company so got that done cheap:

Next was the rims, I could have sprayed them but wanted the mirror shine.


the nuts also needed a clean:

Re: Superedition project part 1 of 3 completed ~ Pic Heavy ~
almost finished now:
The bolts are nice and shiny too
Lets not forget the wheel chap(which took me forever to find :stop: )
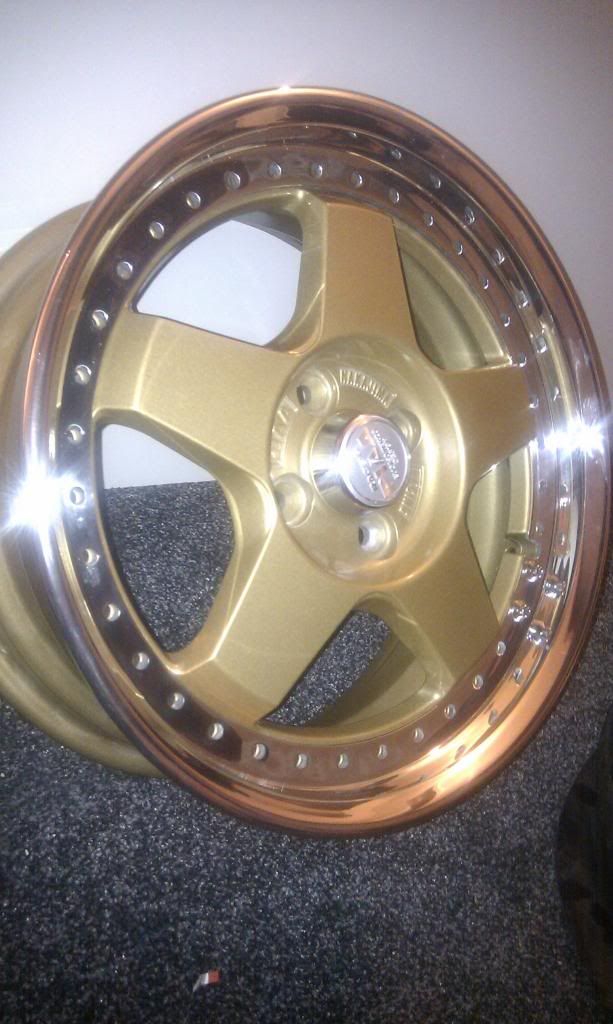
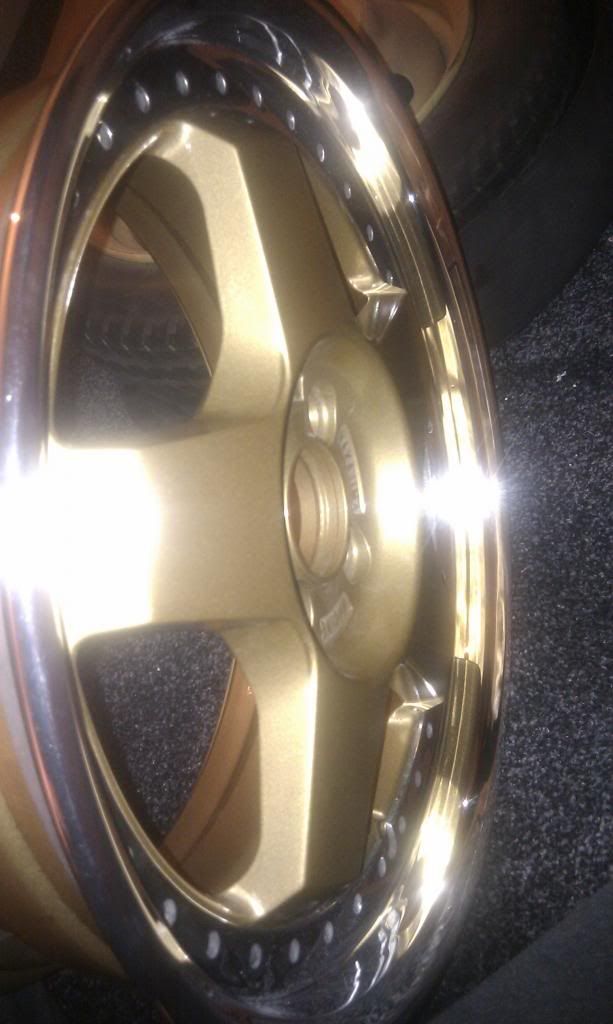
should have said I started to polish the rims but then gave up and paid a professional to do them  Very time consuming if you don't have the right tools and work space


The bolts are nice and shiny too

Lets not forget the wheel chap


should have said I started to polish the rims but then gave up and paid a professional to do them
Re: Superedition project part 1 of 3 completed ~ Pic Heavy ~
Wow this all looks absolutley amazing! The bodywork looks really well done. I could do with something similar done to my car. It's maybe not as far gone as this car was, but it could still do with a tidy up. Just out of interest, how much would you estimate the body repairs cost and the respray? Would love to get my bodywork done properly, but feel it may be out of my reach right now.
Also, I love the wheels! I've had to go for the poor man's version- Lenso BSXs. But I still get that deep dish look with the mirror polished rims 
Also, I love the wheels! I've had to go for the poor man's version
Re: Superedition project part 1 of 3 completed ~ Pic Heavy ~
Great wheels Imran 
I love 3-piece split rims
Would be interested to know the weight of a fully assembled wheel without tyre
Peter
I love 3-piece split rims
Would be interested to know the weight of a fully assembled wheel without tyre
Peter
Re: Superedition project part 1 of 3 completed ~ Pic Heavy ~
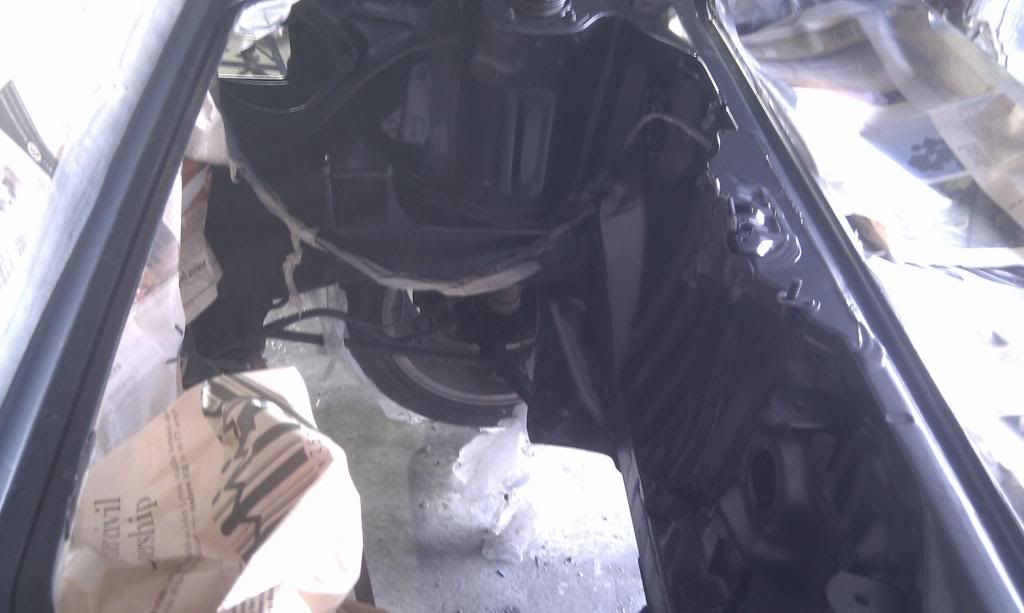
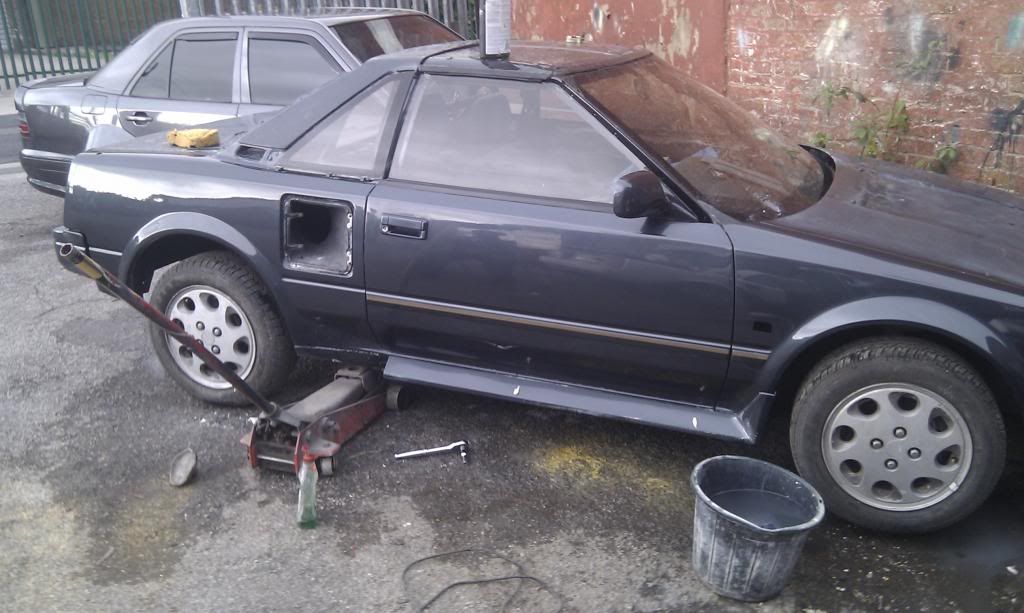
Realised I've not updated this for a while. Well stage 2 of 3 is now complete. car re-sprayed and looking good. Just then engine left now, which has been taken out of the car at with Peter for a rebuild.
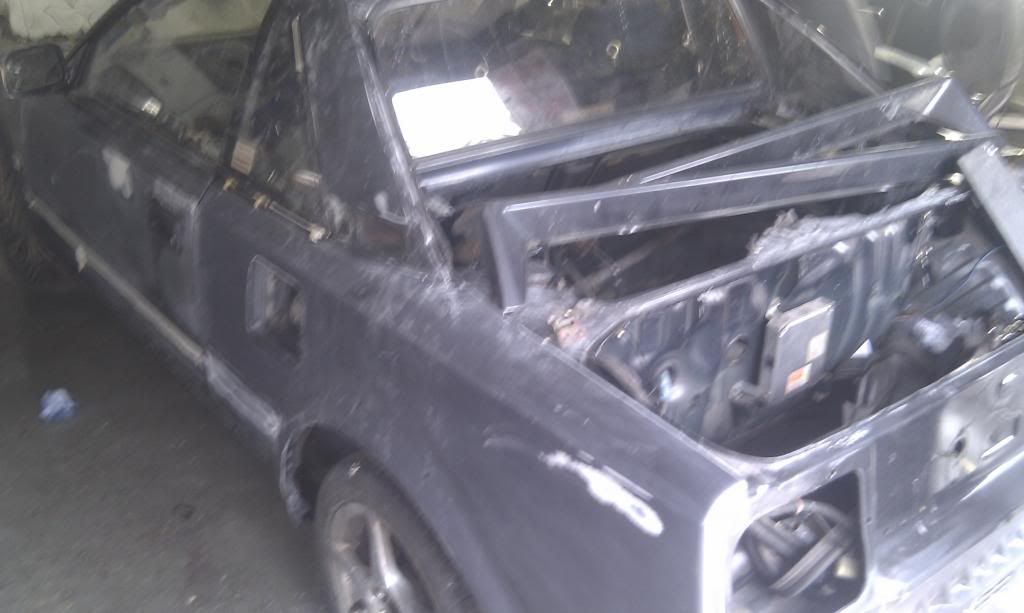
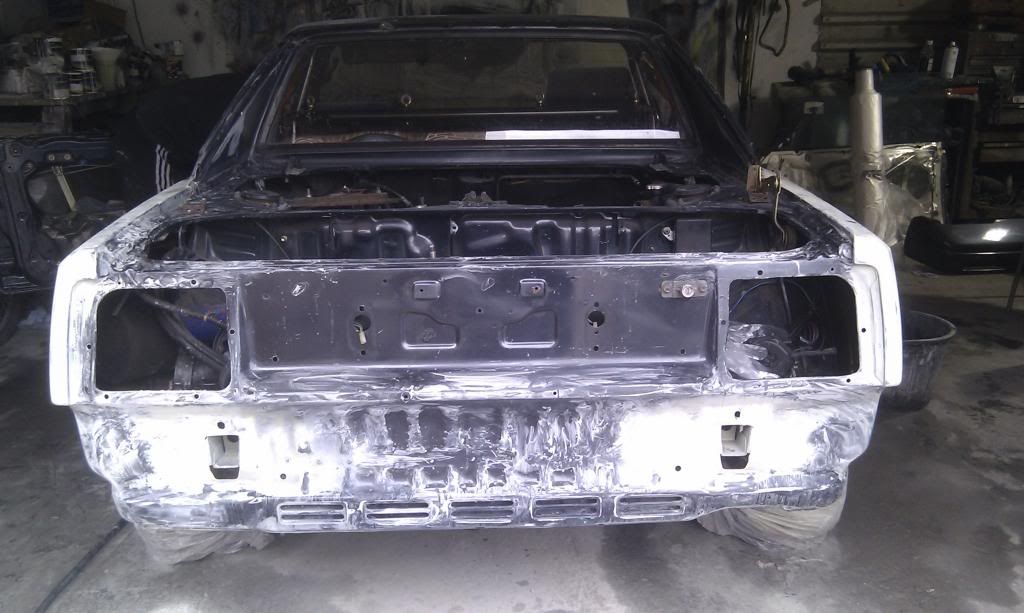
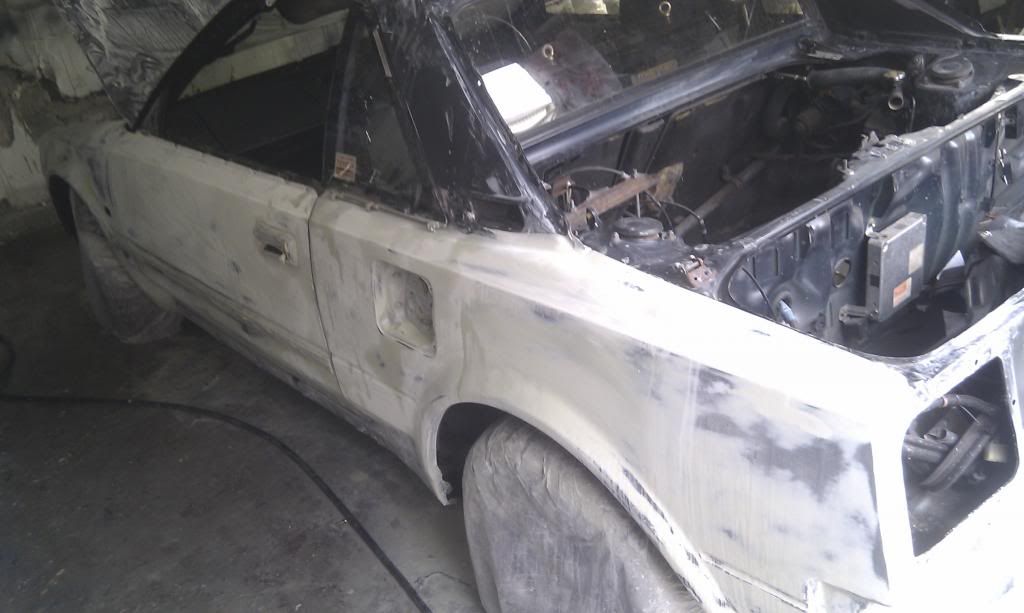
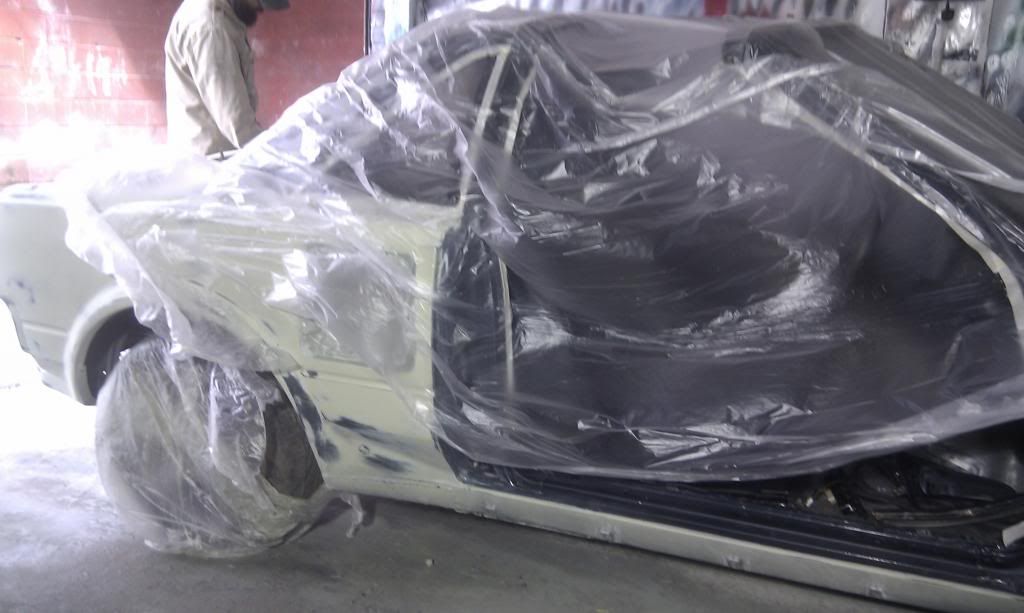
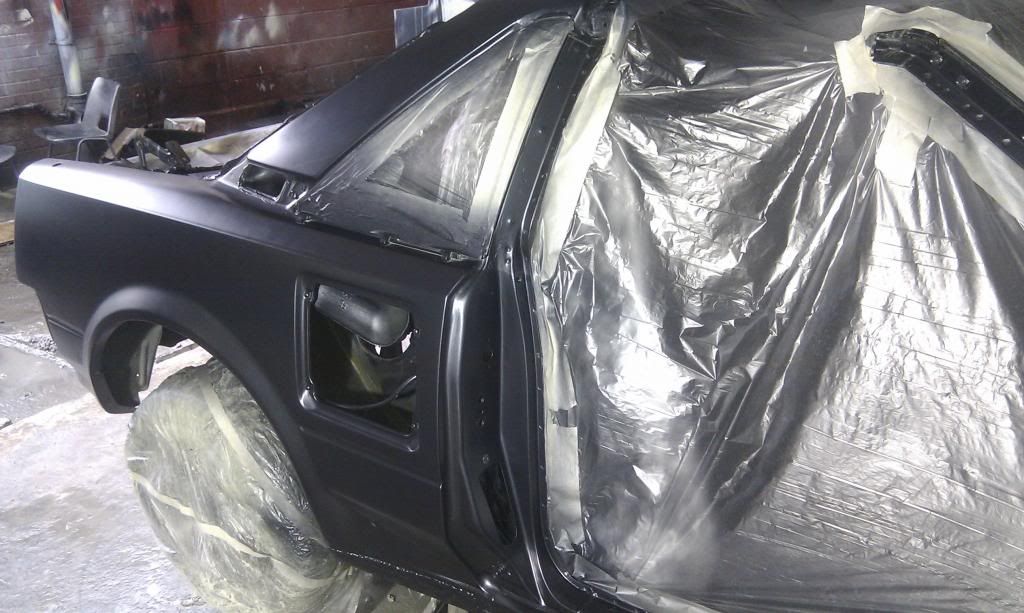
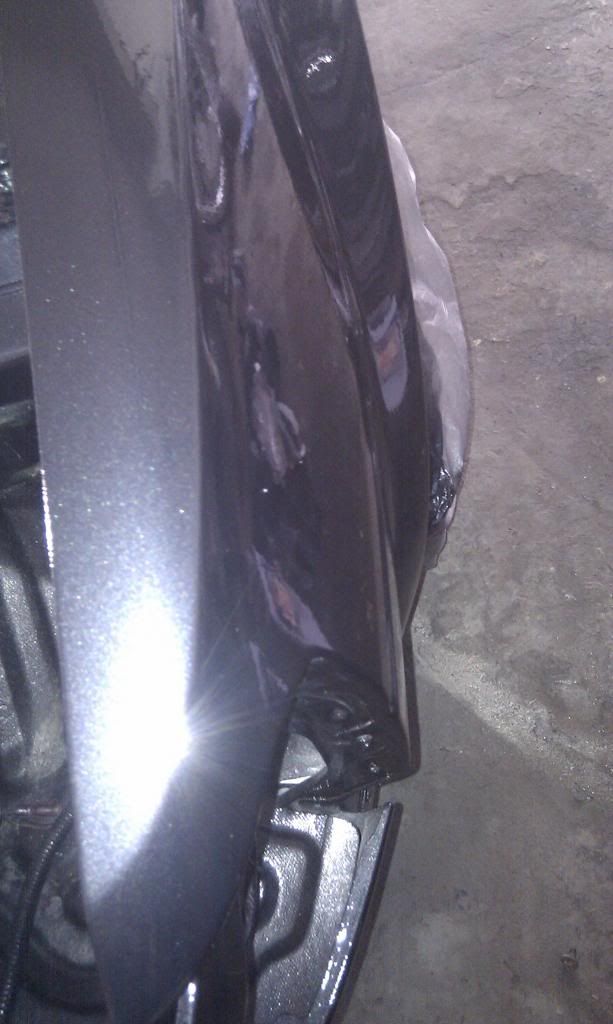
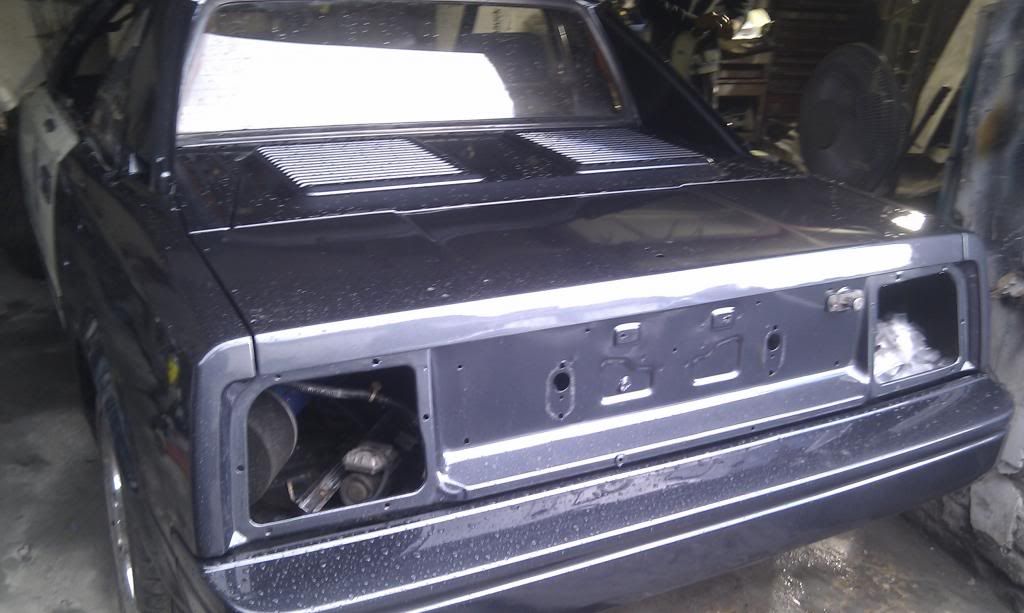
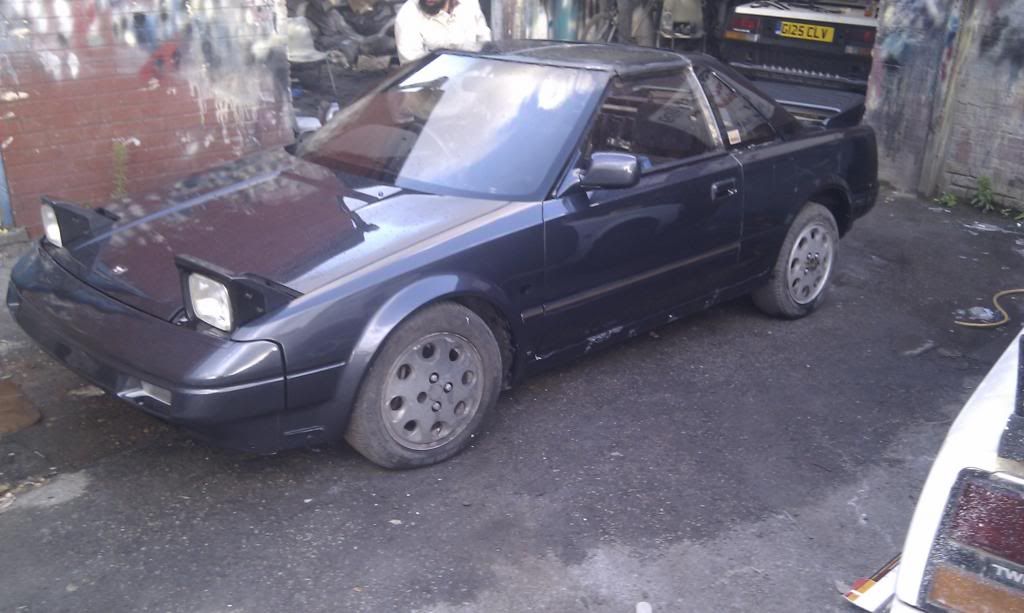
So the engine is out, which meant it was a ideal opportunity to get the car fully striped and sprayed. For some reason this car had a few very small dinks, but nothing that can't be sorted.
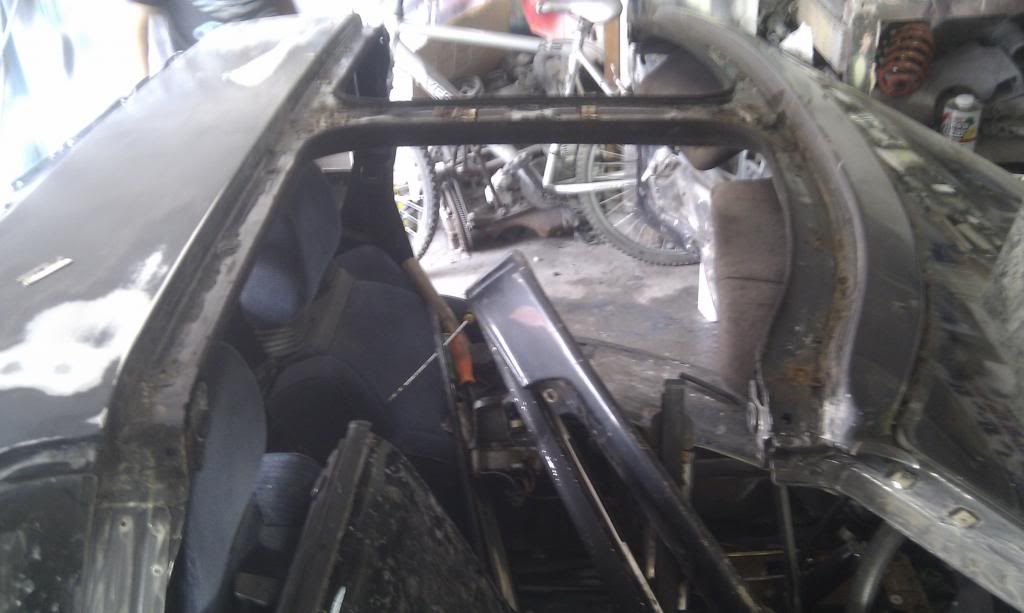
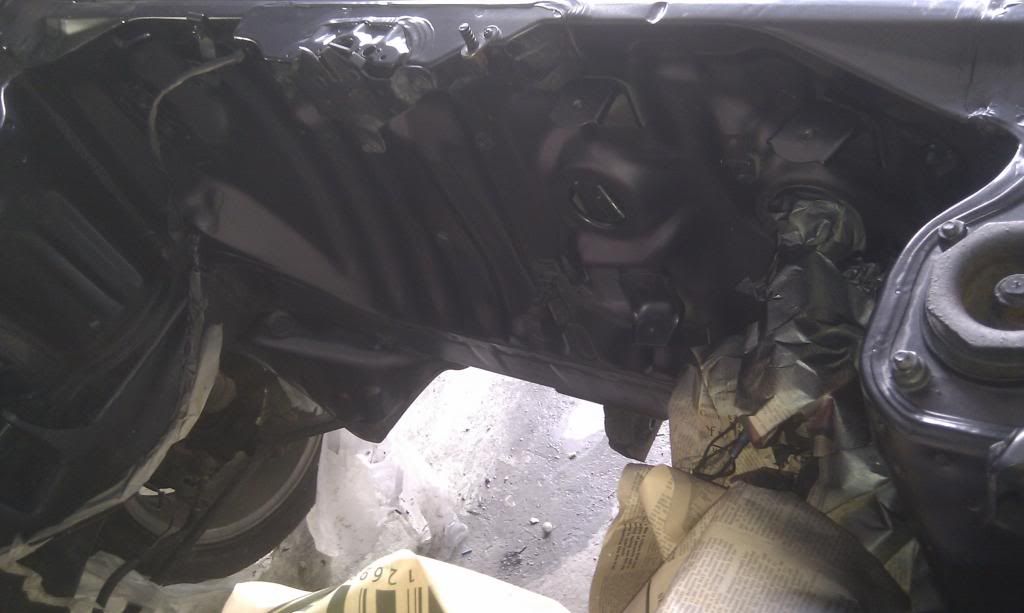
Car in a bit of a mess:
getting there slowly:
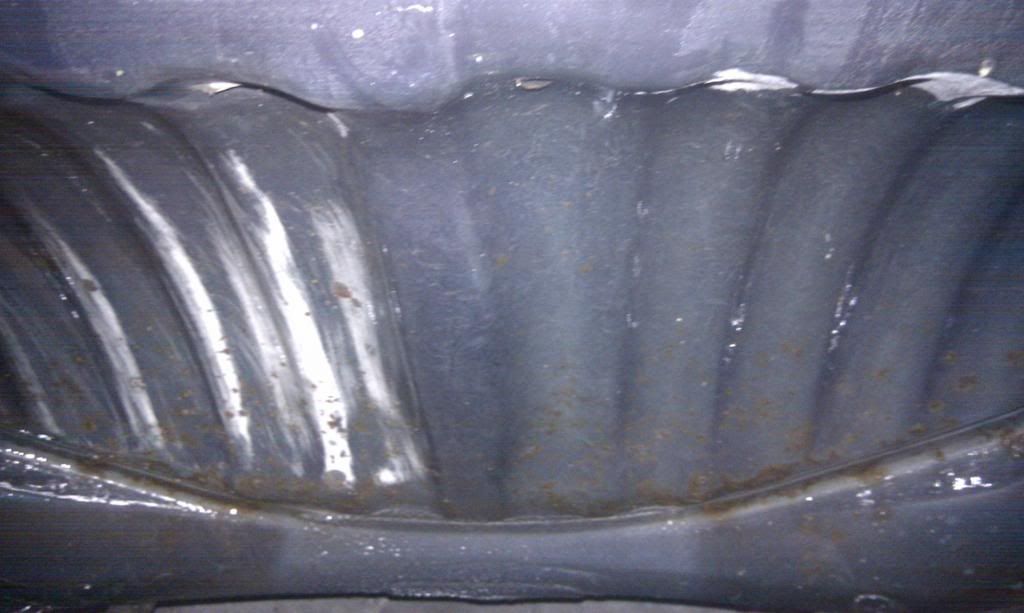
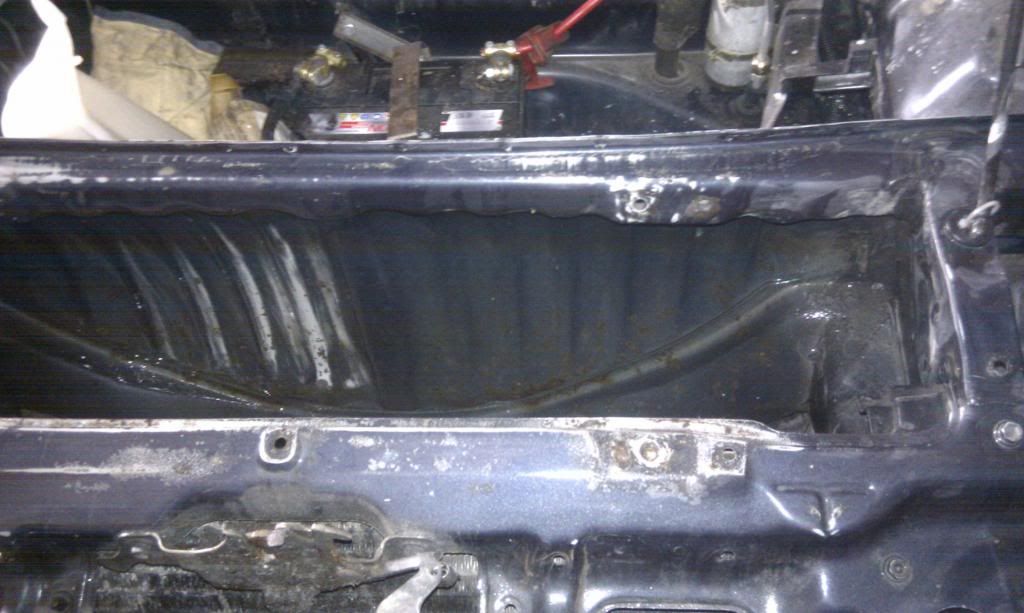
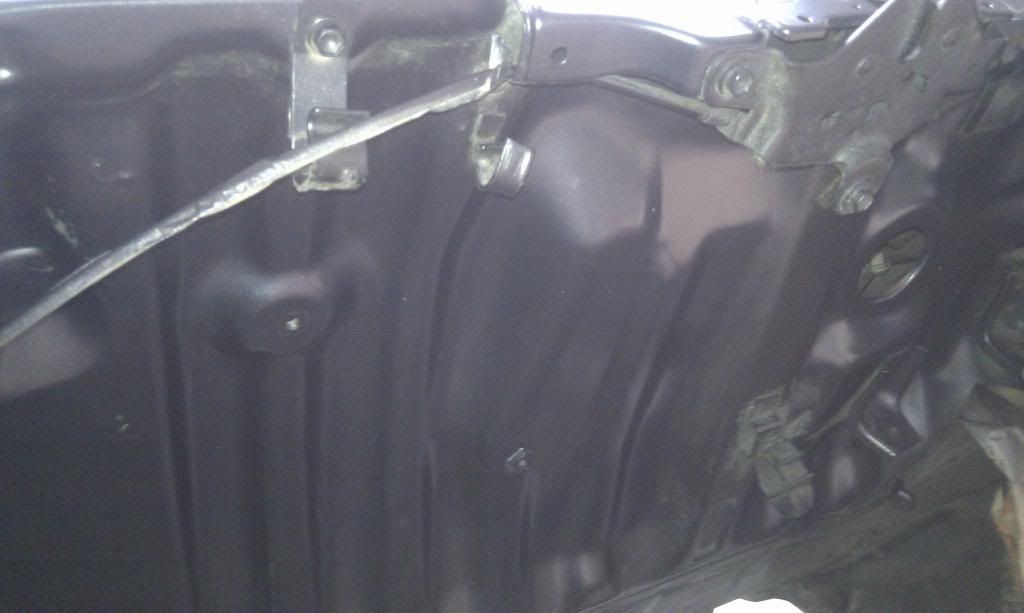
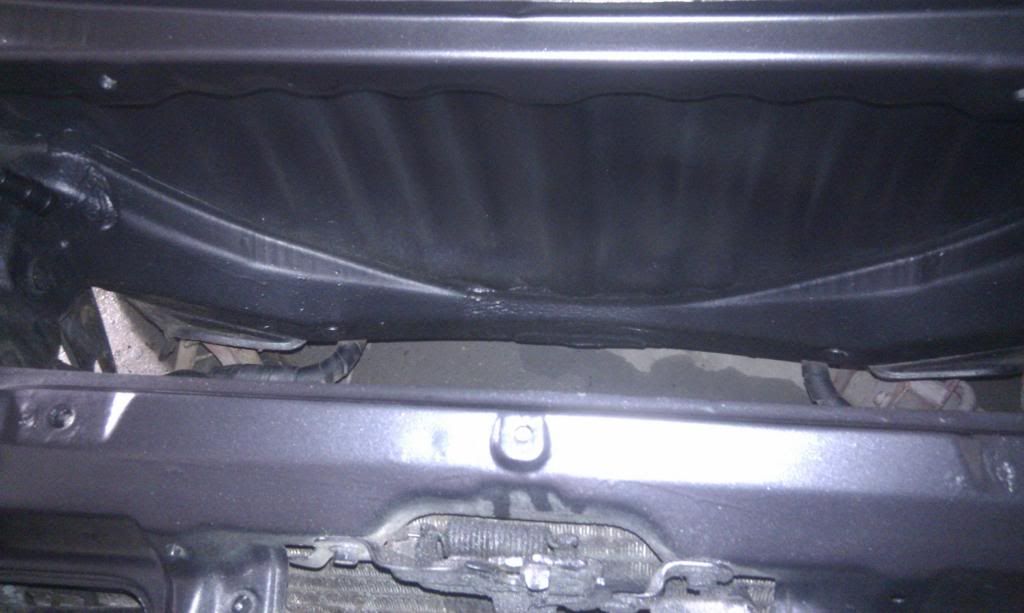
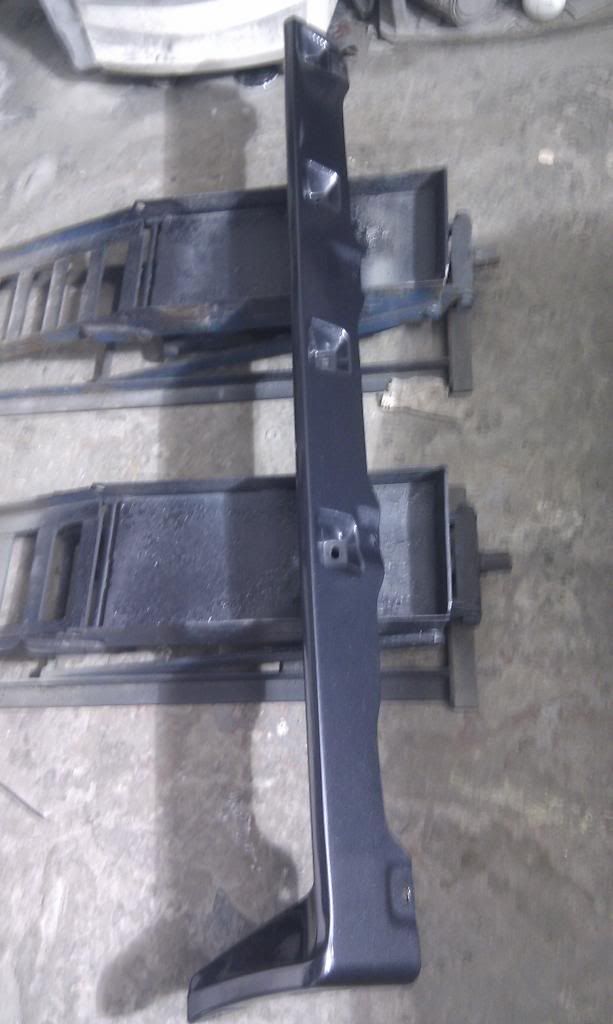
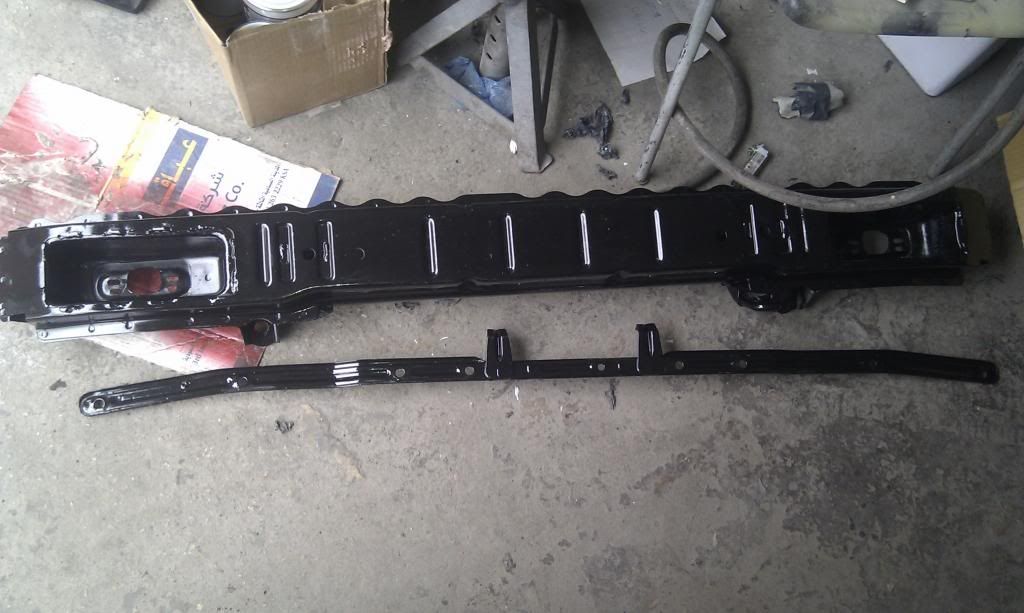
Is the middle bar on the t-bar meant to be welded on????
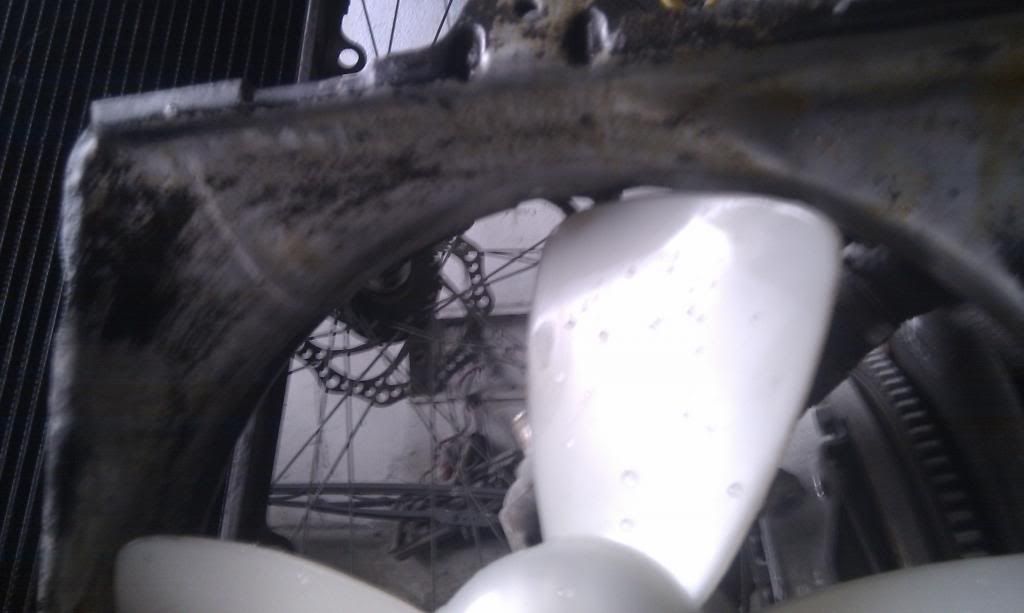
Removed the rad and fans as seen some surface rust in side and wanted to get it sorted, also the fans will be getting de rusted and painted POR 15
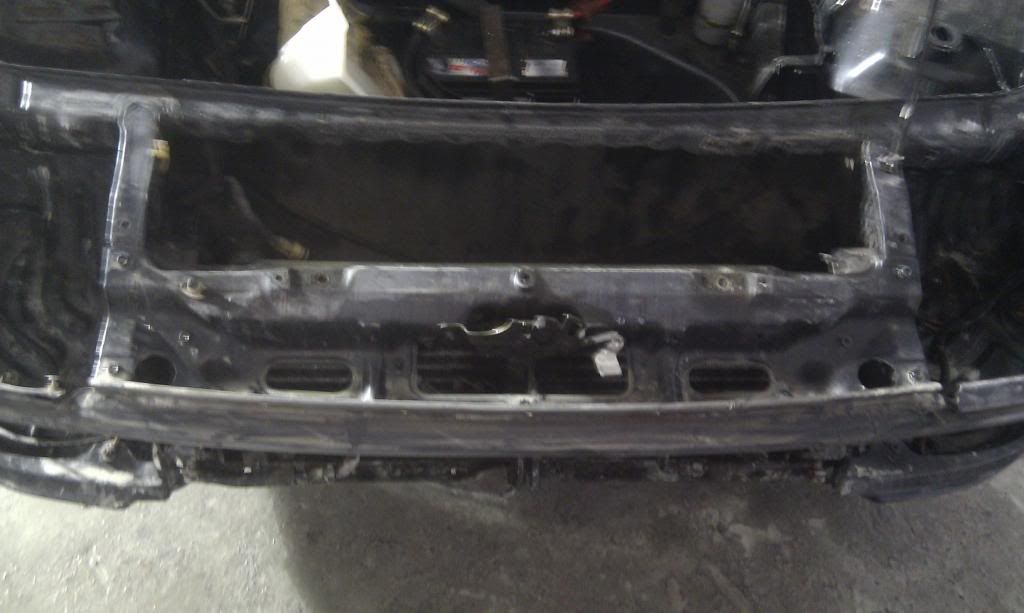
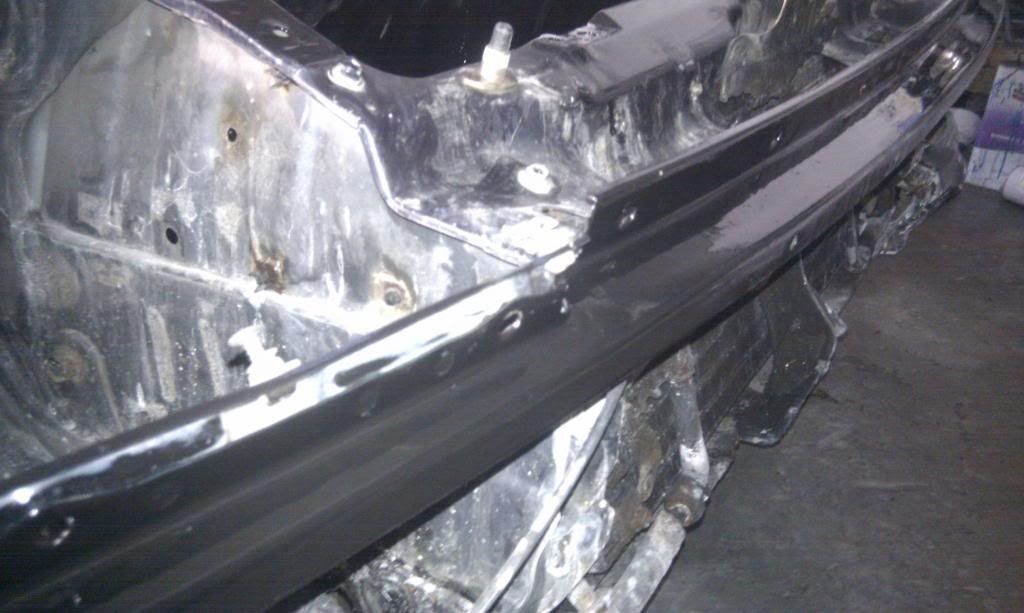
removed some of the paint and rust but still lots to do:
Got a bit carried away with the POR 15:

Need a new one of these;
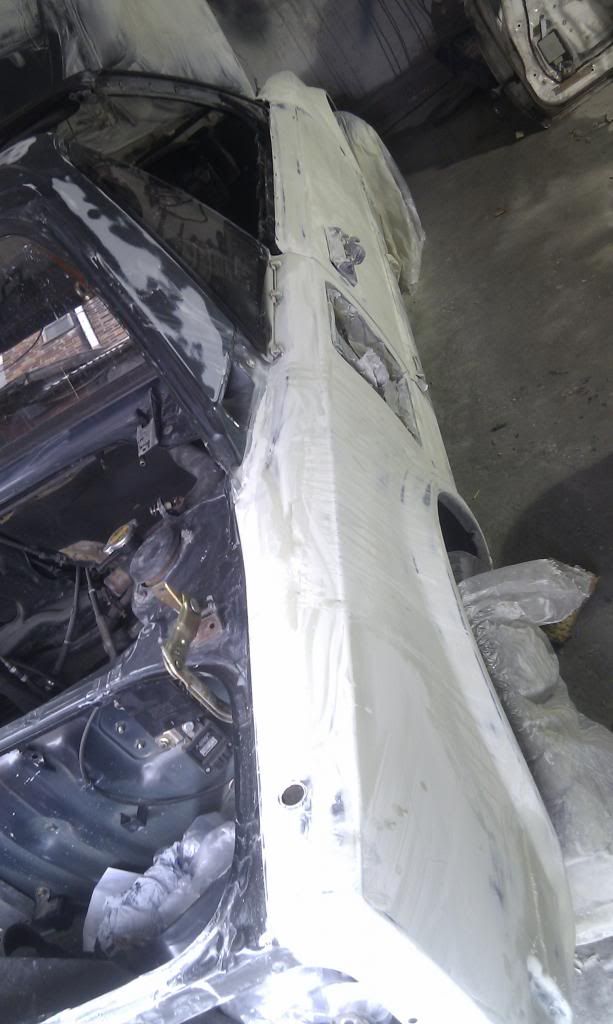
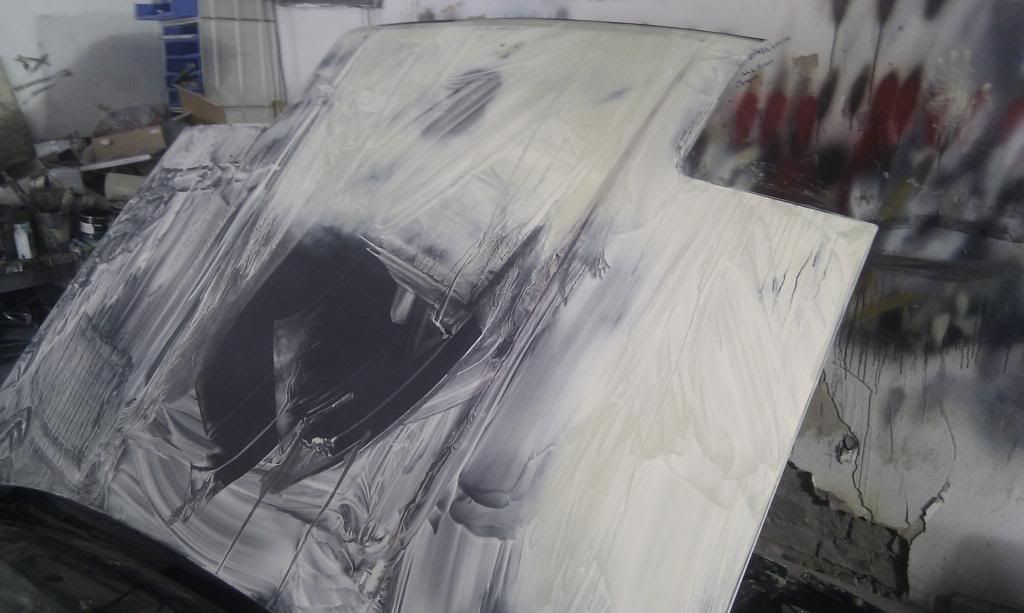
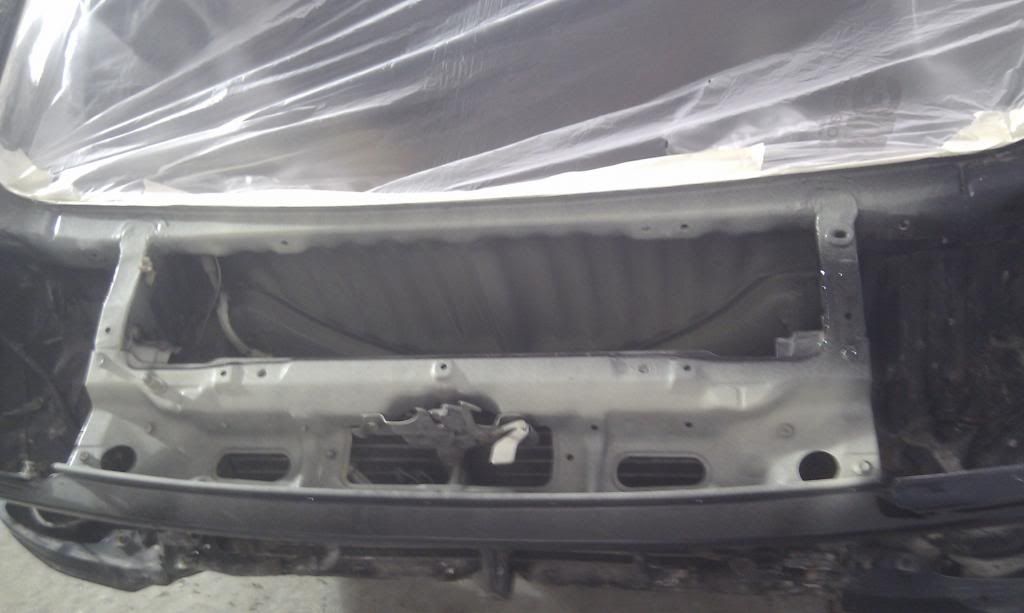
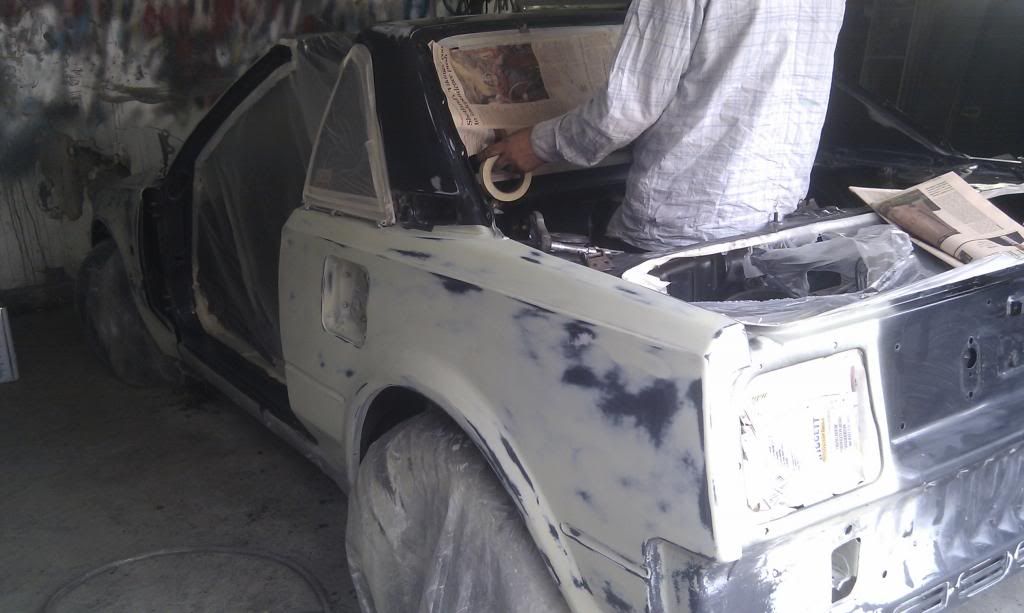
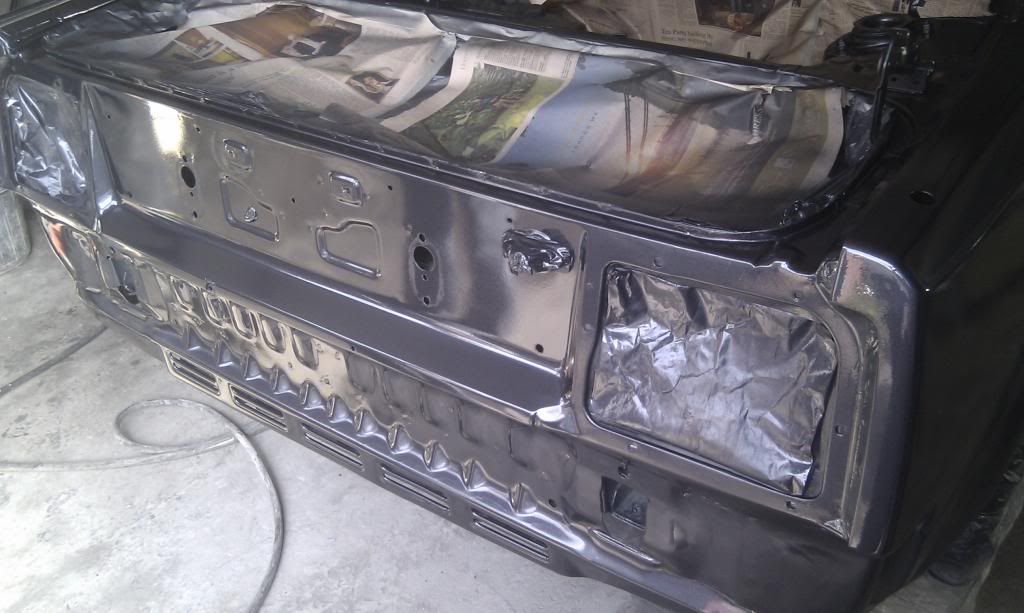
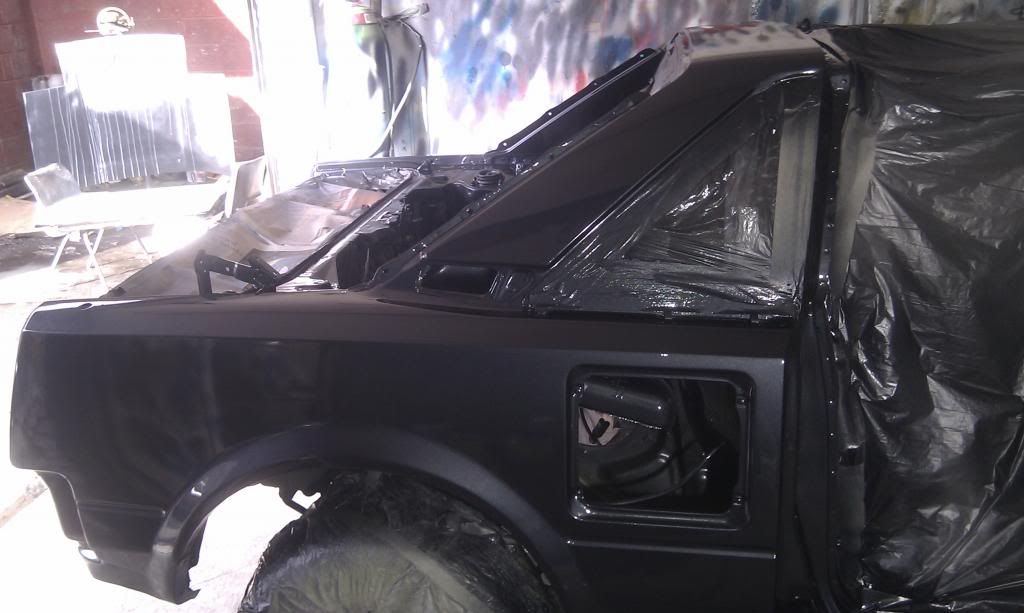
High build primer applied to the car with some black spray to check to low spots
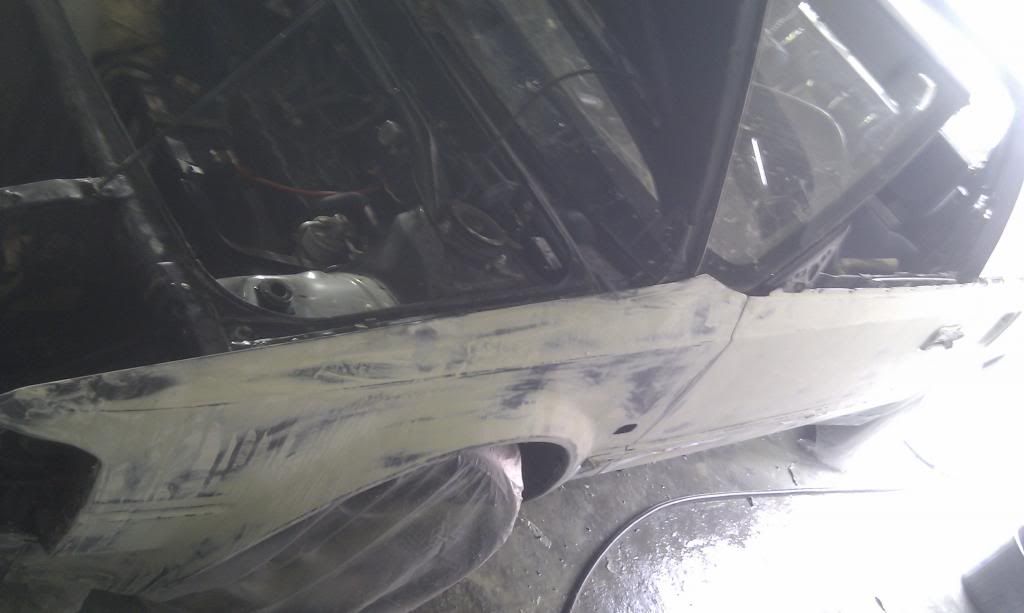
Getting there more:
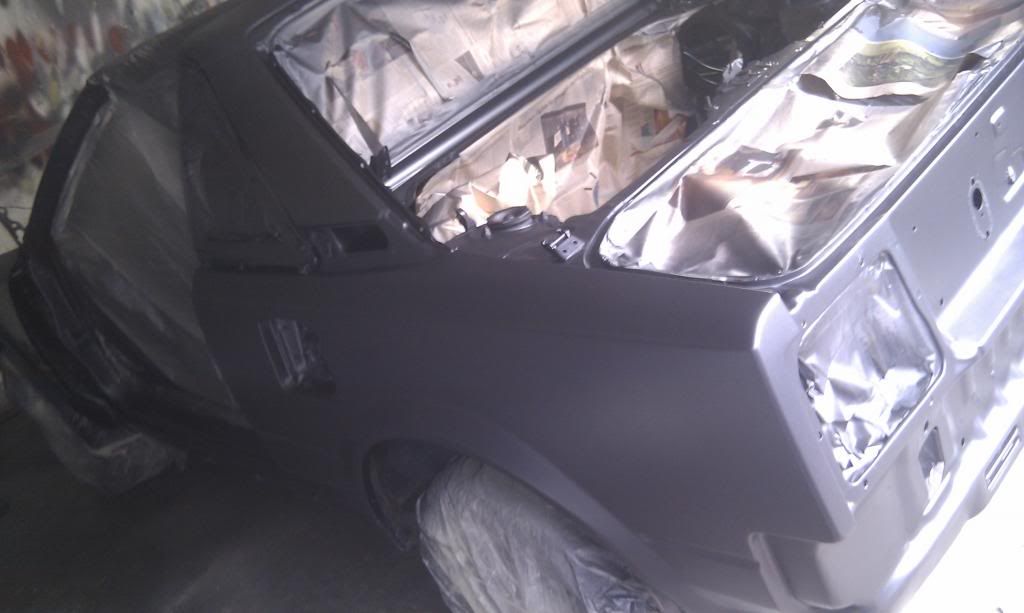
Getting ready for under cote then base cote:
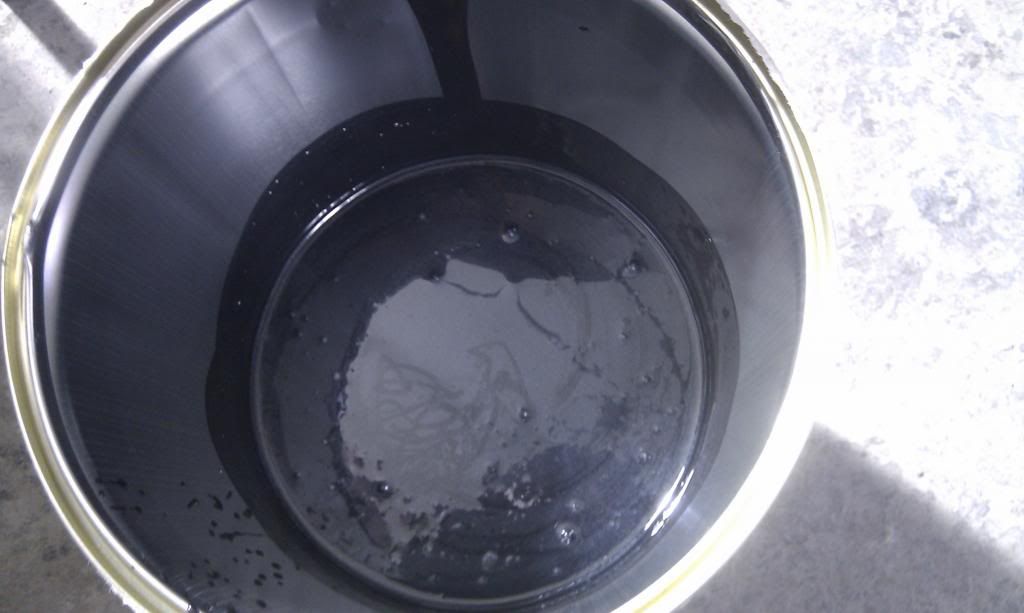
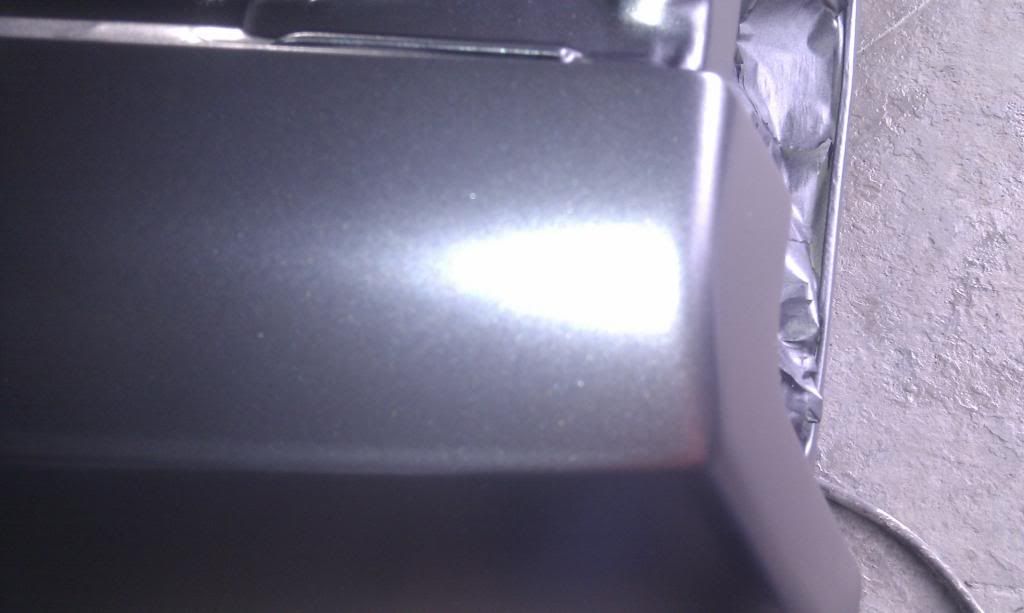
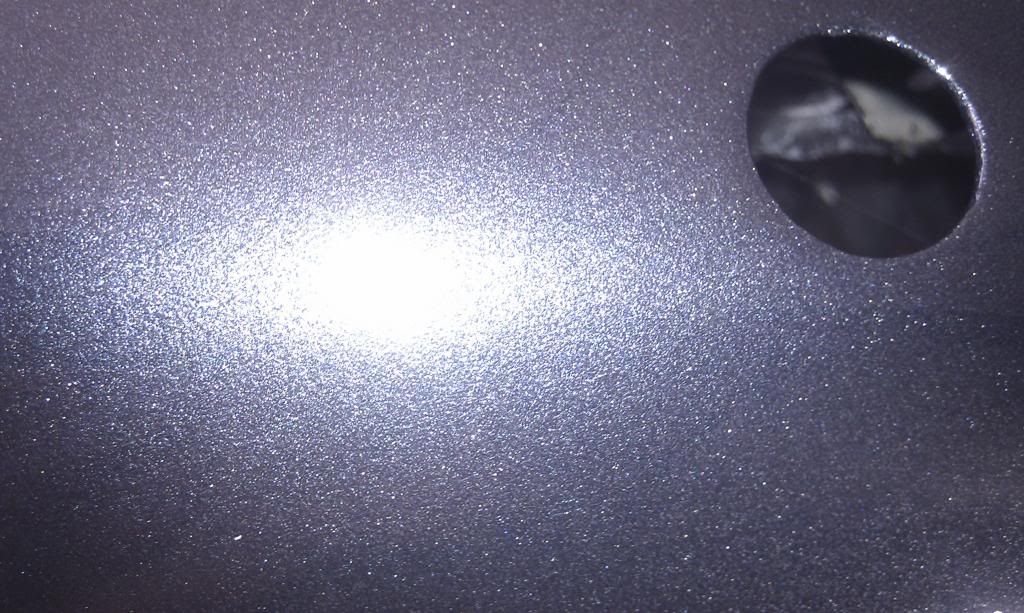
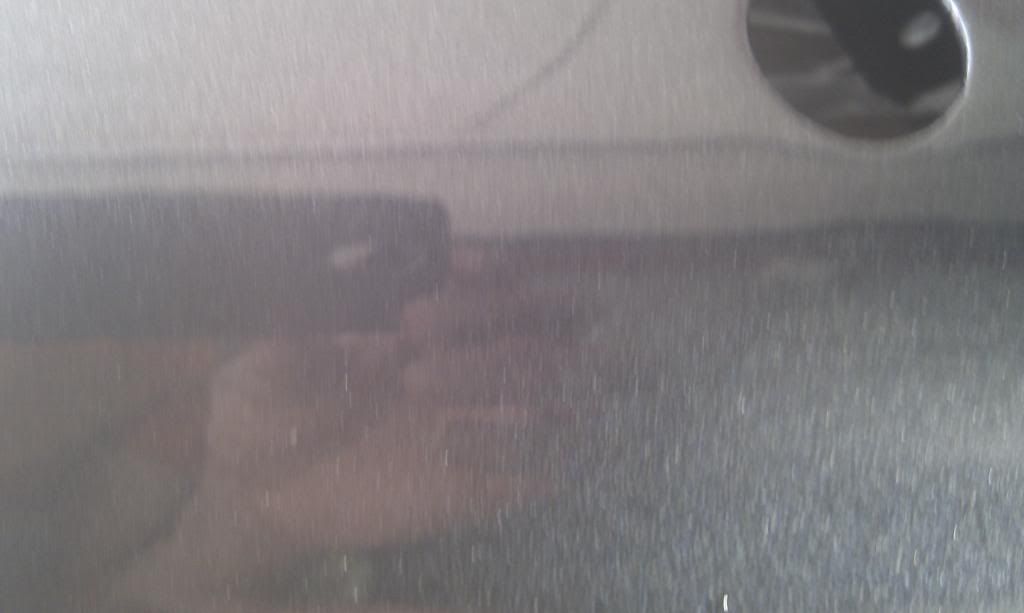
The paint- worrying it looks dark:
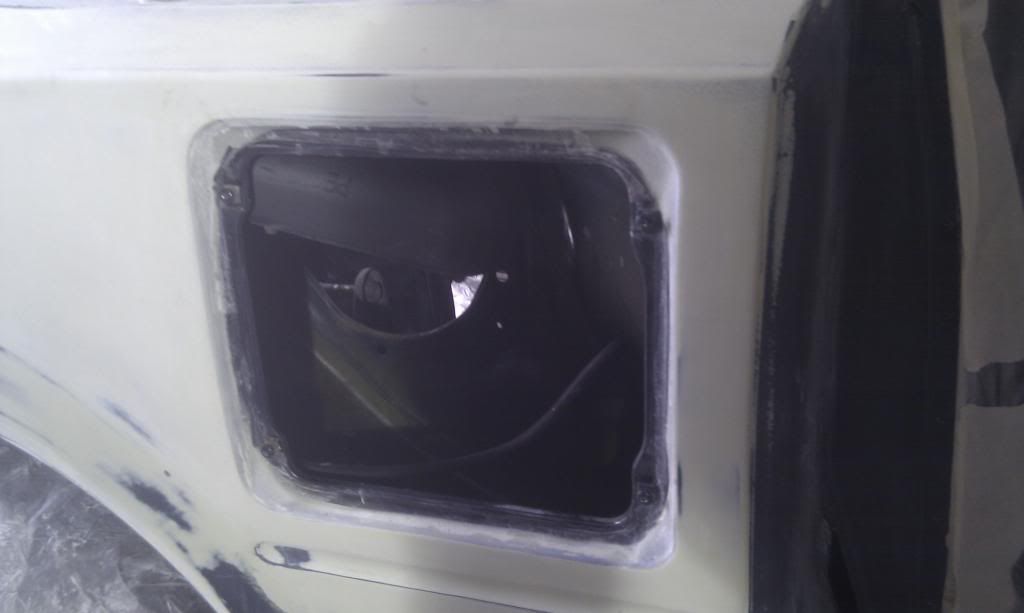
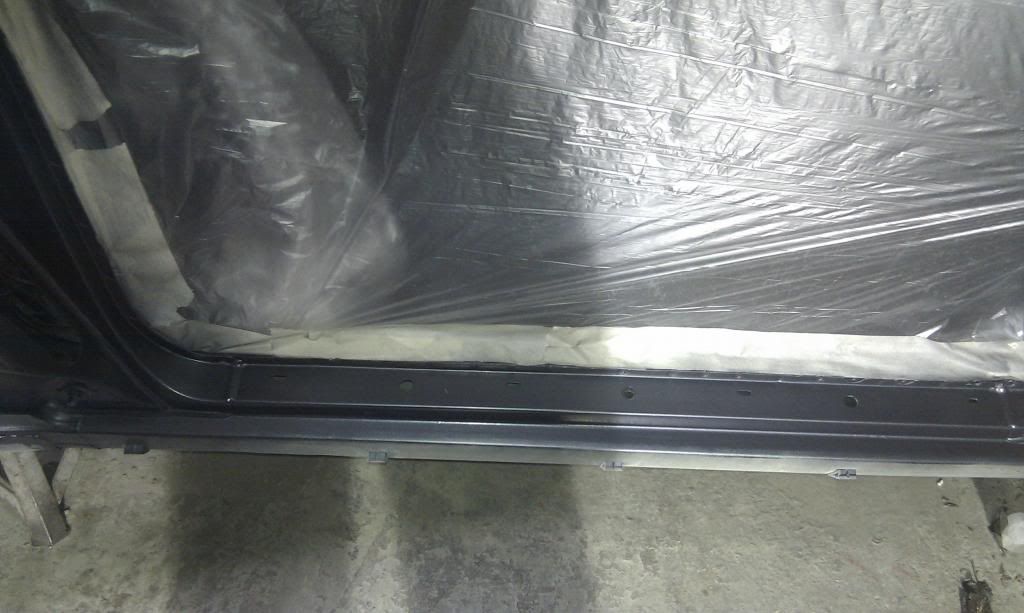
Got to remove this:
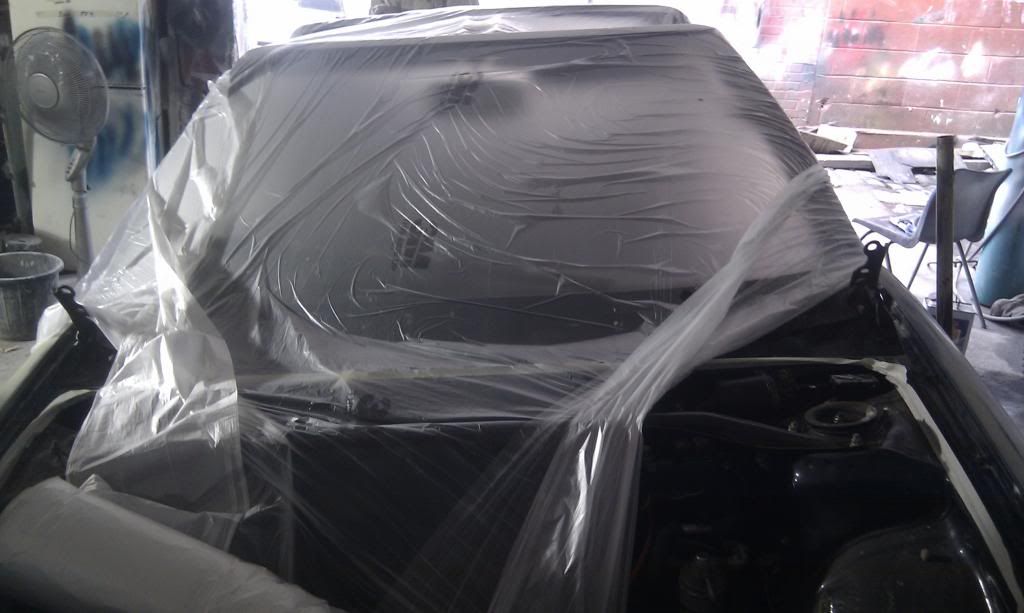
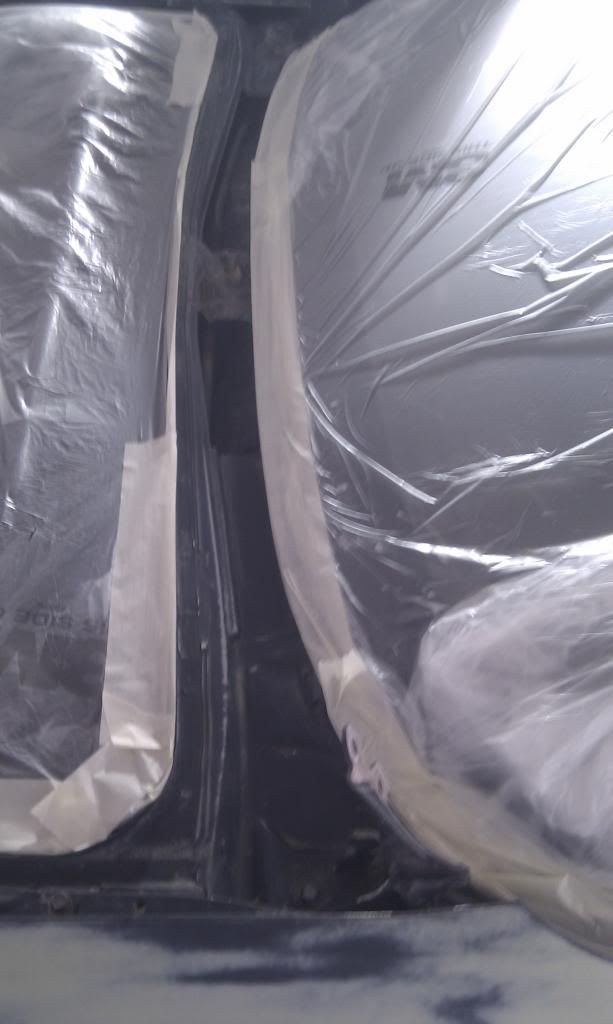
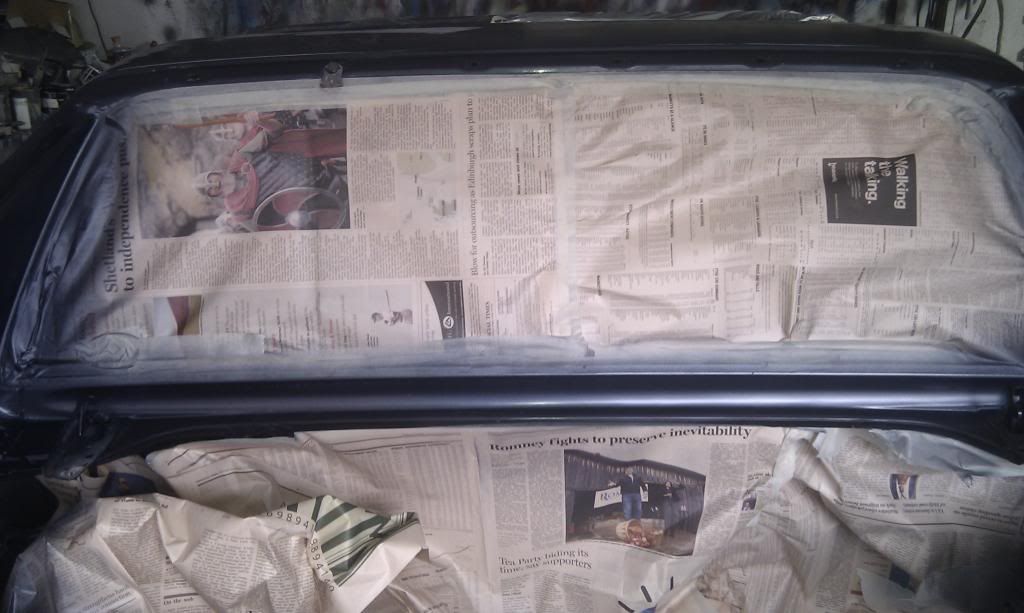
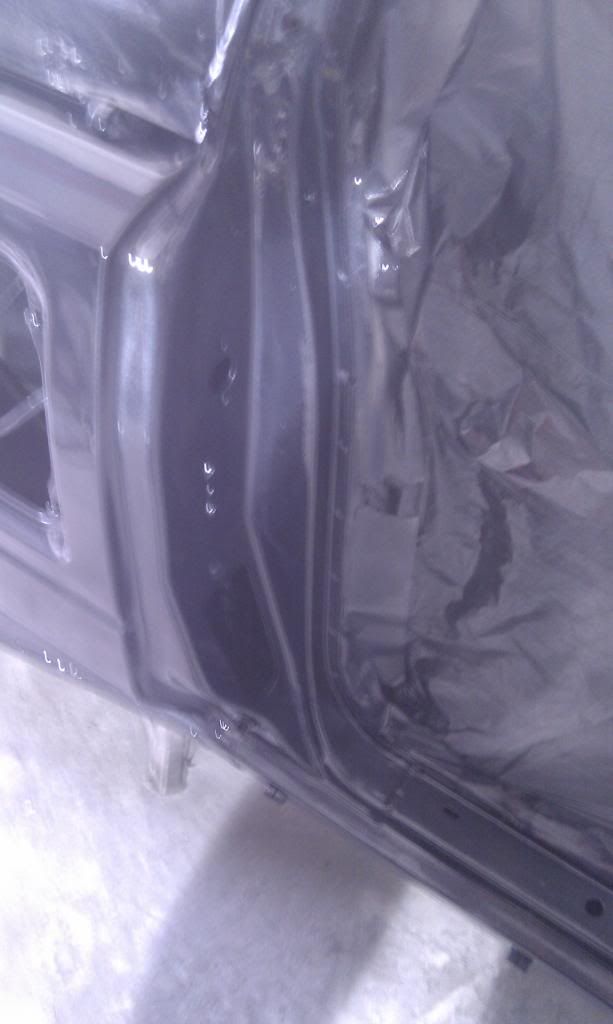
masking in process:
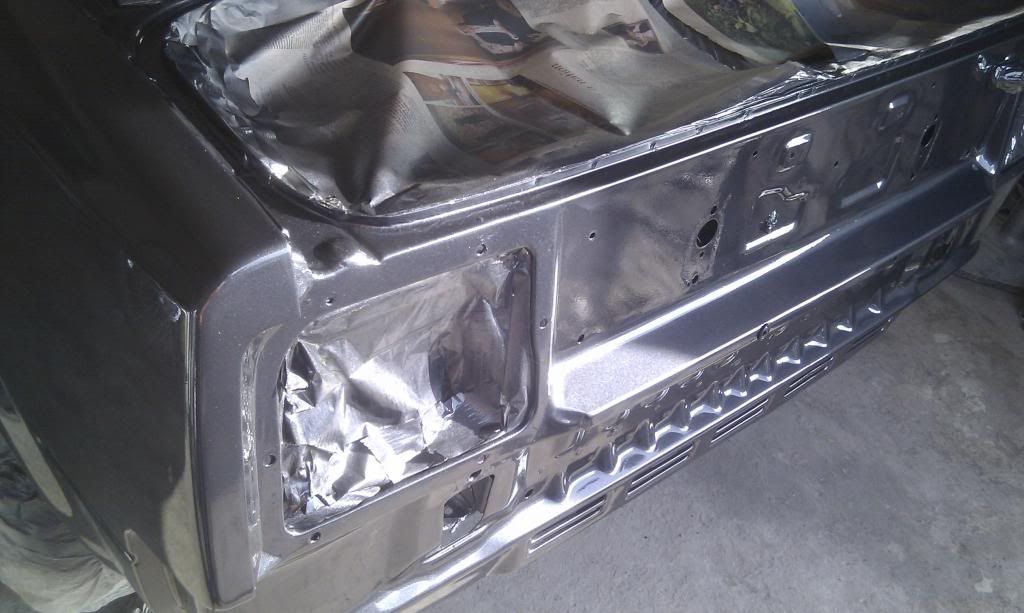
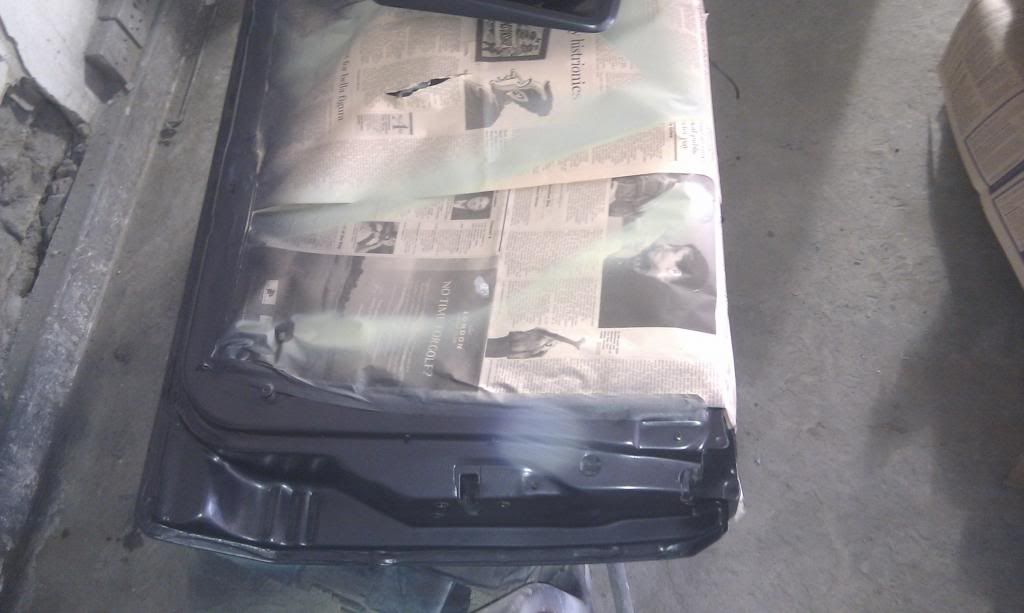
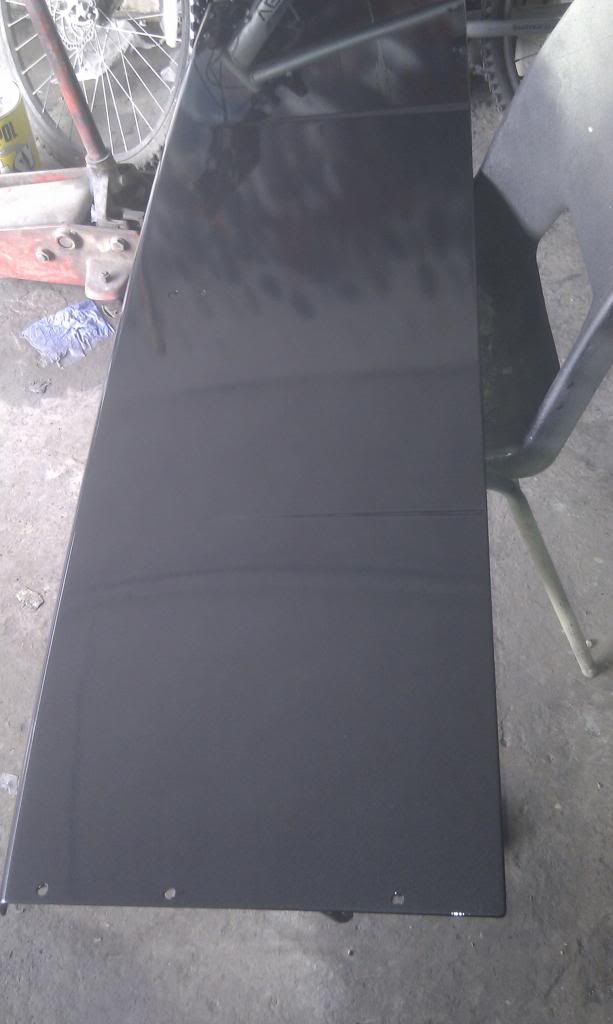
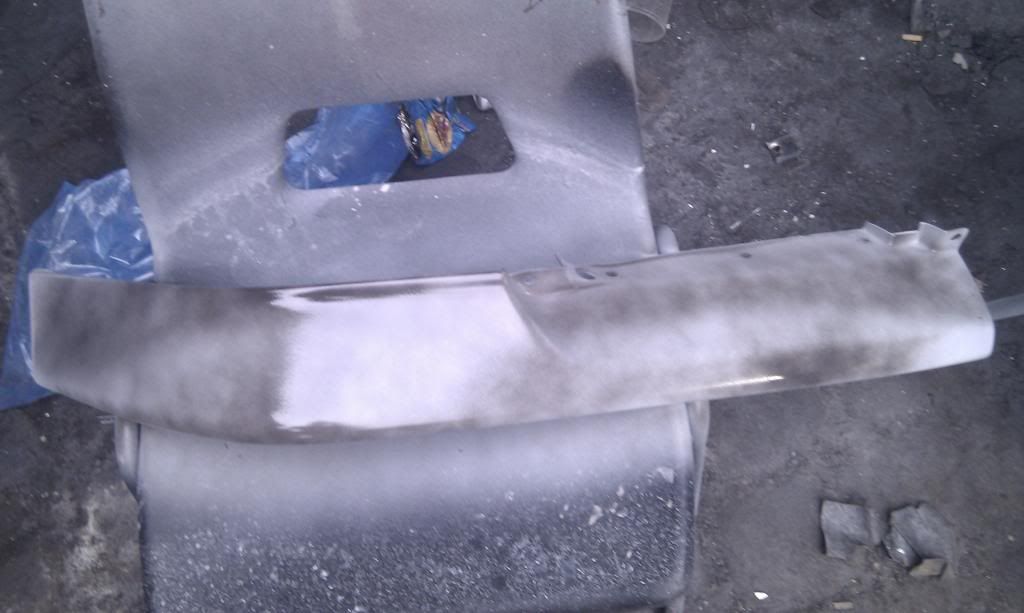
wiper section sanded and ready for paint:
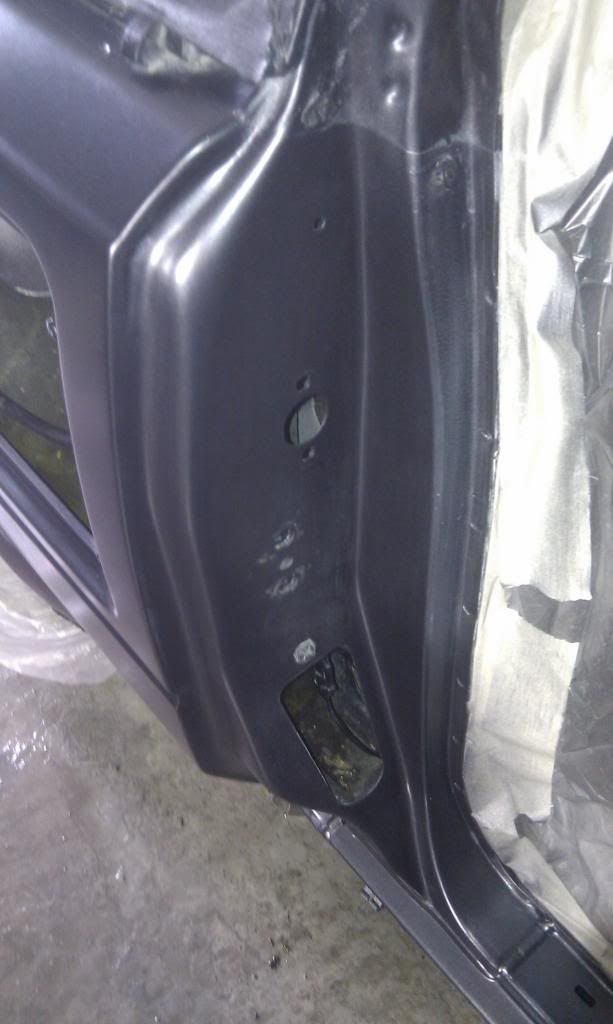
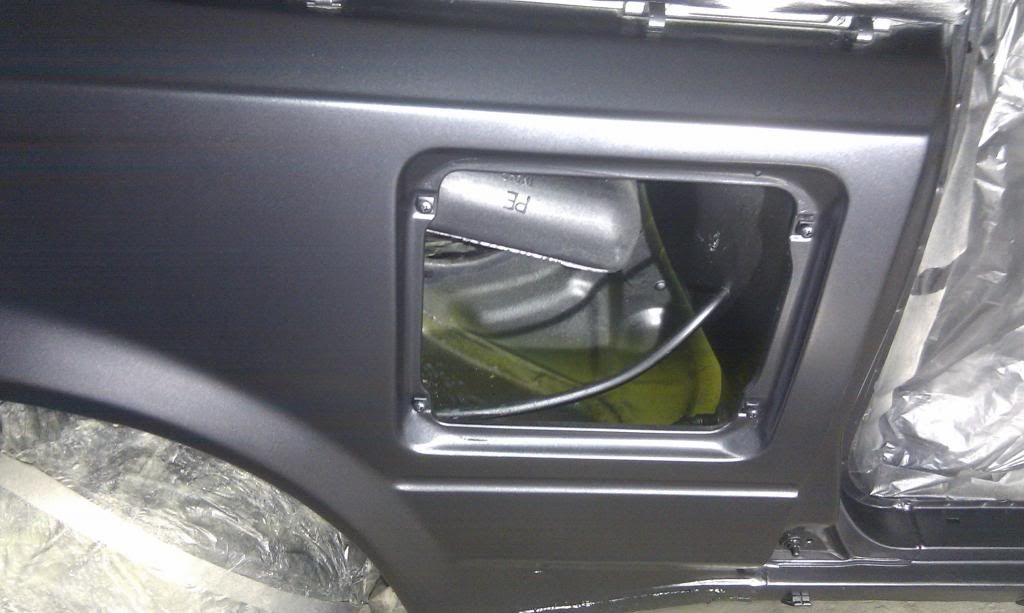
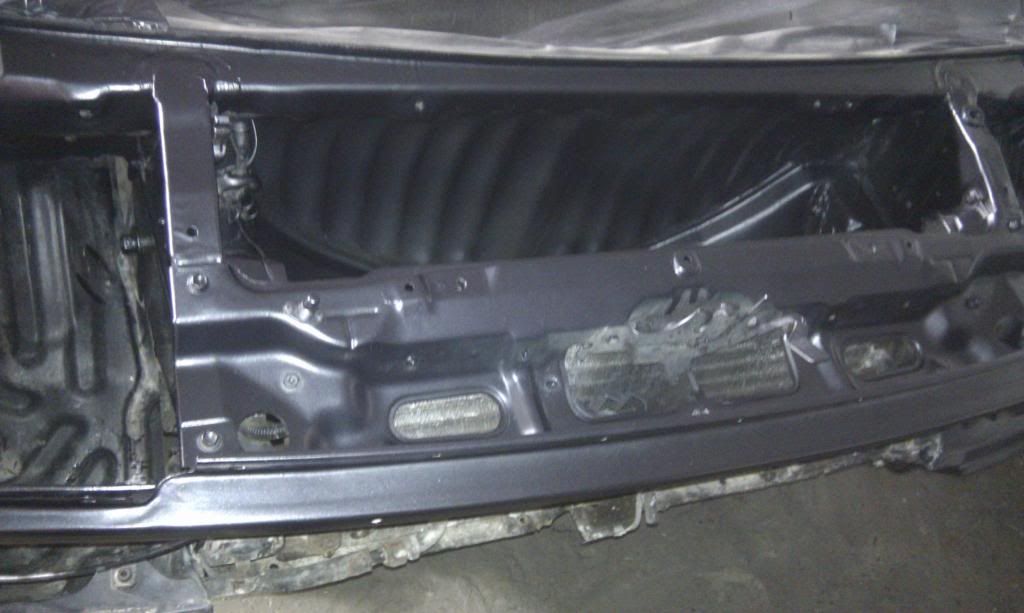
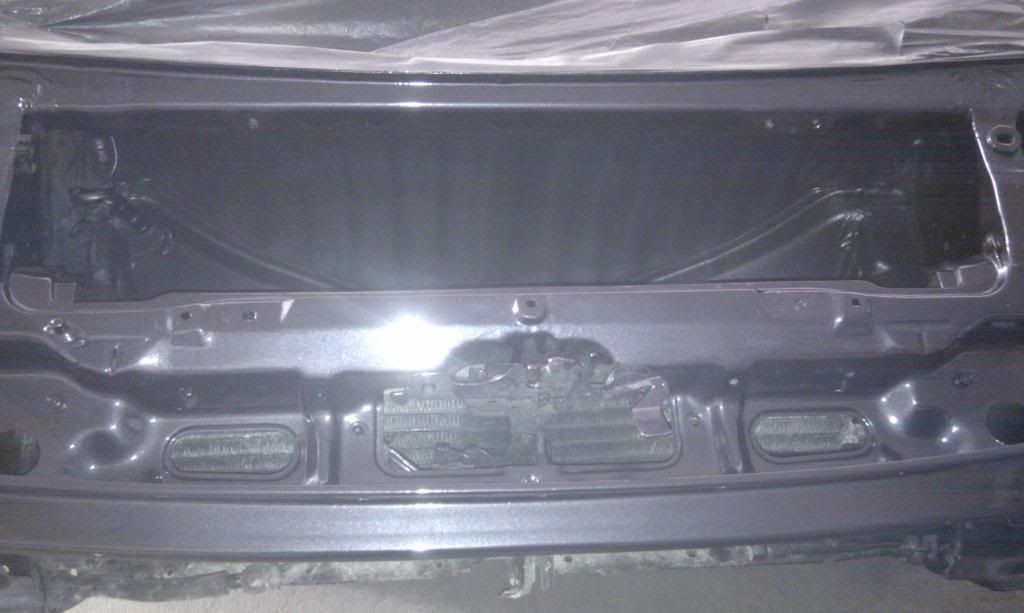
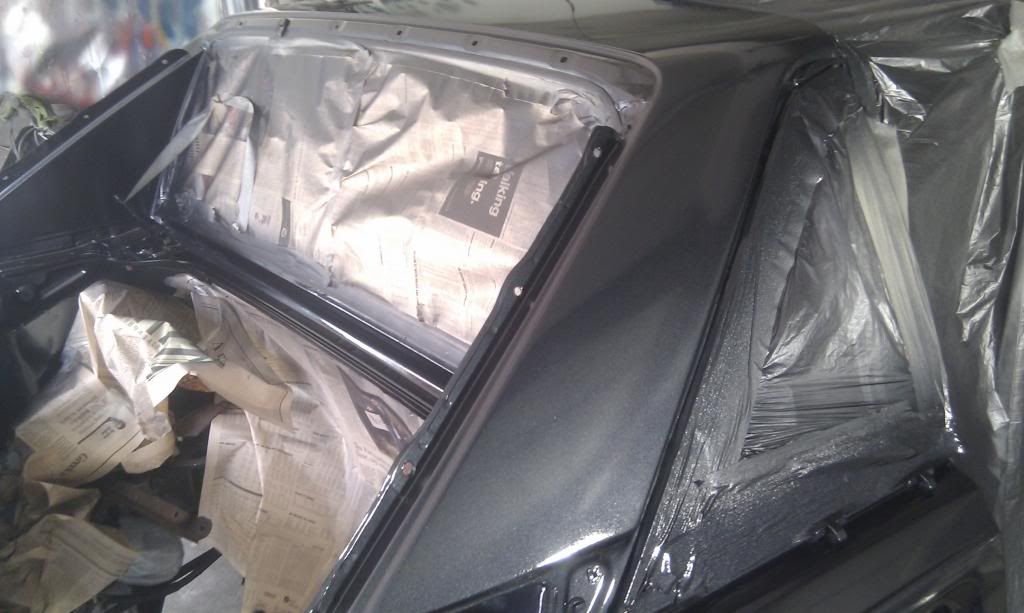
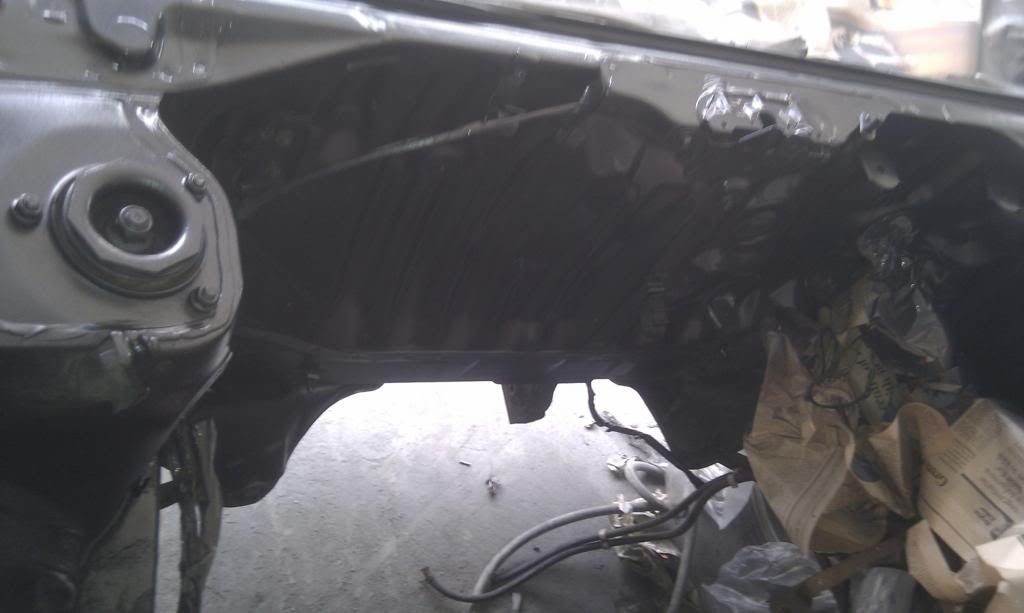
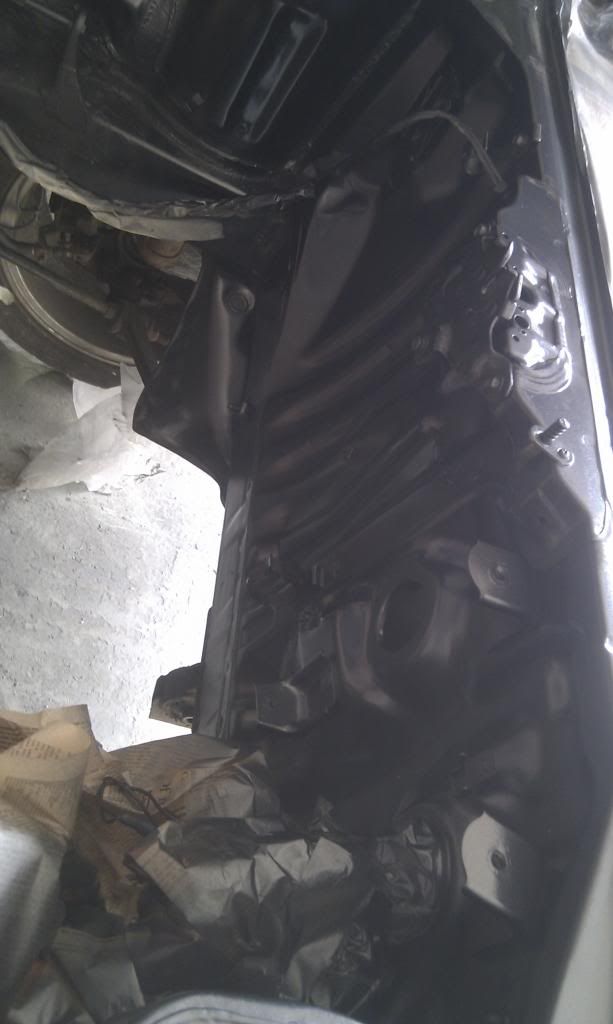
Engine bay got some paint, there was lots of marks in there before- not now. But its not like anyone will see it:
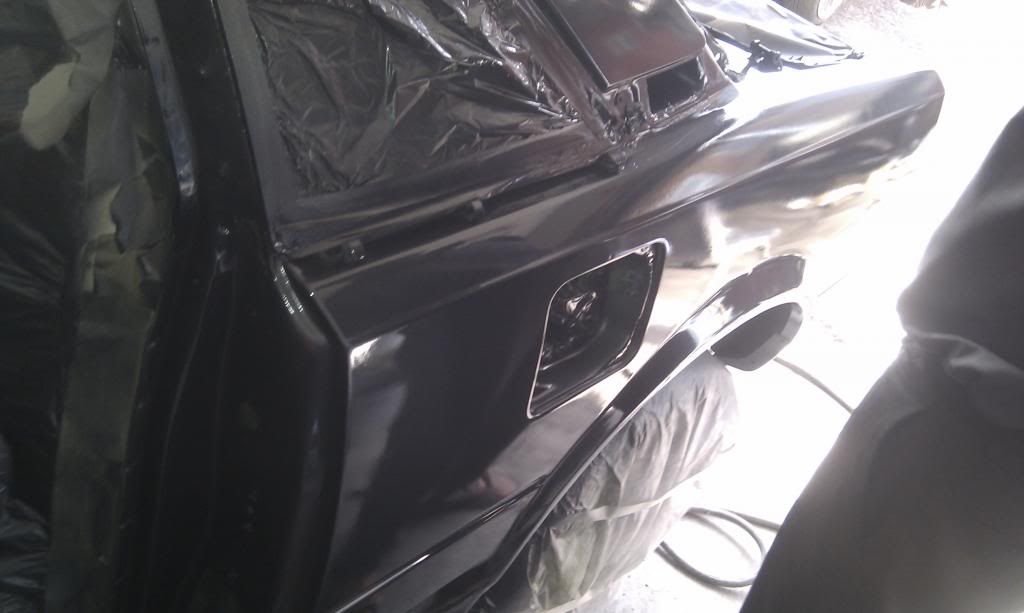
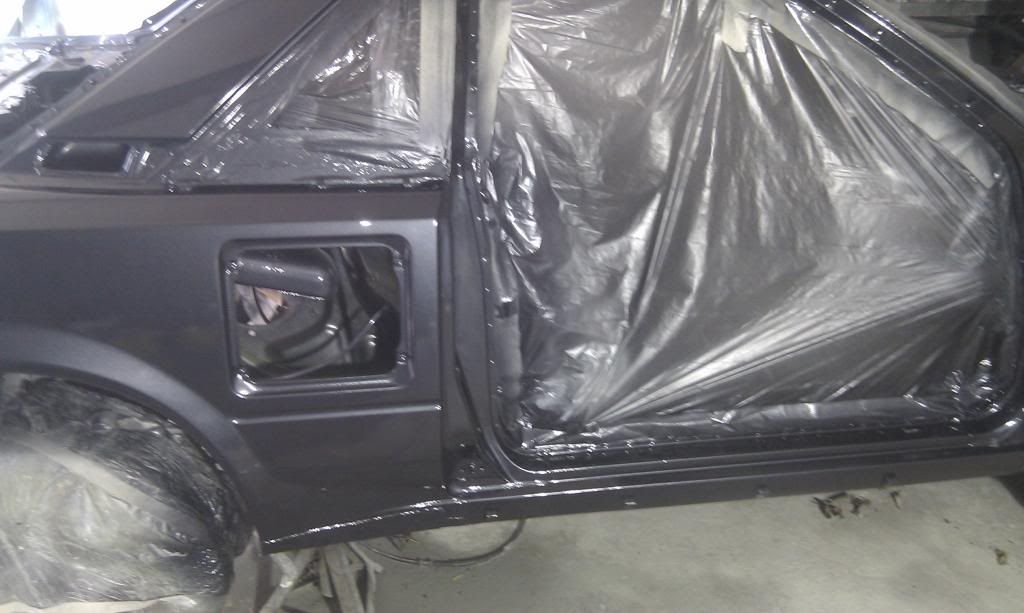
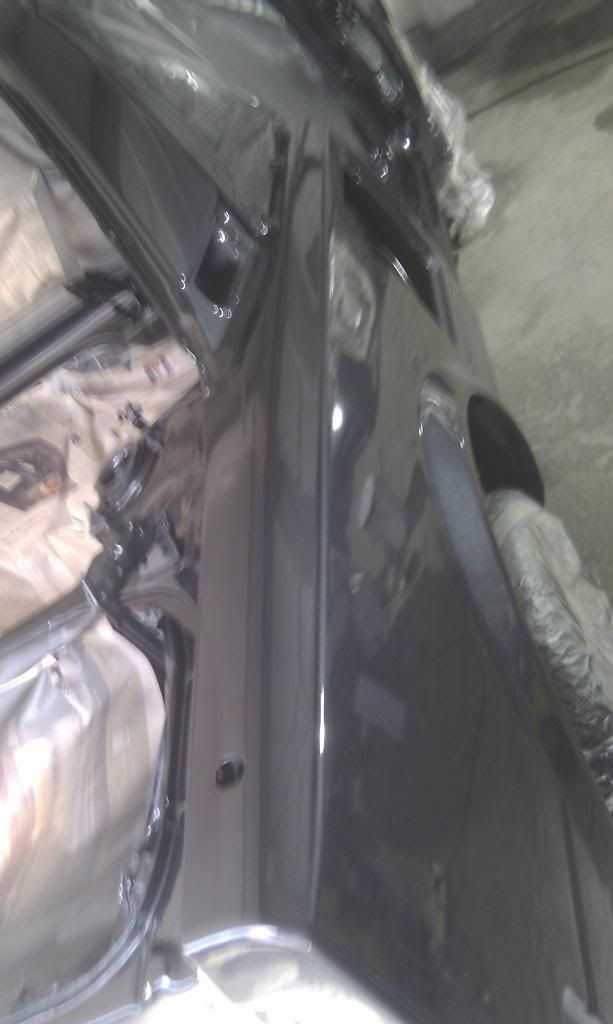
1st coat of pain applied:

Second coat of base now going on or third:
1st coat of lacquer now on, did 4 layer but 1 or 2 will be sanded when flattening the paint:
More Lacquer added:
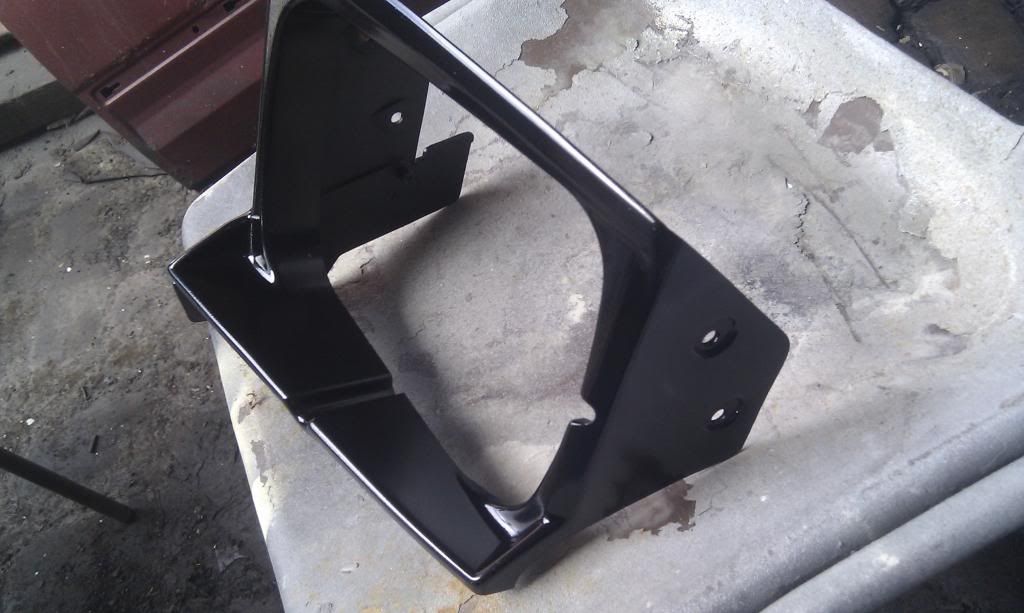
pic of the trims being put back in the prep room to flatten and polish:
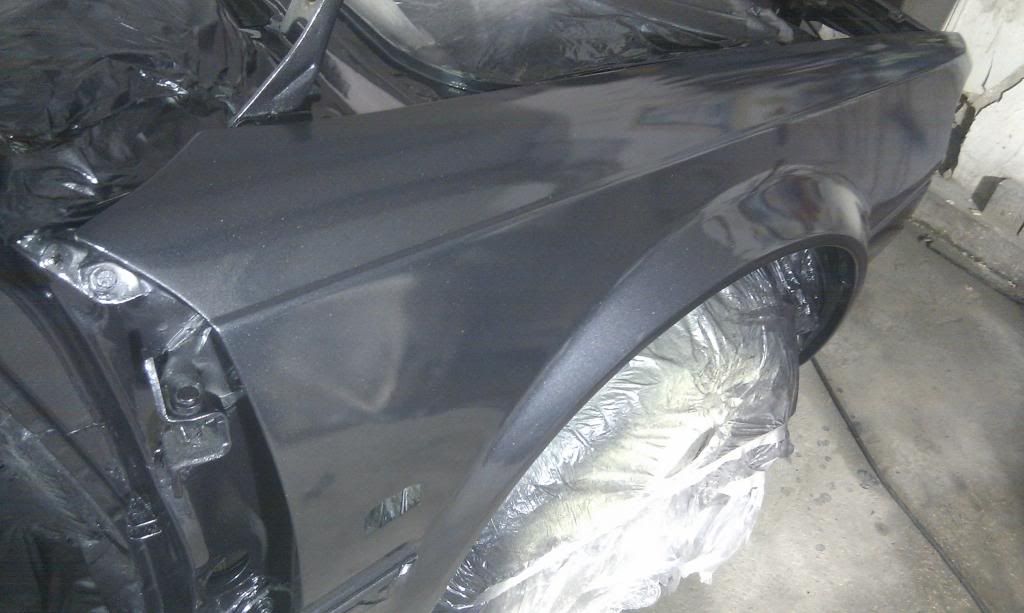
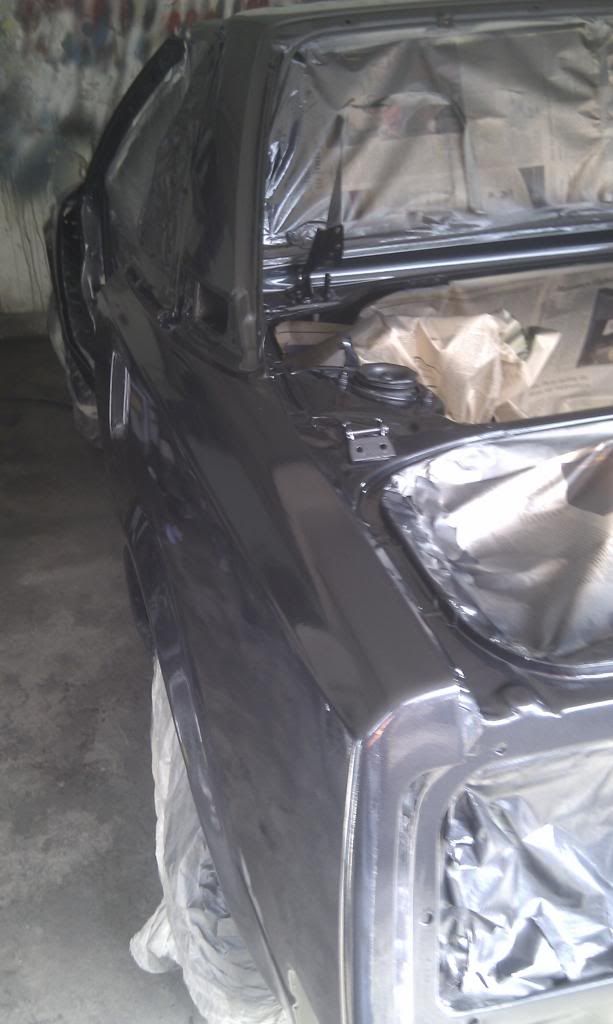
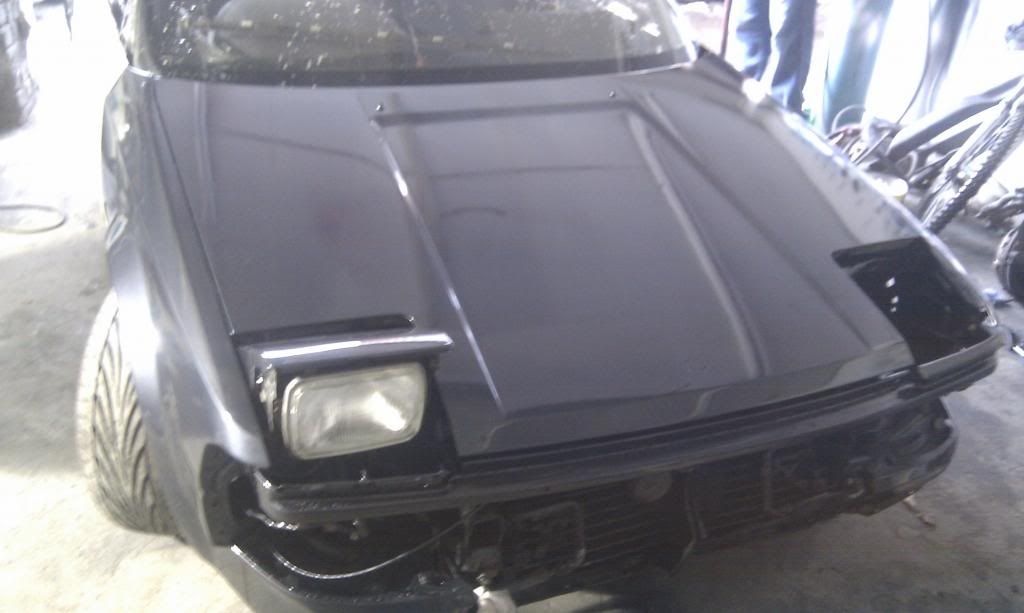
Bonnet now nice and shinny:
and headlight cover:

Bonnet and 1 light in:
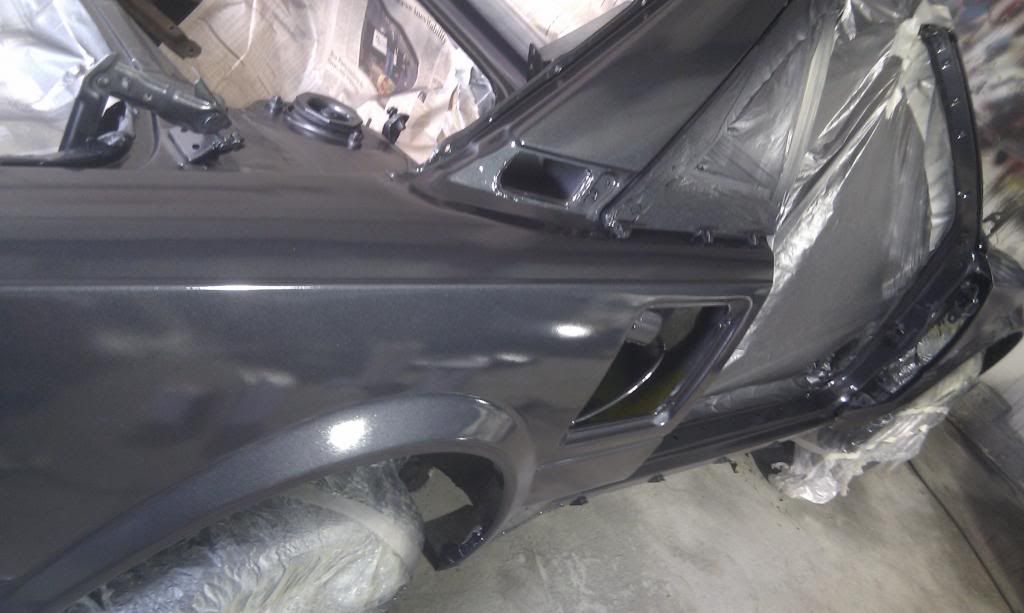
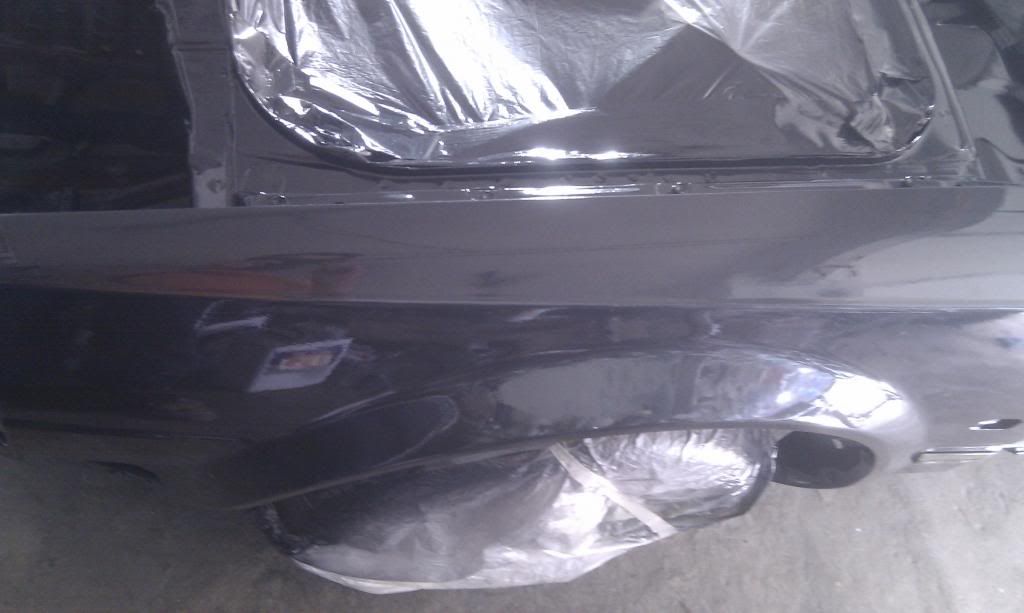
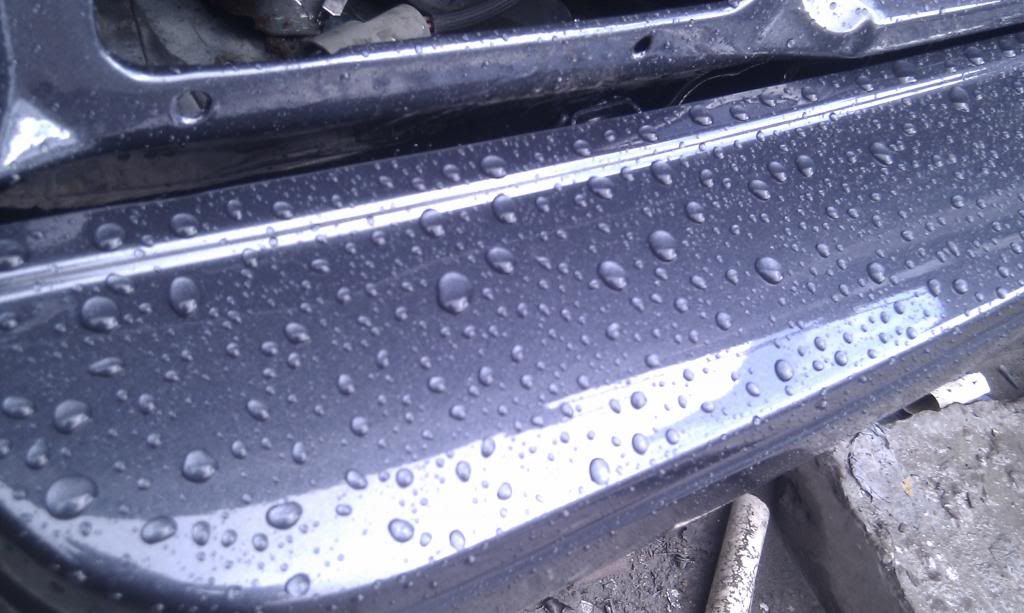
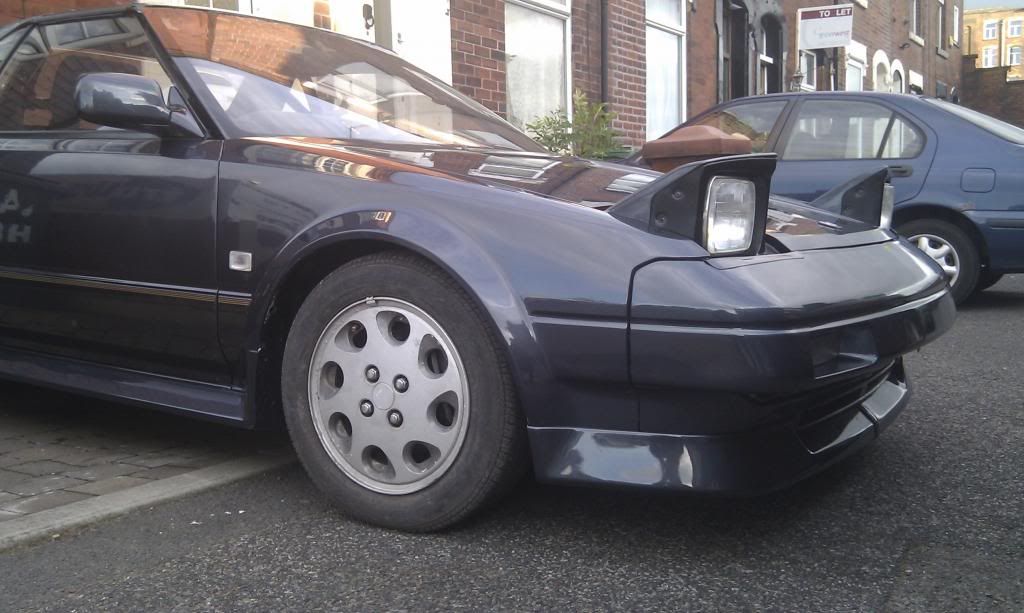
Took the car out of the garage to see the colour in the natural light as it looks v dark inside. Now it looks like the colour it should have been. Not sure if I like this colour as much as my old car but its original. 
So the engine is out, which meant it was a ideal opportunity to get the car fully striped and sprayed.
Car in a bit of a mess:

getting there slowly:


Is the middle bar on the t-bar meant to be welded on????


Removed the rad and fans as seen some surface rust in side and wanted to get it sorted, also the fans will be getting de rusted and painted POR 15

removed some of the paint and rust but still lots to do:


Got a bit carried away with the POR 15:


Need a new one of these;

High build primer applied to the car with some black spray to check to low spots

Getting there more:

Getting ready for under cote then base cote:


The paint

Got to remove this:

masking in process:

wiper section sanded and ready for paint:

Engine bay got some paint, there was lots of marks in there before


1st coat of pain applied:


Second coat of base now going on or third:


1st coat of lacquer now on, did 4 layer but 1 or 2 will be sanded when flattening the paint:


More Lacquer added:


pic of the trims being put back in the prep room to flatten and polish:


Bonnet now nice and shinny:

and headlight cover:

Bonnet and 1 light in:

Took the car out of the garage to see the colour in the natural light as it looks v dark inside.


Re: Superedition project part 1 of 3 completed ~ Pic Heavy ~
copied from another forum.
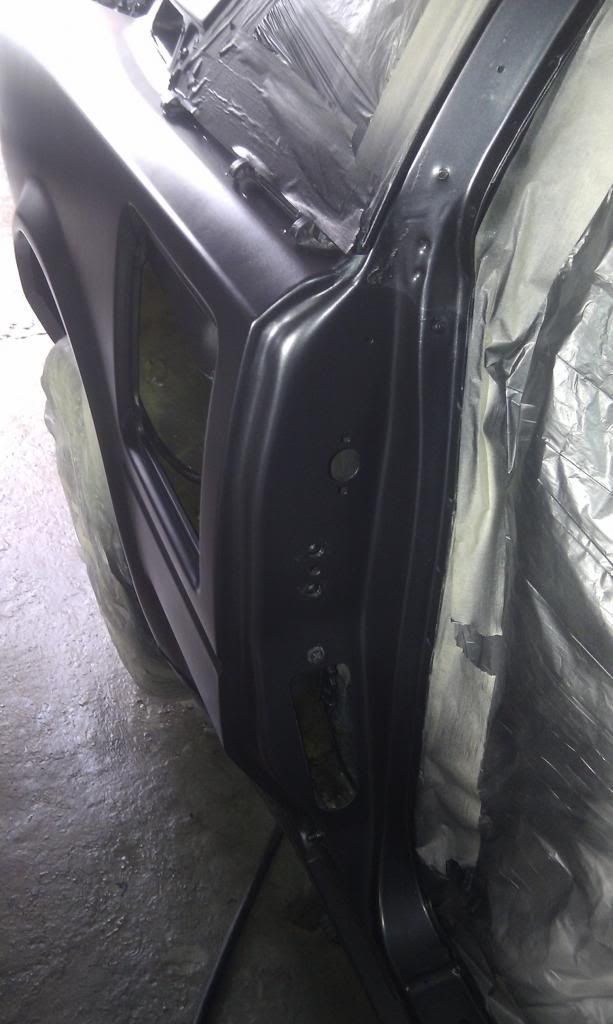
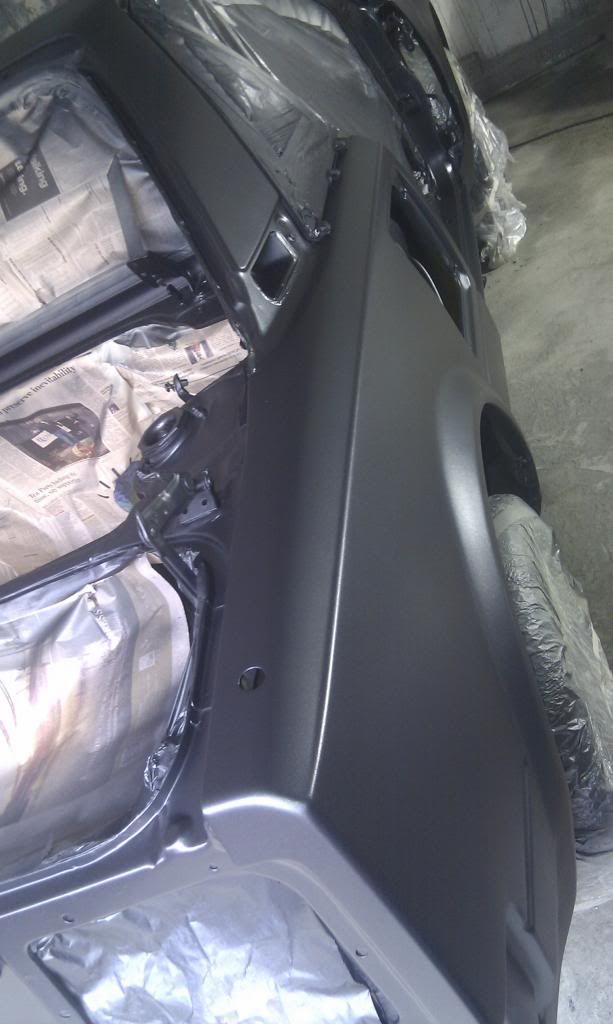
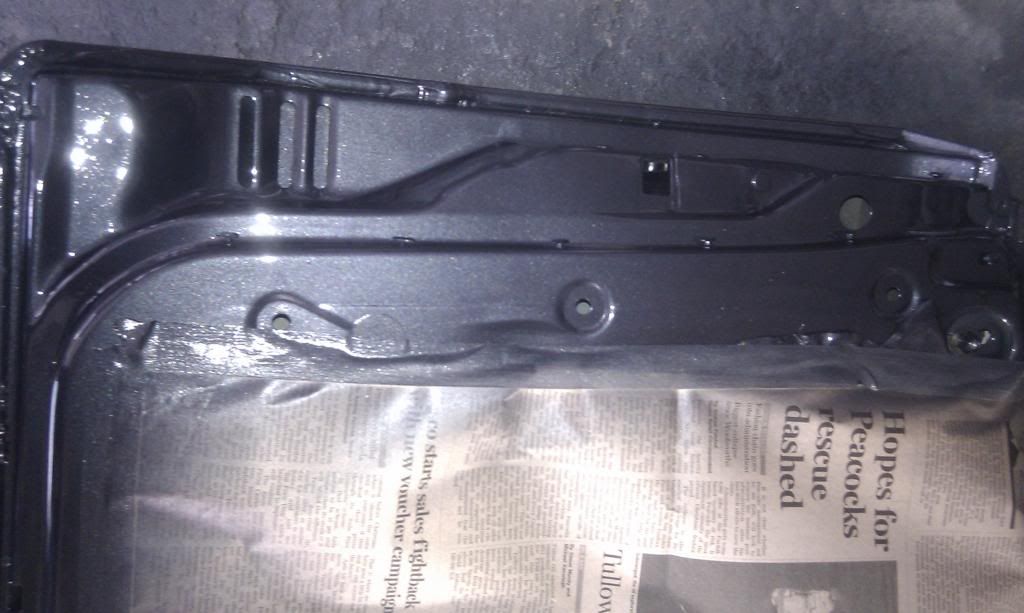
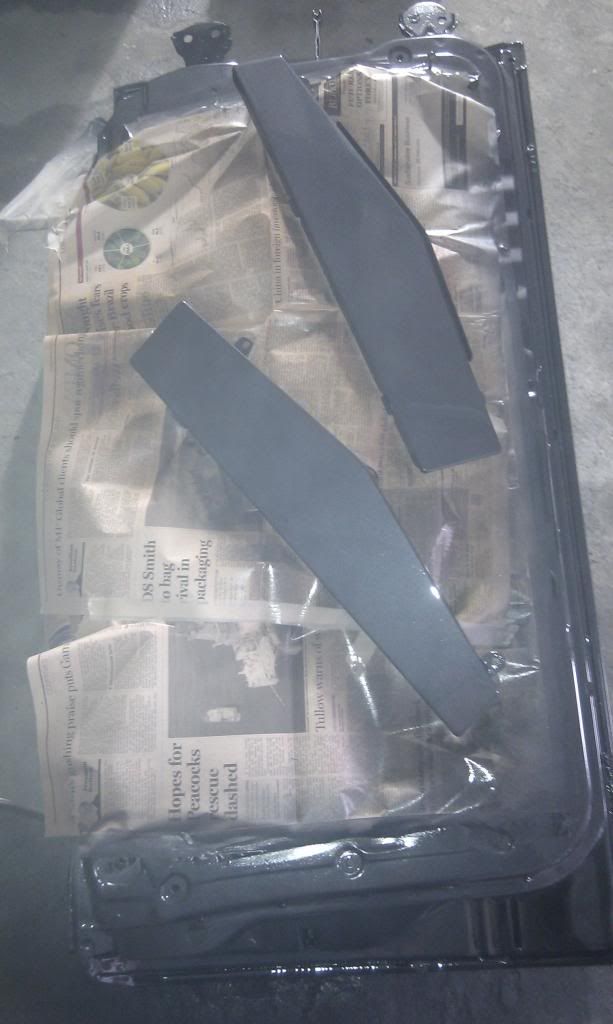
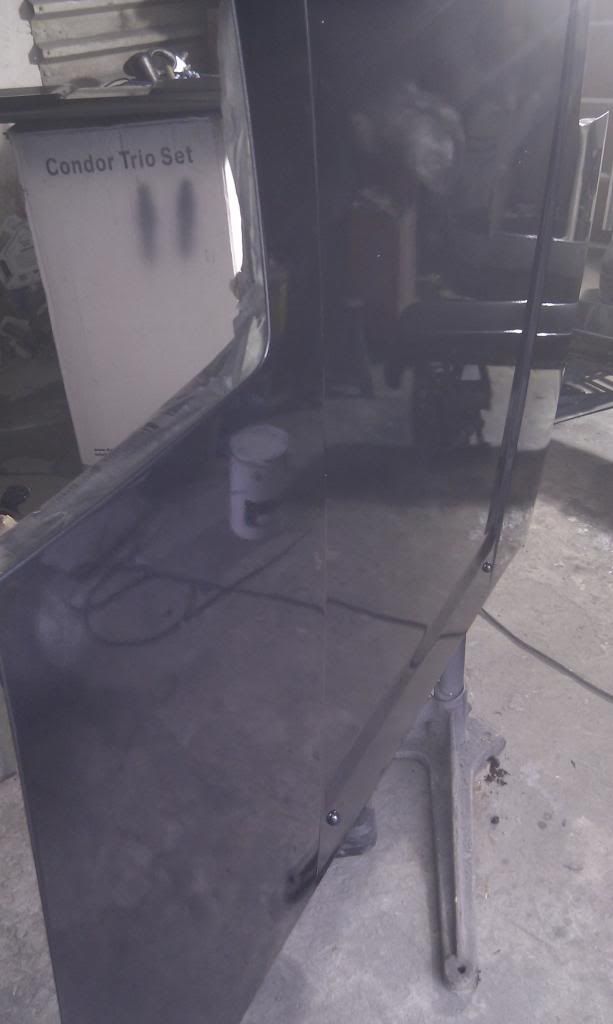
These are at the 1st stage of prep and base cote-
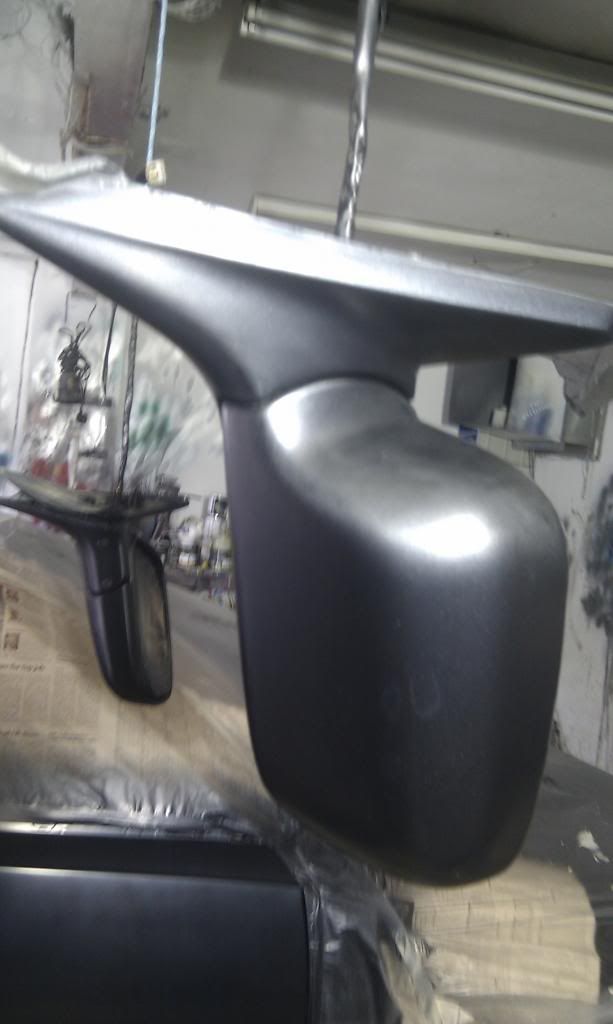
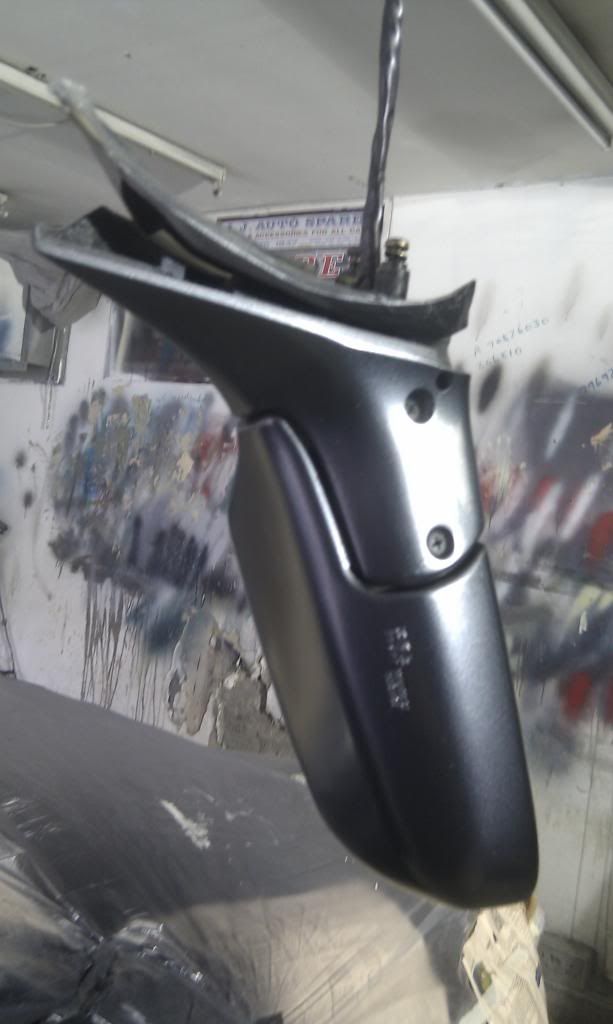
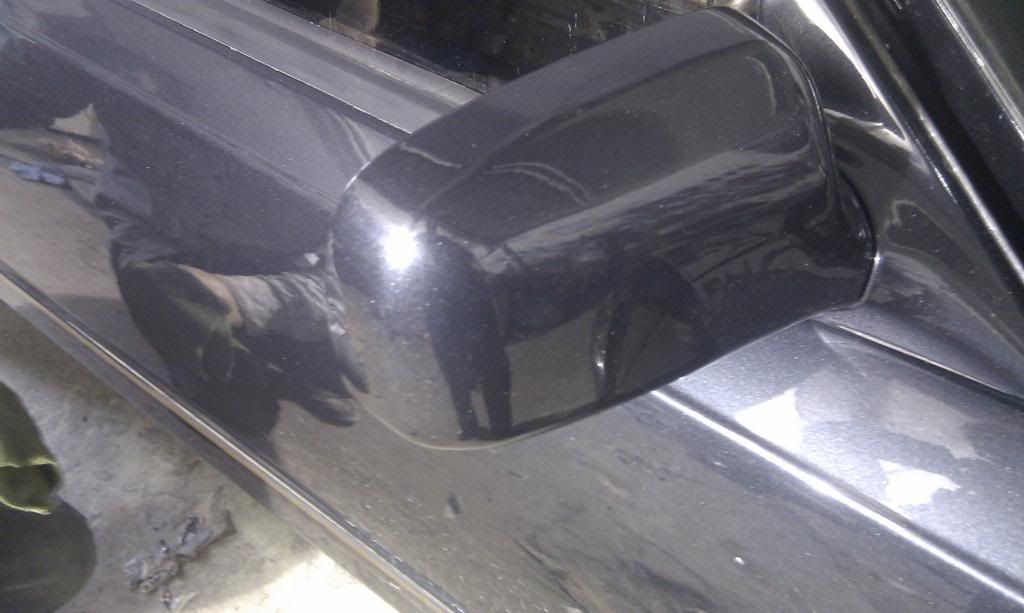
Wing mirror now looks a lot better, originally the paint was fade on it
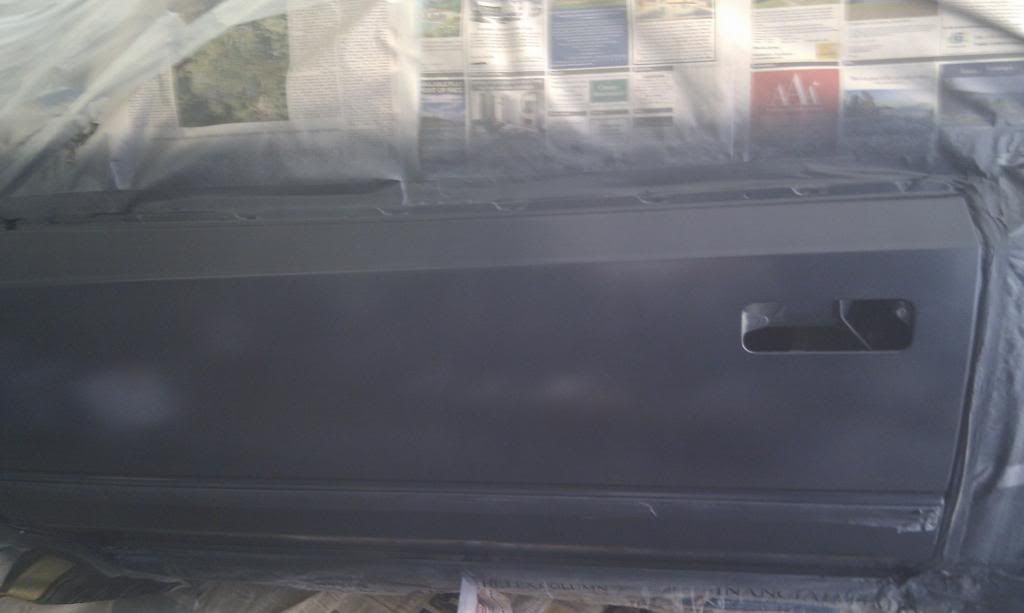
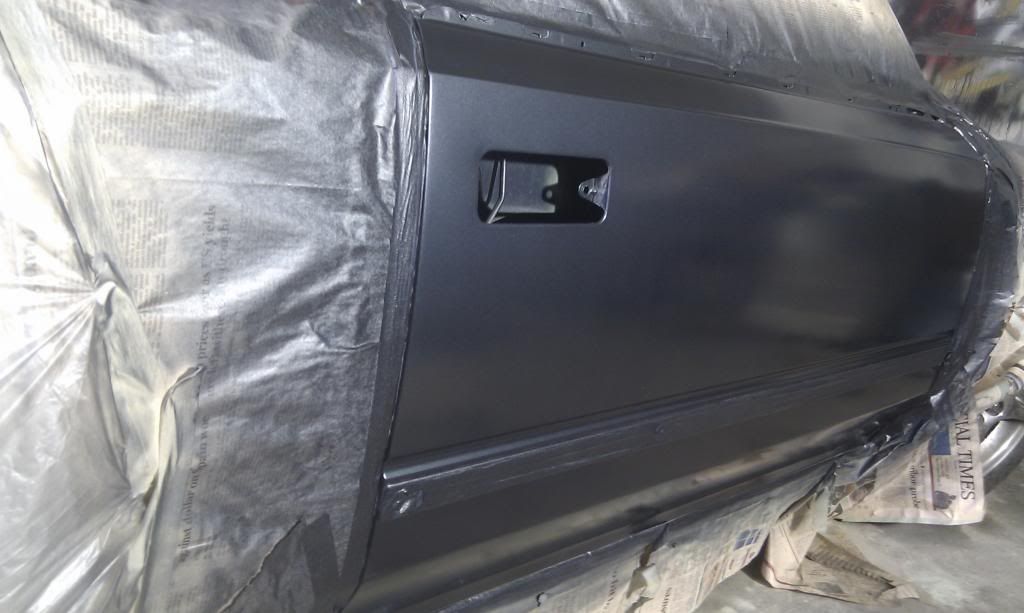
Door handles back on finished door:
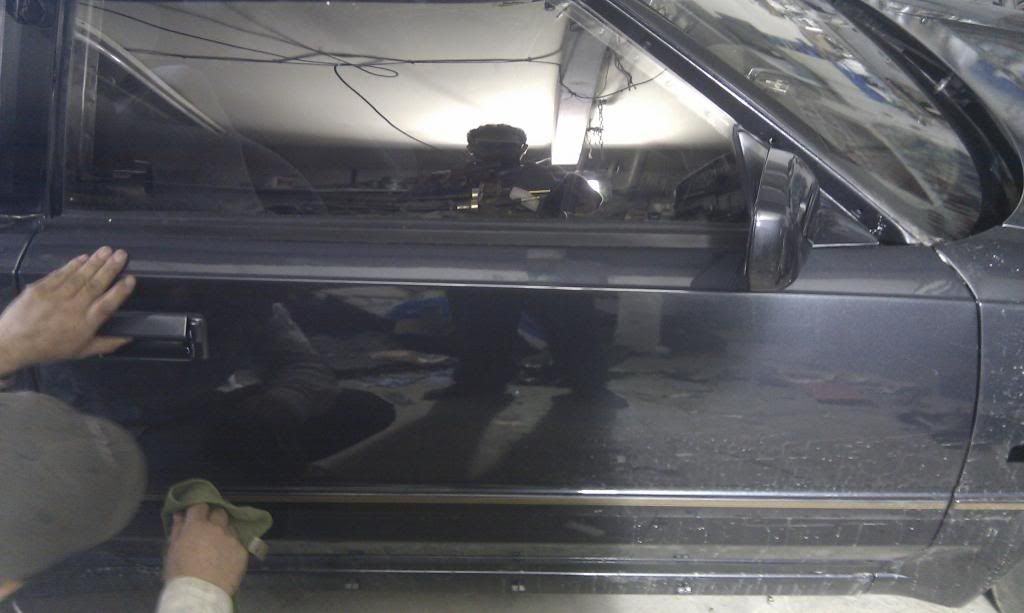
Only front bumper left and rear spoiler. as they needed more work. Was painted but still had a small defect in it. Once they are done then it will be time for flatting the paint and polish back up. - So stage two almost complete
These are at the 1st stage of prep and base cote


Wing mirror now looks a lot better, originally the paint was fade on it

Door handles back on finished door:

Only front bumper left and rear spoiler.
Re: Superedition project part 1 of 3 completed ~ Pic Heavy ~
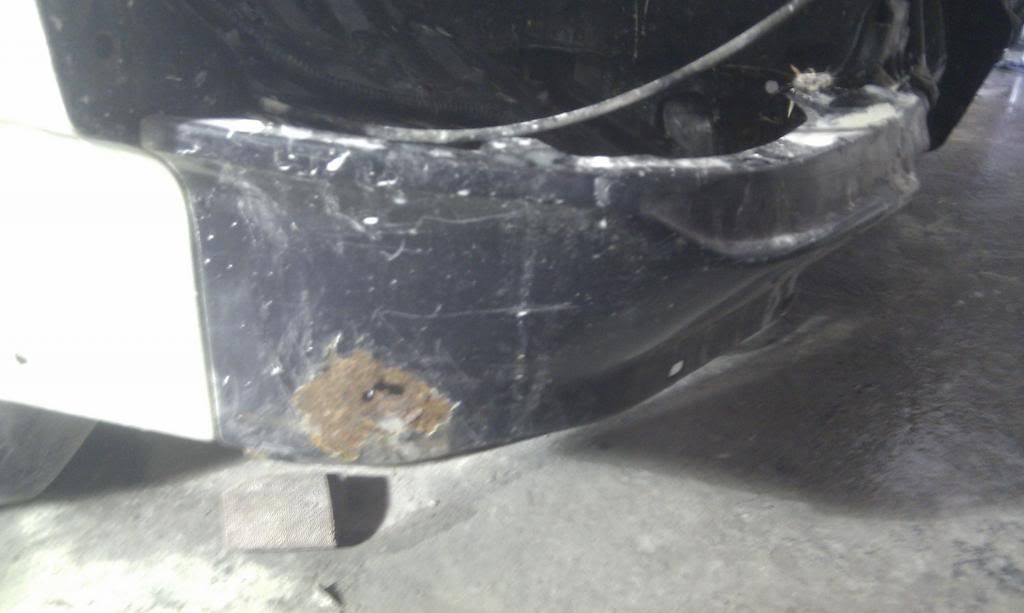
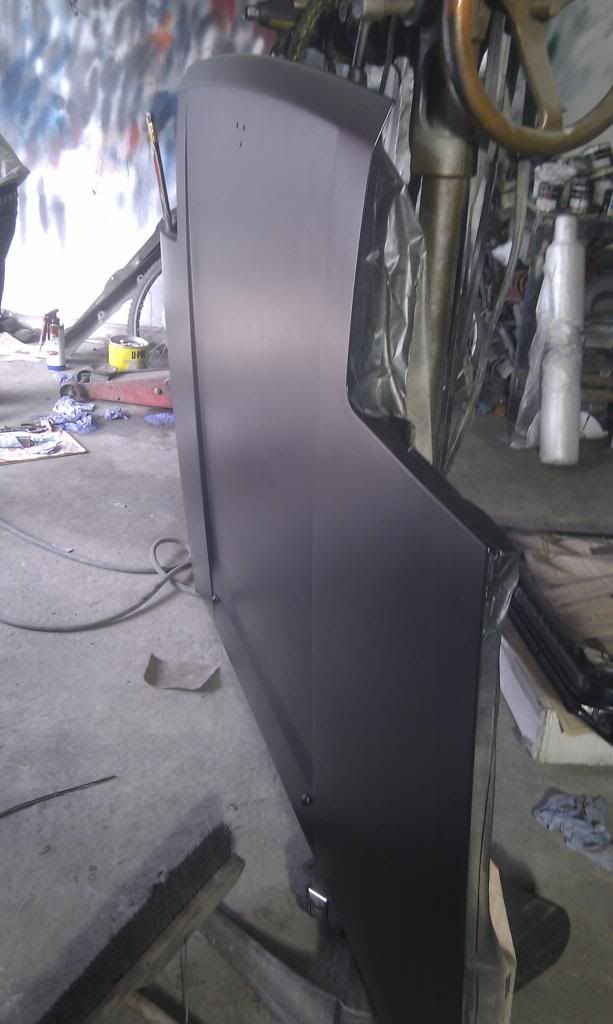
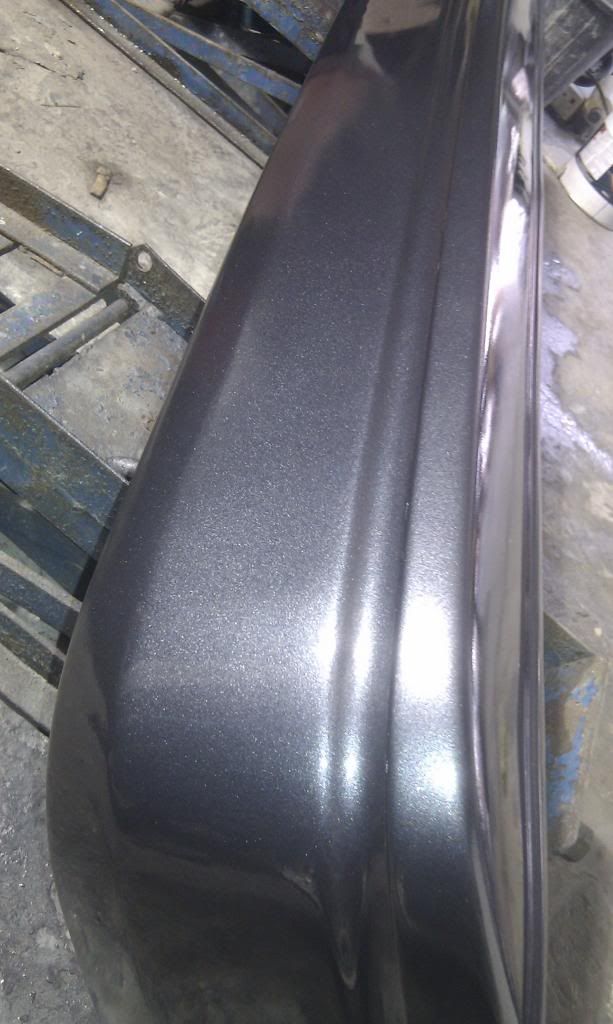
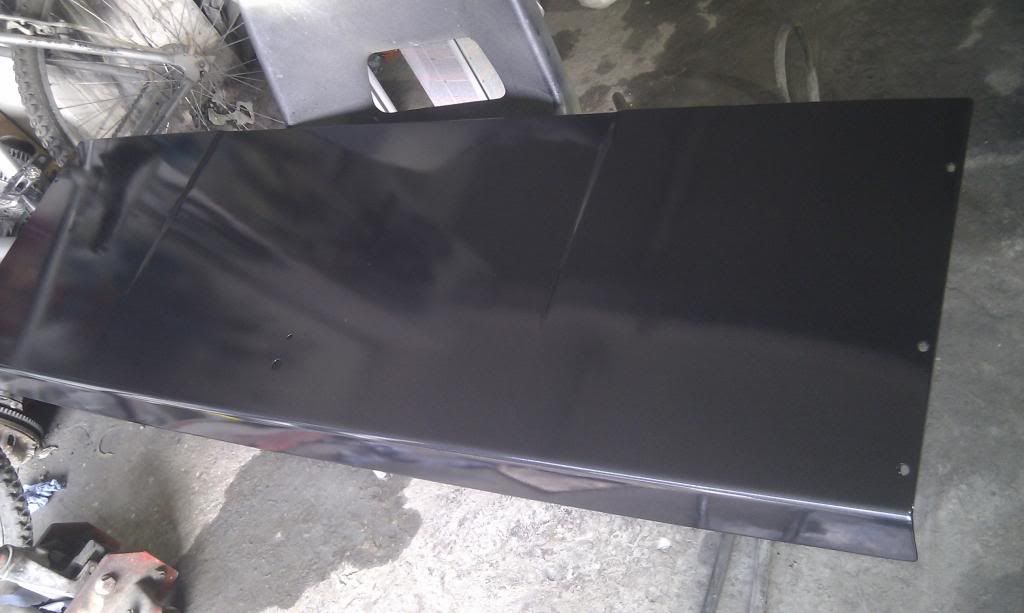
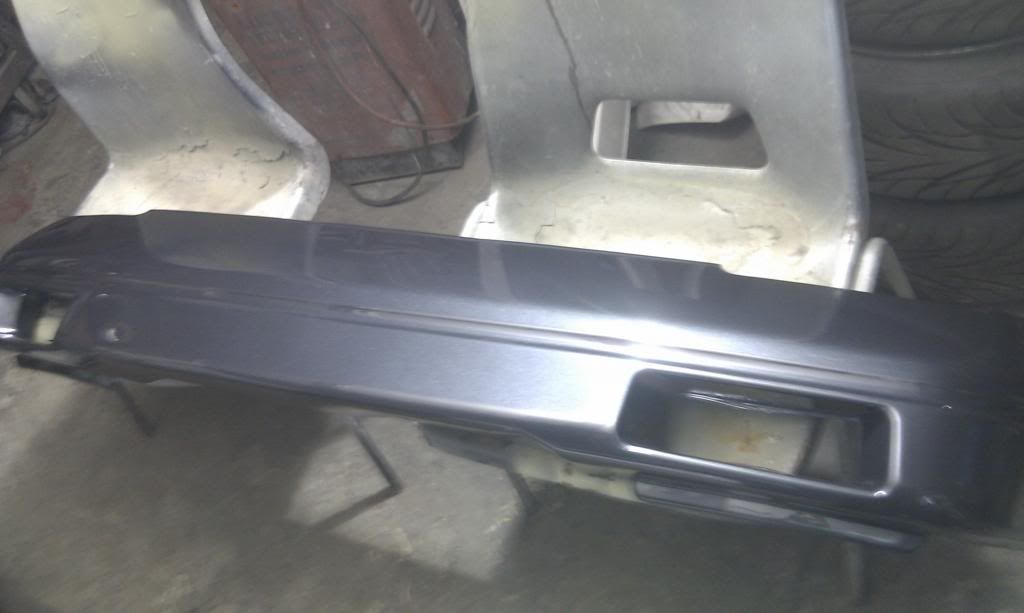
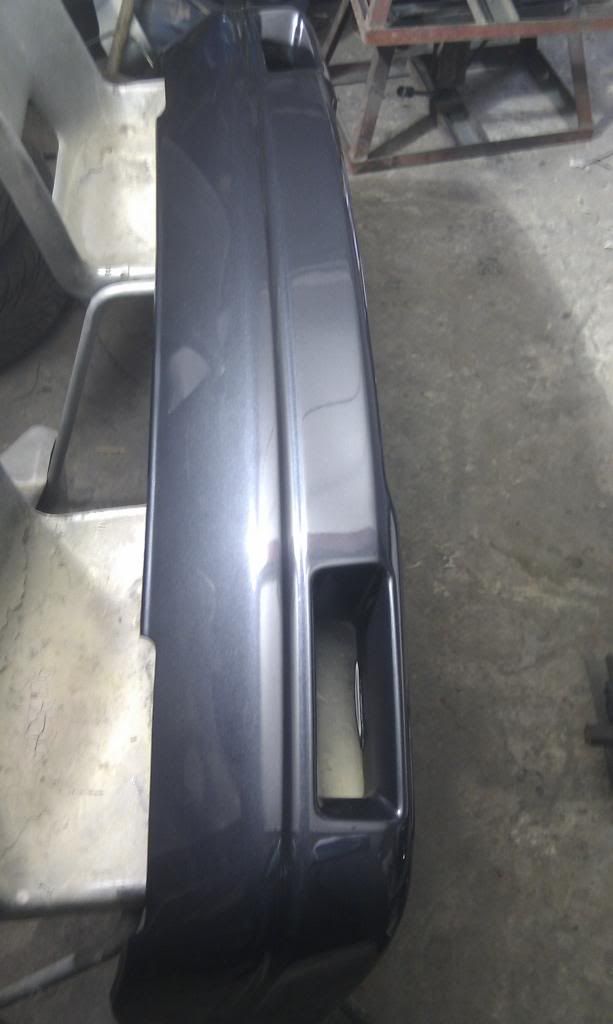
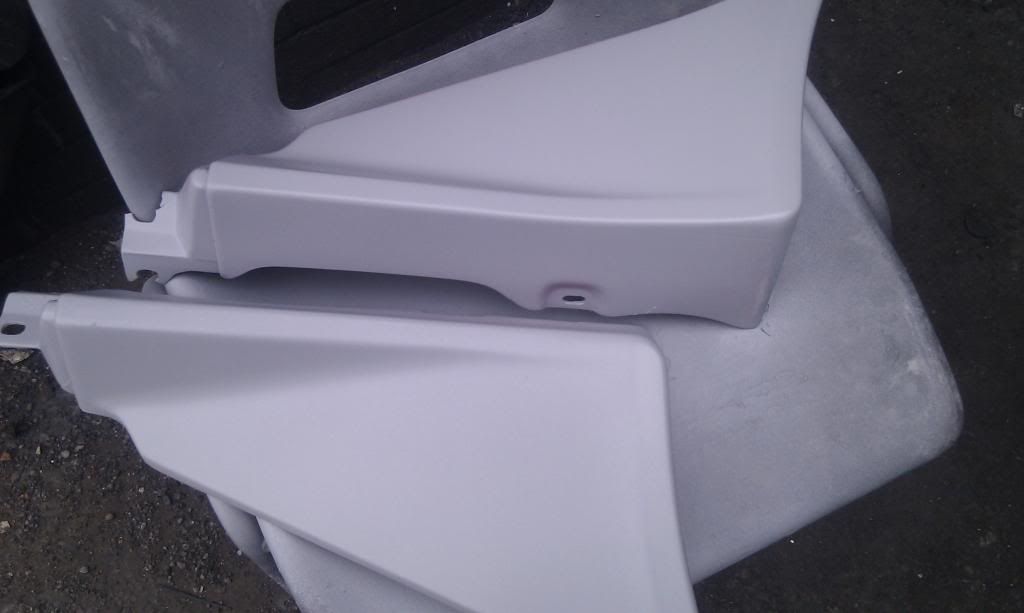
Front bumper now sprayed, it has had a lot of time and work spend on this, but it now looks like new
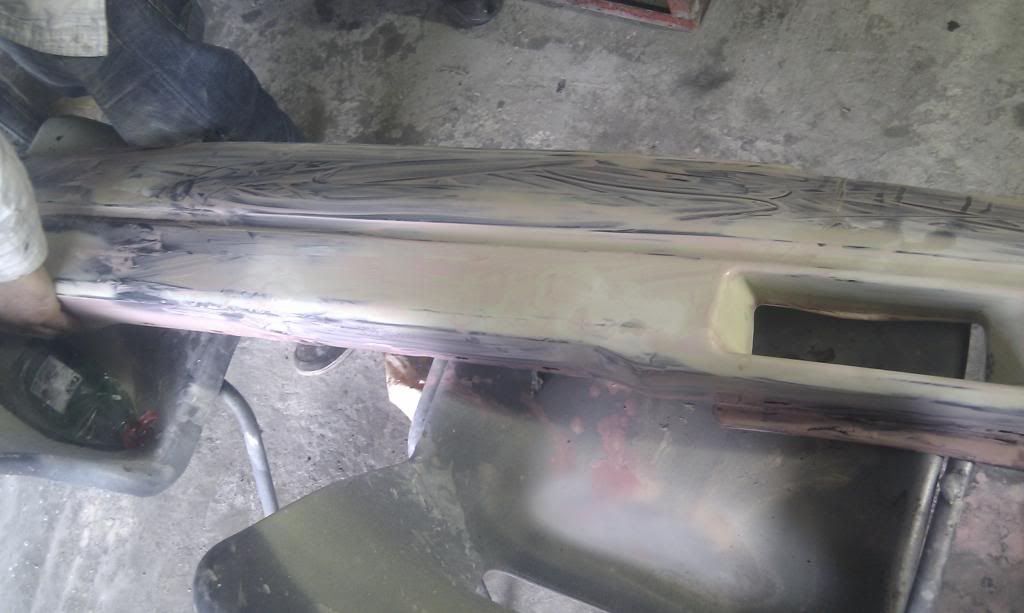
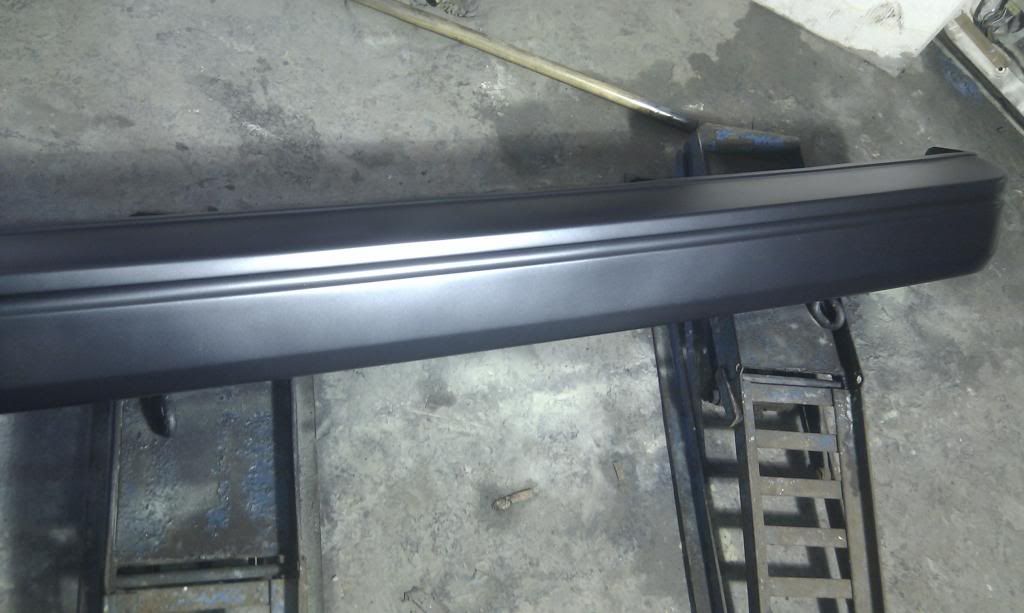
Side skirts also done but not the end section as mine are cracked, was going to get the originals repaired but someone local sold me a set for£20 which only need a little work.
Car now outside, I know it looks a bit of a mess but its getting there. Just having the paint flattened and polished up. End of this week I hope the car should be home so I can underseal it and start putting the interior in.
Things to do: rear side skirts, mud flaps and lower front trim...


Side skirts also done but not the end section as mine are cracked, was going to get the originals repaired but someone local sold me a set for

Car now outside, I know it looks a bit of a mess but its getting there.

Things to do: rear side skirts, mud flaps and lower front trim.
Re: Superedition project part 1 of 3 completed ~ Pic Heavy ~
Good news, my car is now at home. Still got lots to do but most of the exterior is done apart from a few bits to do.
But before the car was taken home the following was done:
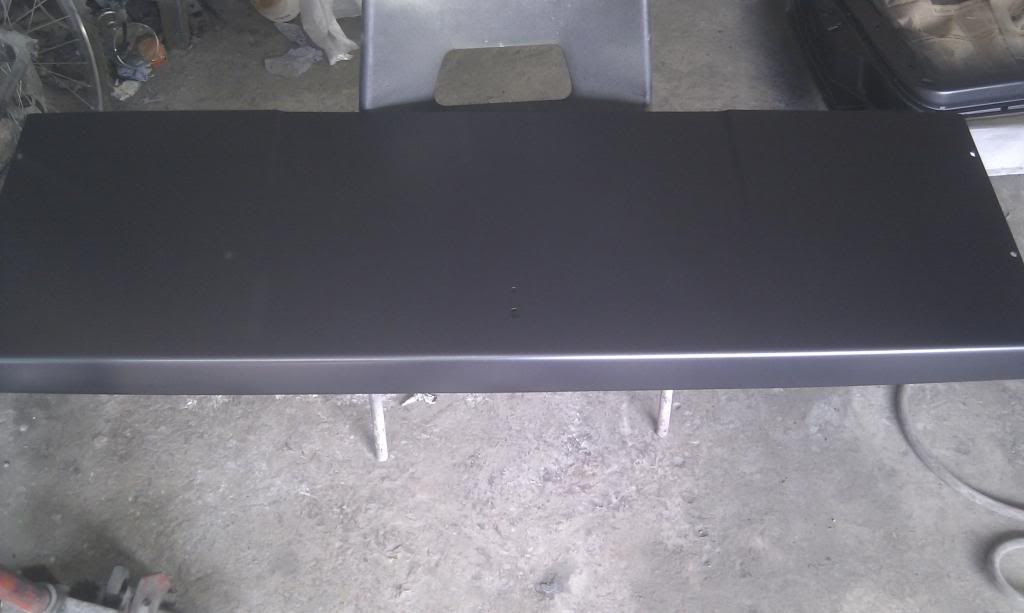
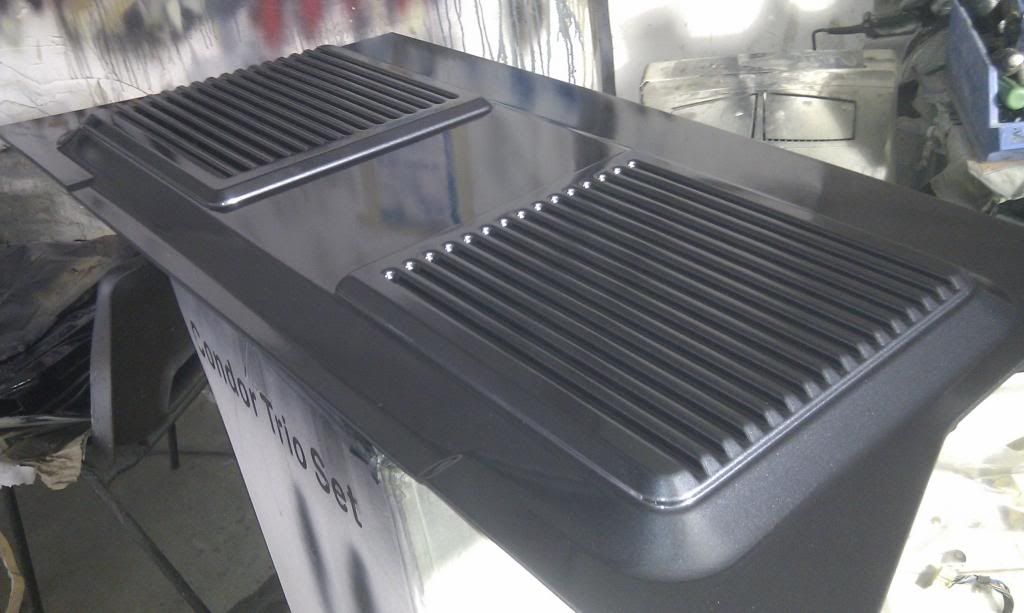
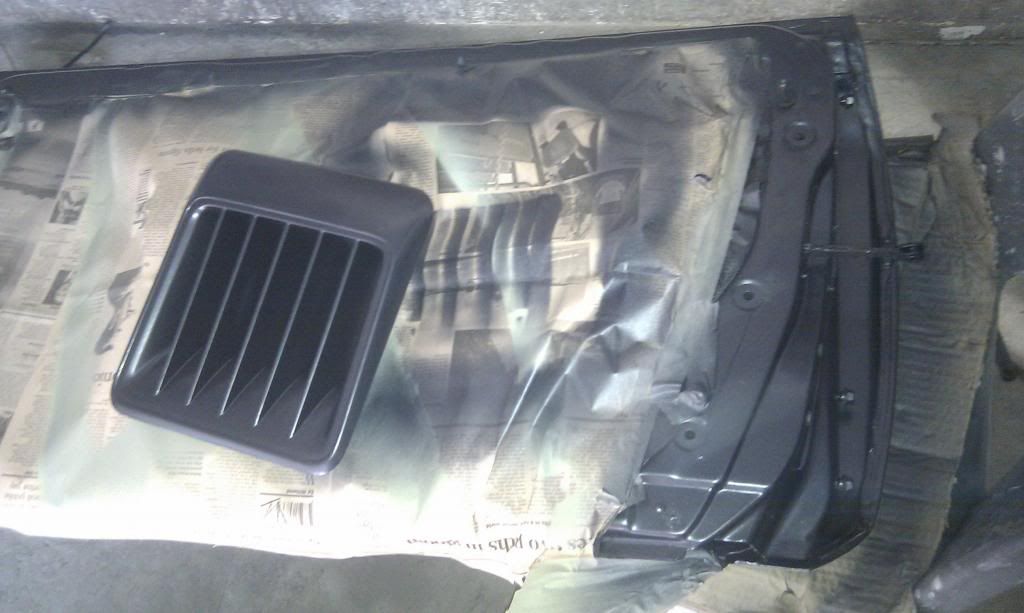
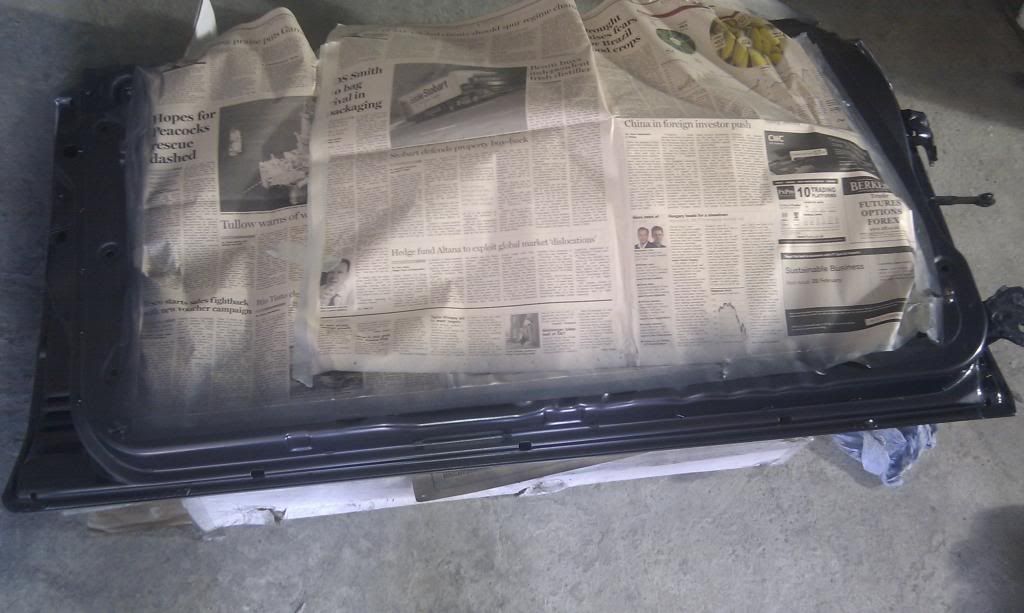
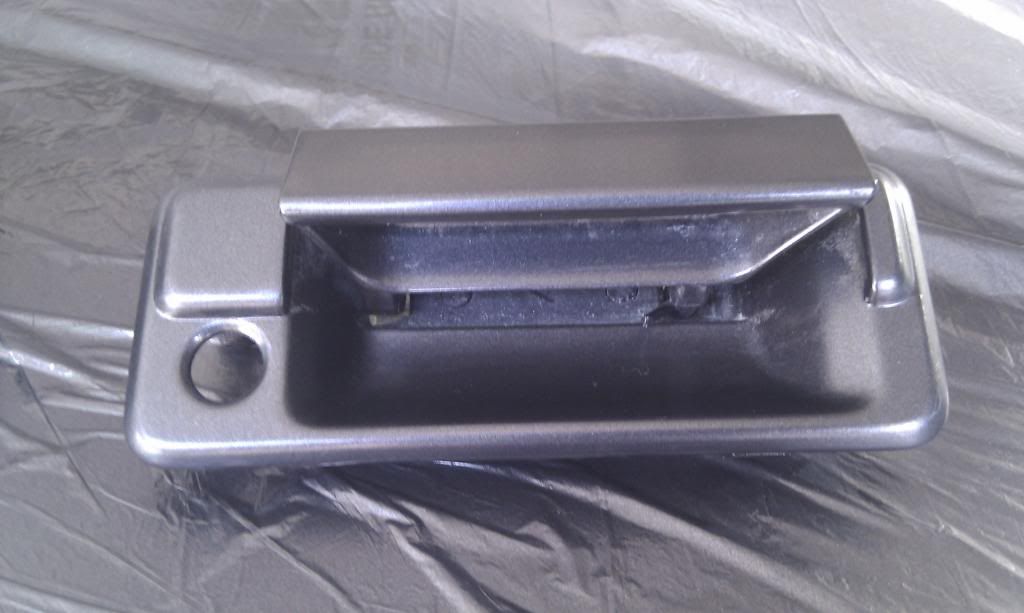
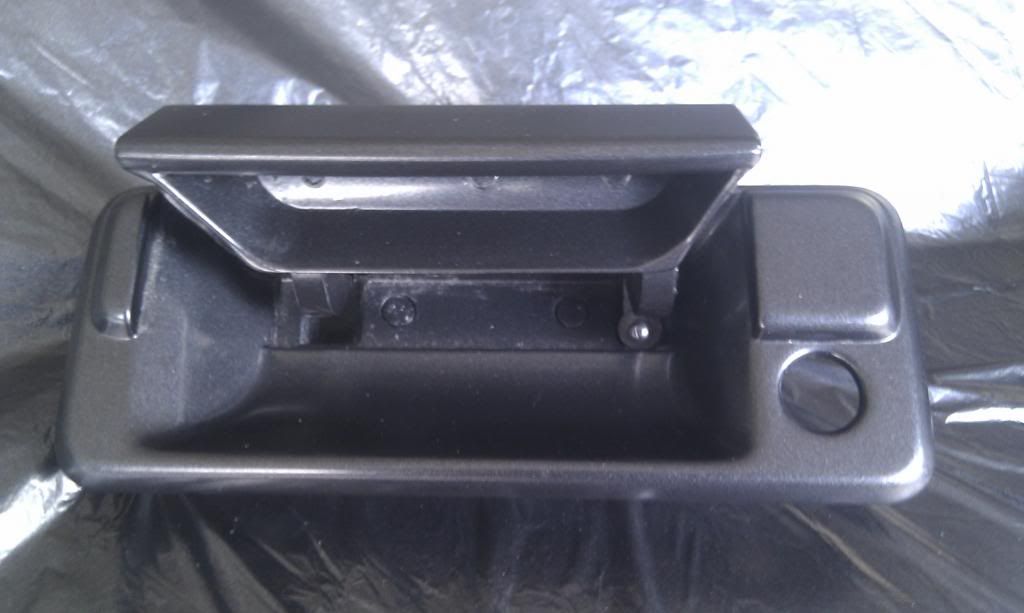
sprayed all the trims, I should have gone for matt finish because I do not like the look of these.
Cleaned up and ready for paint:
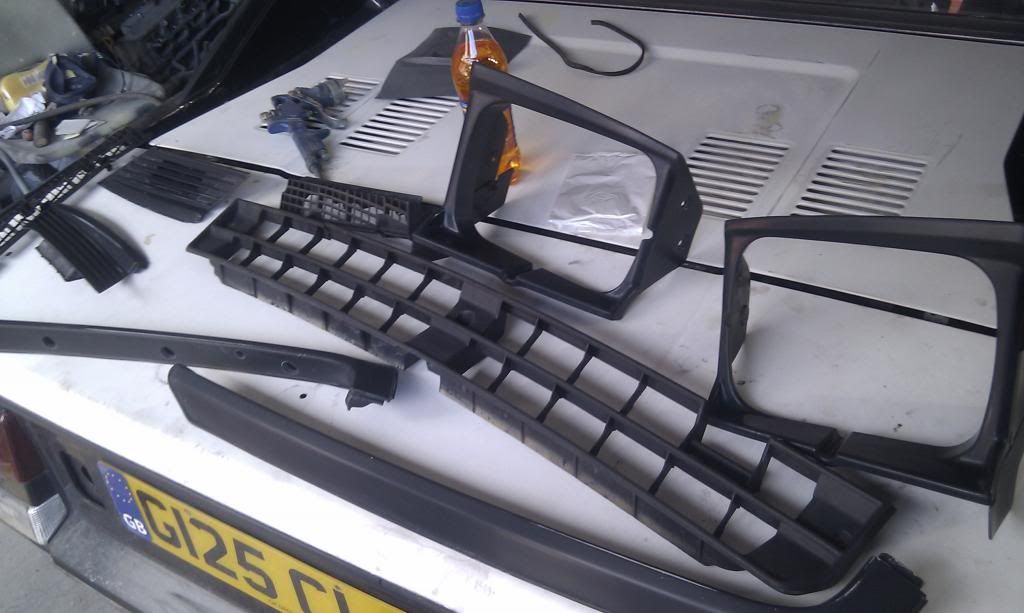
painted:
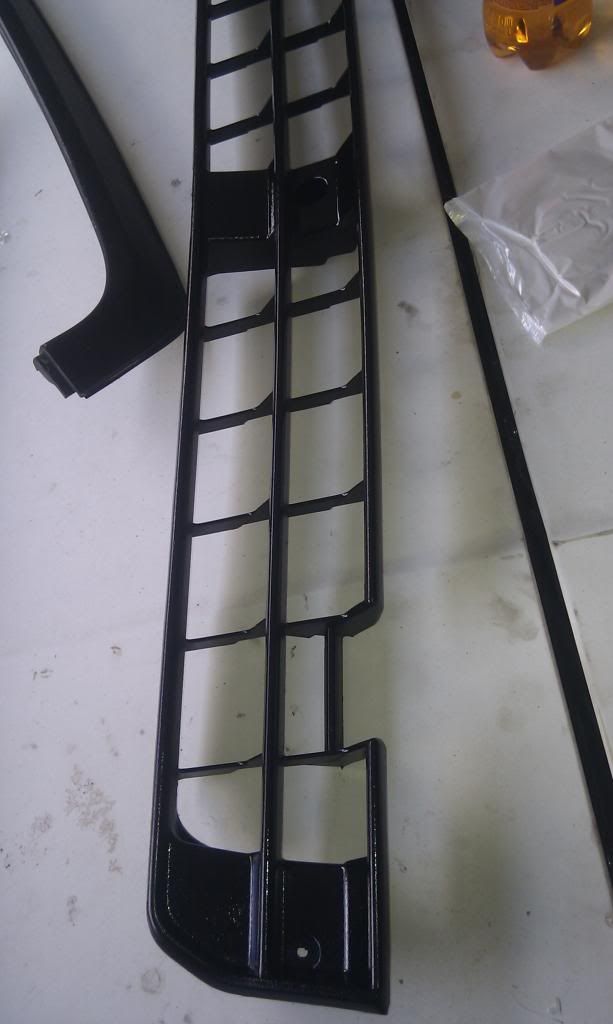
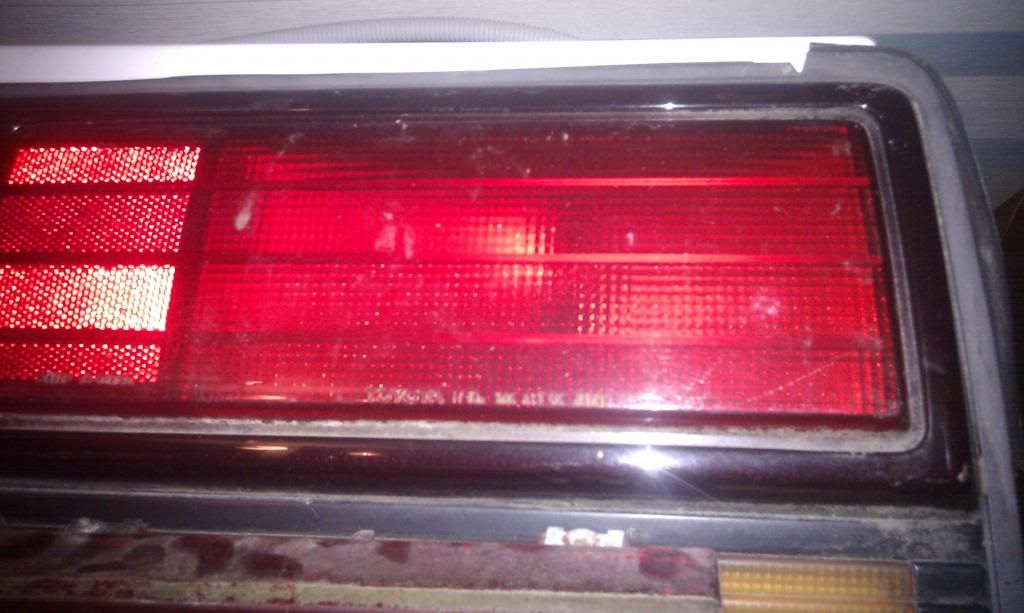
Next job was to clean the rear lights:
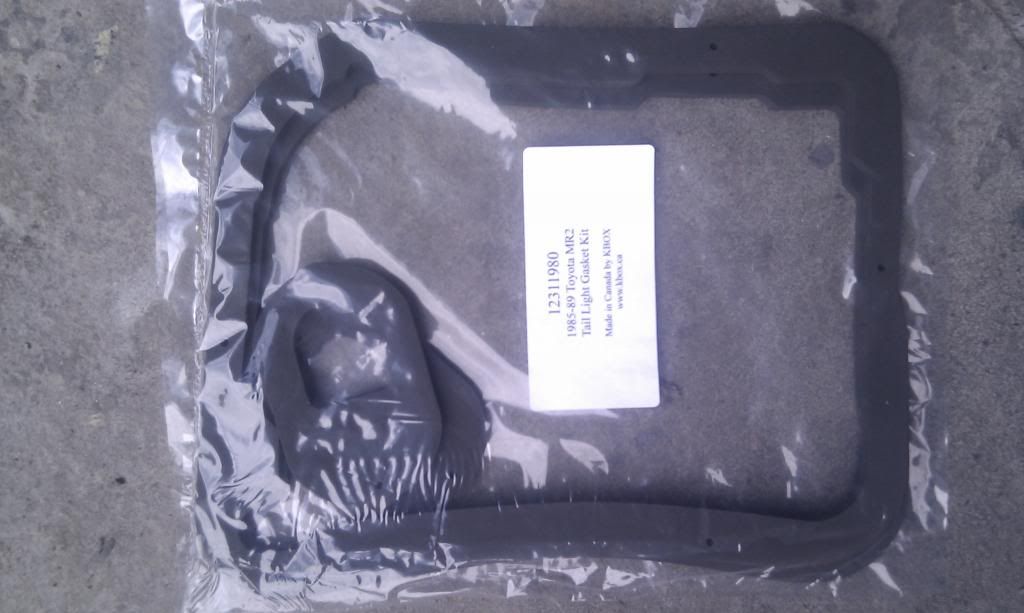
New lights gaskets:
Lights polished and on the car, also put the spoiler on:
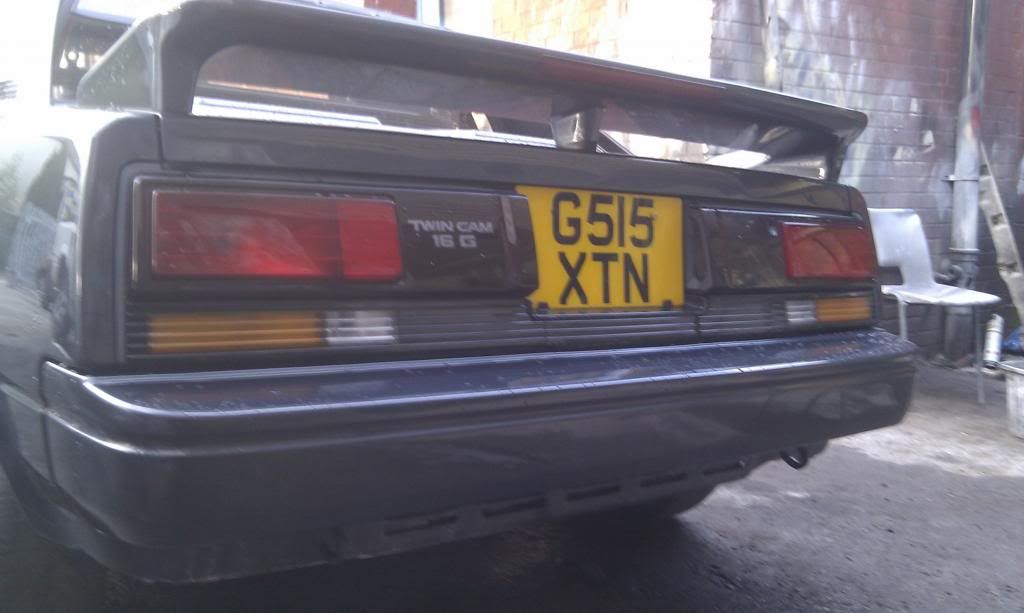
Next job was to build the front bumper up and put on the car.
Protected the new bar and number plate holder:
bumper now on, with indicator lights and front headlights:
Next job was the side skirts, and front spoiler:
in primer:
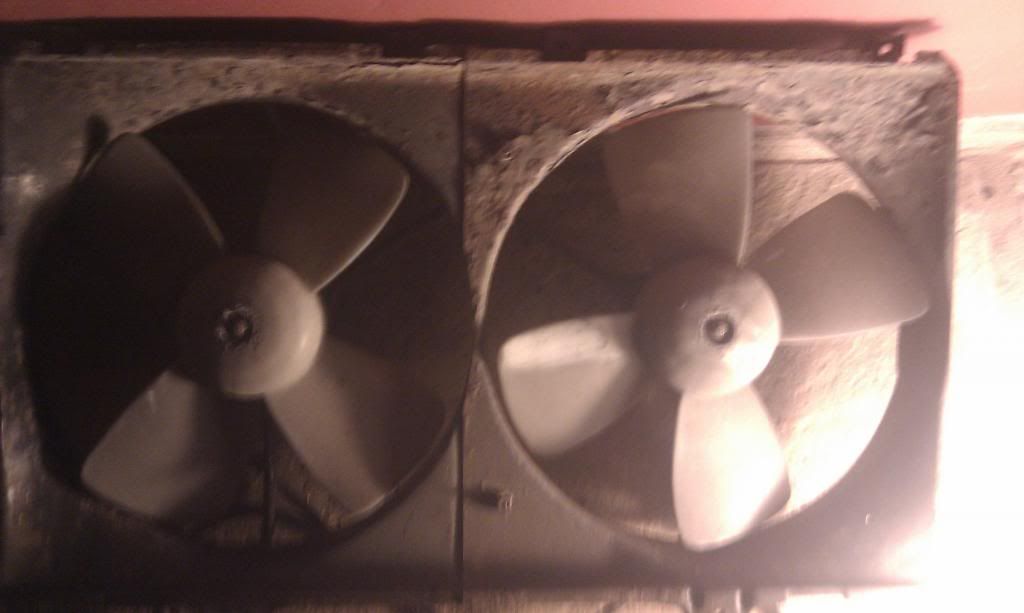
Next job was de-rusting the rad and fans:
Looks bad:
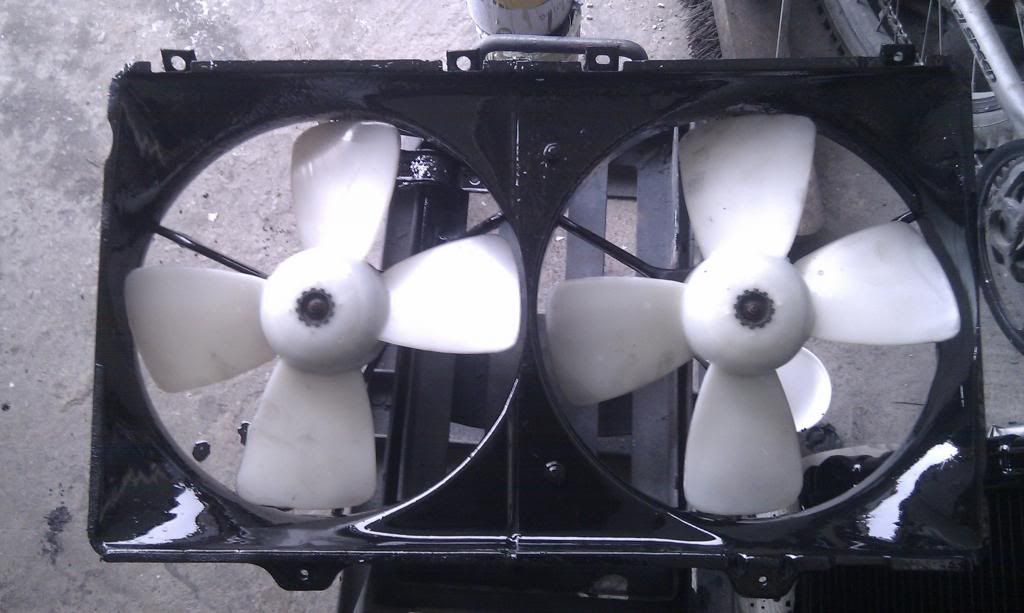
Not too bad now, nice and solid:
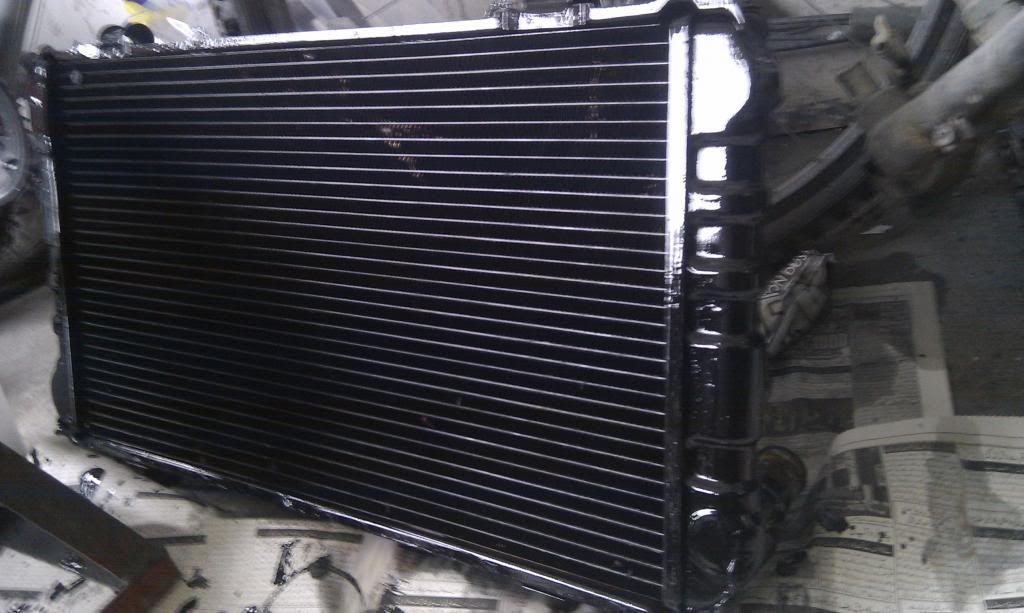
Rad:

Now:
Car at home
still got lots to do, but going to take it in stages.
Next stage is to clean the under side of the car and re seal, change all the horse clips, then build the inside of the car.
Then send the car to Peter for the engine to go back in
But before the car was taken home the following was done:
sprayed all the trims, I should have gone for matt finish because I do not like the look of these.
Cleaned up and ready for paint:

painted:


Next job was to clean the rear lights:

New lights gaskets:

Lights polished and on the car, also put the spoiler on:

Next job was to build the front bumper up and put on the car.
Protected the new bar and number plate holder:

bumper now on, with indicator lights and front headlights:

Next job was the side skirts, and front spoiler:
in primer:


Next job was de-rusting the rad and fans:
Looks bad:

Not too bad now, nice and solid:

Rad:

Now:


Car at home

still got lots to do, but going to take it in stages.
Next stage is to clean the under side of the car and re seal, change all the horse clips, then build the inside of the car.
Then send the car to Peter for the engine to go back in
Re: Superedition project part 1 of 3 completed ~ Pic Heavy ~
This is seriously impressive work, Imran. Can't wait to see it on the road!
2001 BMW M5 (Bahnstormer) | 2004 RX8 231 (the Racecat) | 2001 Volvo V70 (Swedish eBay barge)
Previous:
1989 MR2 Mk1b T-bar| 1988 MR2 SC Super Edition
Previous:
1989 MR2 Mk1b T-bar
Re: Superedition project part 1 of 3 completed ~ Pic Heavy ~
i like that clour, whatever it's called

-
Lauren
- IMOC Committee
- Posts: 38632
- Joined: Mon Dec 13, 2004 5:37 pm
- Location: Greater Manchester
- Contact:
Re: Superedition project part 1 of 3 completed ~ Pic Heavy ~
stenky wrote:i like that clour, whatever it's called
Midnight Blue.
2020 GR Yaris - Circuit Pack
Re: Superedition project part 1 of 3 completed ~ Pic Heavy ~
Lauren wrote:stenky wrote:i like that clour, whatever it's called
Midnight Blue.
edit: geay wasnt mean to be gay, but gray
Last edited by stenky on Thu Mar 06, 2014 8:35 pm, edited 1 time in total.
Re: Superedition project part 1 of 3 completed ~ Pic Heavy ~
Car is looking fantastic! Love the colour
-
boondougal
- Posts: 520
- Joined: Sun Jul 10, 2005 9:48 am
- Location: Shavington (near Crewe)
Re: Superedition project part 1 of 3 completed ~ Pic Heavy ~
looking really good...
Re: Superedition project part 1 of 3 completed ~ Pic Heavy ~
how long did the elastic parts' paint/lacquer last? like outer door handles and front grille? (grill for americans:) )
Re: Superedition project part 1 of 3 completed ~ Pic Heavy ~
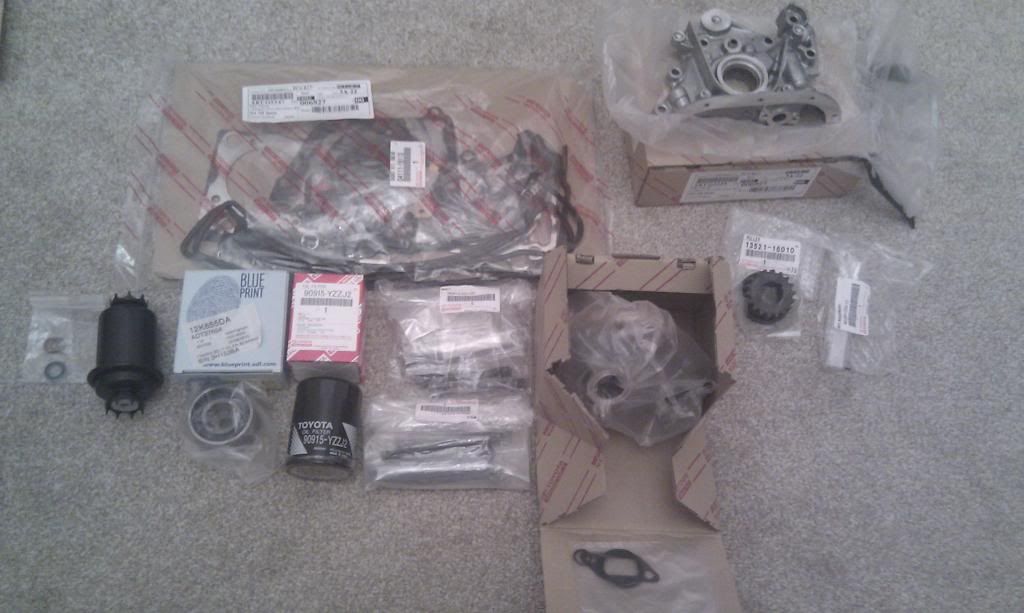
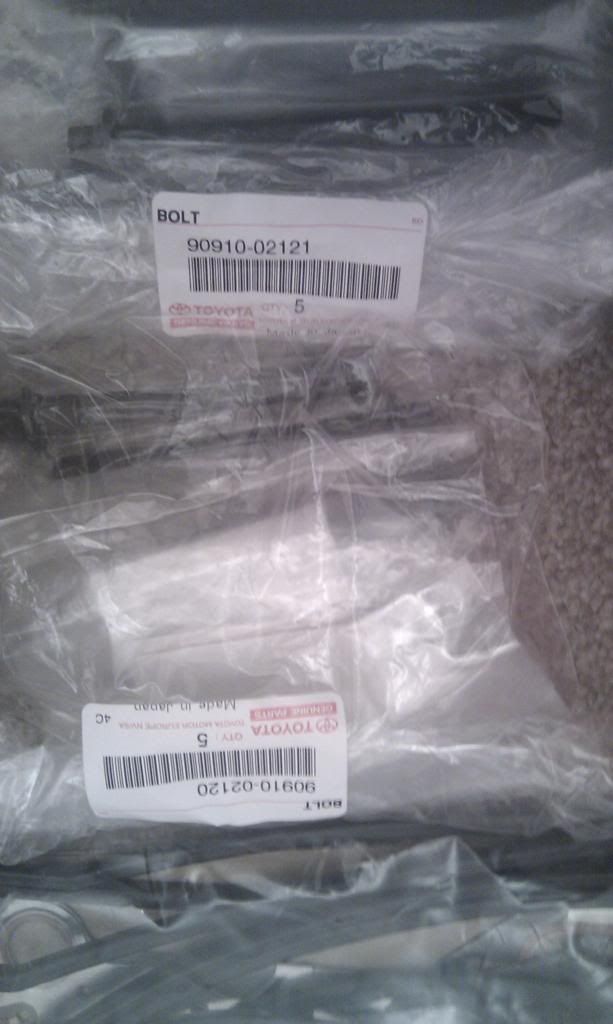
I have picked up my parts today from Denton Toyota for the engine rebuild. Managed to get 10% off and a free oil filter
would of liked more of a discount but that's just being greedy
So far I think I have every thing for the engine rebuild to start.
Toyota head gasket set
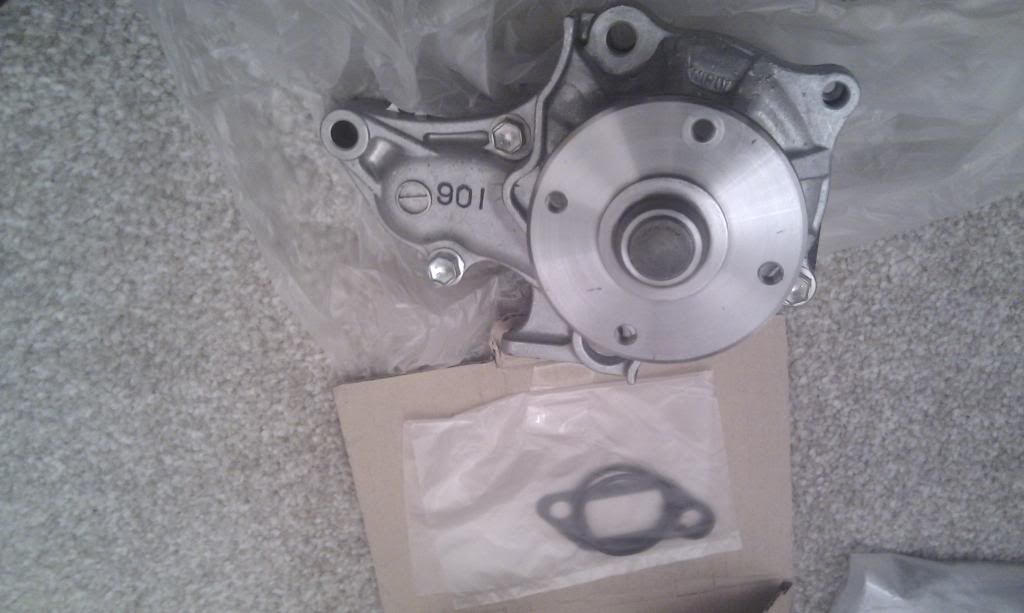
Toyota water pump
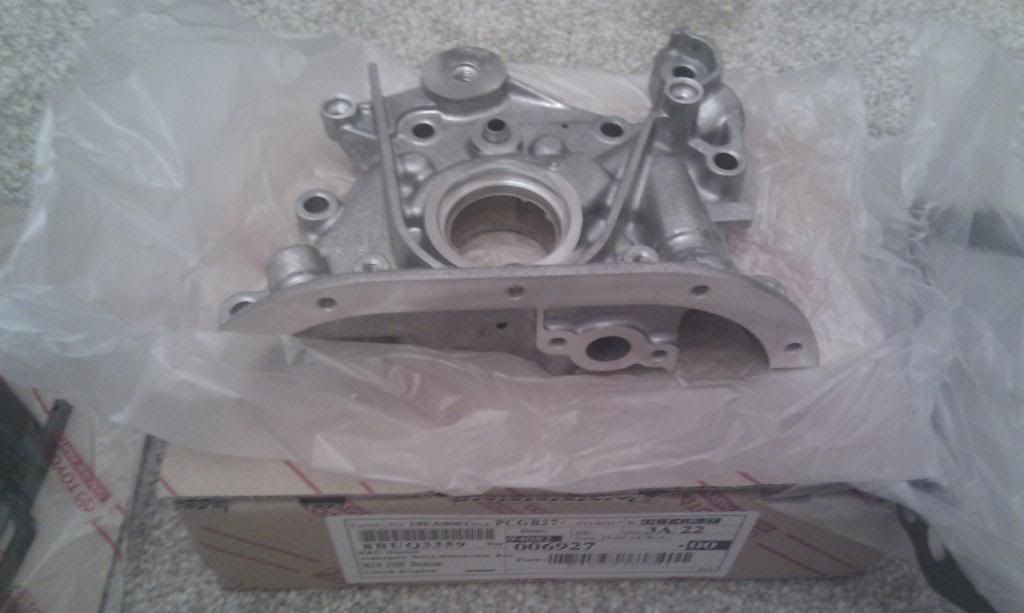
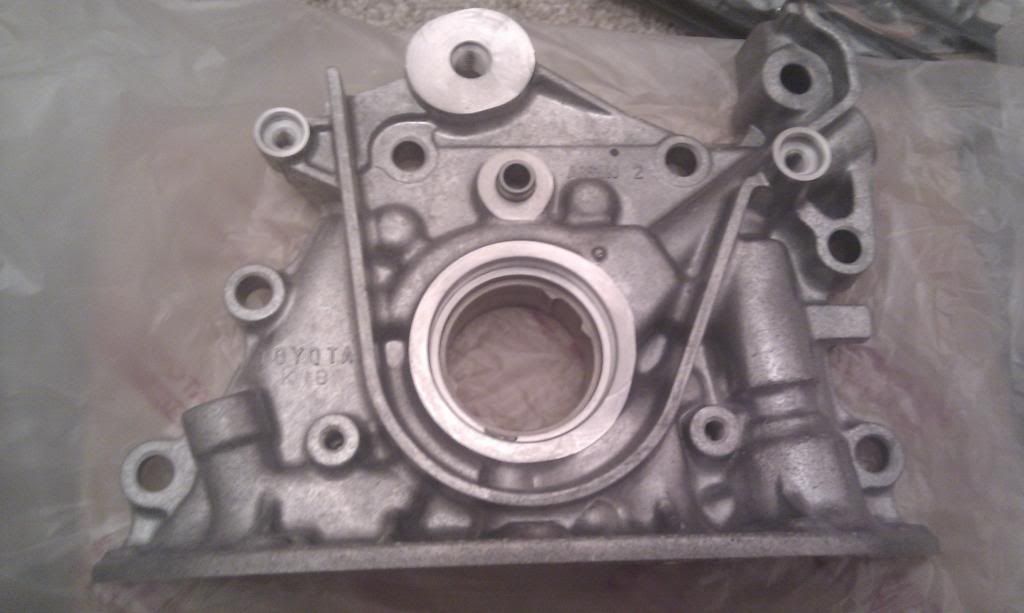
Toyota oil pump
Toyota head bolts
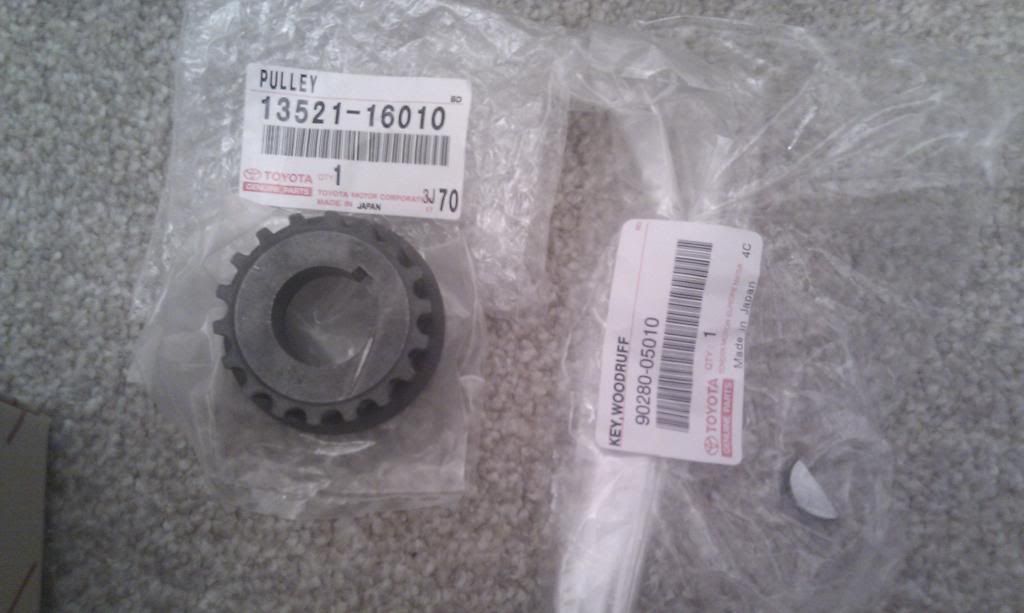
Toyota crank pulley(original broke on removal)
Toyota woodruff key
blue print Timing Belt Idler Pulley from a Camry
Fuel filter
Part which Peter will be supplying:
Toyota or ACL bearings(big and main)
Toyota piston rings
Will be dropping these off to Peter on Monday. So the engine will be build up and ready to go in the car in a few weeks.
I have a few jobs to do before I send my car to Peter, need to get it undersealed and fix the t-bar

would of liked more of a discount but that's just being greedy
So far I think I have every thing for the engine rebuild to start.
Toyota head gasket set
Toyota water pump
Toyota oil pump
Toyota head bolts
Toyota crank pulley
Toyota woodruff key
blue print Timing Belt Idler Pulley from a Camry
Fuel filter
Part which Peter will be supplying:
Toyota or ACL bearings
Toyota piston rings
Will be dropping these off to Peter on Monday.
I have a few jobs to do before I send my car to Peter, need to get it undersealed and fix the t-bar


-
spike10000
- Posts: 1
- Joined: Wed Jun 02, 2010 3:09 am
Re: Superedition project part 1 of 3 completed ~ Pic Heavy ~
Lauren wrote:autobody wrote:
O yeah I still got that, I just need a mint visor to put it on.
As Mark had them screen printed at great expense, that decal is about as close to the original as you can get.
Are these screen prints still available? I am restoring a Super Edition over in Australia.