Rev4 Turbo *mini photoshoot*

Create a post with details about your car.

Moderators: IMOC Moderators, IMOC Committee Members

Post Reply
dan mkii
Posts: 336
Joined: Sat Oct 20, 2012 7:07 pm
Location: welling kent

Re: Rev4 Turbo *mini photoshoot*

Post by dan mkii »

Yea this is exactly what I found.

Just found it on rally nuts for 39.00.

We must sort a mini meet jim as mine should be back on the road this week and tom and julian are also local.
jimGTS
Posts: 14024
Joined: Tue Dec 14, 2004 1:40 pm
Location: North Kent

Re: Rev4 Turbo *mini photoshoot*

Post by jimGTS »

postage??

thatll surely bring it to 45-50? :mrgreen:


edit, am sure theyll be plenty of kent runs happening over the year on the OC :thumleft:
jimGTS
Posts: 14024
Joined: Tue Dec 14, 2004 1:40 pm
Location: North Kent

Re: Rev4 Turbo *mini photoshoot*

Post by jimGTS »

been a while since an update

mostly removing some weight, still got a few items to consider when ive got time.
doing this has really made the cabin feel more spacious, brighter, as well as the additional engine noise makes you feel more at one.

http://www.imoc.co.uk/forums/viewtopic. ... ght=weight

Firewall Foam 1.2kg
Head Lining 1.1kg
Firewall Carpet 3.8kg
Upper firewall Surround 0.5kg
Center Storage box 1.7kg
Bolts/clips 0.2kg
Drivers storage box 1kg
Visors 0.6kg
frunk lining 0.8kg
frunk metal frame 0.8kg
subbox 12.2kg
amps and board 11.8kg
ICE wiring 1.8kg
Passenger side engine hook 1.2kg
Passenger side engine mount plate 0.3kg
Rear interior speaker panels and small metal brackets. 1.3kg.
= 40.3kg

10kg tools!
= 50.3kg

Image

Image

Image

Image

Image

Image


also fit my greddy boost gauge in a perfect place to not get in the way too much of my speedo
ive now also swapped in a Blitz boost controller to bettr match the black and green theme (still greddy ebc in the pics though)


Image

Image


the grey interior light casing i had planned to paint black to match the rest of the interior now the grey headlining wasnt in place, i actually stumbled across an OEM black light casing, so nabbed that for a good price.

also cleaned up my wiper arms, as noticed a couple of rust spots on them.
only other minor mod was to remove the wire that controls the headlight staying up when flashing when you have your sidelights on.

small details, but needed addressing none the less.

Image

Image

Image

Image


changed clutch and brake fluid for new toyota 5.1 with the help from mrturbotom, in exchange for some fog lights. :eye:

next on the cards is fitting some grooved discs from my old rev5 turbo, clean/paint calipers, backing plates, and getting some braided brake lines.
jimGTS
Posts: 14024
Joined: Tue Dec 14, 2004 1:40 pm
Location: North Kent

Re: Rev4 Turbo *mini photoshoot*

Post by jimGTS »

about time for another update.


Found my old grooved discs from my old jdm rev5.
Thought I'd swap them in.
This turned into a clean and paint calipers exercise, I've also cleaned and painted the disc covers, cleaned and painted a couple of rust spots on the springs as well as upgraded to goodridge stainless steel brake lines while I was at it.
new brake fluid too.


Image
Image
Image
Image
Image


finally got round to sourcing some c clips for the rear brake lines as well as some brackets.
while i was there, i replaced my cancer bars with some new ones from toyota.
glad i had the wheels off to tackle the bars, made life easier for sure.

also to note are some new handbrake lines at the same time few weeks back, as i was struggling getting the left side to work properly, so just bought some oem quality replacements, as luck would have it they had blue casing! ha.

Image
Image

i gave new ones another coat for additional protection

Image

Image


Image
Image


nice picture showing the ports on the oil filter housing for my gauge sensors!

Image


also recently got a sony action camera (bit like a gopro), so been messing with that.

https://www.youtube.com/watch?v=6UxvEvv7-3A

also last minute decided to visit santa pod for the hell of it, been a year since id gone

best run was a 13.4 at 106.5mph, not too bad, i was suffering clutch slip problems all day, so i had to go easy off the line, so not a quick launch, but not too bad. pleased with the terminal speeds.

funnily enough, only race i remember losing out of 8/9 runs, but was my best time.

https://www.youtube.com/watch?v=DxdaPCokcZc


also been having problems with my dash leds, one burnt out, and others were on there way, so i got some more, slightly different design.

Image


also replaced my profec B with a blitz EBC, as i prefered the look.

Image


Image

Image

Image
dan mkii
Posts: 336
Joined: Sat Oct 20, 2012 7:07 pm
Location: welling kent

Re: Rev4 Turbo *mini photoshoot*

Post by dan mkii »

Great progress jim... were habe to arrange another meet soon .
Nails
Posts: 1398
Joined: Thu Aug 07, 2008 10:06 am
Location: durham-ish

Re: Rev4 Turbo *mini photoshoot*

Post by Nails »

Been looking at the hel brakes lines myself jim. Having had one burst on me before on a similarly aged car its pretty frightening when it happens.
luckily for me it was at low speed approaching a roundabout and the person coming from the right managed to stop as I sailed out in front of them whilst yanking the handbrake and trying to ram the car into first. Never got to explain to them as they just drove off as I coasted to a stop further down the road.
how well did they fit? Straight swap and no problems?
jimGTS
Posts: 14024
Joined: Tue Dec 14, 2004 1:40 pm
Location: North Kent

Re: Rev4 Turbo *mini photoshoot*

Post by jimGTS »

yeh the goodridge are a nice tight fit. long as you bolt up the caliper end at a sensible angle, theres enough play to not be concerned.

no problems with fitment, its removing the old ones at the hardline that is a pain.

the ONLY safe way if with a blow torch and the correct open ended pipe spanner on the nut.
soon as i got some heat on it and a good tug, was fine, did the same all round to be safe as i can see those rounding off VERY easily.


dan, sure thing, though given the weather, not sure when!
Nails
Posts: 1398
Joined: Thu Aug 07, 2008 10:06 am
Location: durham-ish

Re: Rev4 Turbo *mini photoshoot*

Post by Nails »

Ah. I thought they were the Hel lines. Don't know how I missed the good ridge bit lol.
jimGTS
Posts: 14024
Joined: Tue Dec 14, 2004 1:40 pm
Location: North Kent

Re: Rev4 Turbo *mini photoshoot*

Post by jimGTS »

not been up to much with the car other than trying to enjoy it when the weather is dry.

however, still not overly pleased with the MPG im getting, i thought i would check my fuel pressure.

bridging fp and +b didnt do anything for me, i guess due to not running a fuel pump relay or resistor pack (dont ask why, its how the car came when converted).

anyhow, checked pressure at the fuel filter with a special banjo bolt, started the car up, removed the vac line to the fuel pressure reg, and was seeing 46psi.
given the gen3 bgb specs are 33-39psi base pressure, this was a fair way over.

so decided to get myself an adjustable fuel pressure reg to bring this pressure down, and maybe in turn, lean out my on boost afr's by a smidge.


ive always liked the look of the aeromotive units, but look a little on the large side and are expensive. in the mean time i randomly spotted a HKS reg for sale on here, seemed perfect for my needs, looks oem, is small, is a quality brand, so i snapped that up.

next up was figuring a way to install it, i wanted to keep my rail to fpr line as short as possible, so somewhere by the strut tower was chosen, i got a couple of fittings from Josh, the guy i bought it from, and bought the rest from the same comapny.

very pleased with the subtle look of the reg, as well as the black fittings and hosing along with a -6 1/8npt adapter for a gauge.
it fits perfectly where i wanted it, even got lucky and found an oem tab to bolt the reg onto!

im 98% done, just waiting on a 8mm-6mm reducer to mate up the return -6 fuel line to the oem return fuel line.


Image

Image

Image

Image

Image

Image
DB Mr2
Posts: 398
Joined: Tue May 10, 2011 1:34 pm

Re: Rev4 Turbo *mini photoshoot*

Post by DB Mr2 »

Hi Jim,

What does the fpr do for you - is it purely to enhance economy or also to even up the fuel/air ration on boost? Does it talk with the ECU? Or will you manually change the pressure depending on whether you are on street/at drag strip?

Apologies if this is a stupid question, install looks very OEM by the way.
jimGTS
Posts: 14024
Joined: Tue Dec 14, 2004 1:40 pm
Location: North Kent

Re: Rev4 Turbo *mini photoshoot*

Post by jimGTS »

i am hoping itll pay for itself in better fuel economy, which in turn may well lean out my on boost afr's a tad. win, win hopefully.
at cruise, the o2 sensor should adjust accordingly.

if your fuel pressure is within spec, then no need to get one, but given mine is quite high, i thought i may well benefit from installing one to the high end of oem spec pressures, so probably 38psi, maybe even playing a bit lower.


most people fit adjustable ones to run "more" pressure to increase CC of there injectors.
at 46psi base, my 540cc injectors are probably pumping out 600cc worth of fuel.
if i bring this down, hopefully my mpg will improve and maybe my afr's depending on how far i bring it down.

i will reset the ecu for peace of mind, so the o2 sensor can adjust, but the ecu has no idea of the pressure the reg is producing.

with any luck, ill gain better mpg and maybe even a tad more hp.

(i have a afr gauge to check fueling)
DB Mr2
Posts: 398
Joined: Tue May 10, 2011 1:34 pm

Re: Rev4 Turbo *mini photoshoot*

Post by DB Mr2 »

Cheers for explaining Jim
jimGTS
Posts: 14024
Joined: Tue Dec 14, 2004 1:40 pm
Location: North Kent

Re: Rev4 Turbo *mini photoshoot*

Post by jimGTS »

Install complete.

Have to say im pretty pleased with the results.
One thing i didn't expect was the extra throttle response when building boost when running lower pressure.
The car feels like boost comes in that bit stronger, almost like less lag and in turn feels like I've gained some torque.
Engine also feels really strong! Stronger than ever.

I had it initially set to 38psi, but also tried 36psi and 34psi base pressure.

34psi felt a little low, and no real difference to 36 other than between 6-7k rpm afrs starting rising from 10.0 to 10.8-11.1.
At 36 it topped out at 10.8.

I felt more comfortable therefore at 36psi as I could feel a nice difference between 36 over 38psi, (no real difference between 34 and 36)

But I've only had a play around for a short while. More tweaking to come am sure.

Also done some research on liquid filled pressure gauges.
Many many places say to only use them to setup pressure and remove before driving. Many don't reveal why.
It's because they are a sealed unit, heat effects the readings. Warmer the liquid gets in the gauge due to a hot engine bay, it's reading no longer is to atmospheric pressure, but also takes into account the pressure inside the gauge due to the expanded heated liquid.
Hotter it gets, less pressure it shows on the gauge.

Seems like aeromotive have a work around for there new liquid gauge, a bleeder screw.
This is used to release any pressure in the gauge, and in turn read the correct pressure. You just have to release the pressure when setting things up when warm.

There is a work around for a normal liquid gauge, and that is to remove or pierce the filler cap used to fill the gauge. So it always breaths and shows the correct pressure 24/7. I don't see the point for a bleeder screw really, just have it open all the time.

So that's what I've done.
Just need to make sure that the cap is the high point of the gauge, otherwise the liquid inside will ooze out, ha!

Works a treat!

Image

You can see I've had to tilt my gauge now so the filler cap is up top. And you can see I've pierced the cap

Image

The return line routed like stock

Image
alan_uk
Posts: 1851
Joined: Sun Aug 12, 2012 12:25 pm

Re: Rev4 Turbo *mini photoshoot*

Post by alan_uk »

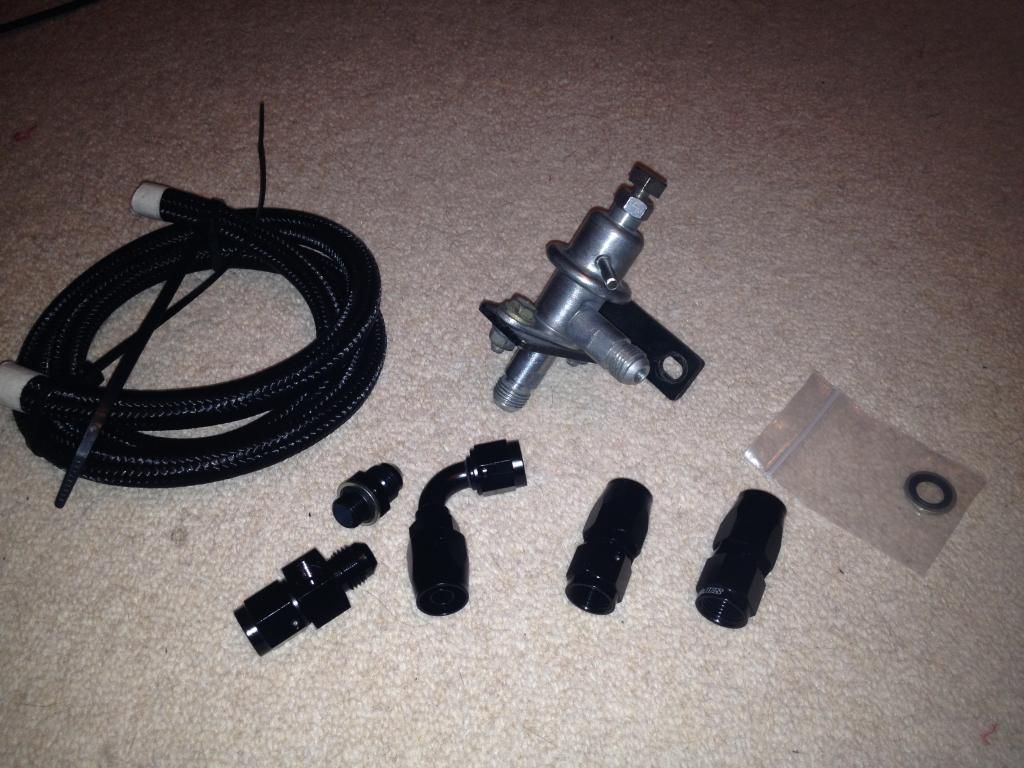
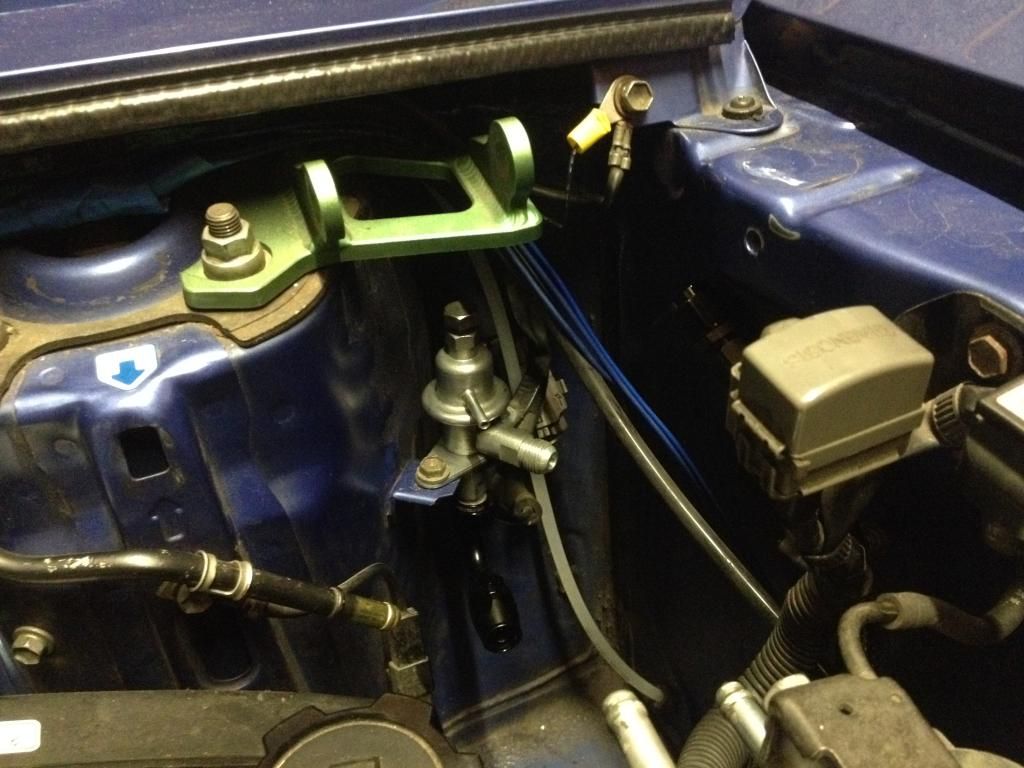
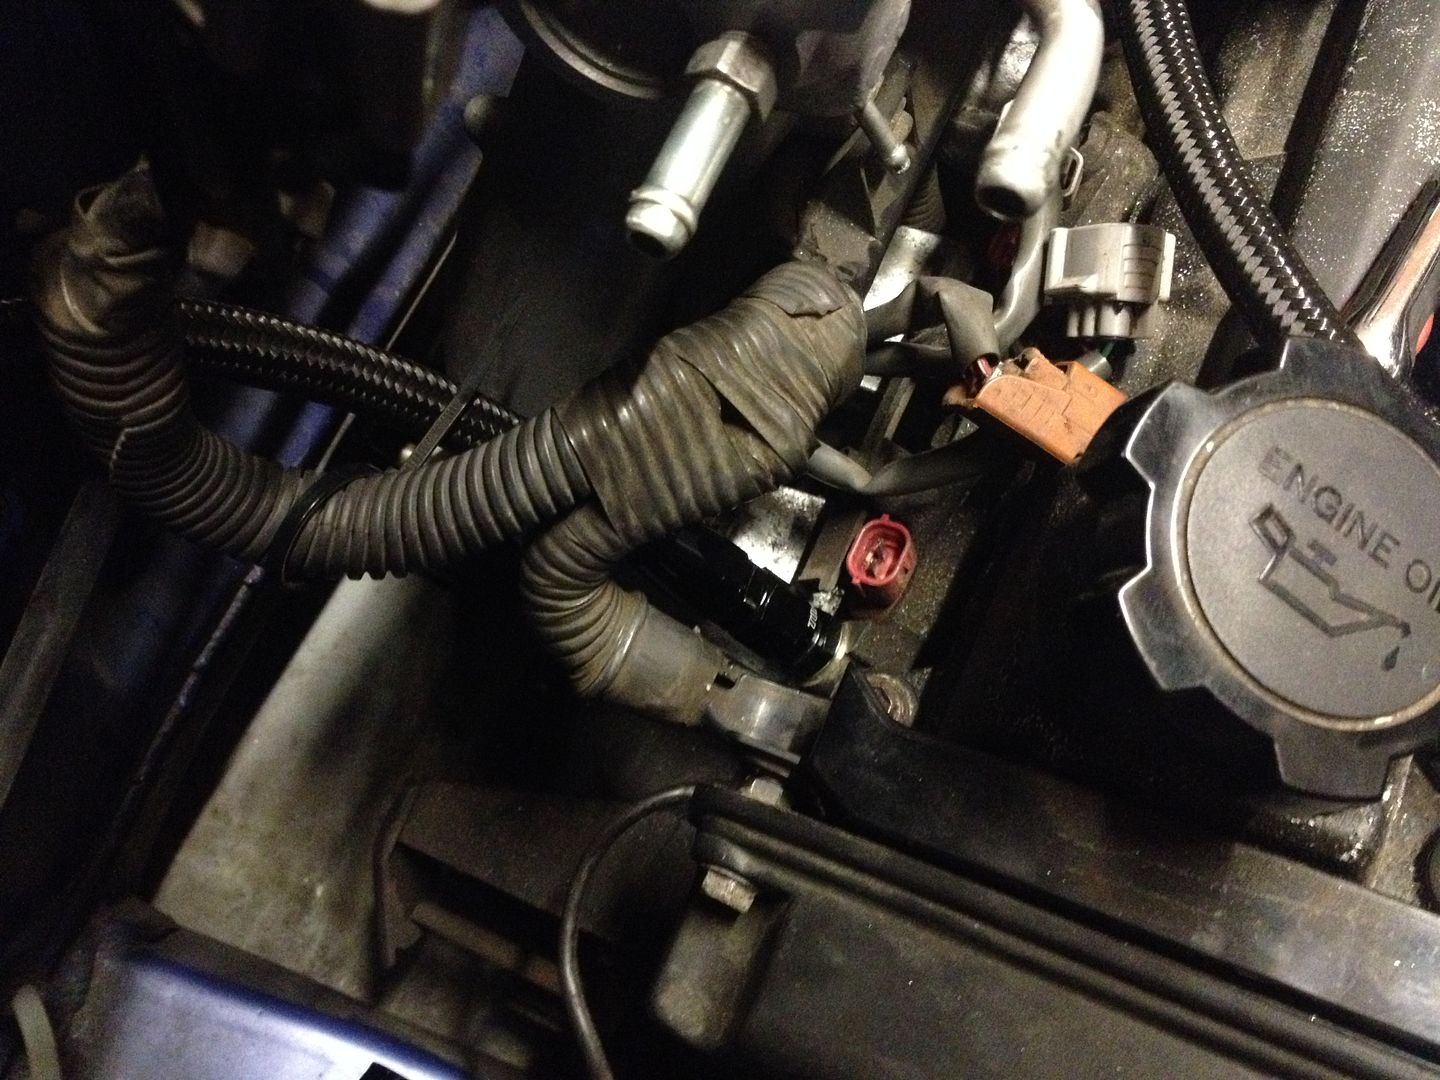
jimGTS wrote:few more bits!

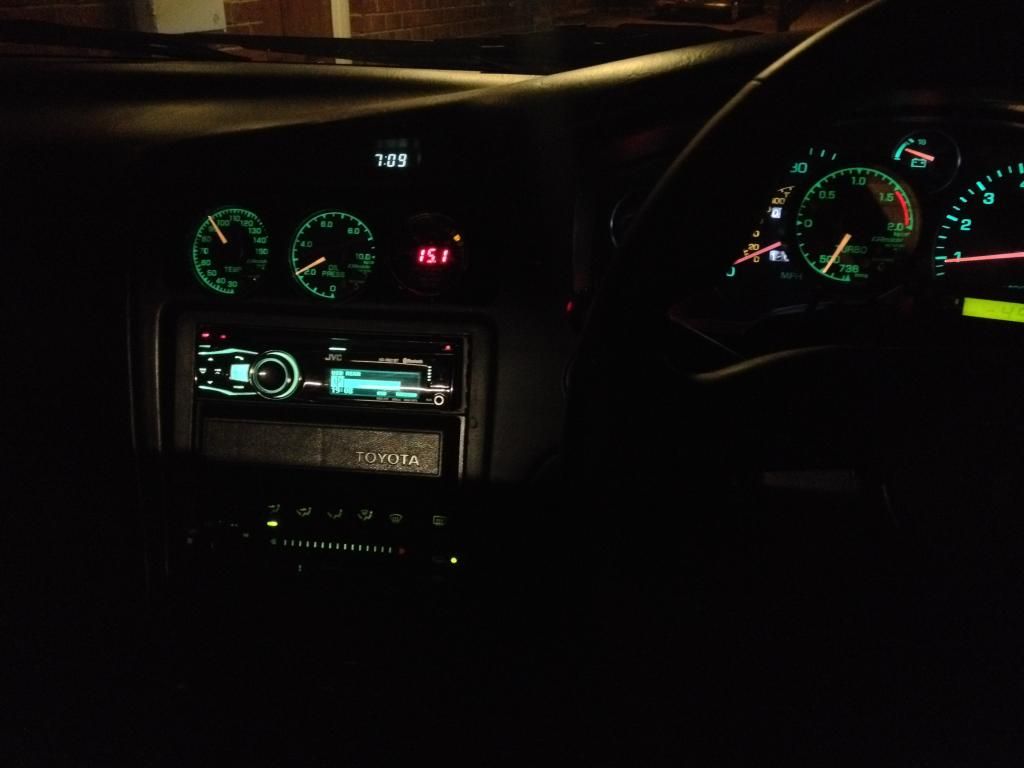
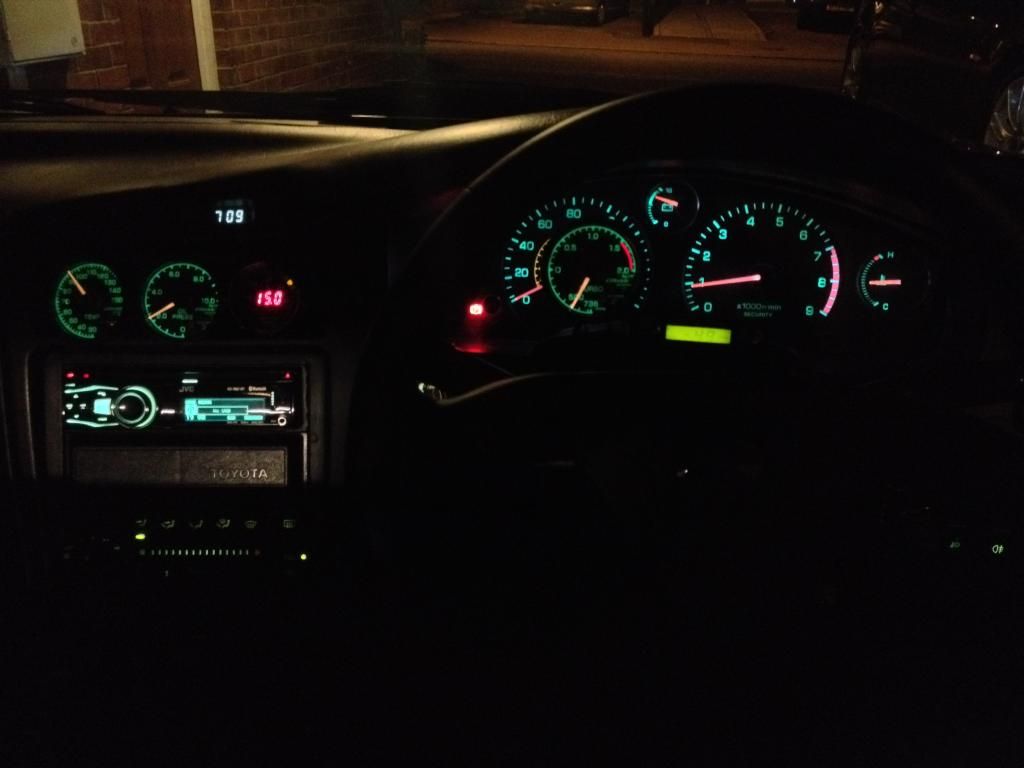
Well been busy with those dials

With green LEDs, look better than this pic in the flesh, but still not great!

Image Replaced With URL For Quote http://url.photobucket.com/albums/v326/ ... 5aa880.jpg

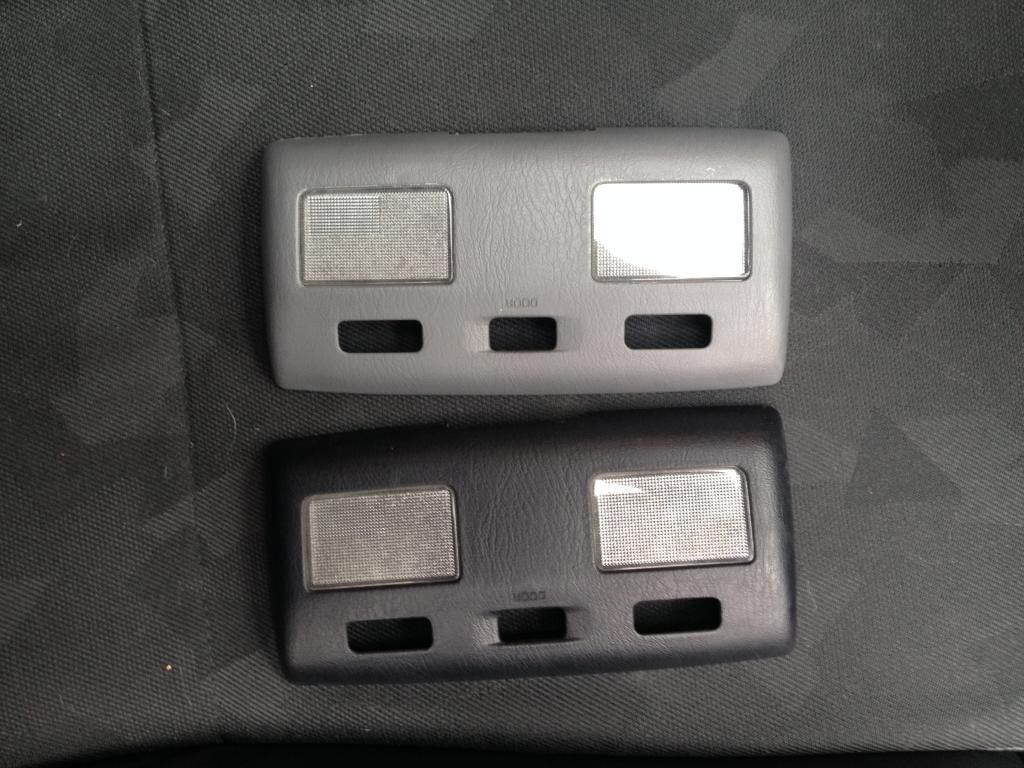
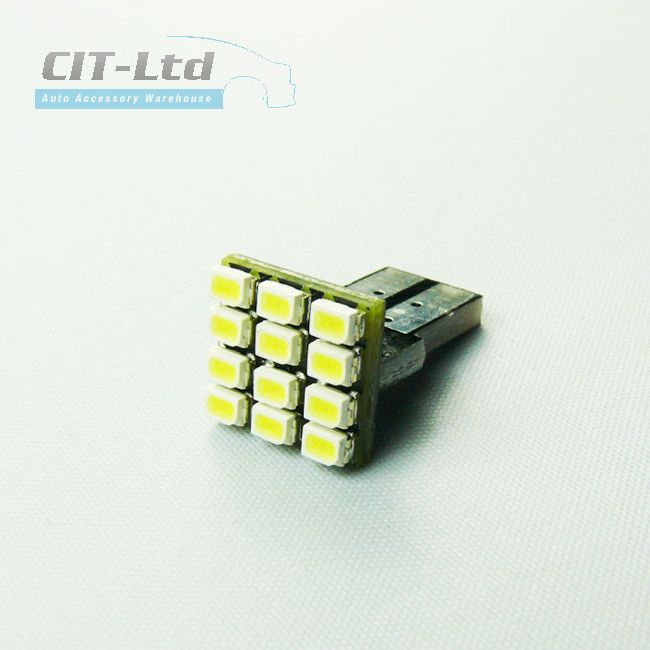
So replaced with the 8 led bulbs recommended by shinny

Image Replaced With URL For Quote http://url.photobucket.com/albums/v326/ ... 54507d.jpg

Green film cut to shape and slipped in (i also cut out redline and temp so red shone through)

Image Replaced With URL For Quote http://url.photobucket.com/albums/v326/ ... d16136.jpg

Image Replaced With URL For Quote http://url.photobucket.com/albums/v326/ ... 991899.jpg

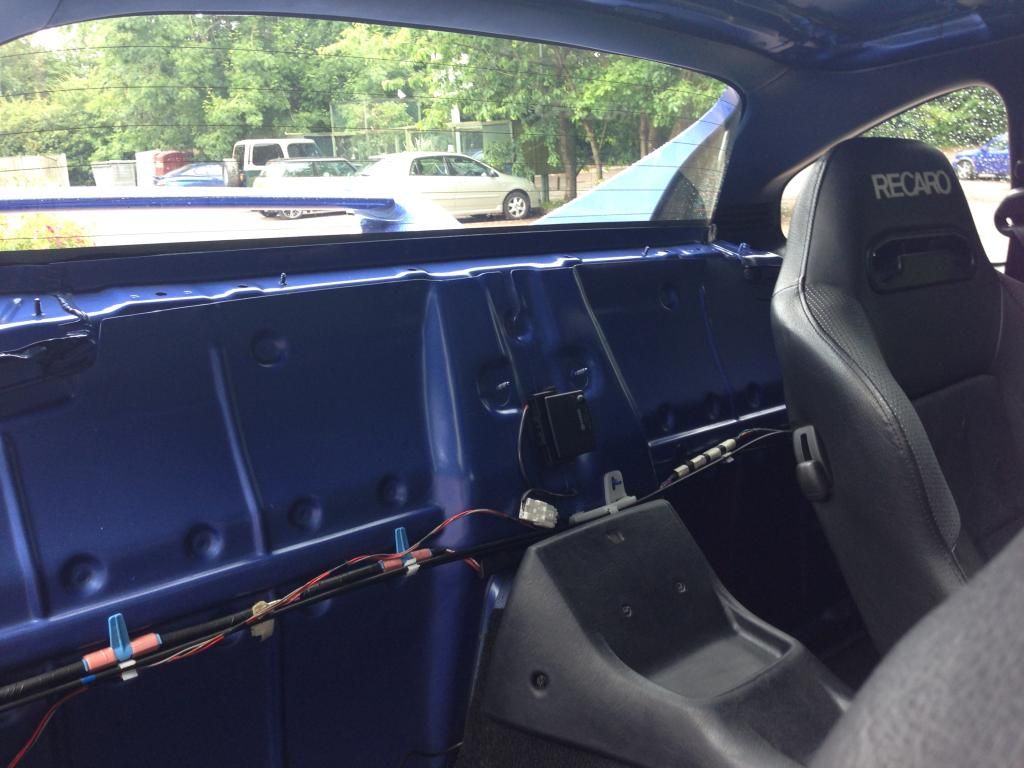
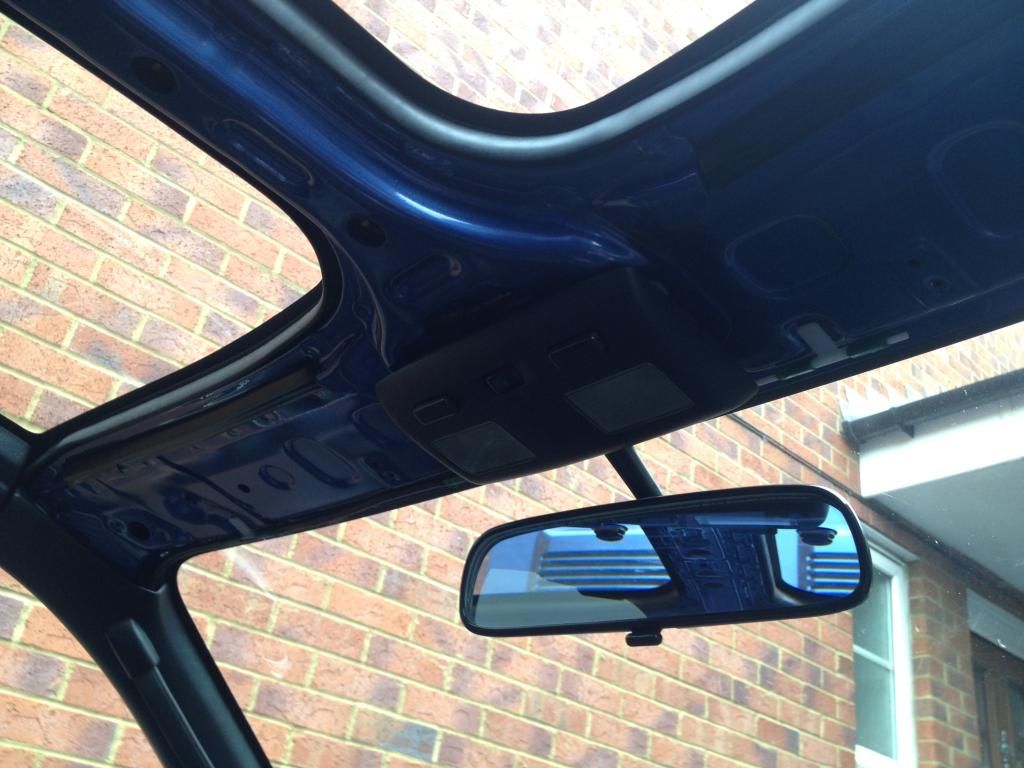
Quick pic of all interior lights

Image Replaced With URL For Quote http://url.photobucket.com/albums/v326/ ... d37443.jpg

Test fit of wheels minus tyres obviously

Image Replaced With URL For Quote http://url.photobucket.com/albums/v326/ ... 7291cd.jpg
Image Replaced With URL For Quote http://url.photobucket.com/albums/v326/ ... 9f822b.jpg
Image Replaced With URL For Quote http://url.photobucket.com/albums/v326/ ... 95a654.jpg
Image Replaced With URL For Quote http://url.photobucket.com/albums/v326/ ... b8ac7d.jpg

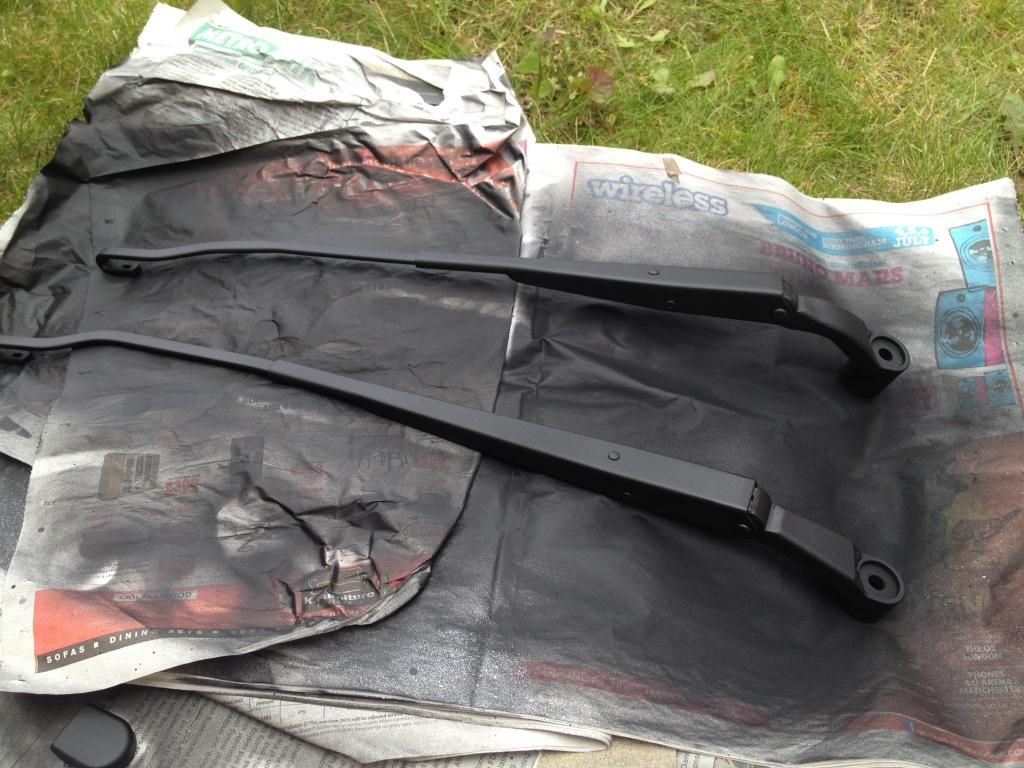
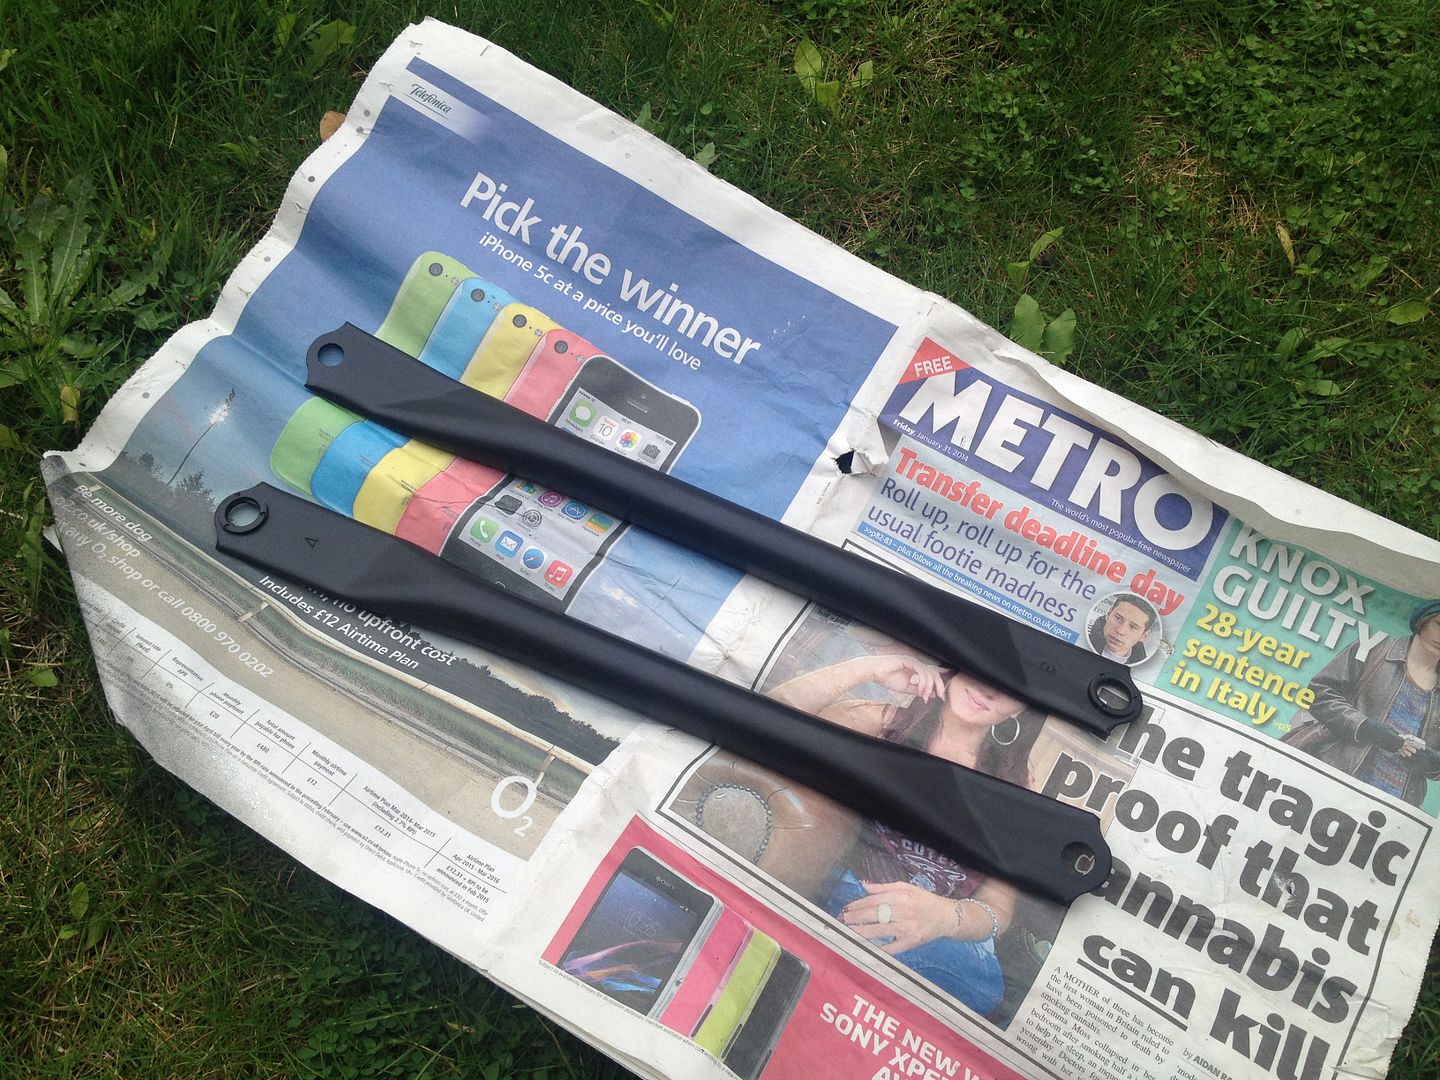
And below my Xmas present to myself. Ha!!
Tein front and rear braces.


Image Replaced With URL For Quote http://url.photobucket.com/albums/v326/ ... c5f5d0.jpg
Image Replaced With URL For Quote http://url.photobucket.com/albums/v326/ ... dd5717.jpg
Image Replaced With URL For Quote http://url.photobucket.com/albums/v326/ ... 874b4b.jpg
Image Replaced With URL For Quote http://url.photobucket.com/albums/v326/ ... f745e2.jpg
Image Replaced With URL For Quote http://url.photobucket.com/albums/v326/ ... c52253.jpg
Image Replaced With URL For Quote http://url.photobucket.com/albums/v326/ ... a859fd.jpg
Image Replaced With URL For Quote http://url.photobucket.com/albums/v326/ ... d96f9e.jpg
Image Replaced With URL For Quote http://url.photobucket.com/albums/v326/ ... de1348.jpg
Image Replaced With URL For Quote http://url.photobucket.com/albums/v326/ ... 956bb4.jpg
Image Replaced With URL For Quote http://url.photobucket.com/albums/v326/ ... d550d3.jpg
Image Replaced With URL For Quote http://url.photobucket.com/albums/v326/ ... 038b59.jpg
Image Replaced With URL For Quote http://url.photobucket.com/albums/v326/ ... 9bfa0b.jpg
Image Replaced With URL For Quote http://url.photobucket.com/albums/v326/ ... 71f24f.jpg


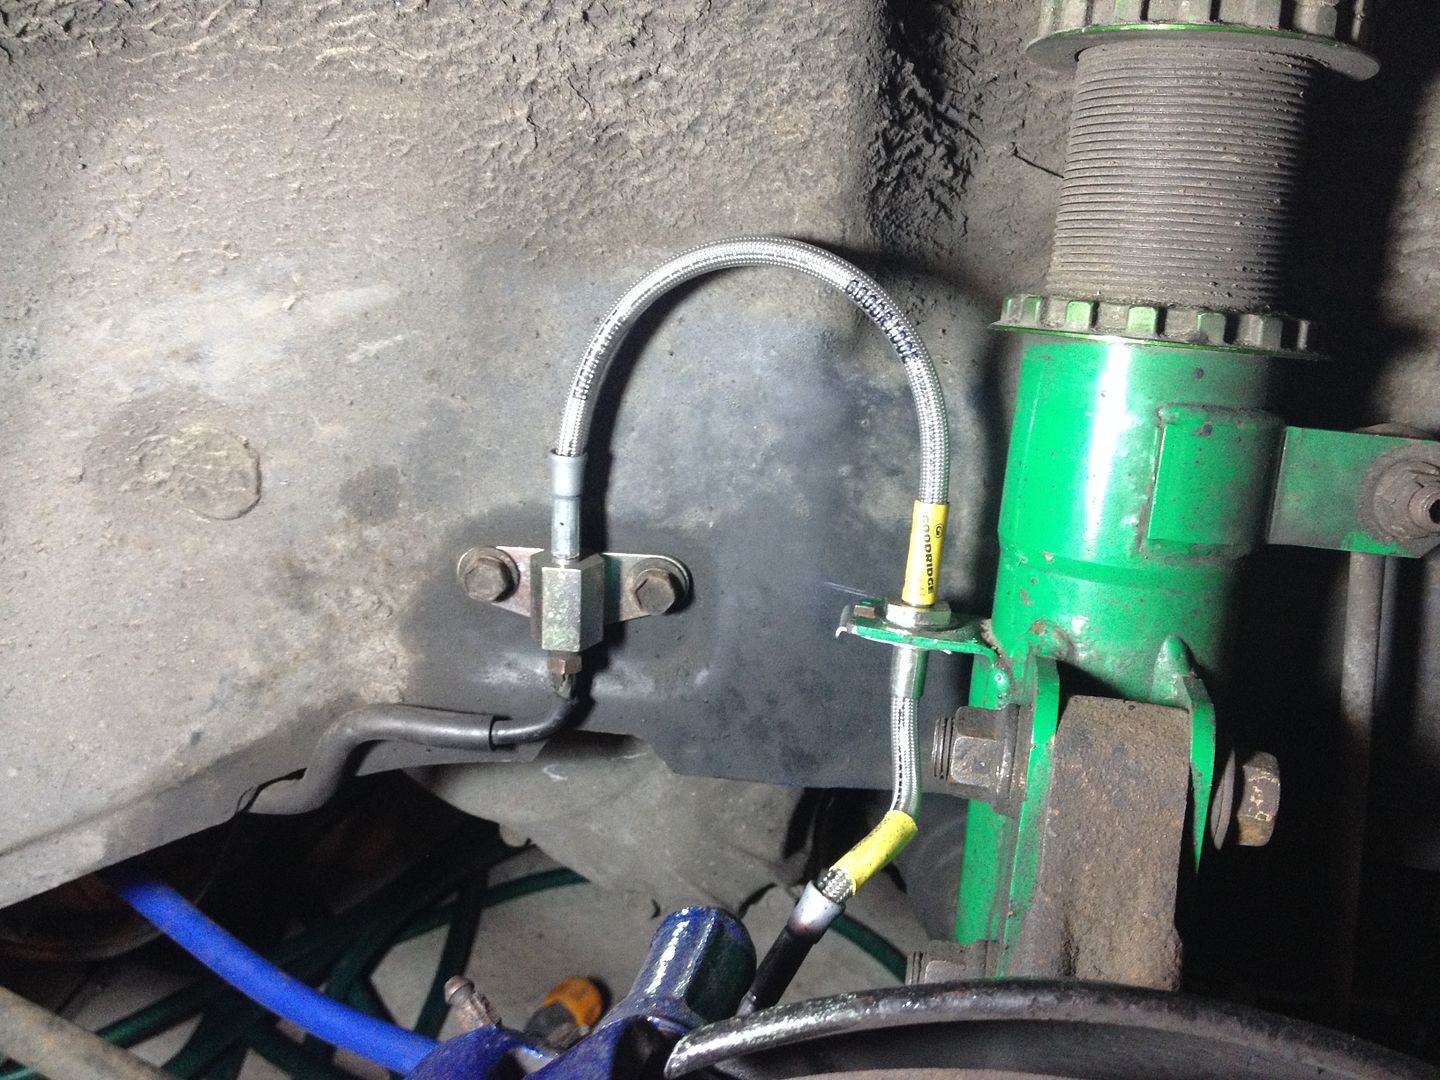
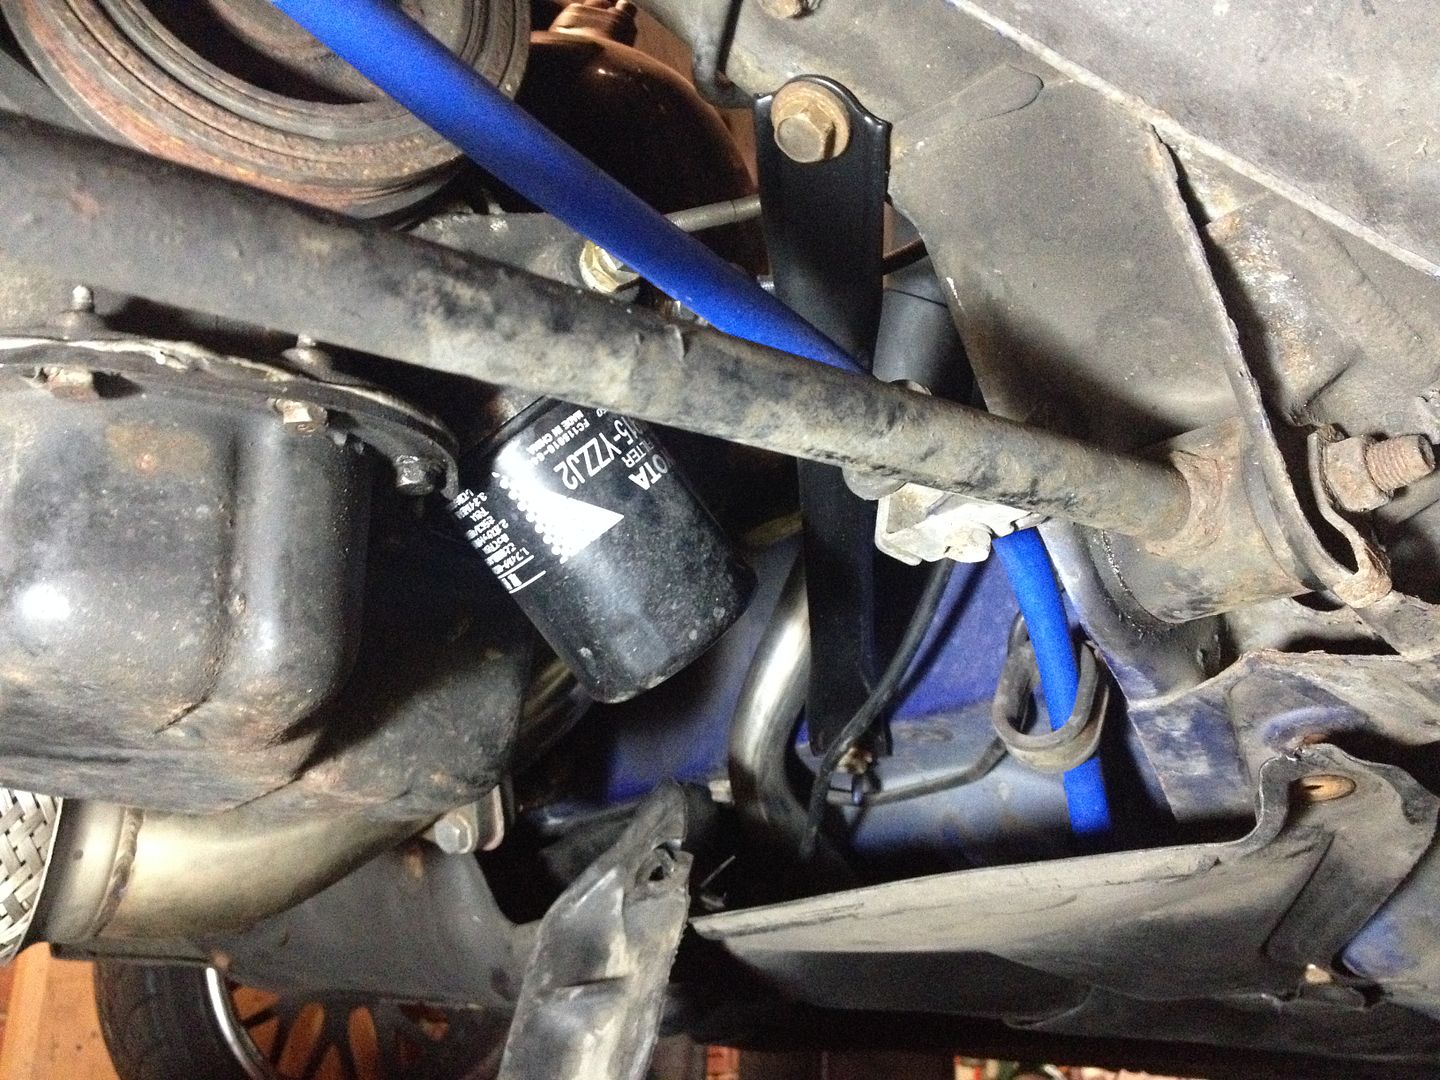
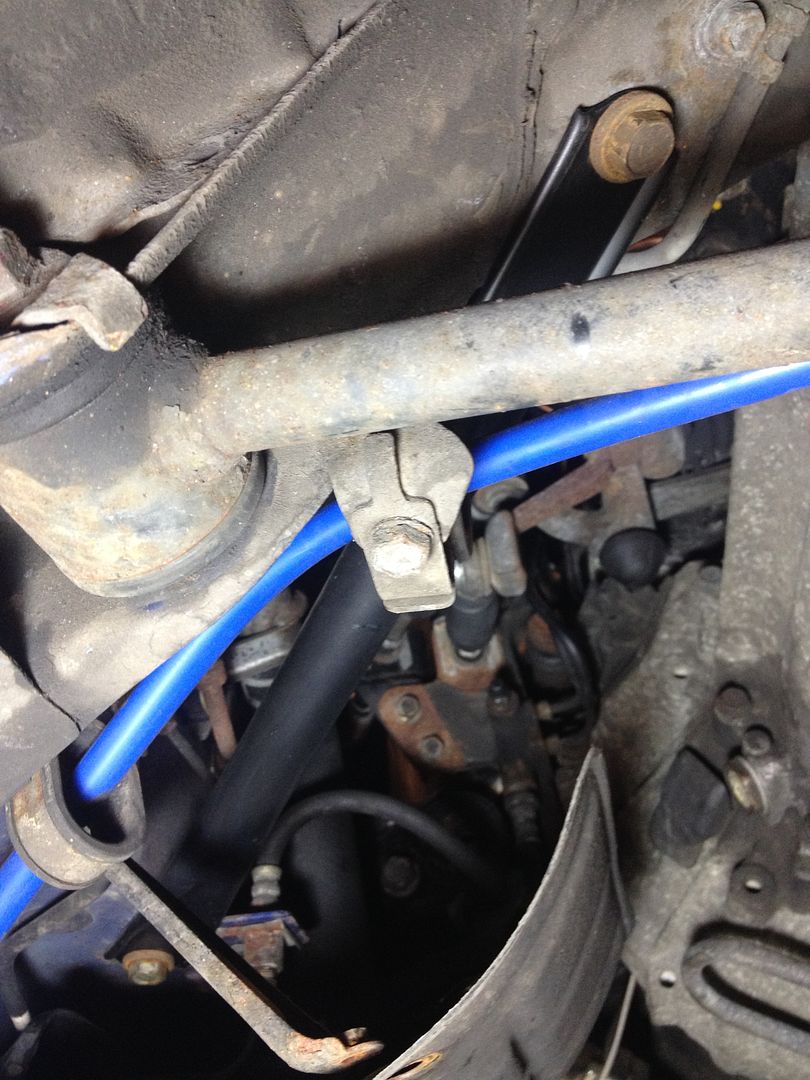
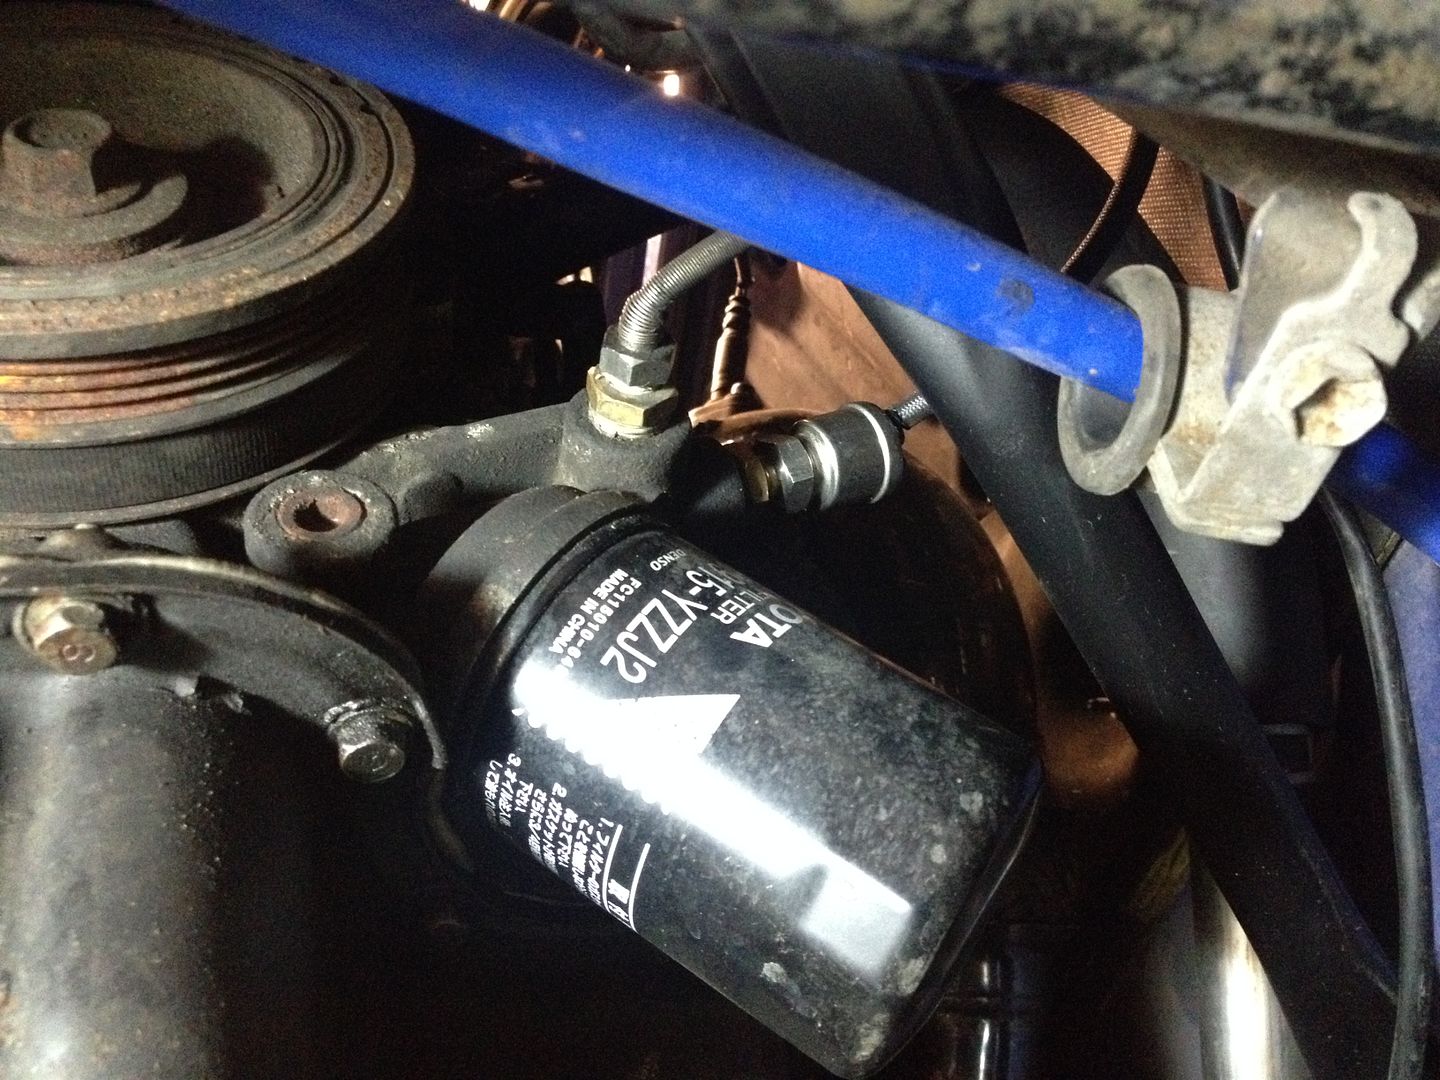
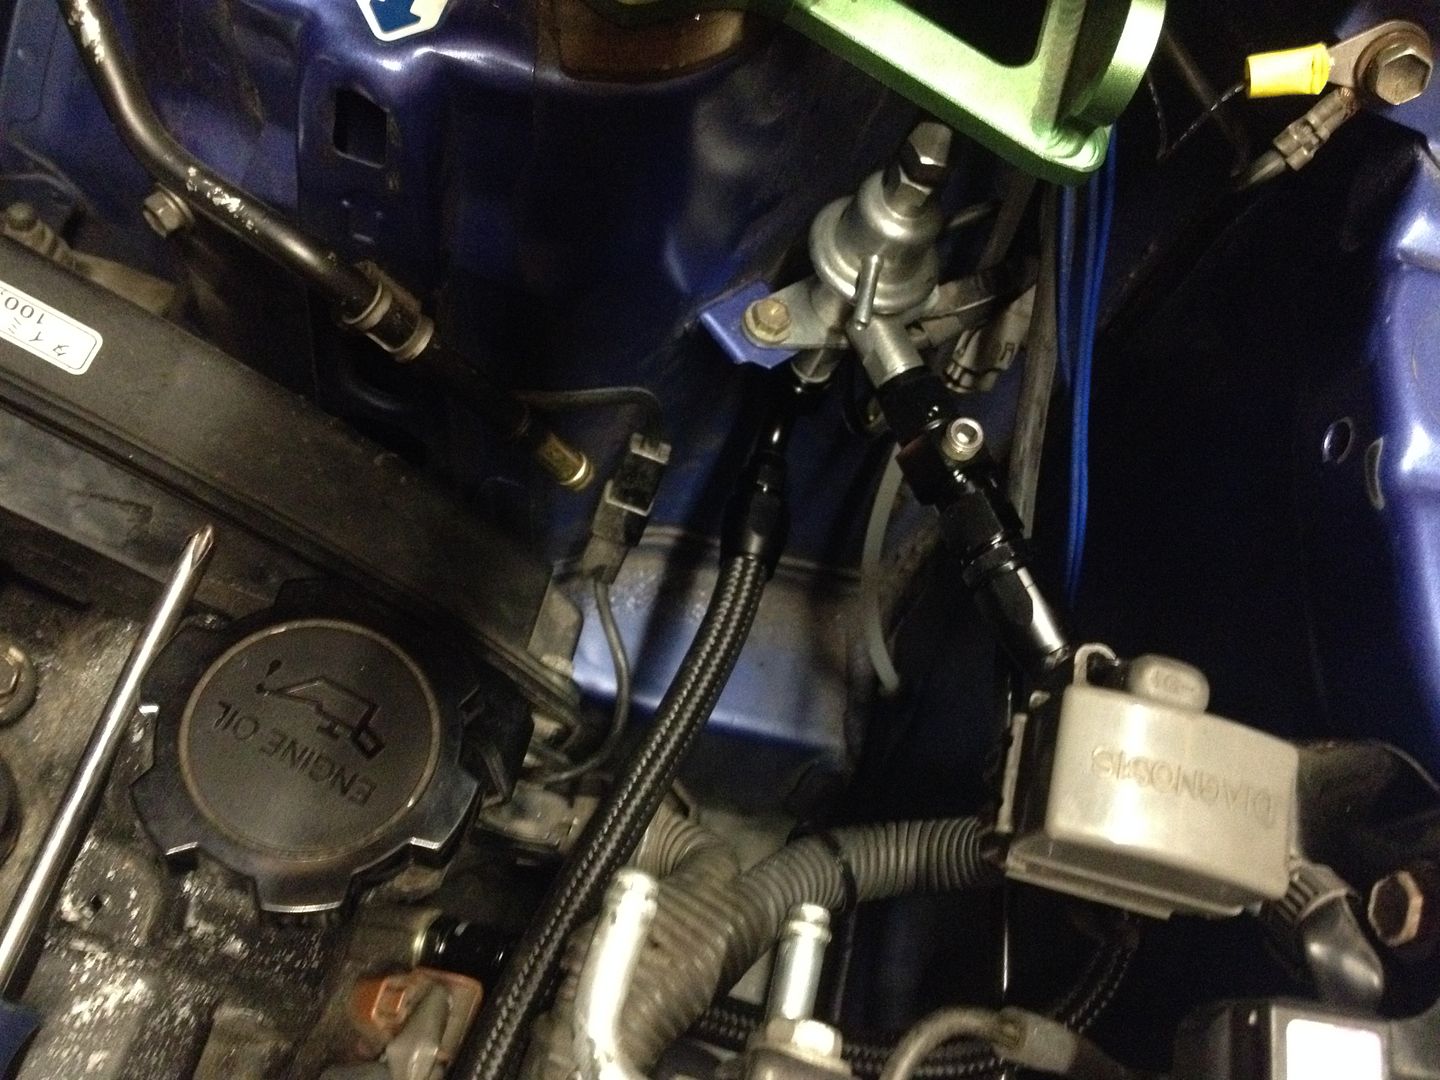
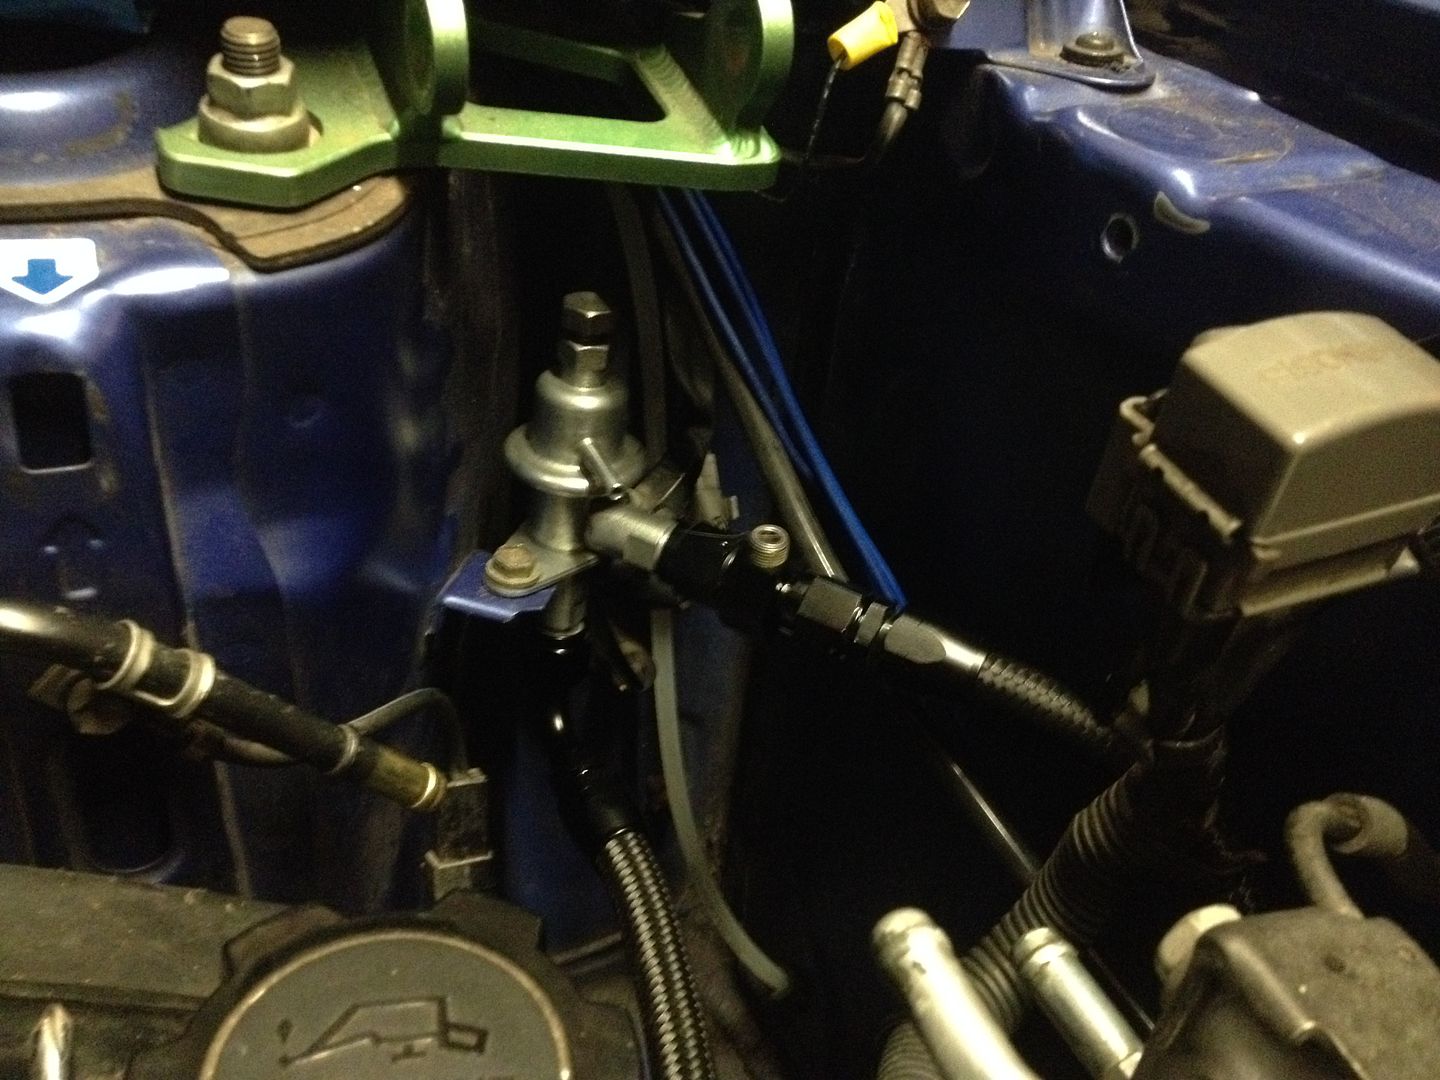
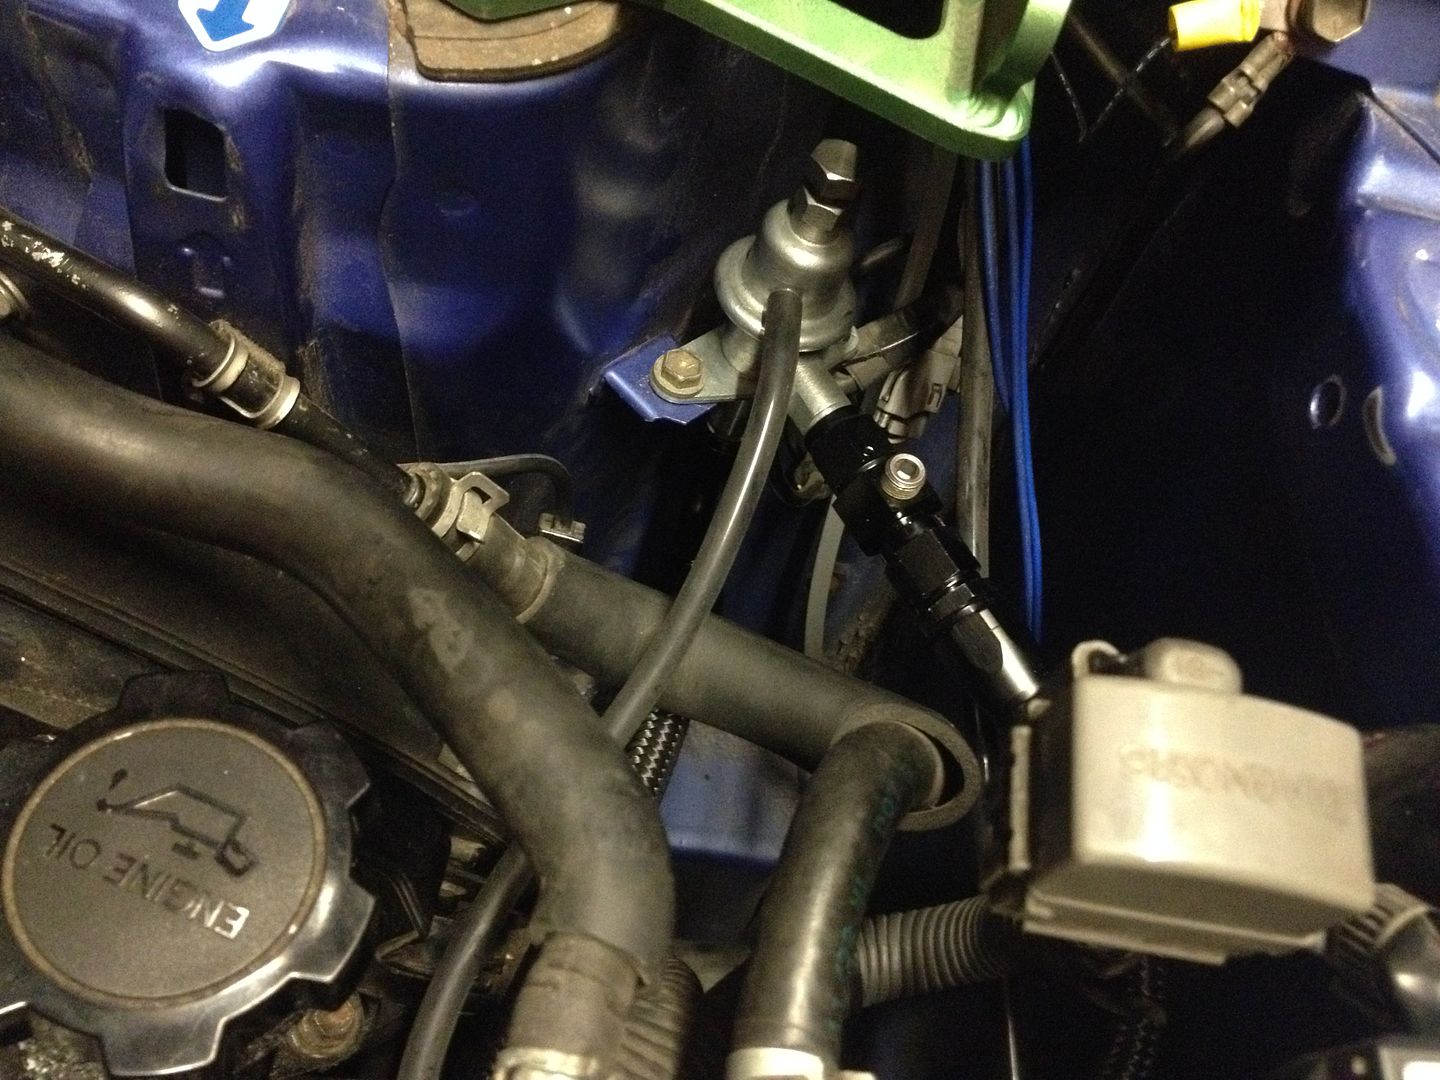
Been busy trying to sort a driveshaft seal also and a change of gearbox oil. Ive went with Motul gear 300.
Never attempted anything like this before (removing the drivehaft) didnt go too bad.
The seal itself took more time to remove than the rest of it!

Upon fitting the new one however, I bent the bloody thing.
It's dam tough trying to get that seal in! So ordered another, and with the help of a proper seal driver tool borrowed from mrturbotom, knocked it in fine.

I went the 'didnt remove hub nut route'
Image Replaced With URL For Quote http://url.photobucket.com/albums/v326/ ... 9510b5.jpg
Image Replaced With URL For Quote http://url.photobucket.com/albums/v326/ ... 486b9e.jpg
Image Replaced With URL For Quote http://url.photobucket.com/albums/v326/ ... c72046.jpg
Image Replaced With URL For Quote http://url.photobucket.com/albums/v326/ ... 158c11.jpg
Image Replaced With URL For Quote http://url.photobucket.com/albums/v326/ ... be4dd6.jpg

Image Replaced With URL For Quote http://url.photobucket.com/albums/v326/ ... ea338d.jpg


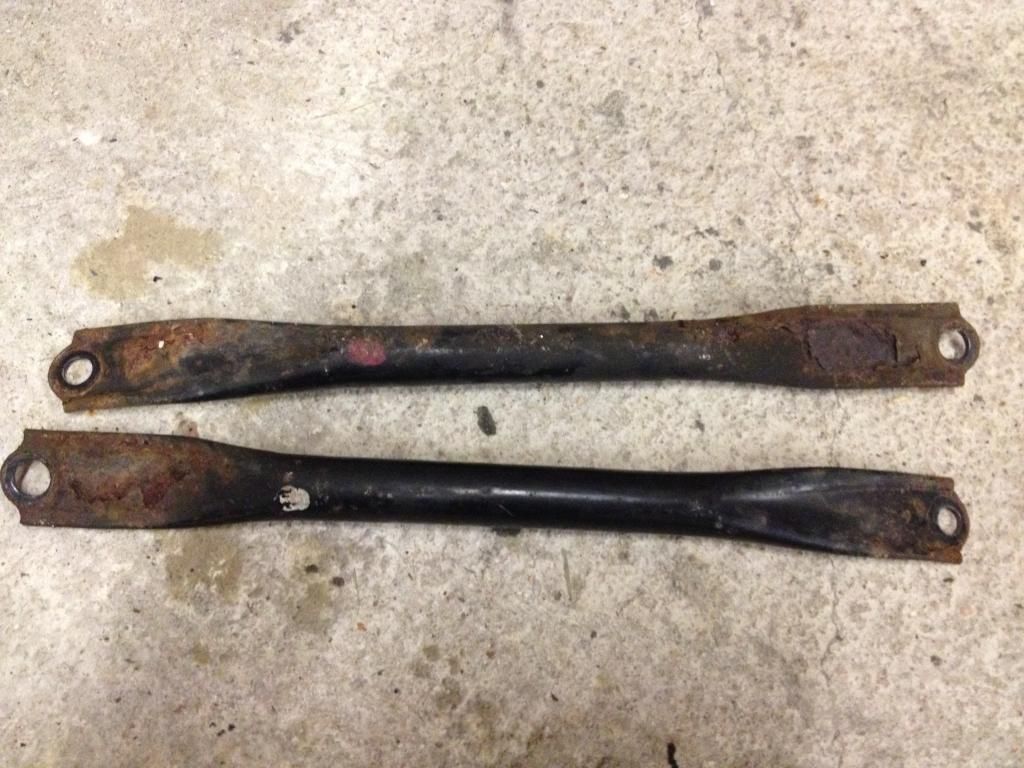
Ive also acquired some OEM front and rear strut braces also from Tom, swapped for my old silver braces considering i now have room to run the OEM and Teins braces together.
Ive NEVER owned OEM braces before, they are surprisingly pretty dam solid!
Should make for a pretty solid setup! now to paint them Tein green, maybe!
;)

More stuff changed while the weather was crappy.

**New aftermarket rear speakers fitted
**Yellow stuff pads all round
**Rear oem strut brace fitted to accompany the new Tein bar


Pads need to wear in yet, but gearbox is a little smoother which is nice.
Ive also adjusted the clutch to bring the biting point a bit higher, it was engaging on the low side, this will help improve shifting no end along with my gear oil change! booya!

Image Replaced With URL For Quote http://url.photobucket.com/albums/v326/ ... DDAAF6.jpg


hi mate just come accross this and wanting to do exactly the same

couple of questions were did you get the green film from and also how did you measure up to get the redline parts cut out ?

thanks mate and car is looking great
jimGTS
Posts: 14024
Joined: Tue Dec 14, 2004 1:40 pm
Location: North Kent

Re: Rev4 Turbo *mini photoshoot*

Post by jimGTS »

http://www.amazon.co.uk/gp/product/B000 ... ge_o00_s00


trial and error for fitment, had to cut out the redline lines, and the water temp areas to reveal the red, also cut around the uk kmph numbers to leave it yellow as yellow and green dont mix!
alan_uk
Posts: 1851
Joined: Sun Aug 12, 2012 12:25 pm

Re: Rev4 Turbo *mini photoshoot*

Post by alan_uk »

jimGTS wrote:http://www.amazon.co.uk/gp/product/B000 ... ge_o00_s00


trial and error for fitment, had to cut out the redline lines, and the water temp areas to reveal the red, also cut around the uk kmph numbers to leave it yellow as yellow and green dont mix!


cheers mate :) :thumleft:
jimGTS
Posts: 14024
Joined: Tue Dec 14, 2004 1:40 pm
Location: North Kent

Re: Rev4 Turbo *mini photoshoot*

Post by jimGTS »

Few new things on the cards.
And something very special is turning up in next few days too!


Noticed my rad had a chunk of fins missing and was looking a little worn.
More than likely is the original. So while the weather is crap, I thought I may as well get it changed over for something shiny and while I was at it do a full coolant change too.
So I've drained the whole system, engine block and all! as well as flushed out the heater matrix.
While in the block area, I thought it best to change out the thermostat and seal while there's no coolant in there. It worked fine. But better safe than sorry as the thermostat seal wasn't in great shape.

Unfortunately with the rad out I discovered my rad mount bushes were basically destroyed! A right mess. Yet the bodywork holding them in was fine!

Image

Image

Image

Image


So on order from toyota I have 2 geniune rad bushes, geniune thermostat and seal and I thought I may as well get a geniune cambelt while I was at it, as will attempt this in the next few months.

New shiny 40mm rad received today!
Oem fan needs a little tweaking to get it to fit. Though I might consider an aftermarket fan now.

Image


Also got in some new front tyres, recommended by Tom, some Yokohama Parada Spec 2s.

Image


Have an oil and plug changed lined up as well, Titan pro S 10w50 and some BKR7E's as not replaced those in a year.

I'll likely have a busy next few weekends at this rate getting it back together!


Oh, also updated my clock with the same green film and changed up the colours on my headunit too

Image
synXero
Posts: 3781
Joined: Fri May 28, 2010 12:04 pm
Location: London, Edinburgh, or the Highlands!

Re: Rev4 Turbo *mini photoshoot*

Post by synXero »

Controversial tyre choice!

What's the big news turning up??
jimGTS
Posts: 14024
Joined: Tue Dec 14, 2004 1:40 pm
Location: North Kent

Re: Rev4 Turbo *mini photoshoot*

Post by jimGTS »

Not much has happened in the last week

But regarding the rad, I decided to keep the stock rad fan and clean it up.
I didn't see the point in uprated fans when they are on so infrequently.

Most suffer from a bit of rust, so cleaned this all up, dismantled the fan blades and motor and gave it a good lick of paint.
Also gave the rad brackets a clean and paint too.


Before
Image

Dissembled and tweaked to fit.
Image

And on
Image
Image
Image
dan mkii
Posts: 336
Joined: Sat Oct 20, 2012 7:07 pm
Location: welling kent

Re: Rev4 Turbo *mini photoshoot*

Post by dan mkii »

Great work jim .... cars coming along nicely
Post Reply

Return to “Member Profiles”