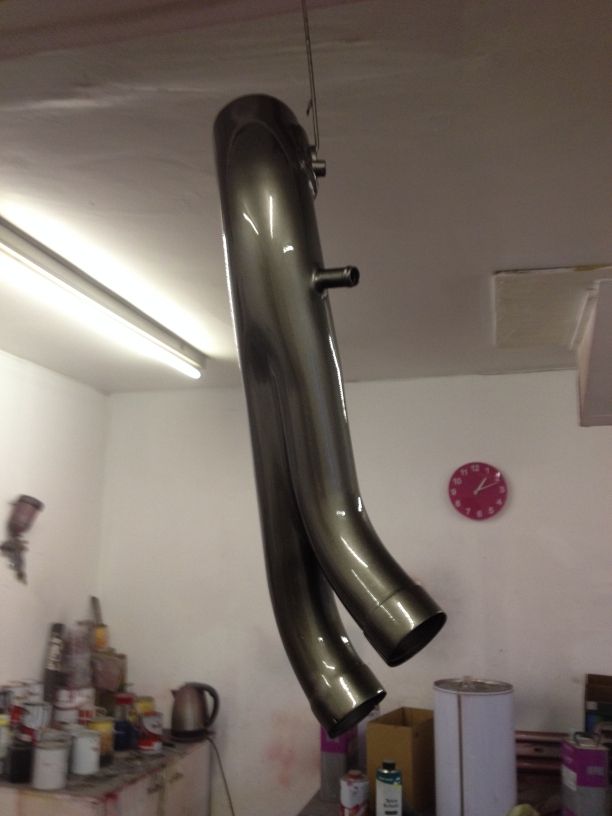
Ok so i decided to change the wheel spoke colour, a few people said the black doesn't do the Borbs justice and makes them look a little lost, so i mix my own special shade of gunmetal which is a stunning colour, mainly for engine parts etc and has a nice hint of bronze running through it.

.
.
.
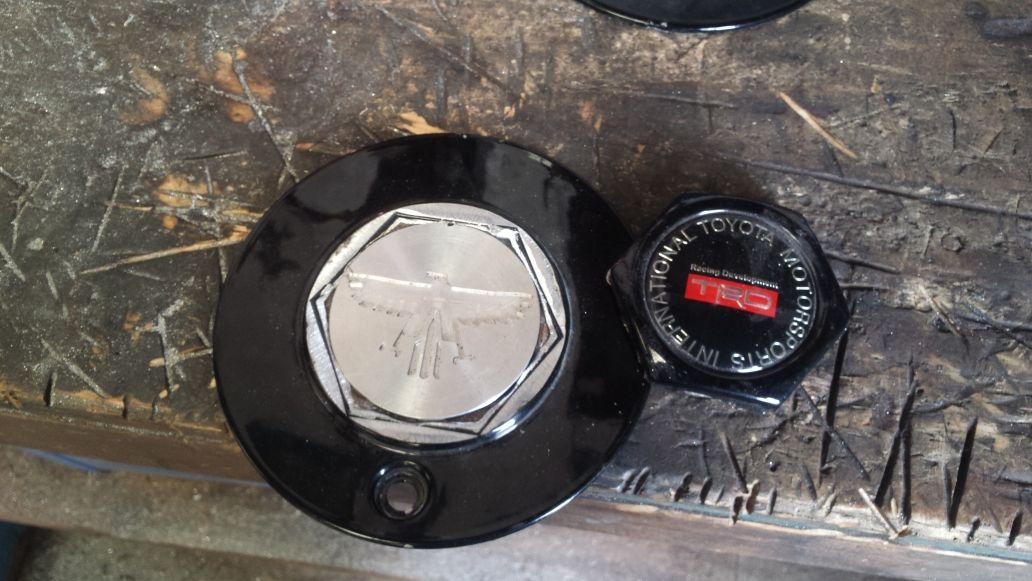
Part of the problem changing wheel colour is my centre caps, that had black TRD badges in the middle, that will not work well with the rest of the wheel in gunmetal in my opinion and it needs to all be the same colour.
So i hatched a plan to modify my caps, first step was to cut the raised centre
"nut" part off the cap, at
£35 a pop for these caps it's not something you want to mess up.
I had some
"screaming chicken" cap badges made up a few years ago which fit Azev A caps, much bigger diameter than the TRD badge, so the plan was to inset these into the Borbet caps.
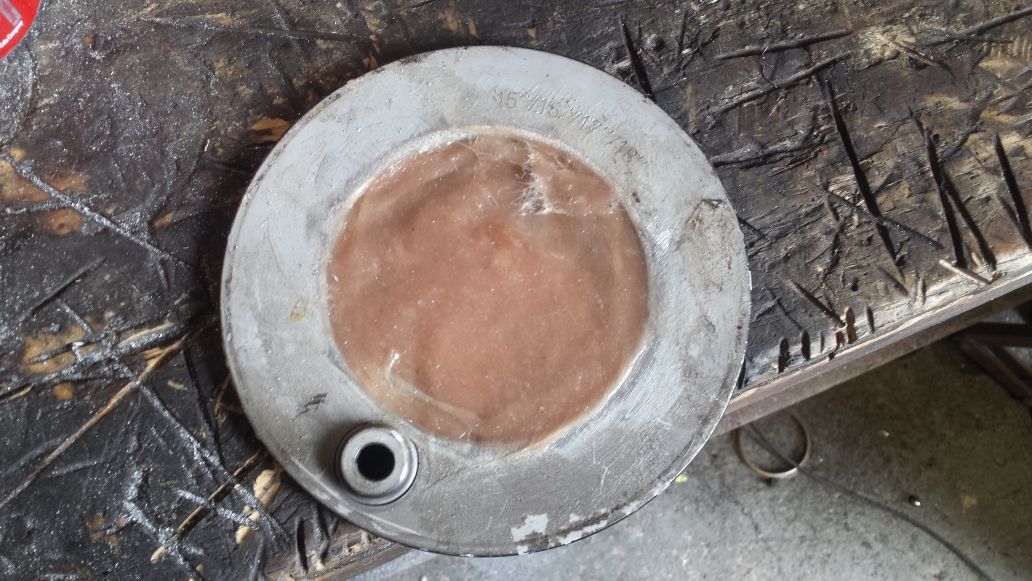
First step cut the old raised part off and flush fit the new badges.
.
.
.
Then fibral in the new caps making sure they are a flush fit at the front.
.
.
.
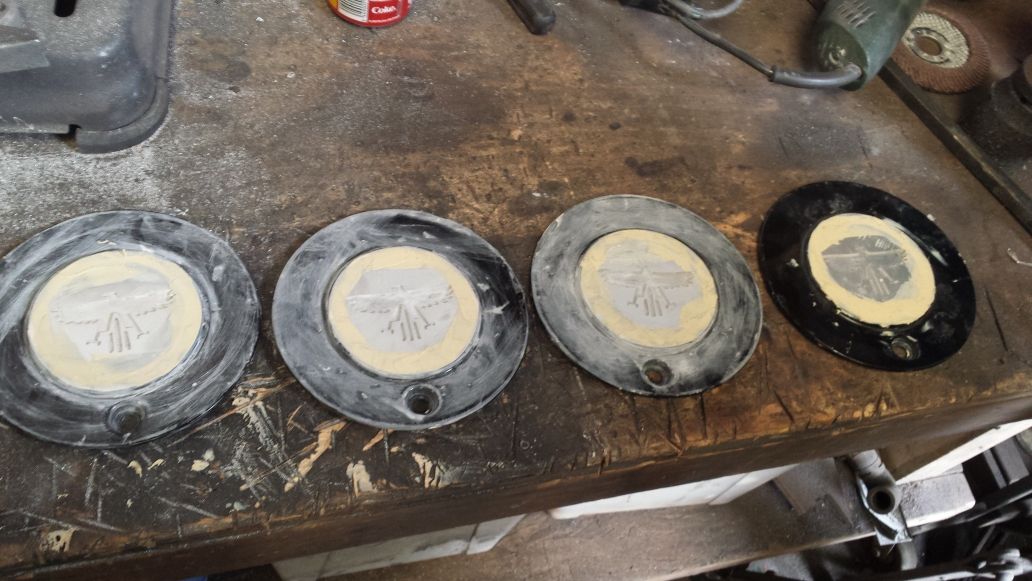
All four caps doctored.
.
.
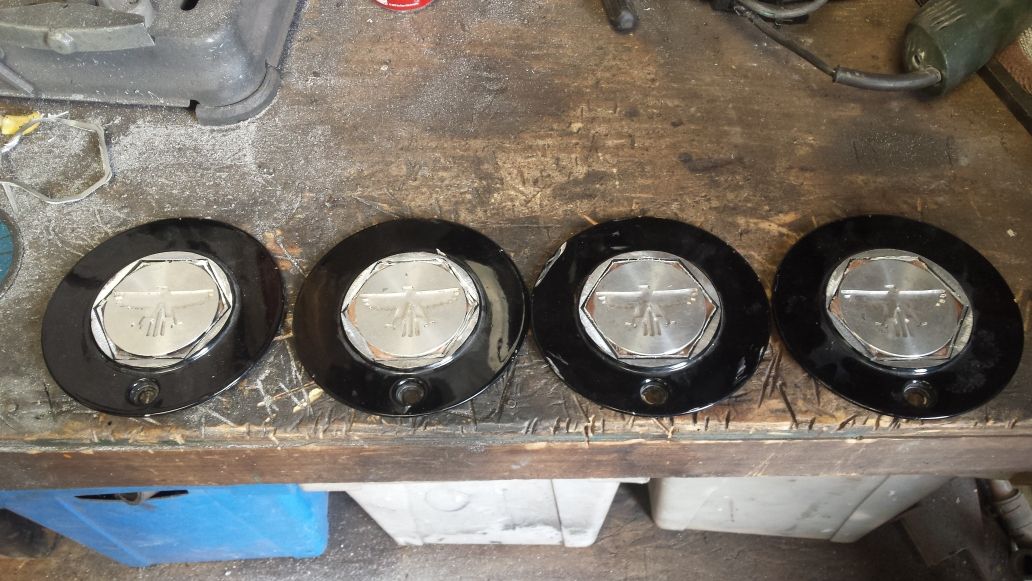
All four caps with stopper paste applied to the gaps.
.
.
Some sanding and more stopper later and finished with high build primer.
.
.
.

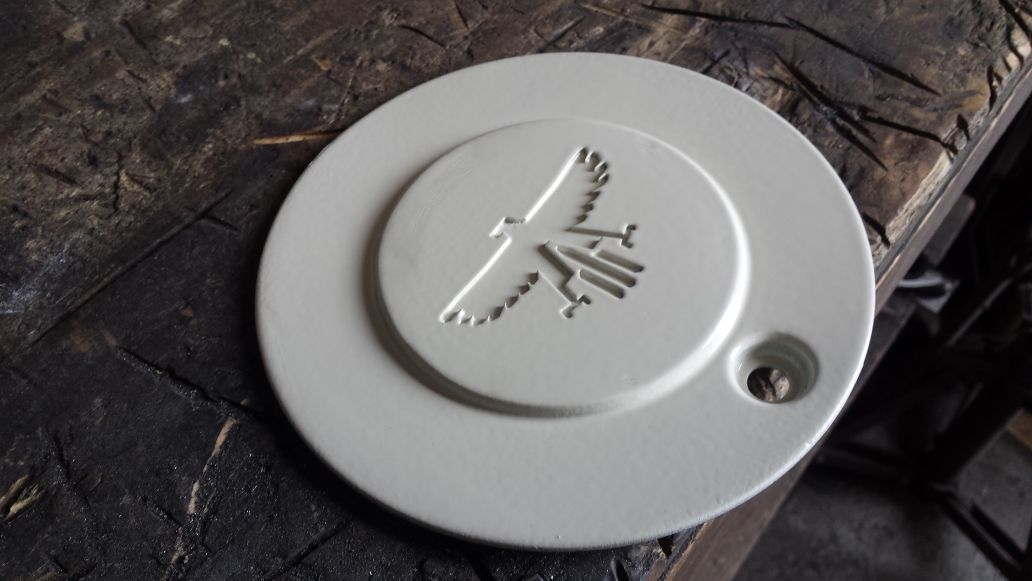
These will all be painted gunmetal including the chicken, i don't want that to stand out unless someone looks closely.
.
.
.
the devil is in the detail and all that.