Rev4 Turbo *mini photoshoot*

Create a post with details about your car.

Moderators: IMOC Moderators, IMOC Committee Members

Post Reply
jimGTS
Posts: 14024
Joined: Tue Dec 14, 2004 1:40 pm
Location: North Kent

Re: Rev4 Turbo *mini photoshoot*

Post by jimGTS »

Having bought another dash trim to work with just to test gauge locations, have to say I quite like them in this area. Though large, they do sit pretty well.
2x60mm greddy memory oil temp and oil pressure gauges and a 52mm AEM wideband gauge.

Took leg power to crack another bung off!!
But oil pressure sensor now in too.
Image


New setup for now.

Image

Image

Image
Last edited by jimGTS on Sun Sep 08, 2013 6:24 pm, edited 1 time in total.
craig
Posts: 43936
Joined: Sat Dec 18, 2004 3:44 am

Re: Rev4 Turbo *mini photoshoot*

Post by craig »

Nice work Jim, looks good.

Glad my old dash trim was put to good use rather than binned. Are you planning on smoothing the gauges in with a plate etc? :thumleft:
jimGTS
Posts: 14024
Joined: Tue Dec 14, 2004 1:40 pm
Location: North Kent

Re: Rev4 Turbo *mini photoshoot*

Post by jimGTS »

RedMR² wrote:Nice work Jim, looks good.

Glad my old dash trim was put to good use rather than binned. Are you planning on smoothing the gauges in with a plate etc? :thumleft:


Hi dude, thanked you in the other thread :-)

Not sure yet, I did buy a premade black plastic plate from the US, not arrived yet though.
But doesn't look too bad as is really. Least i still get fresh air past the present setup, ha!
craig
Posts: 43936
Joined: Sat Dec 18, 2004 3:44 am

Re: Rev4 Turbo *mini photoshoot*

Post by craig »

jimGTS wrote:
RedMR² wrote:Nice work Jim, looks good.

Glad my old dash trim was put to good use rather than binned. Are you planning on smoothing the gauges in with a plate etc? :thumleft:


Hi dude, thanked you in the other thread :-)

Not sure yet, I did buy a premade black plastic plate from the US, not arrived yet though.
But doesn't look too bad as is really. Least i still get fresh air past the present setup, ha!


No worries dude :thumleft:

True it doesn't look bad as it is in all honesty, like you say, best of both worlds, gauges situated whilst still maintaining functionality of the air vents! :mrgreen:
jimGTS
Posts: 14024
Joined: Tue Dec 14, 2004 1:40 pm
Location: North Kent

Re: Rev4 Turbo *mini photoshoot*

Post by jimGTS »

also worth noting incase people wondered gen3 oil temperatures and oil pressure readings in these areas on a stock-ish car now ive run these 2 gauges for a week or so.

in general, my oil temps read 93-98C, any motorway cruising and 100C.


oil pressure

Cold start
5.7-6bar

With oil temps at 95-98c
This is at stand still.

Idle, 850rpm = 2.2bar
1.5k = 3bar
2k = 4bar
3k = 5.2bar
4k = 5.7bar

When on boost high revs
6-6.5bar from what I can see.

I would assume these pressures are much higher than readings from the head, certainly readings above idle anyway.
jimGTS
Posts: 14024
Joined: Tue Dec 14, 2004 1:40 pm
Location: North Kent

Re: Rev4 Turbo *mini photoshoot*

Post by jimGTS »

next on the list is a water/methanol injection kit

ive gone for new coolingmist stage1 kit, thanks to TFS for supplying on here.
coolingmist are up there as one of the best WI suppliers in terms of quality and reliability not to mention not too expensive, plus as it happens TFS is only down the road, :D

ive chosen a basic stage1 kit for now as i dont want to map for this, but purely to get the best octane i can and low intake temps to keep the stock ecu and engine happy. after all it is designed for japanese fuel.
this increase in octane, reduced temps and in turn knock/det protection should let me run the most aggressive maps the stock ecu provides and for longer periods as we all know even the best sidemounts can heatsoak a little.

the stage 1 kit comes with;
a meth compatable pump
1-25psi boost switch
super atomizing nozzle
stainless steel solenoid
clean tubing
and wiring


anyway, injector location chosen

Image

as mentioned another reason for choosing the kit was TFS is only down the road, so i picked up the kit from him yesturday along with some methonal and he kindly drilled and tapped my IC pipe as well as sold me a nice secondhand 1 gallon tank already drilled/tapped.
So i have everything i need.

Kit in question

Image

4 quart tank from devilsown, now badged coolingmist, lol

Image


ive made a start with the install.
have decided to add a relay and LED switch in the cabin for this kit as i probably wont need to run it all the time, plus being switchable i can test easily for comparisons sake.
everything is hooked up and working on the car, i just need to mount the tank and pump now and clean up some wiring and im good to go for some road testing the weekend.

Install pictures coming soon!
Last edited by jimGTS on Mon Sep 16, 2013 12:50 pm, edited 1 time in total.
glen n
Posts: 506
Joined: Wed Jan 06, 2010 6:47 pm
Location: Glasgow

Re: Rev4 Turbo *mini photoshoot*

Post by glen n »

Looking forward to some of the install pictures and finding out what results you achieved. My car was running a kit previously but it was removed before I bought the car,there were some nice dyno results with the kit installed. I may go down this line if I get the new turbo kit I'm after at Christmas.
synXero
Posts: 3781
Joined: Fri May 28, 2010 12:04 pm
Location: London, Edinburgh, or the Highlands!

Re: Rev4 Turbo *mini photoshoot*

Post by synXero »

Awesome.

I'm not sure it's something I'd do with my own cars, purely because it runs out and there's something slightly daunting about that. But good work and I love the switched idea, presuming it works well enough.

Could that not cause issues if you do in future map for WI?
jimGTS
Posts: 14024
Joined: Tue Dec 14, 2004 1:40 pm
Location: North Kent

Re: Rev4 Turbo *mini photoshoot*

Post by jimGTS »

synXero wrote:Awesome.

I'm not sure it's something I'd do with my own cars, purely because it runs out and there's something slightly daunting about that. But good work and I love the switched idea, presuming it works well enough.

Could that not cause issues if you do in future map for WI?


if it runs out, its no big deal. like i say i dont plan on mapping for it quite yet.
the stock ecu is clever enough to adjust timing dependant on what knock it sees (amongst other things), hence reason im trying it. if ecu is mega happy with low temps, higher octane and no knock, itll give me max timing virtually all the time all while cleaning the engine. :thumleft:

if i do map for it, ill be looking at getting failsafes etc, but like i say, id rather not map for it, it would mean a standalone ecu, a single map and tuning costs, i cant be bothered with that this time around.


the led switch is purely just giving the pump its power source, so i either know its on or off. :thumleft:
jimGTS
Posts: 14024
Joined: Tue Dec 14, 2004 1:40 pm
Location: North Kent

Re: Rev4 Turbo *mini photoshoot*

Post by jimGTS »

Gutted to miss a kent run this morning, but finally got round to finishing up the engine side of the water/meth kit.

I've hooked in a on/off switch for the pump, and also a LED to show me what boost the pump turns on (boost switch is adjustable).

Still need to finalise location for led and cabin switch though and have a good play with water/meth percentages and what boost it switches on, anyway, pics
\/


Image
Image
Image
Image
Image
Image
Image
Image
Image
jimGTS
Posts: 14024
Joined: Tue Dec 14, 2004 1:40 pm
Location: North Kent

Re: Rev4 Turbo *mini photoshoot*

Post by jimGTS »

been a while since an update, not a huge amount has happened, but what has been refreshed has helped the performance and overall feel of the car.

namely, trying to port the oem wastegate ports due to suffering from boost creep, renewing turbo gaskets and fitting the new powerflex race engine mounts!

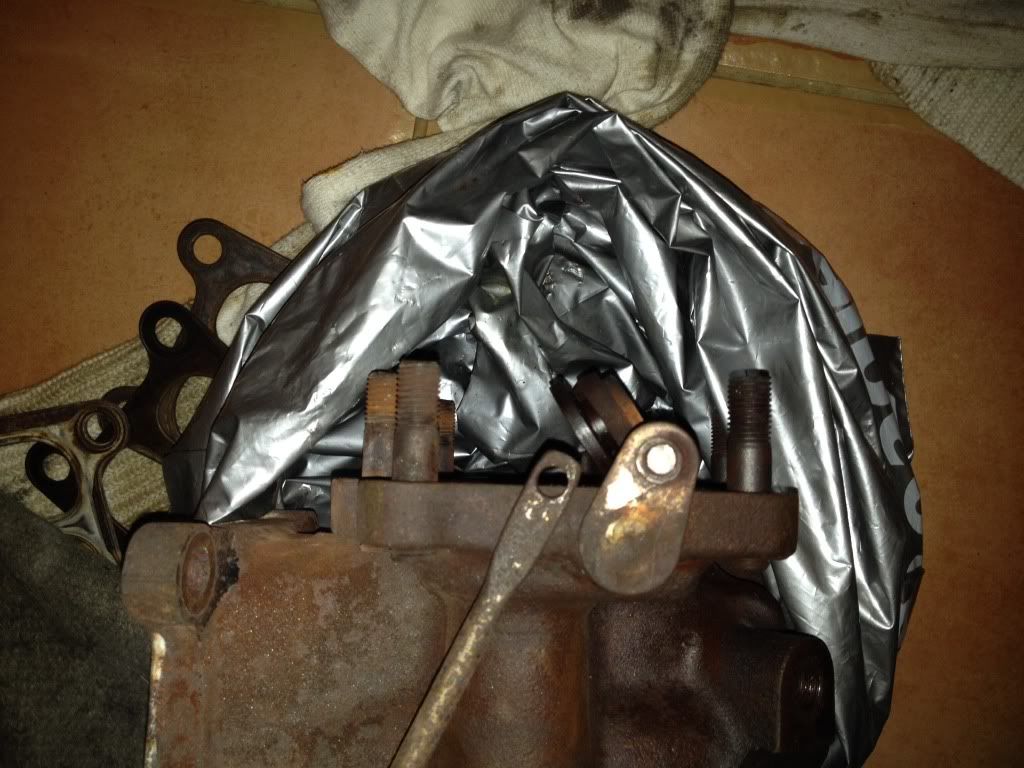
had a bit of a task removing the oem turbo, had to take it out all in one, mani/turbo and downpipe in one piece.
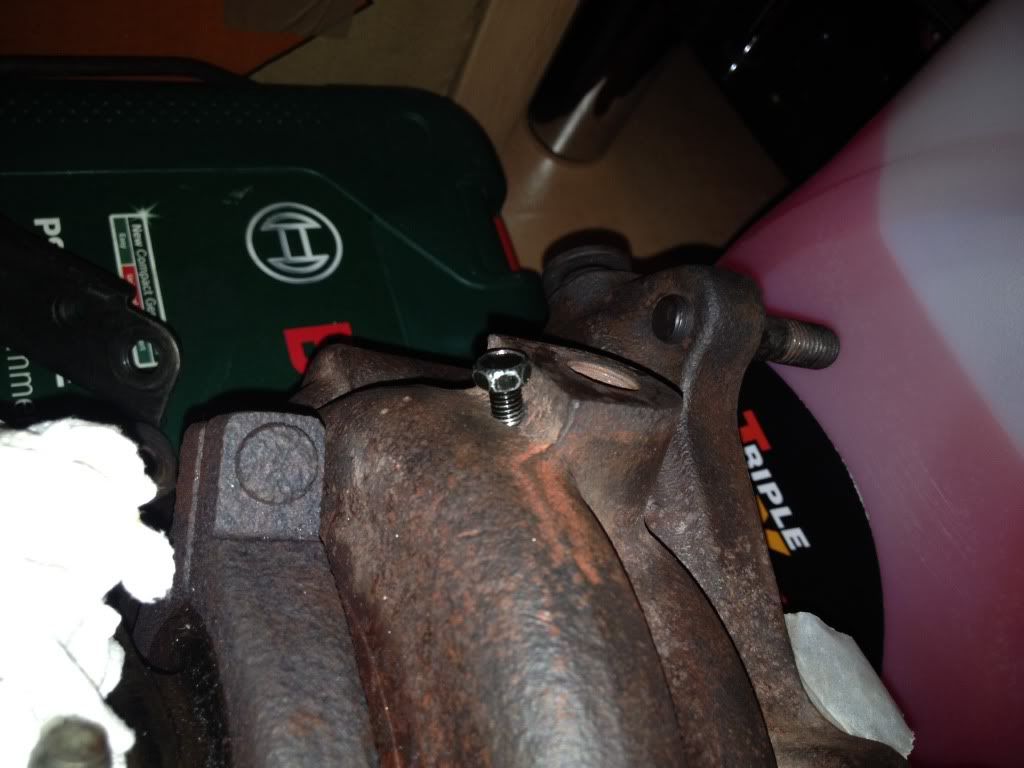
upon doing this i snapped an exhaust manifold stud! doh!

inspecting the turbo i found a few things.
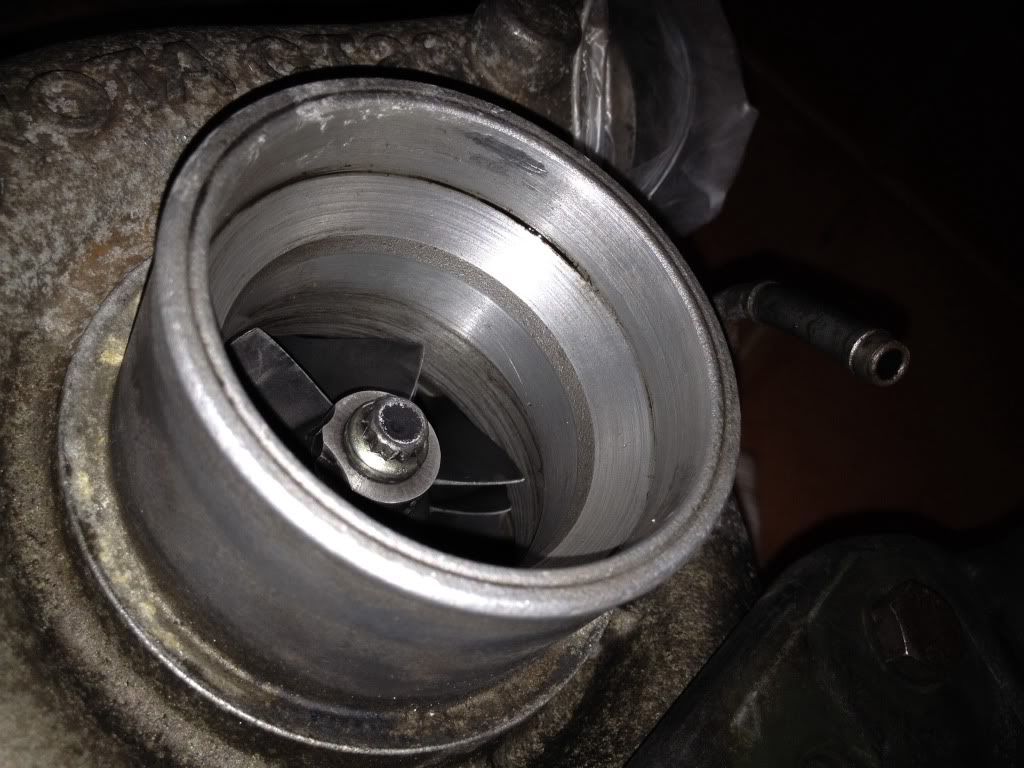
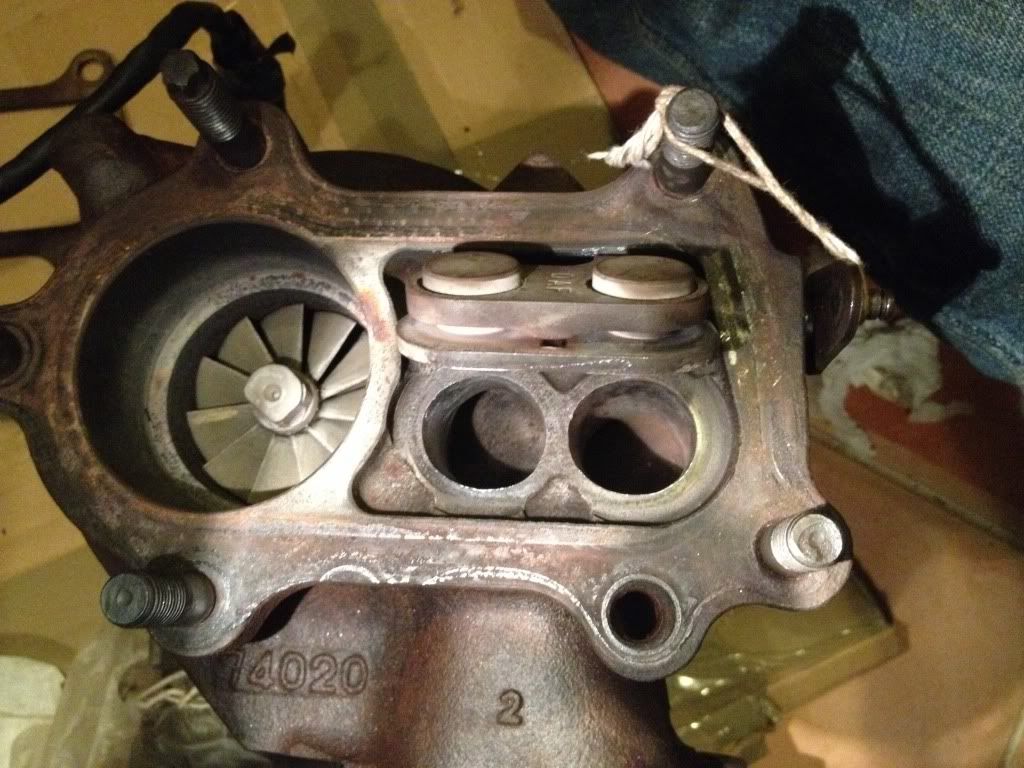
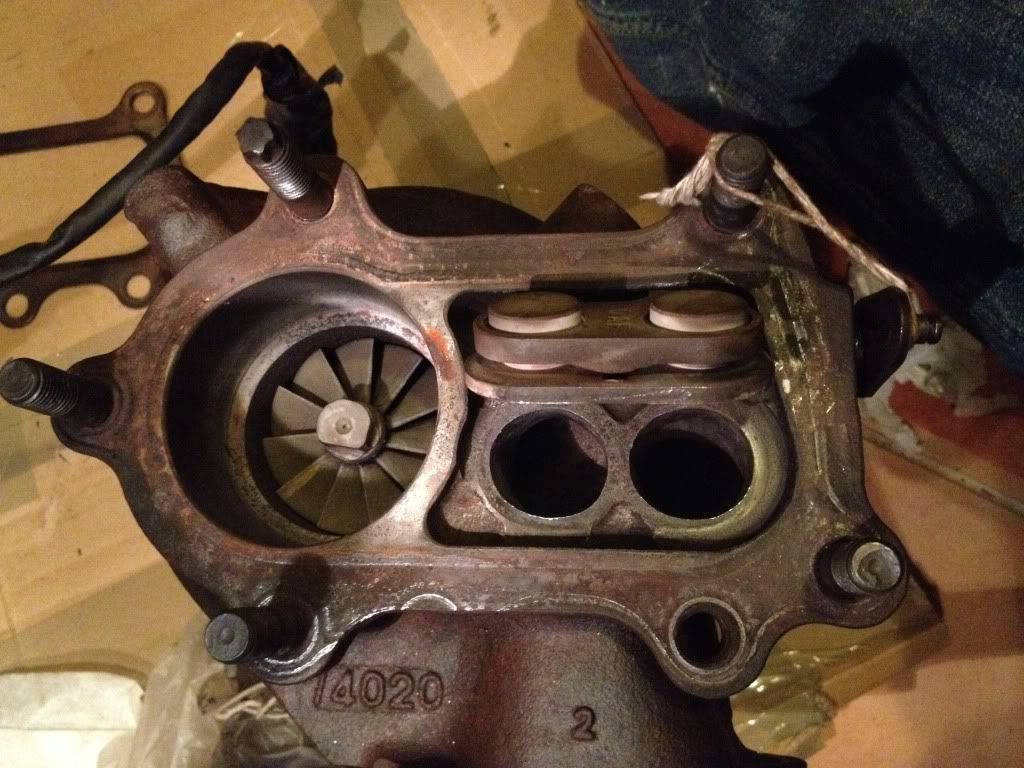
**its a fair size bigger than the oem ct26 turbo, with what i can only assume is a small restrictor bevel infront of the blades (to stop surge maybe?).
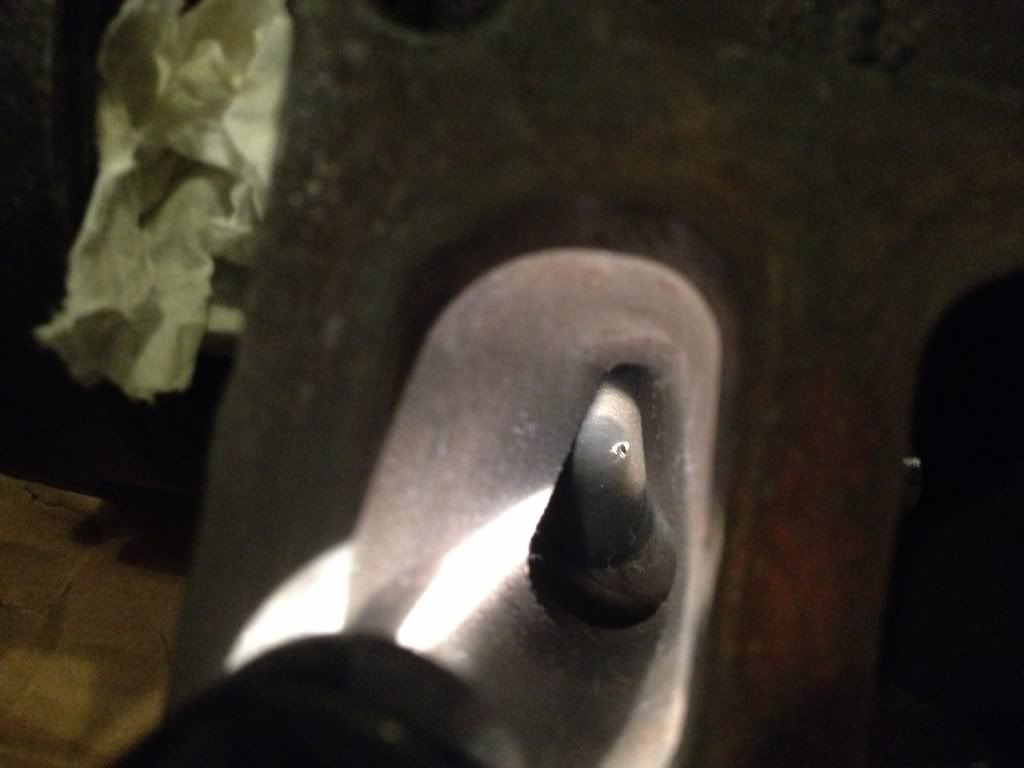
**also found a pin sized hole in the exhaust housing, random.
**discovered the exhaust manifold gasket was blown, 1 mani stud completely missing, another only loose and the manifold to turbo gasket cracked.
**the actuator bracket has a washer behind it, helping put some preload on the actuator arm i assume, but still not enough

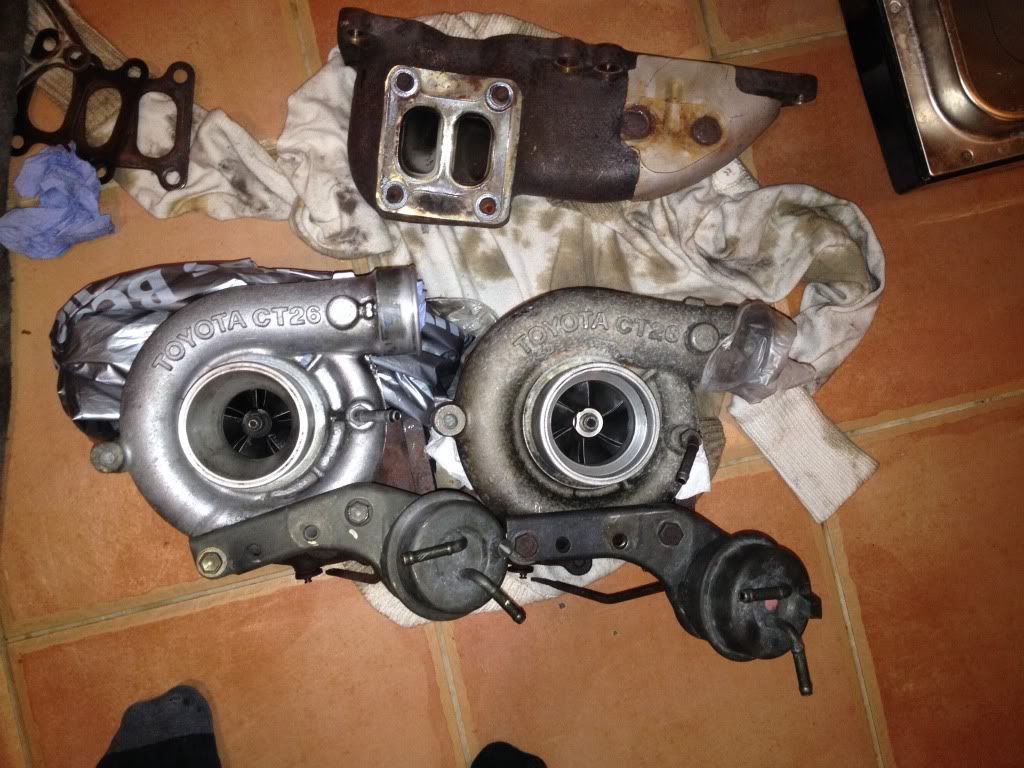
first up comparing actuator arm level position

i compared actuator arm position to an oem ct26 i lent from mrturbotom, it seems out the factory, the levers for the flapper can be found to be in different positions!
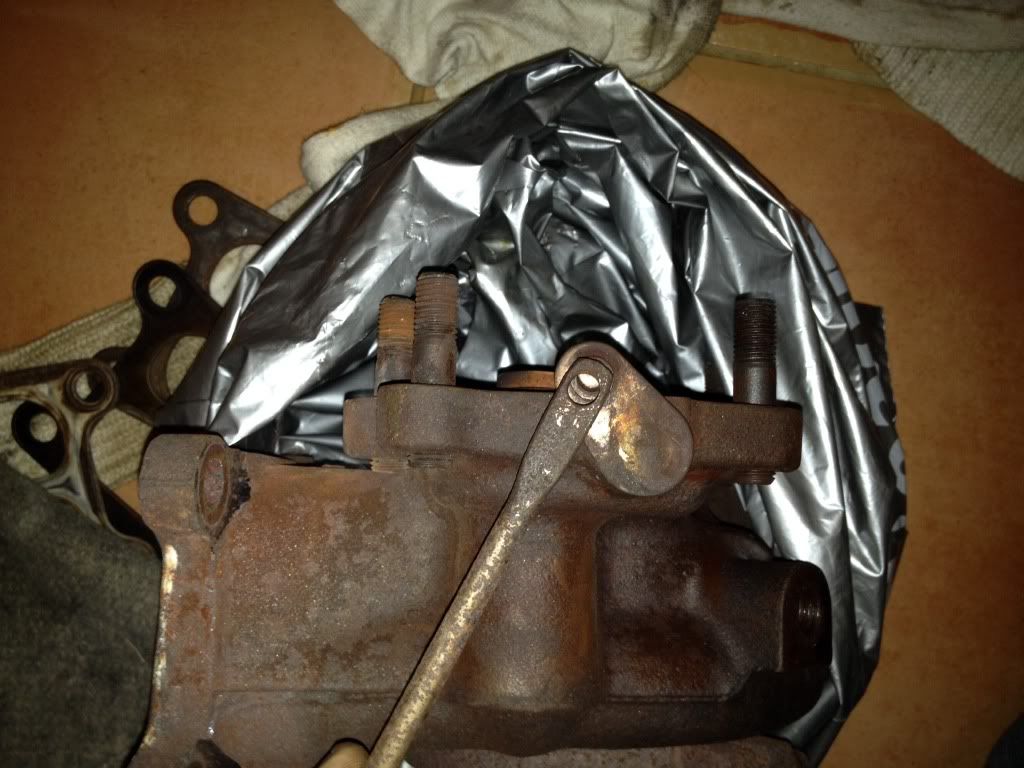
**way to get round this was i added a couple of extra washers to give the actuator arm on mine a bit more preload to match the preload i could feel and see on toms.

my ct26 hybrid turbo

old preload and position with 1 washer (how my car came)

Image

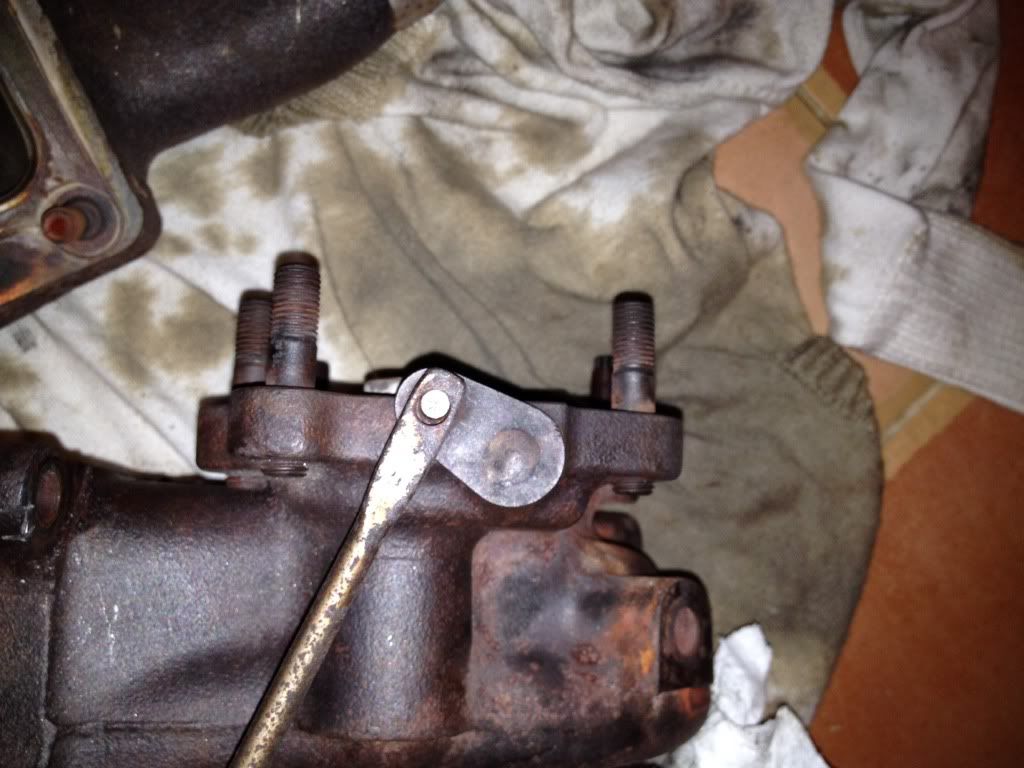
no washer, basically no preload!

Image

new preload with 3 wahsers!

Image

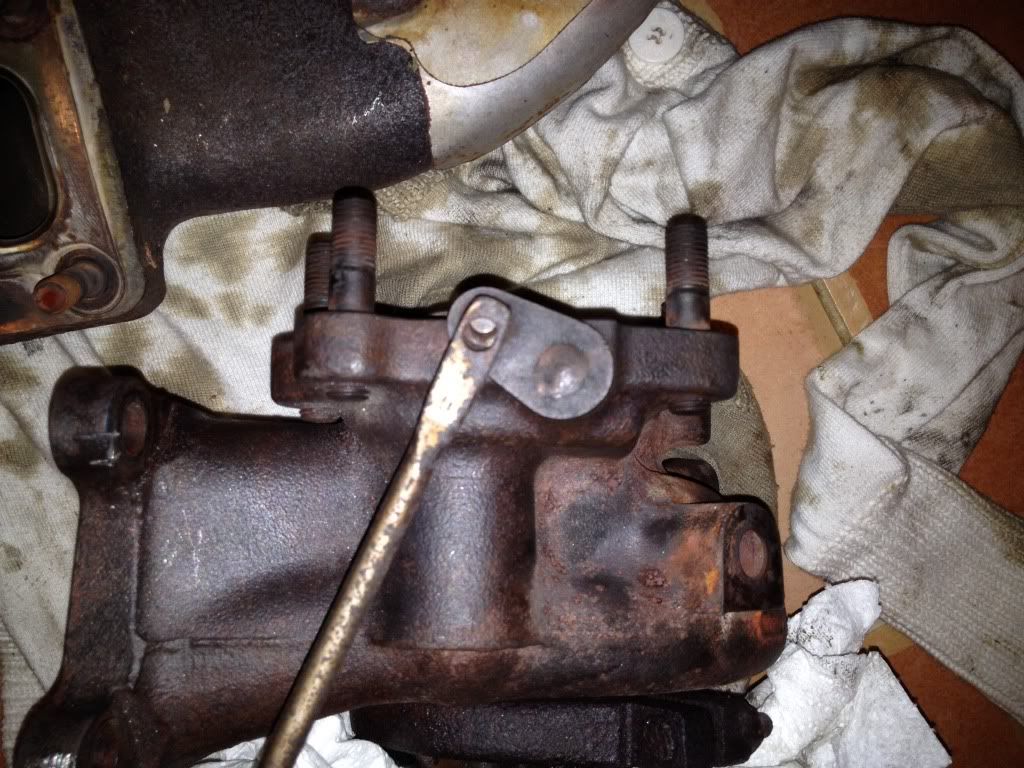
flapped 100% open, note at 90degrees!

Image

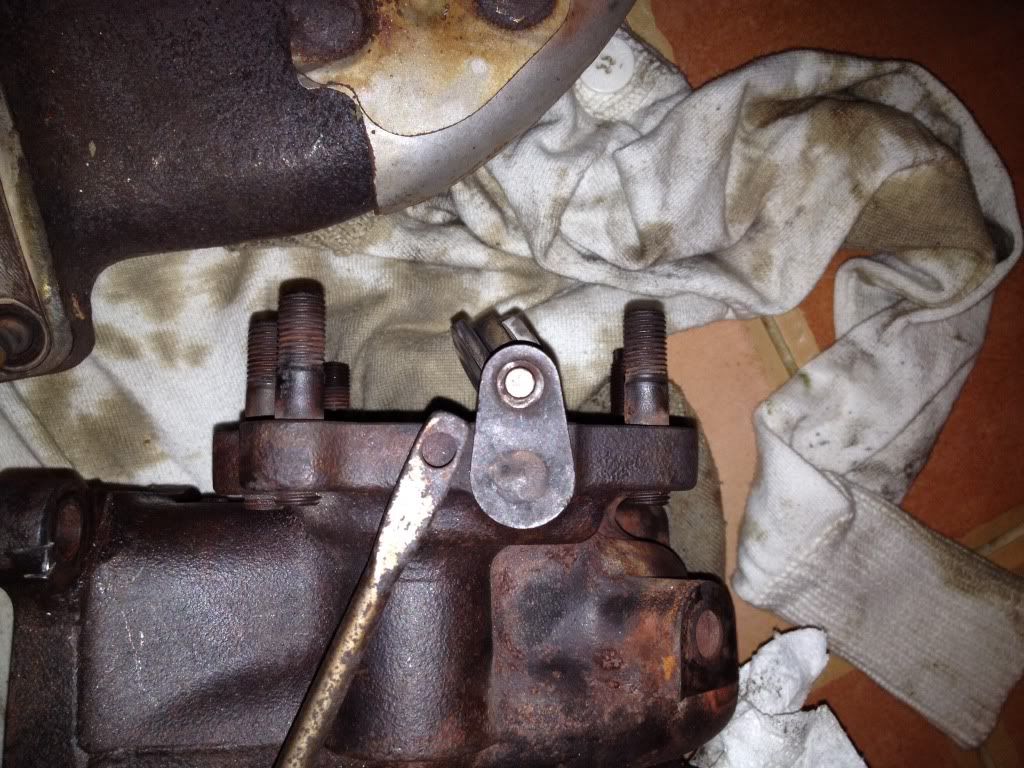
toms oem ct26 turbo which i tried to match

Image

note flapper past 90degrees when 100% open, so is clear the arm bracket had been welded at a different angle

Image


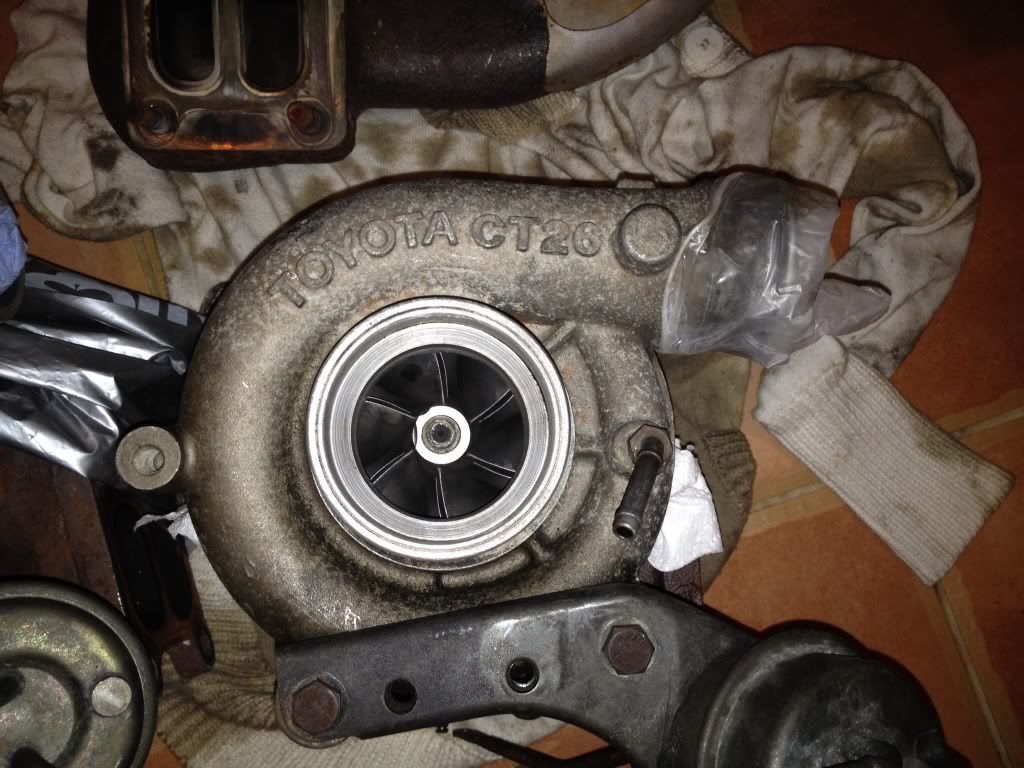
oem ct26 turbo compressor housing

Image

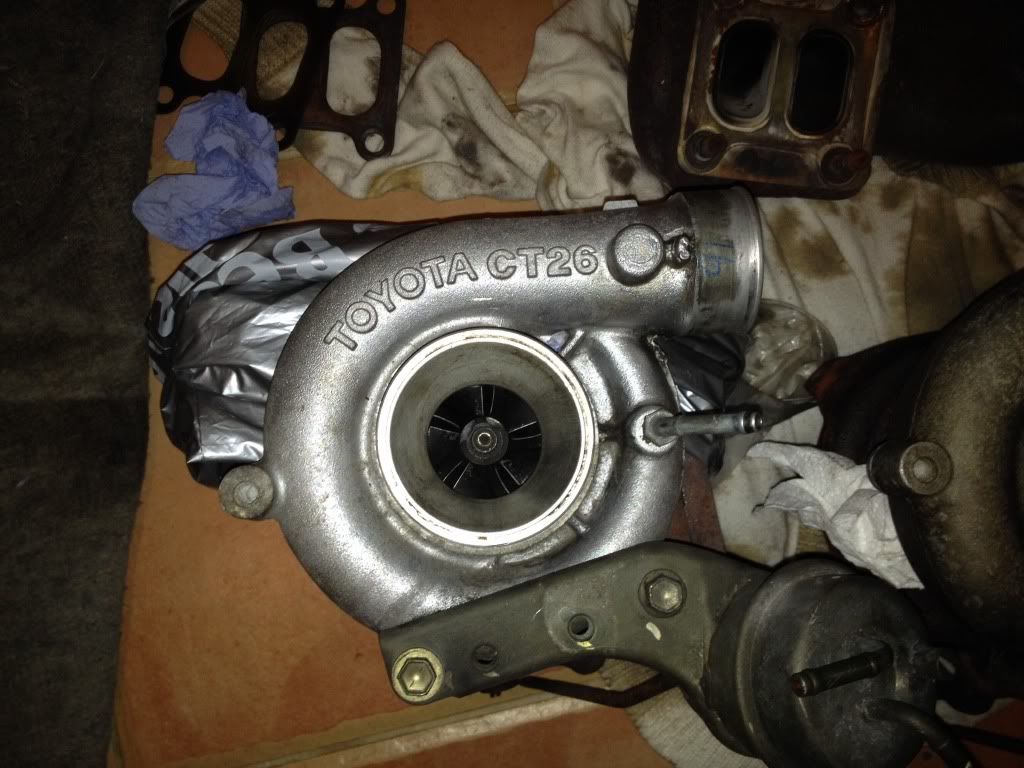
my ct26 hybrid compressor housing

Image

Image

bevel in the inlet

Image


snapped exhaust mani stud!
thankfully with the help of mrturbotom, we got this out, phew!

Image


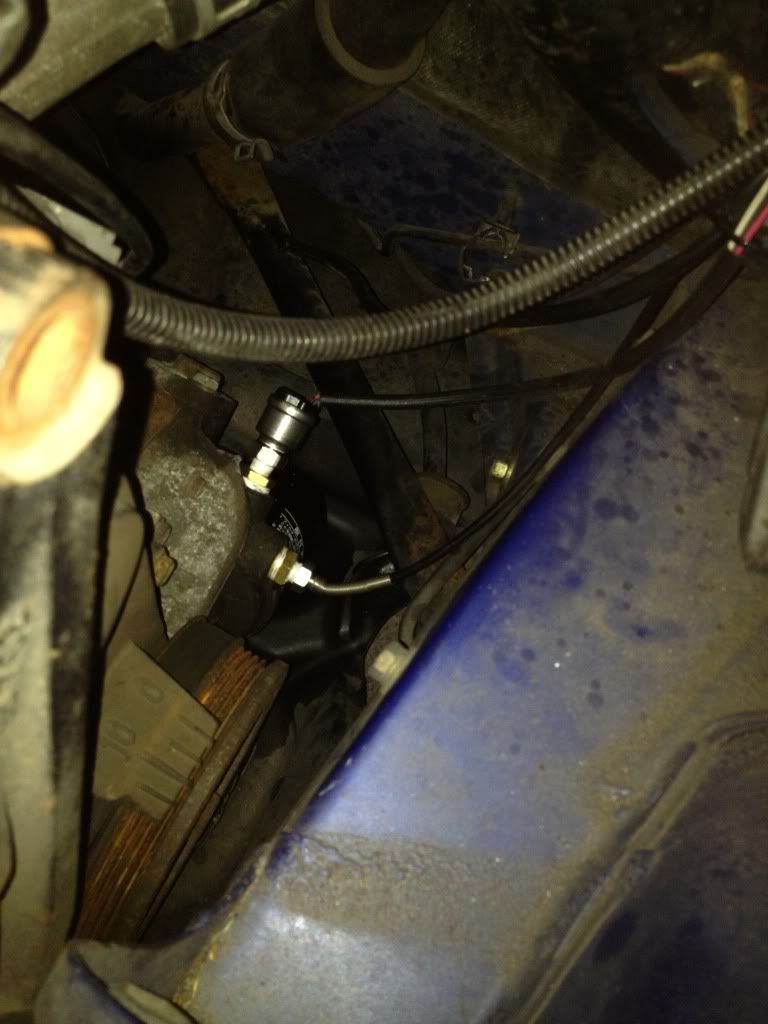
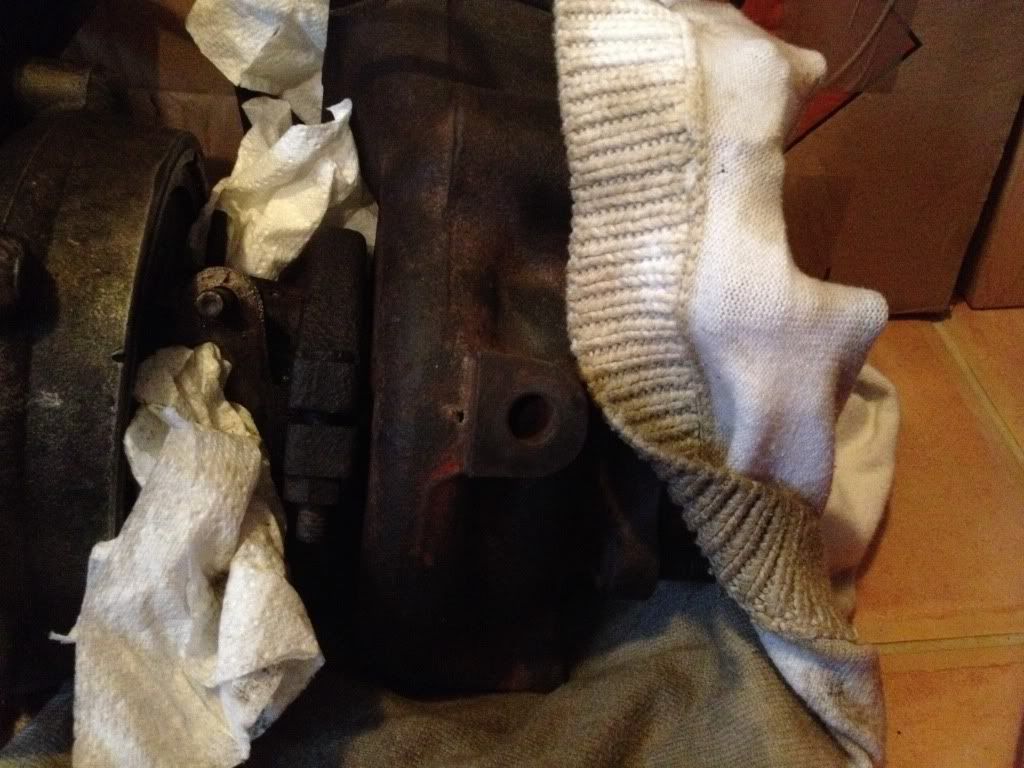
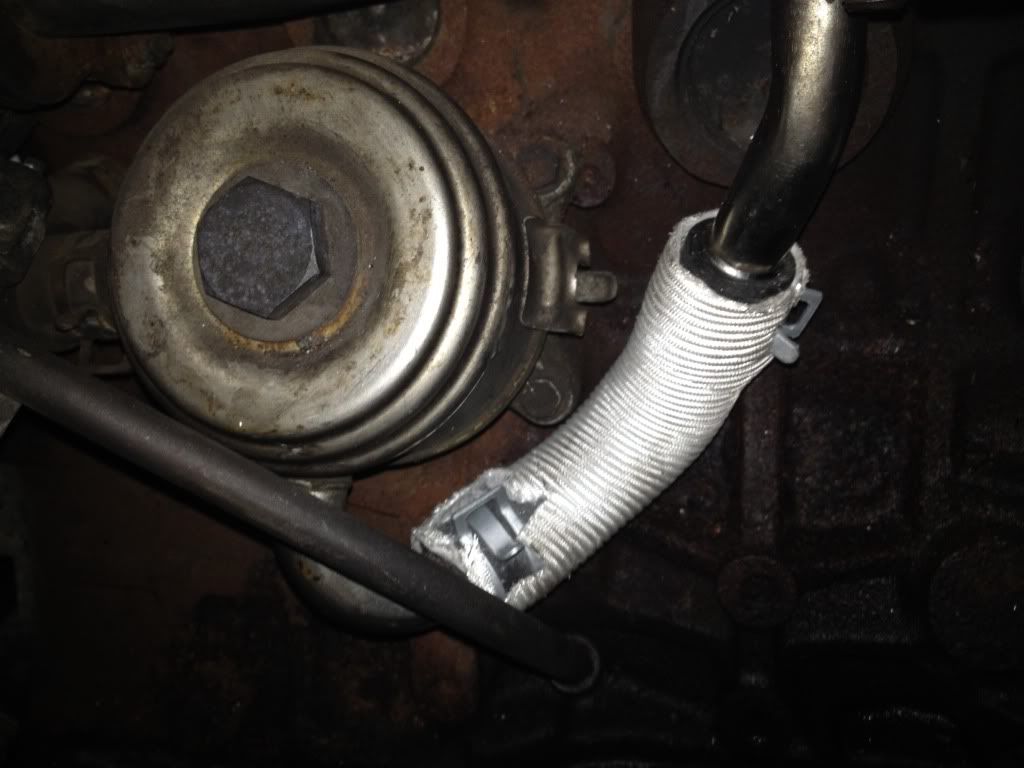
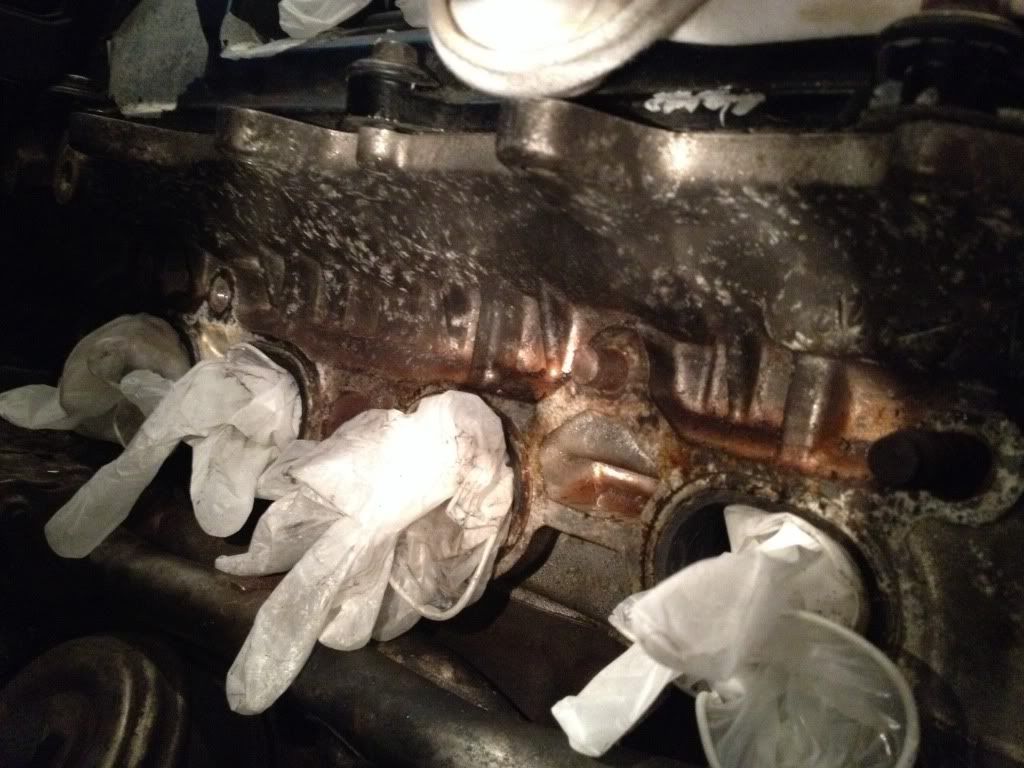
sorting pinhole in turbo exhaust housing out

i decided to drill and tap the hole, and use some thermosteel liquid weld (good for 2000f) to keep it in place and help seal.

Image

Image

Image

Image

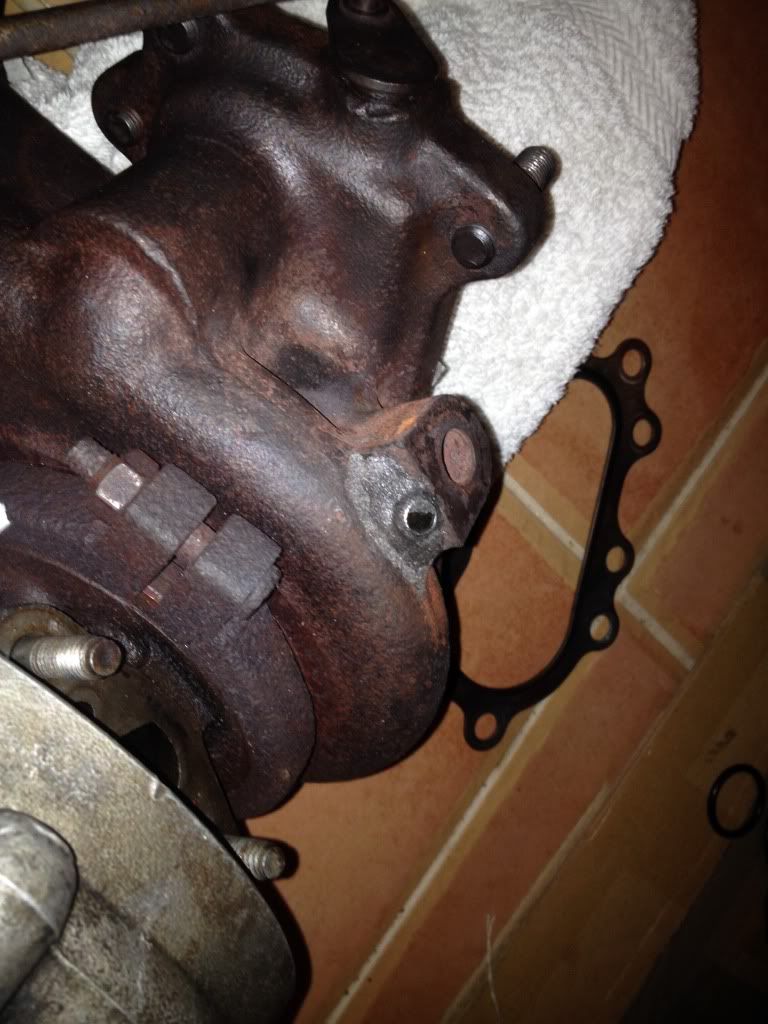
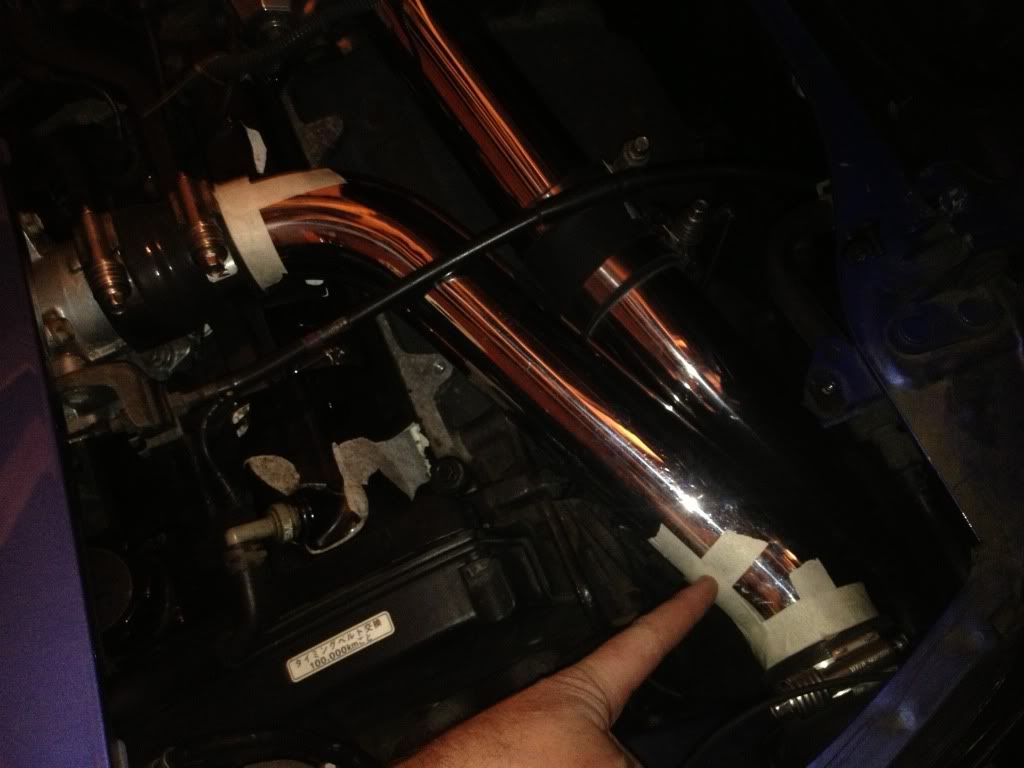
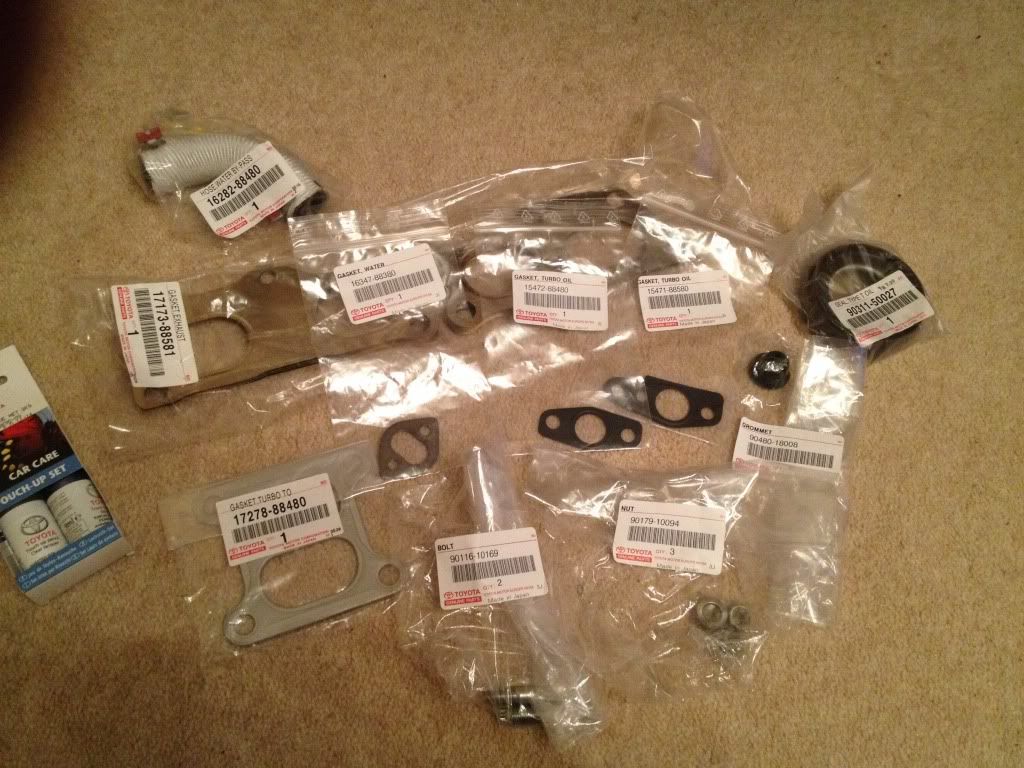
turbo back on with some new parts from Toyota

exhaust mani gasket
mani to turbo gasket
turbo water feed gasket
turbo oil feed gasket
turbo return feed gasket
few new exhasut mani studs and nuts
hfh
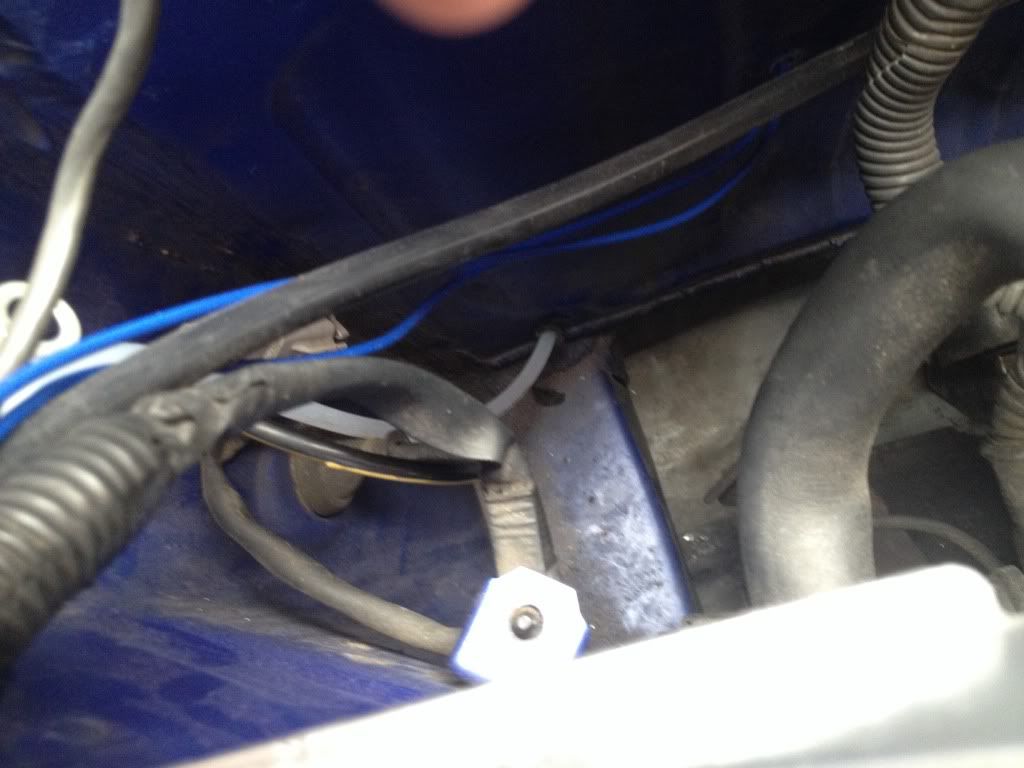
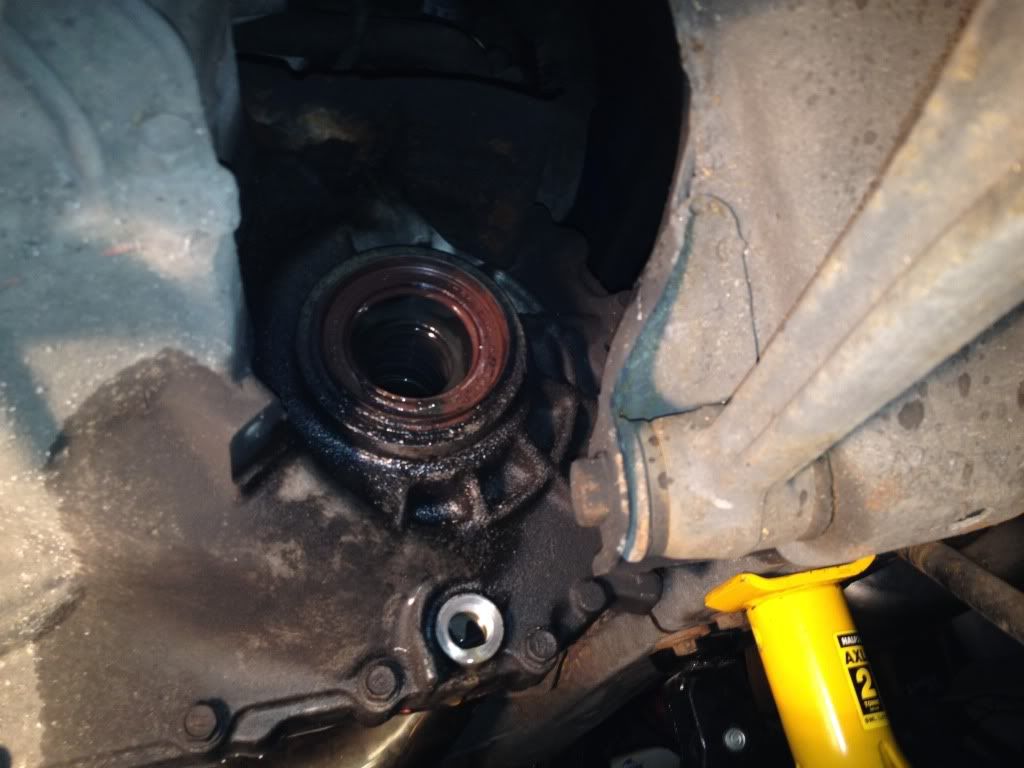
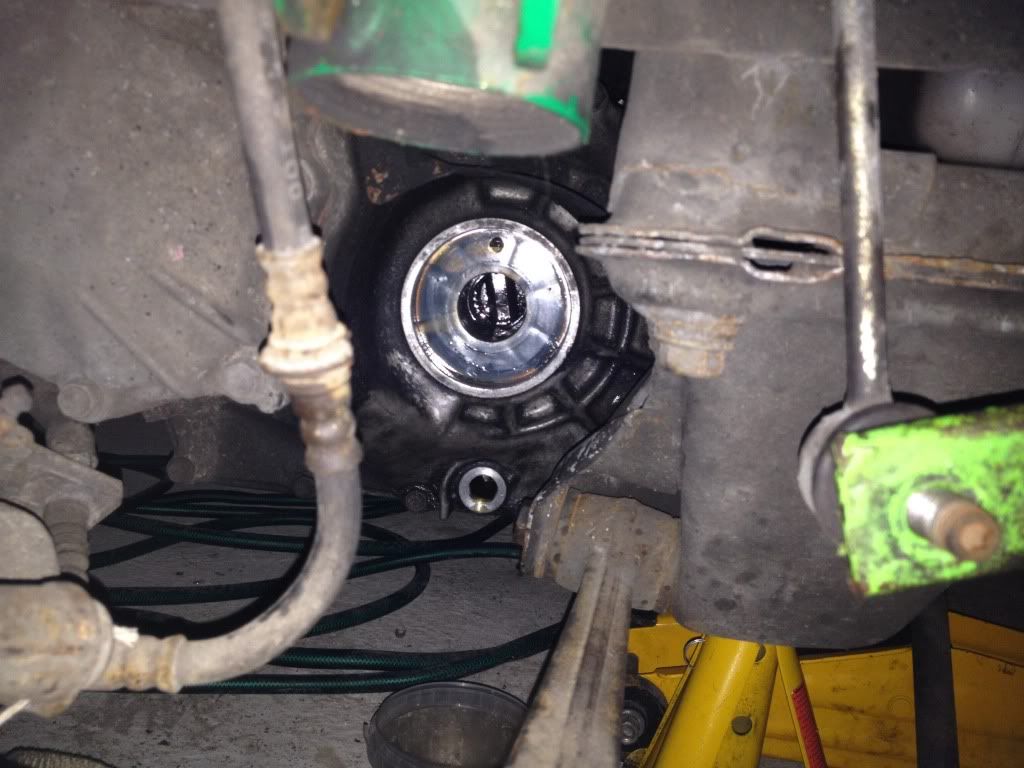
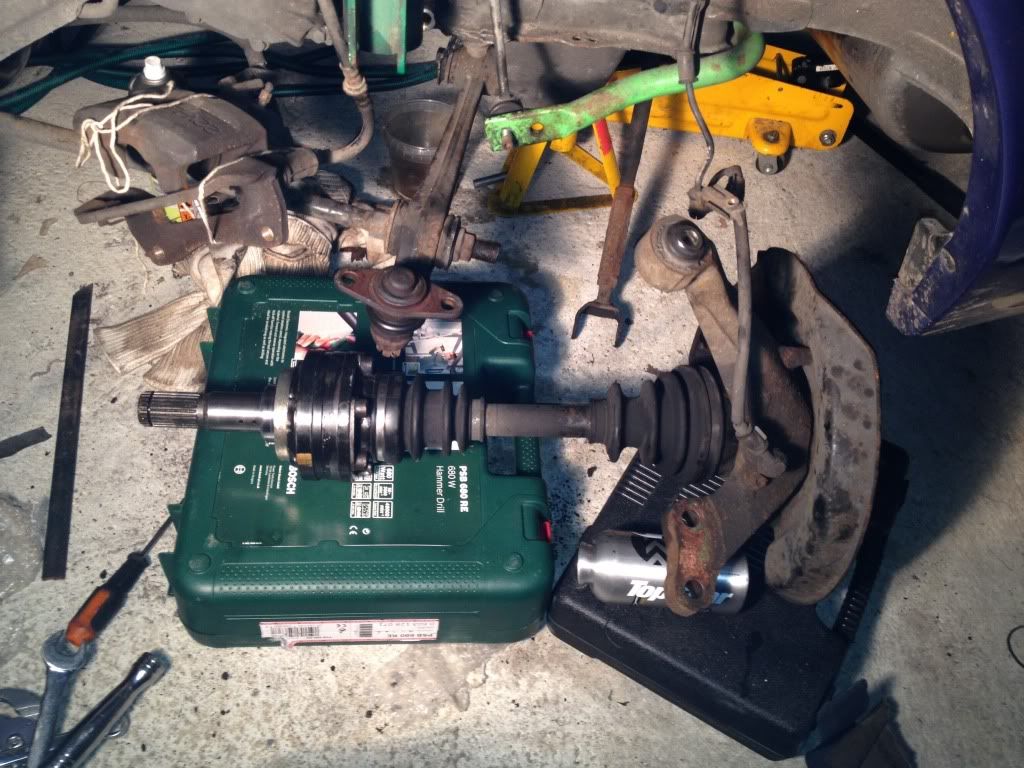
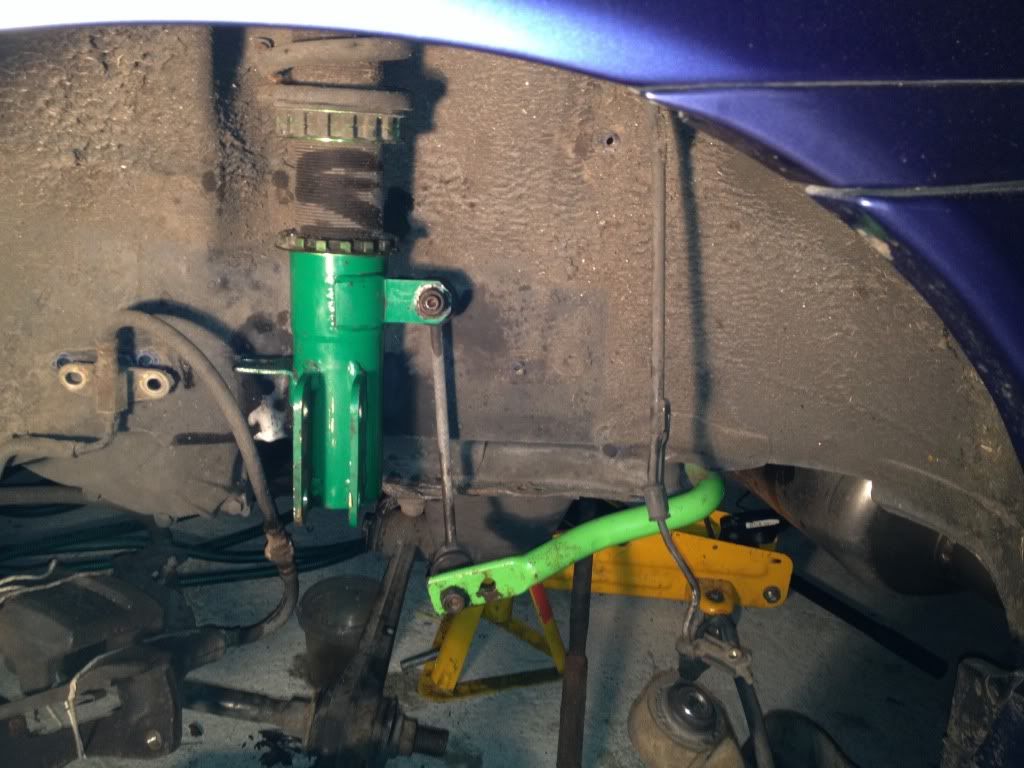
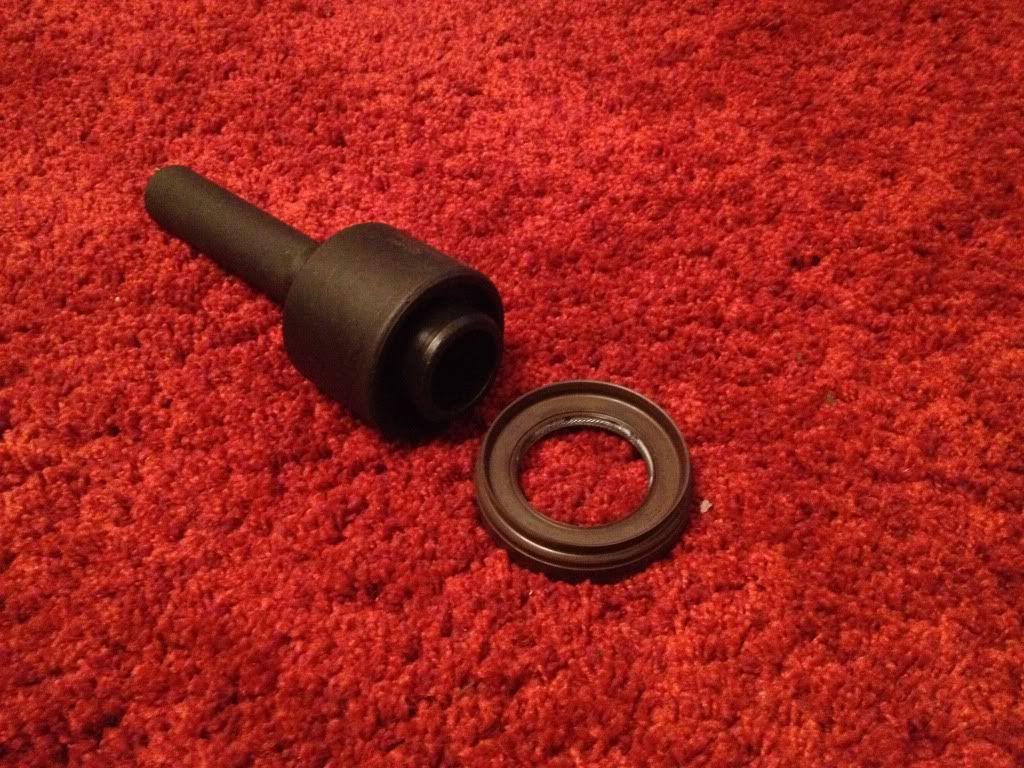
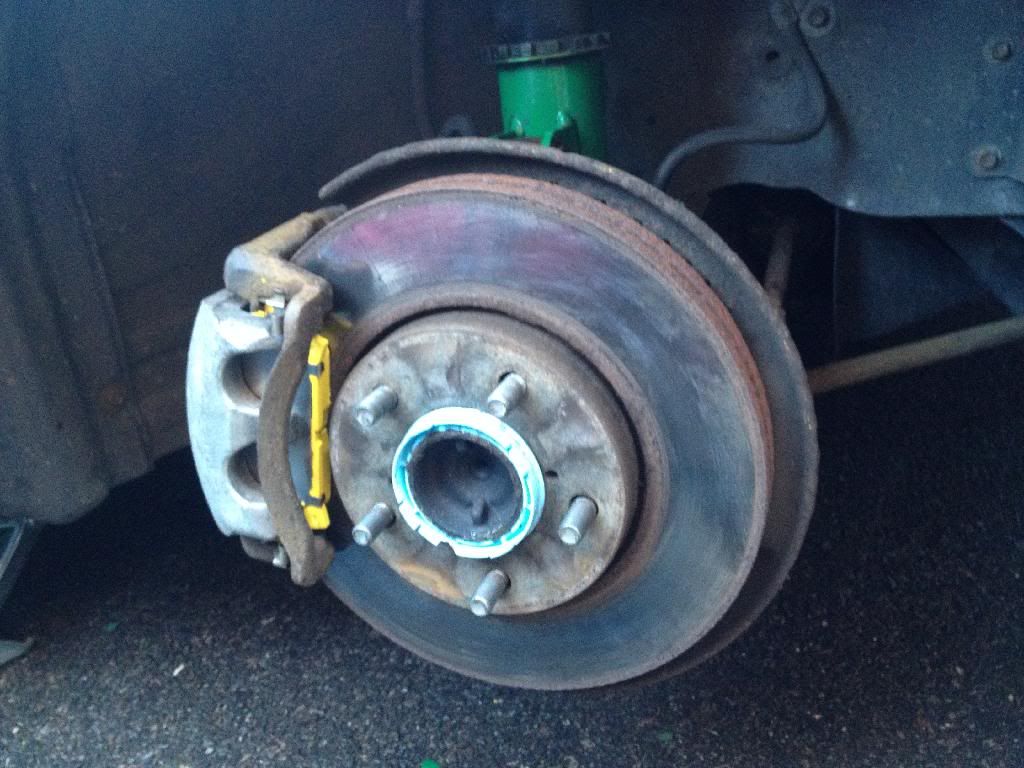
also on the to do list, NS driftshaft oring/seal
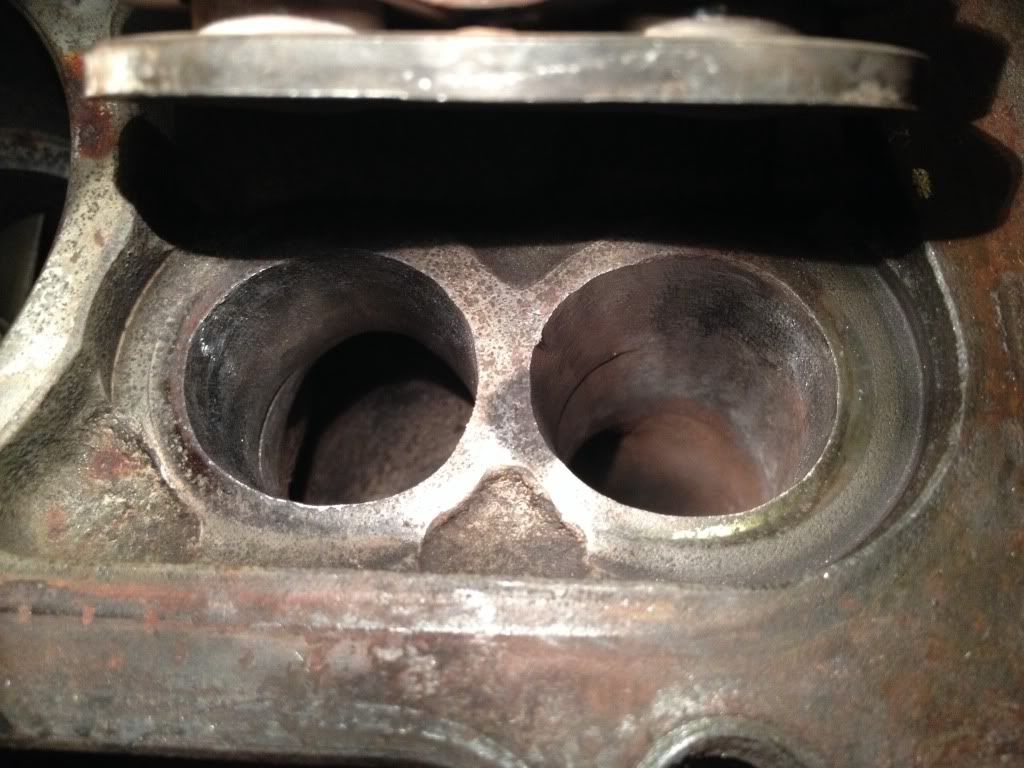
Image


porting progress
required some of these carbide burr drill bits

Image

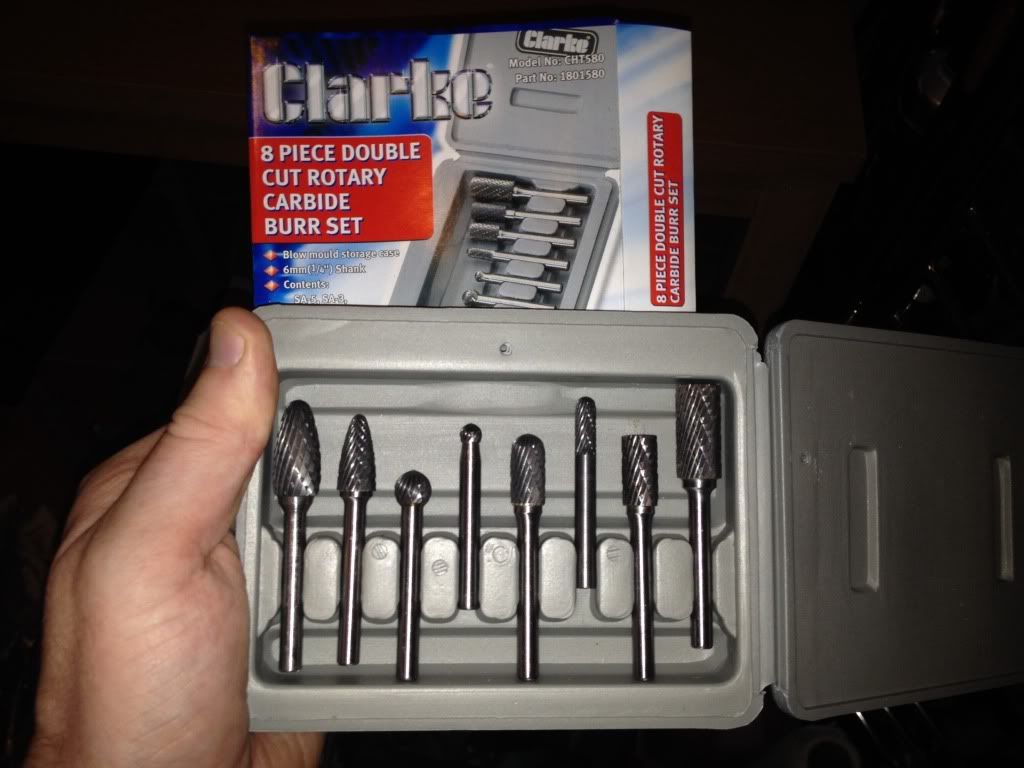
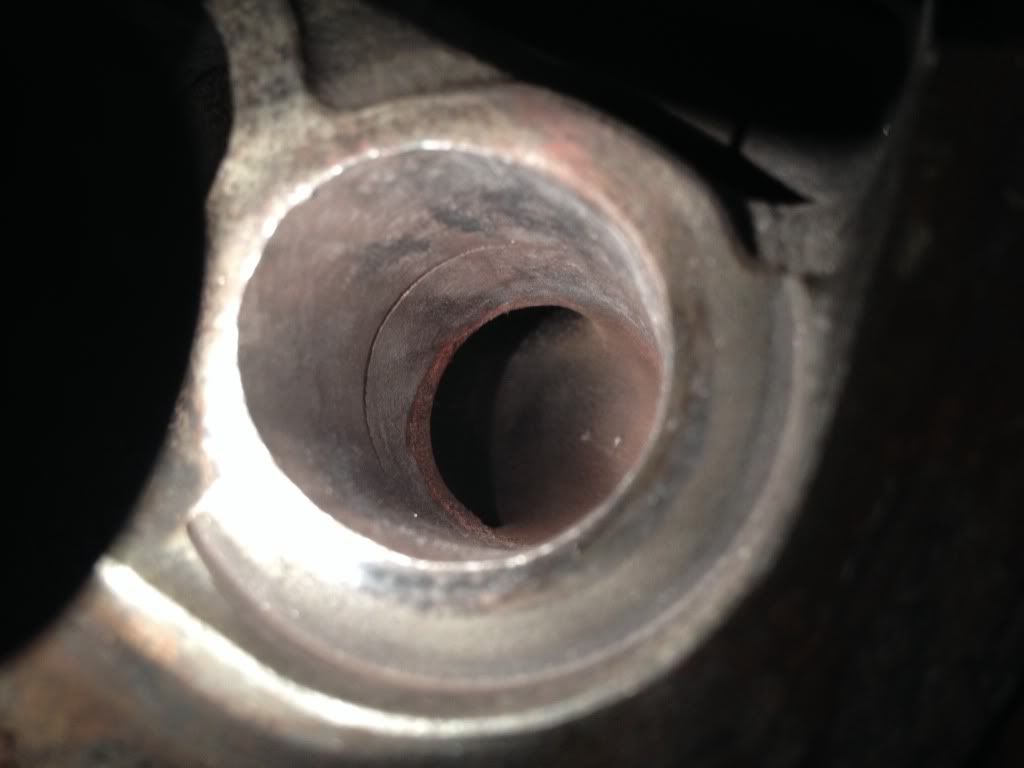
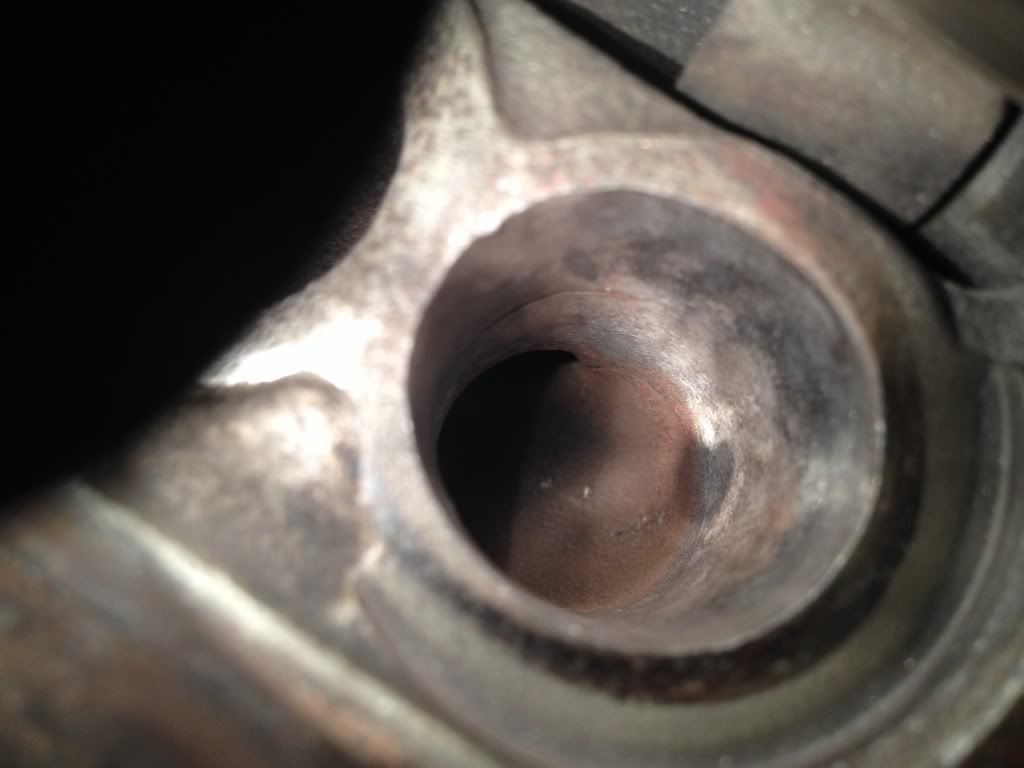
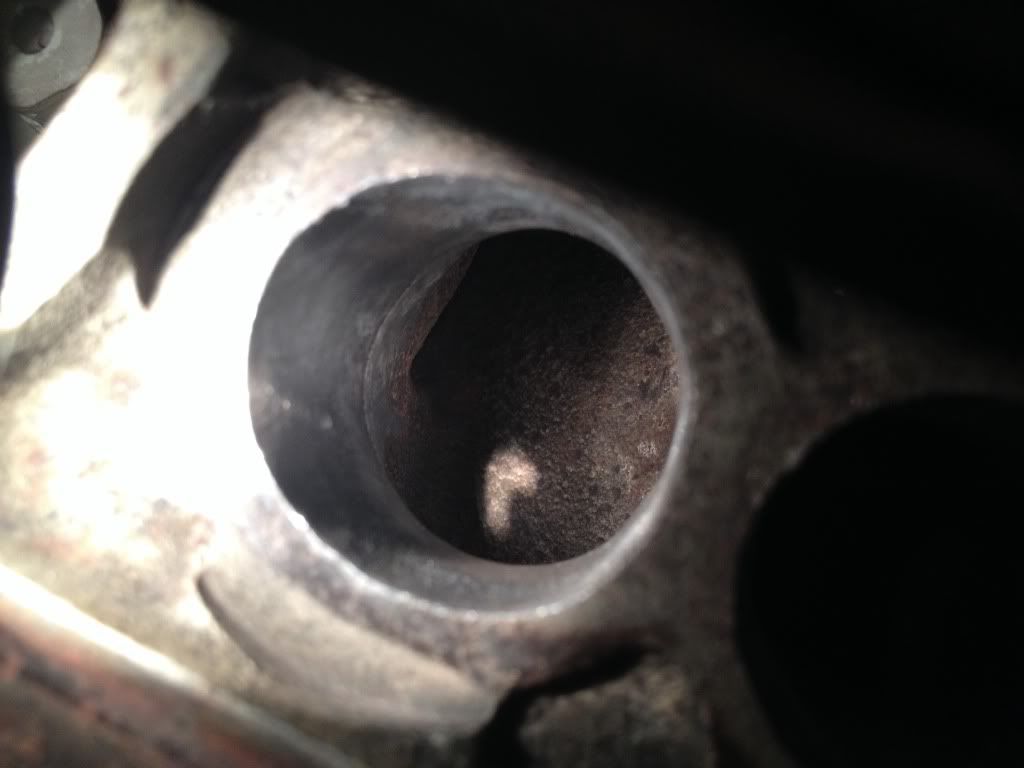
wastegate ports went from this

Image

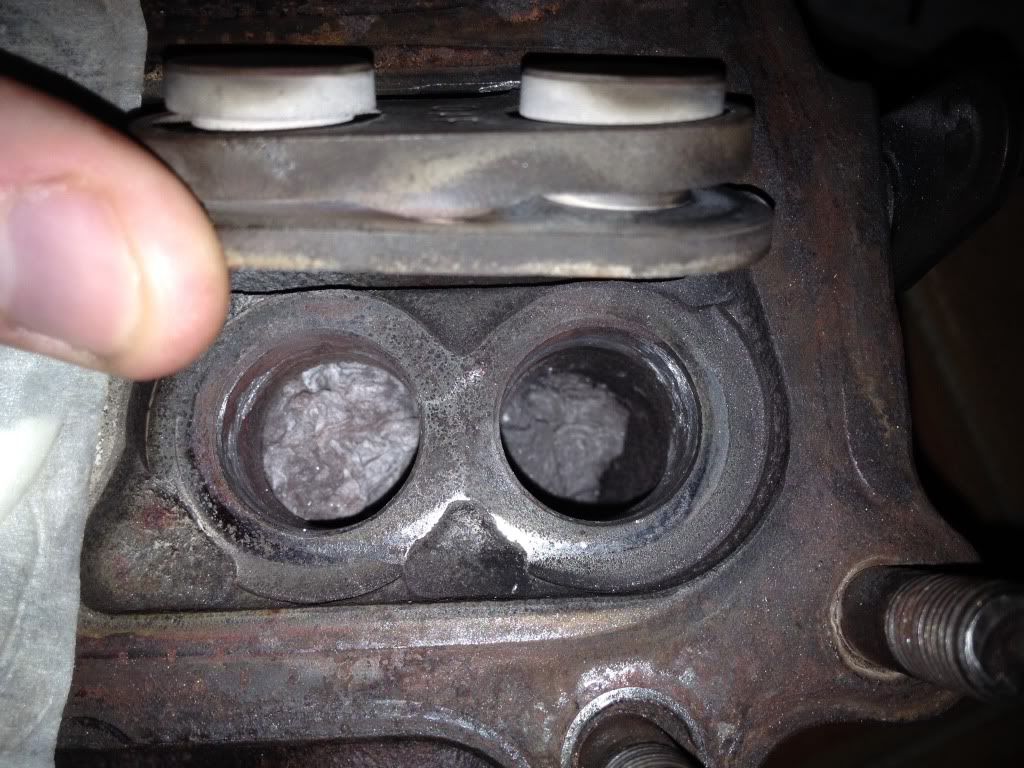
to this after many hours!
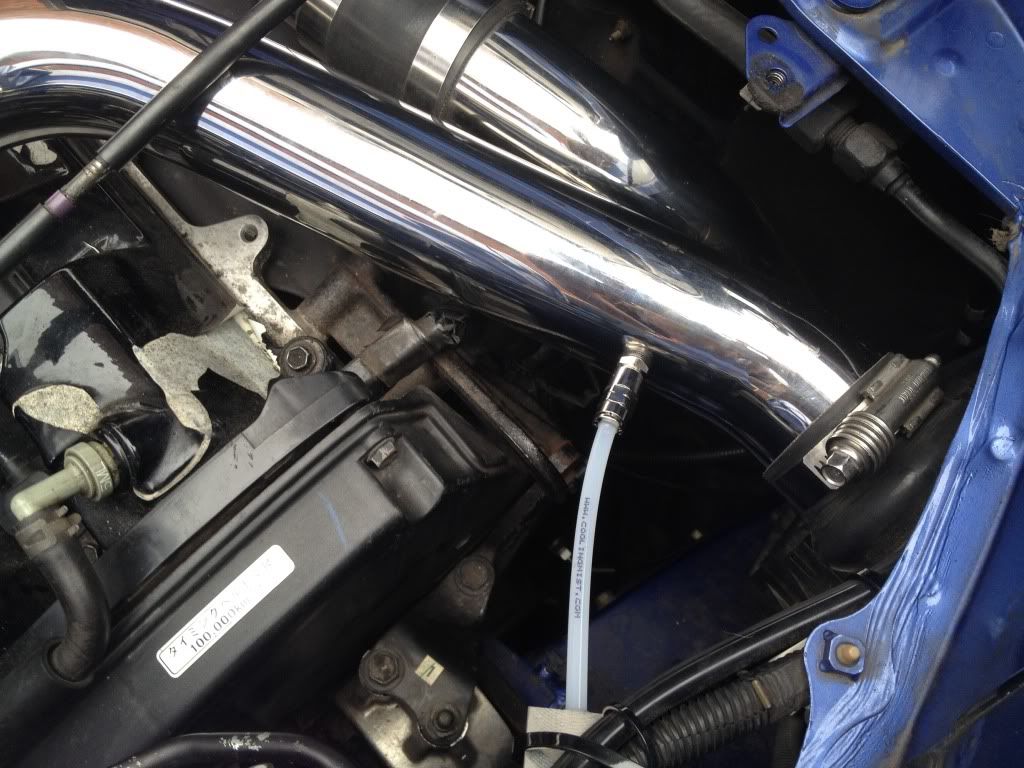
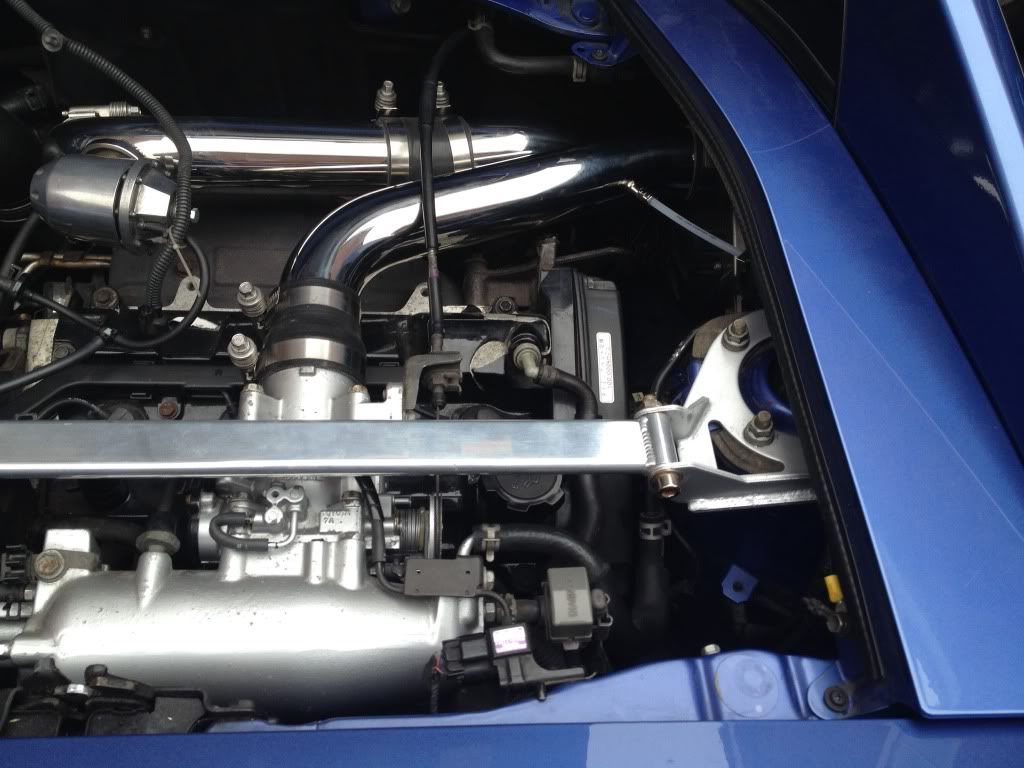
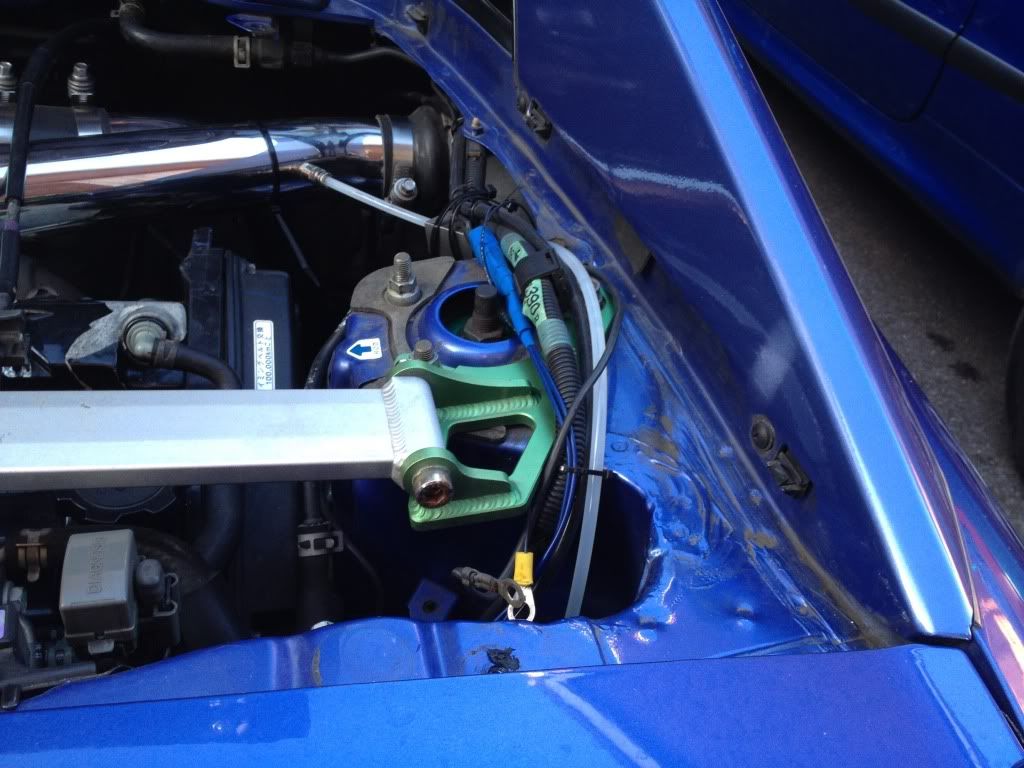
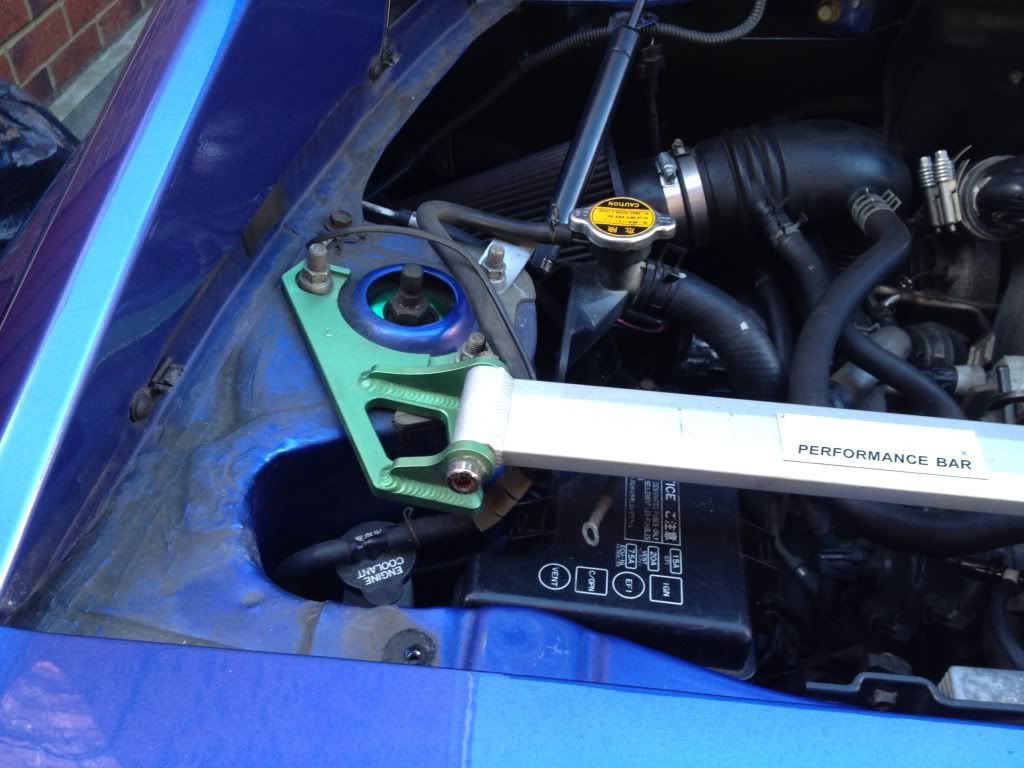
Image
Image
Image
Image
Image
Image


hfh installed

Image


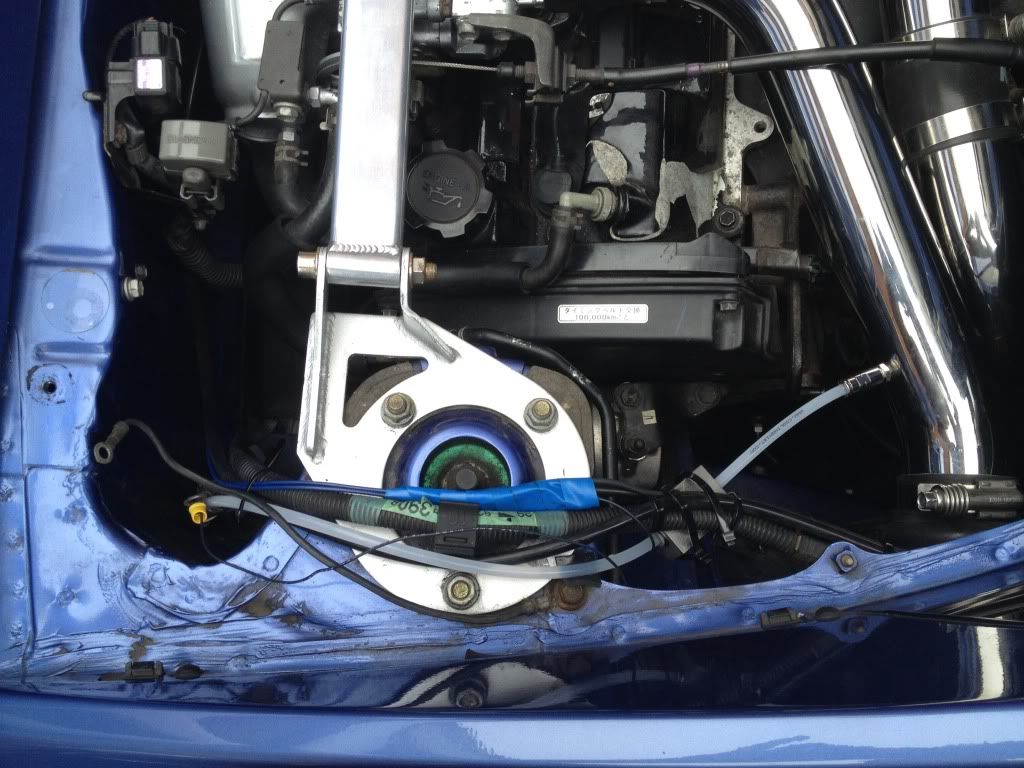
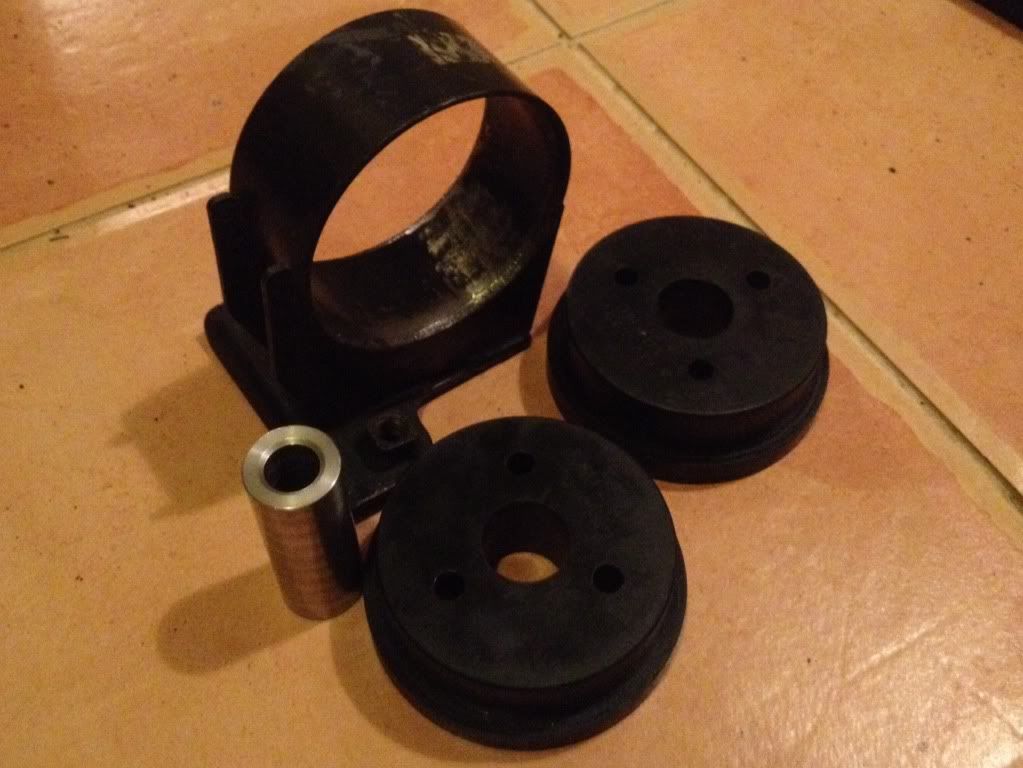
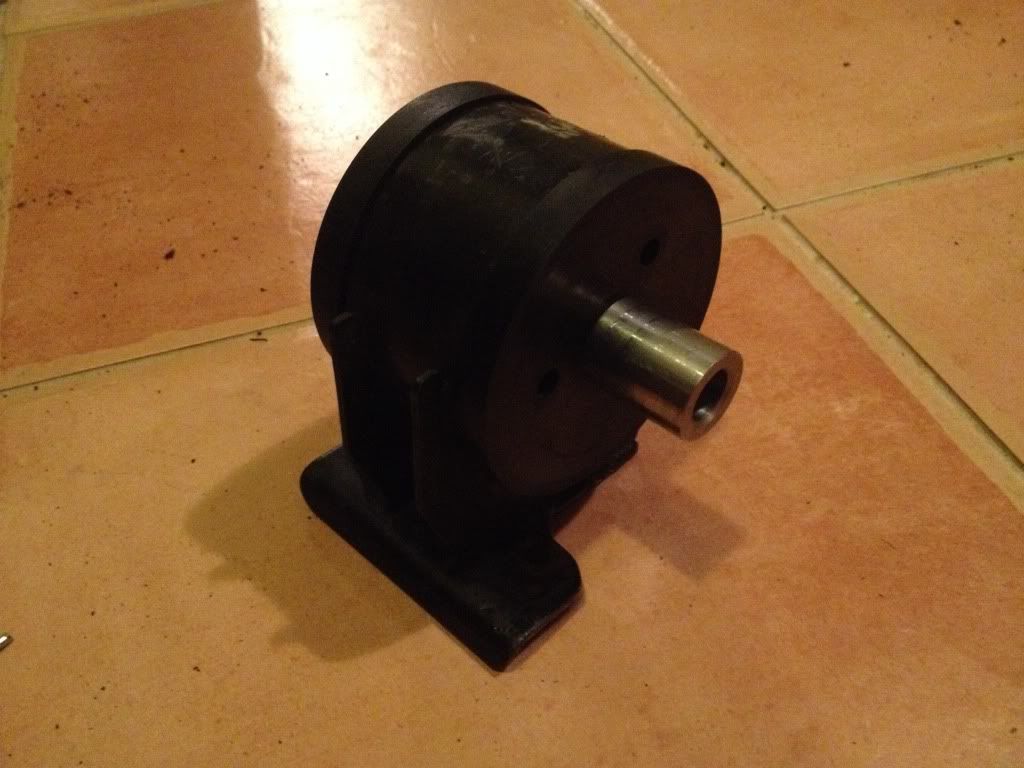
new race engine mounts from powerflex

Image

Image


report of all the above installed

the car certainly feels stronger, not massively, but now i can feel what can only be described as a stronger pull midrange.
i believe this to be down to replacing the blowing manifold gasket and bolting it down to spec (38lbft), did fixing the pin hole in exhaust housing help, who knows, but worth doing as well as replacing the mani-turbo gasket

boost creep

there is still some, which is mildly annoying, but given the above, removing and renewing alot of the turbo side was worth the hassle.
but i can report it is not as bad as before, and given the cold weather we have, i can only imagine some warmer temps, this will be better.

engine mounts

the engine feels more part of the car when shifting, sure, ive now discovered a bit more idle vibration, but worth it and should help fast shifting


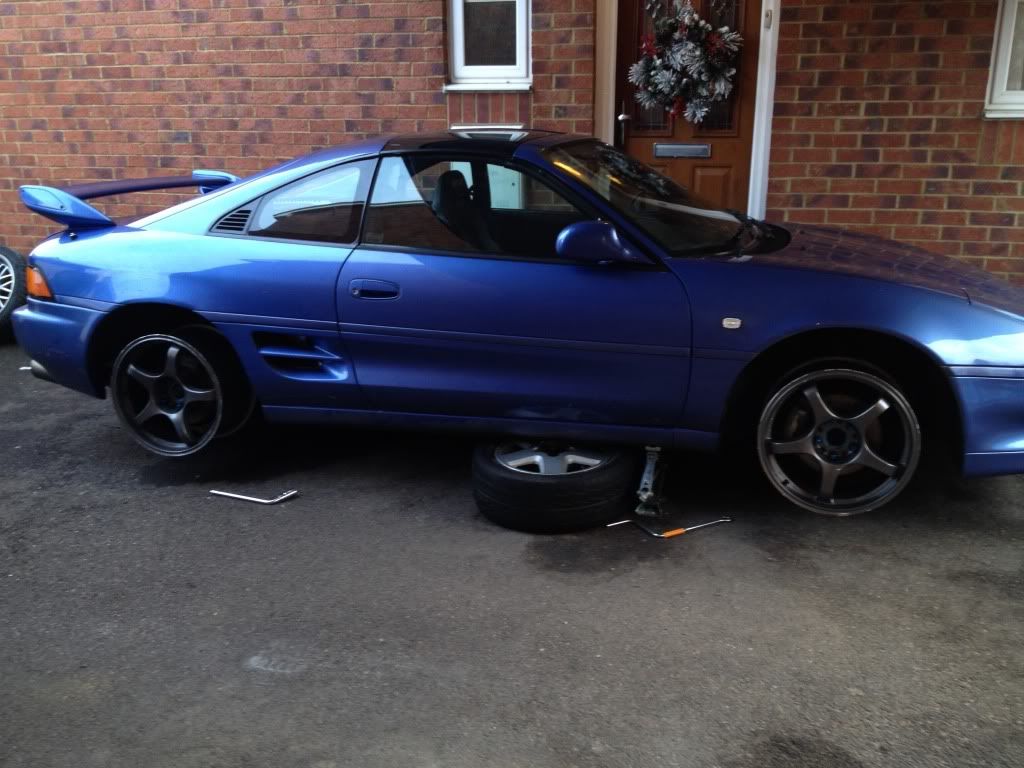
i have some goodies coming in the next few weeks/month or so


i 
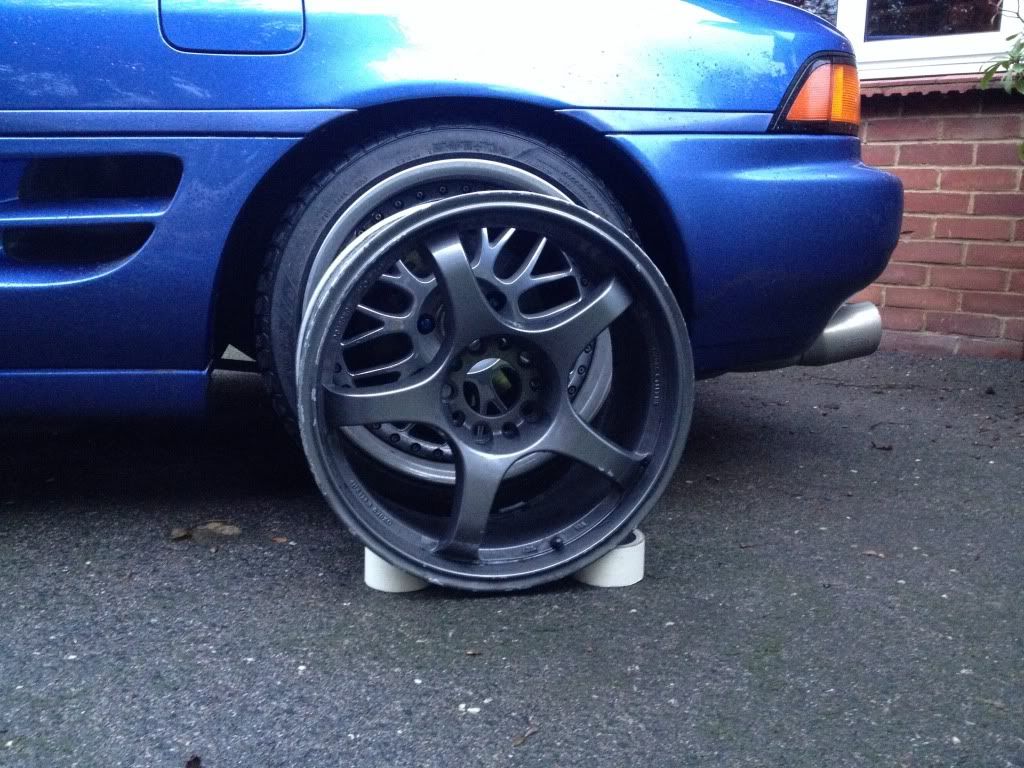
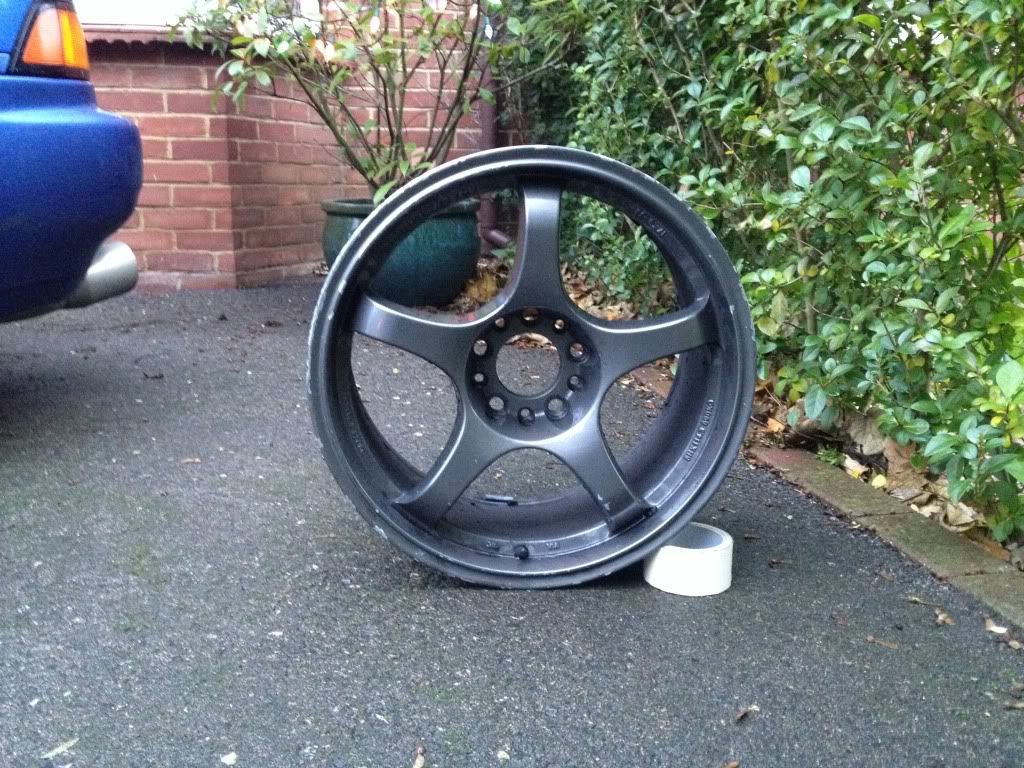
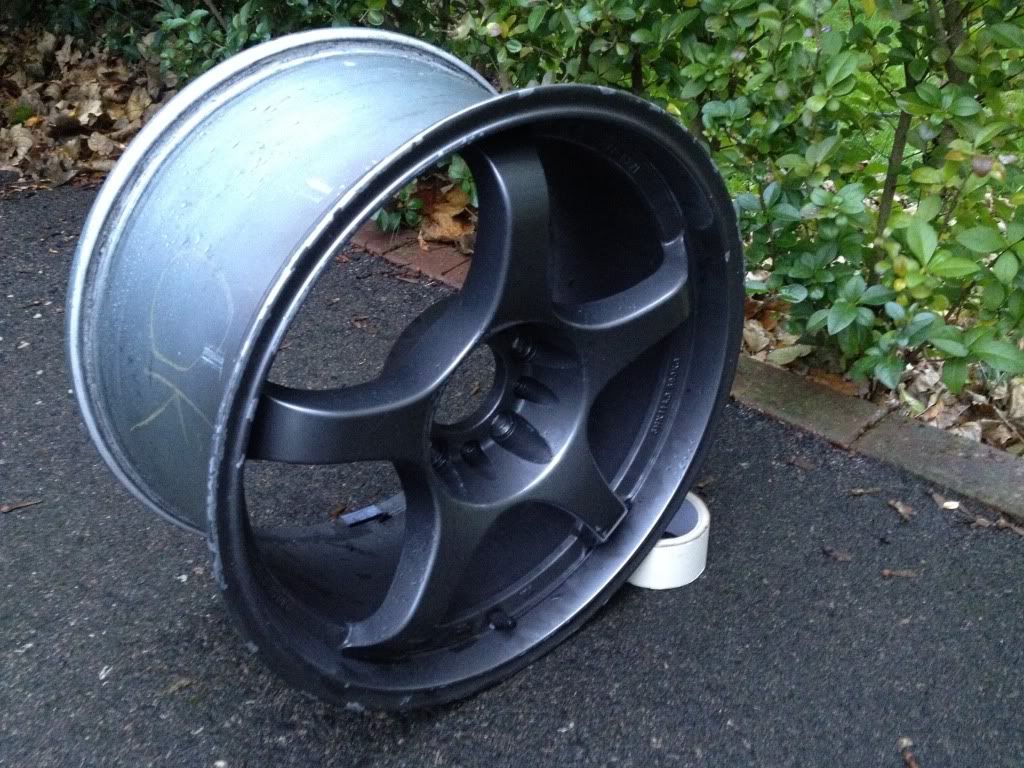
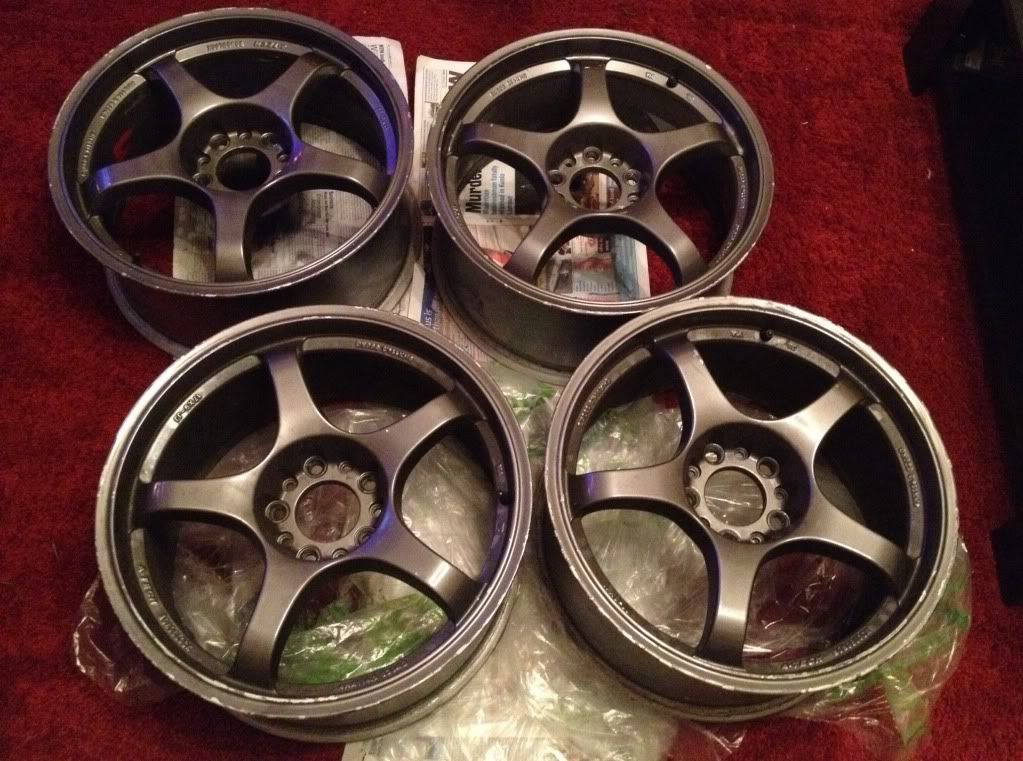
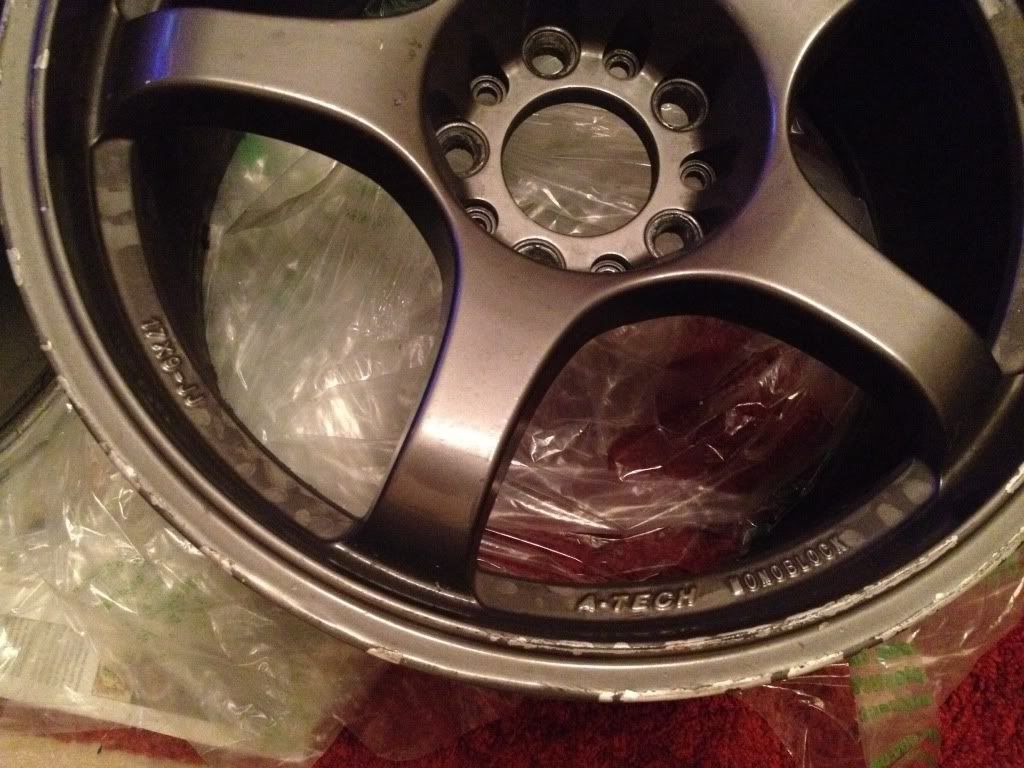
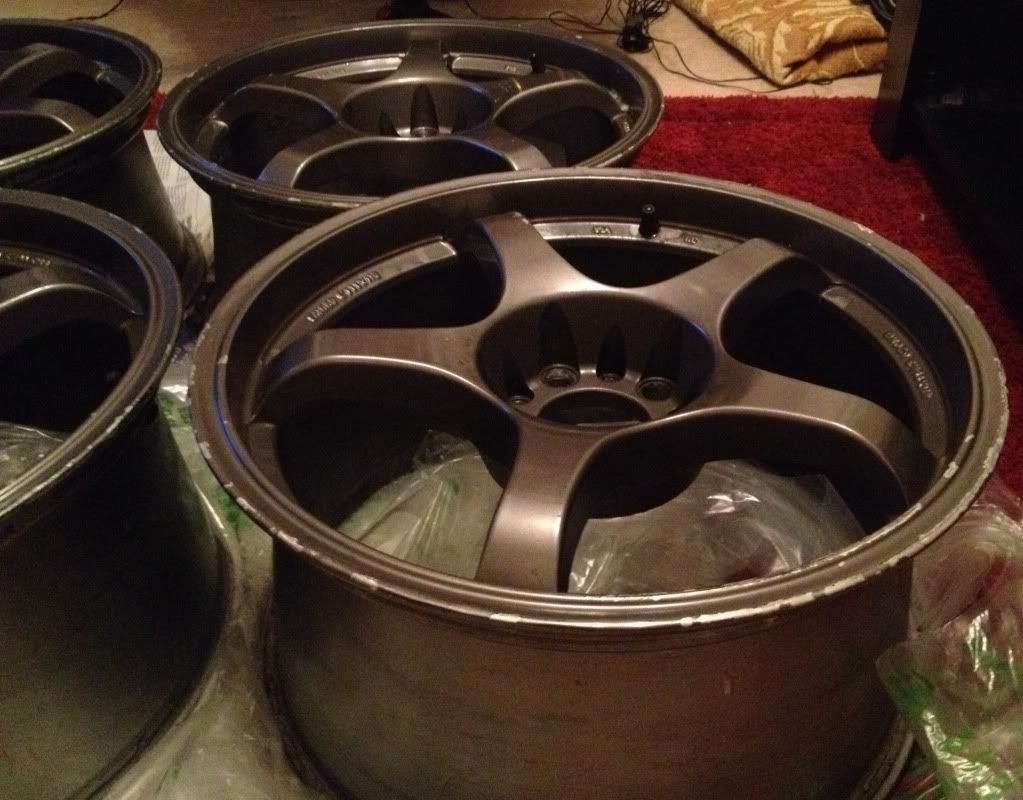
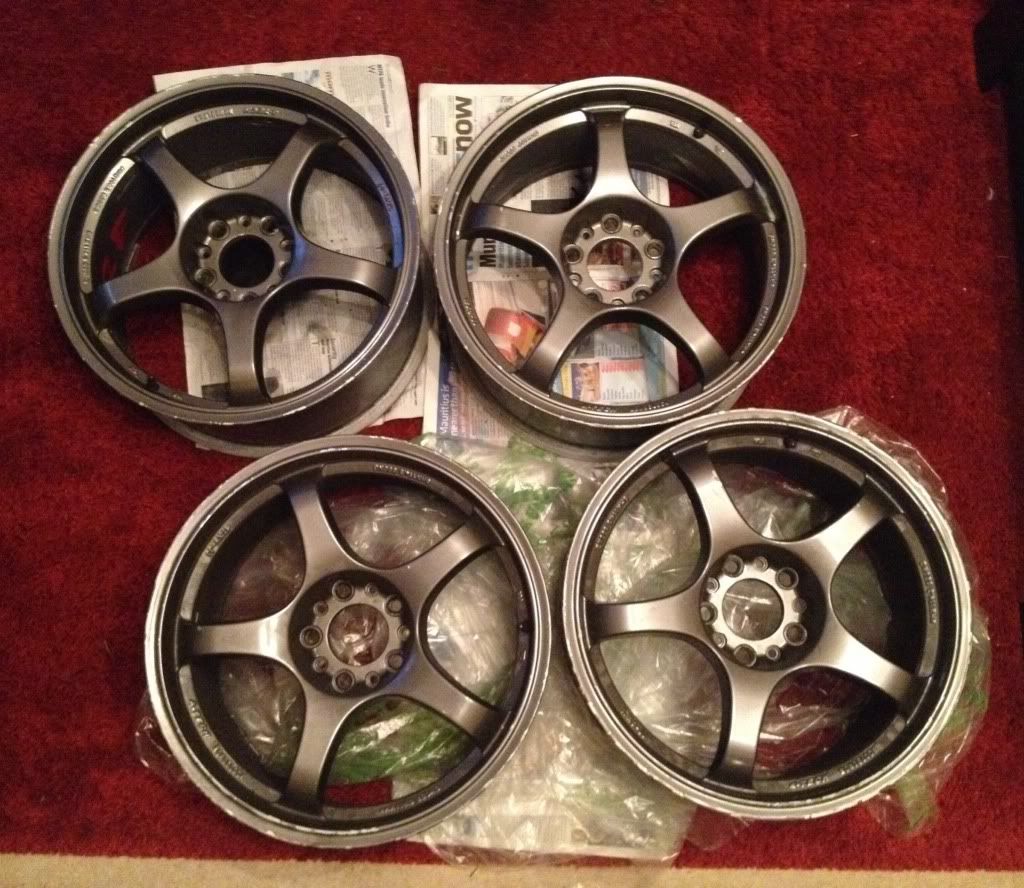
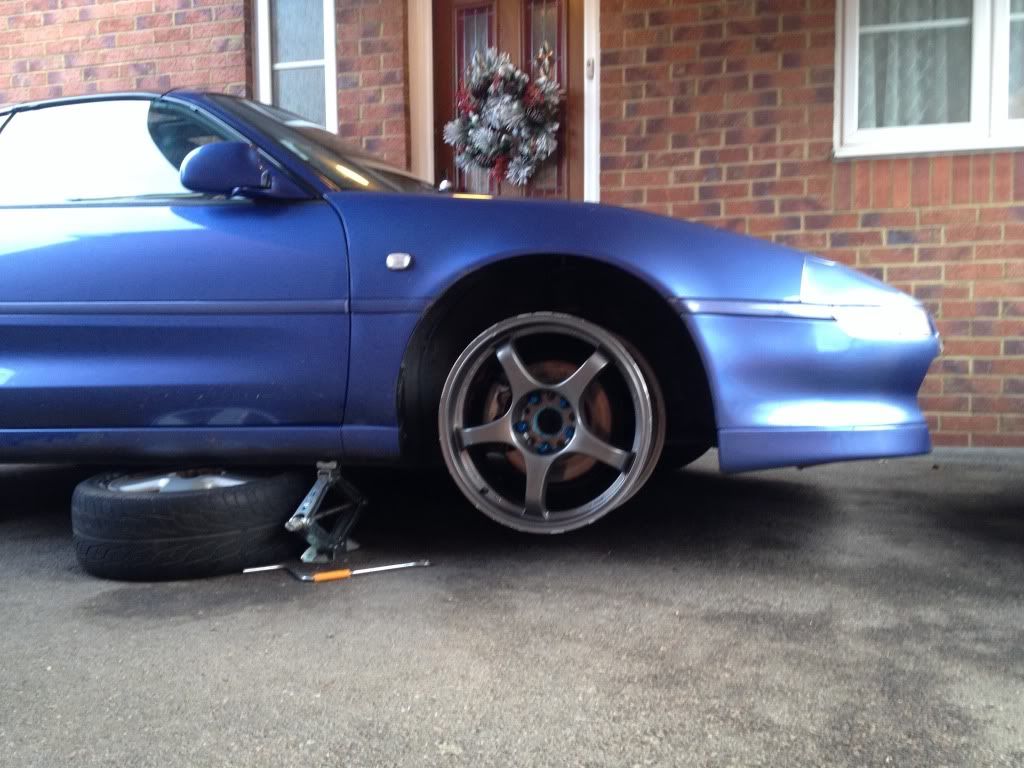
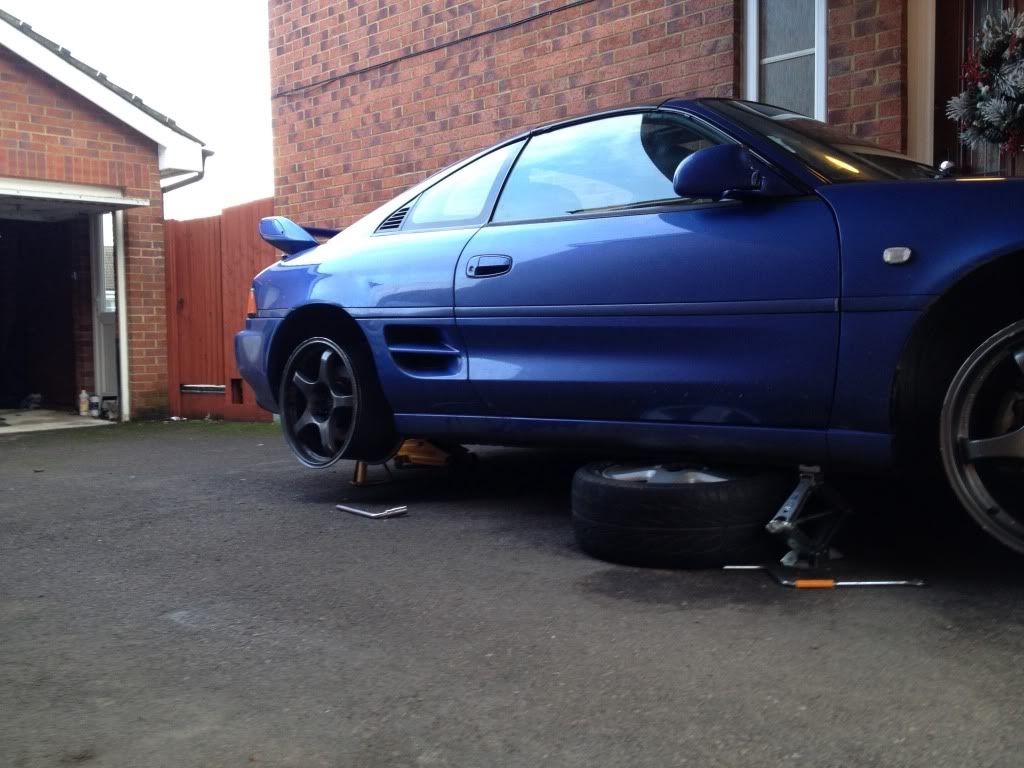
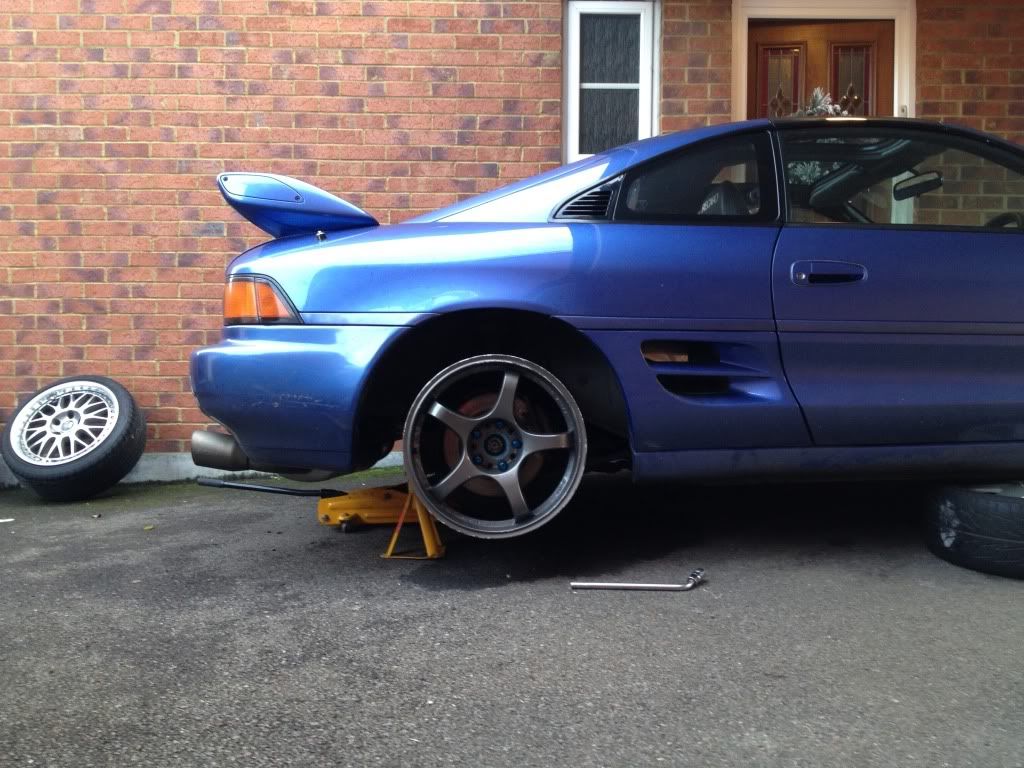
WILL be replacing the Work alloys, to some rare JDM one piece alloys, pics soon!
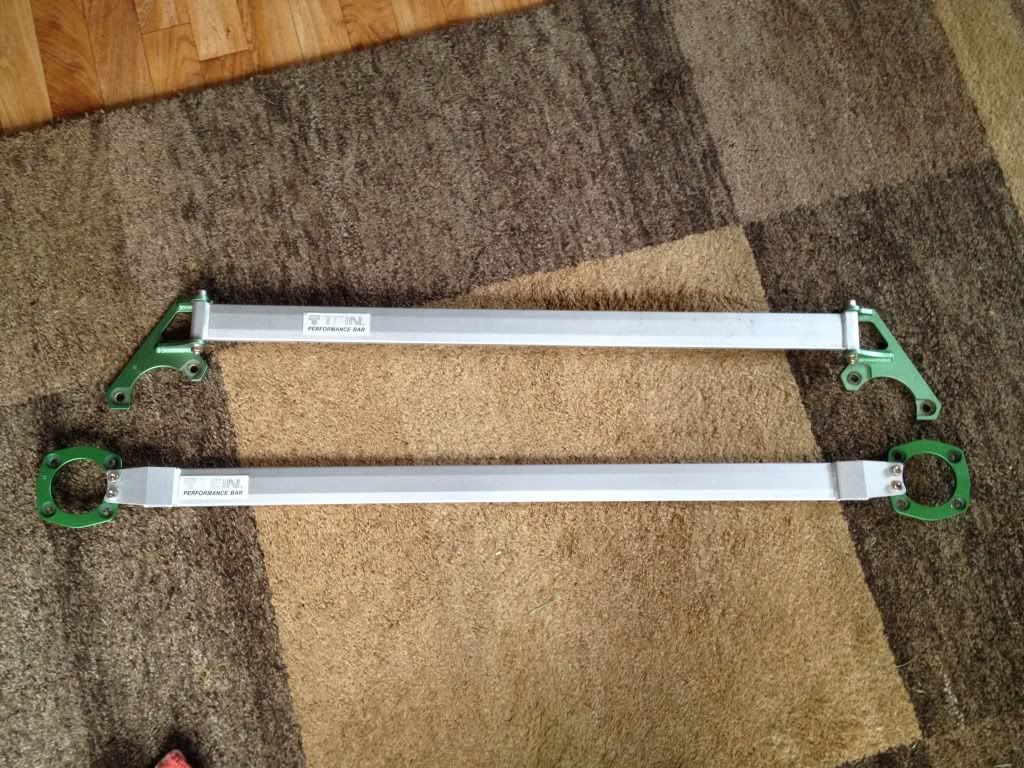
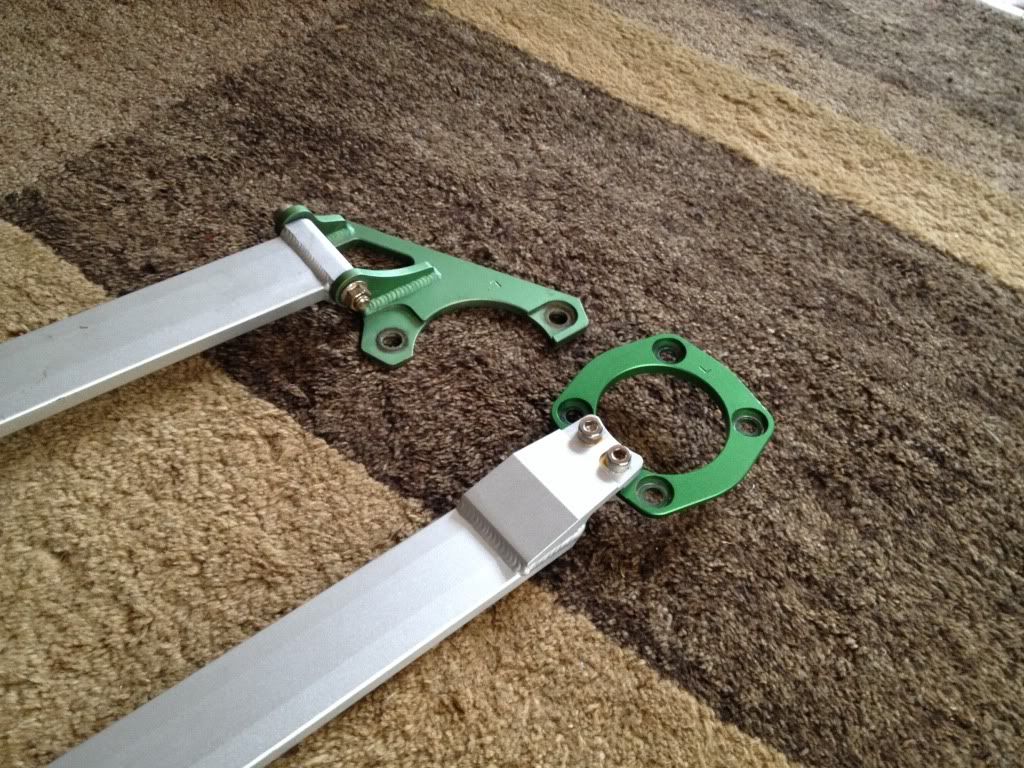
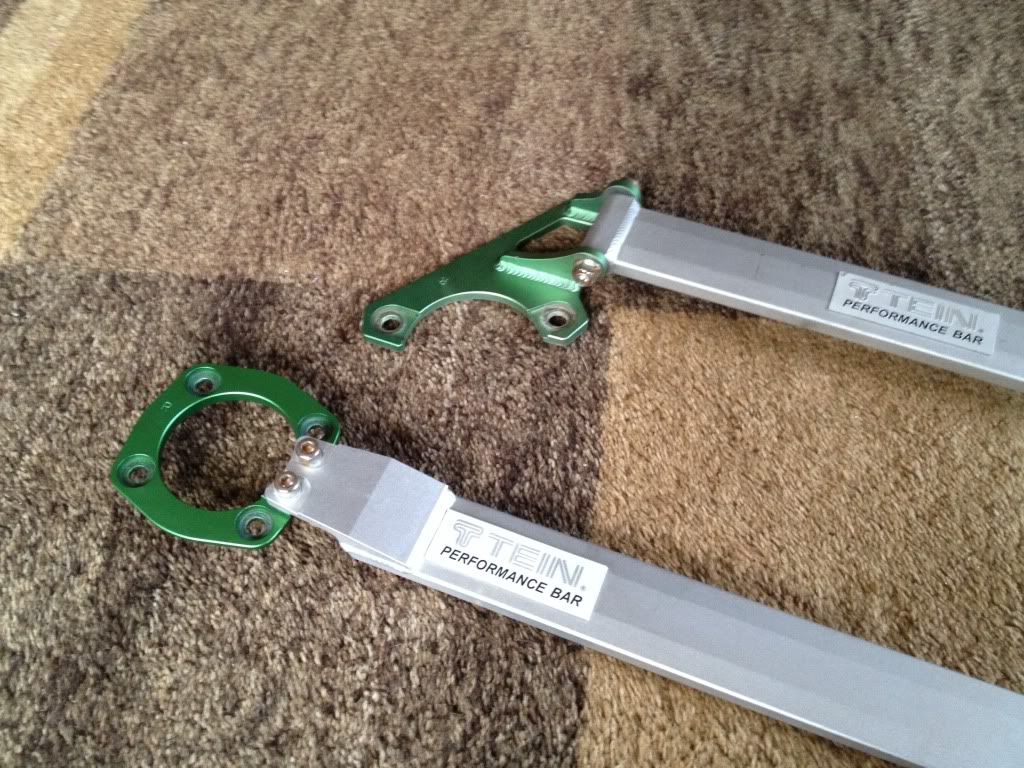
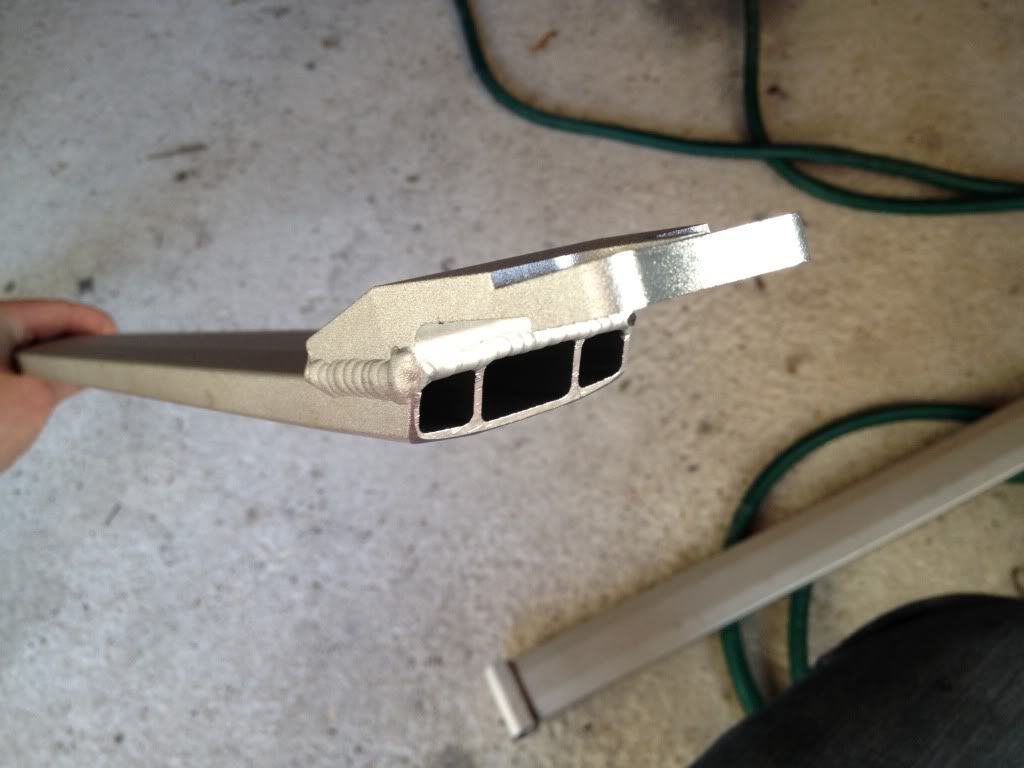
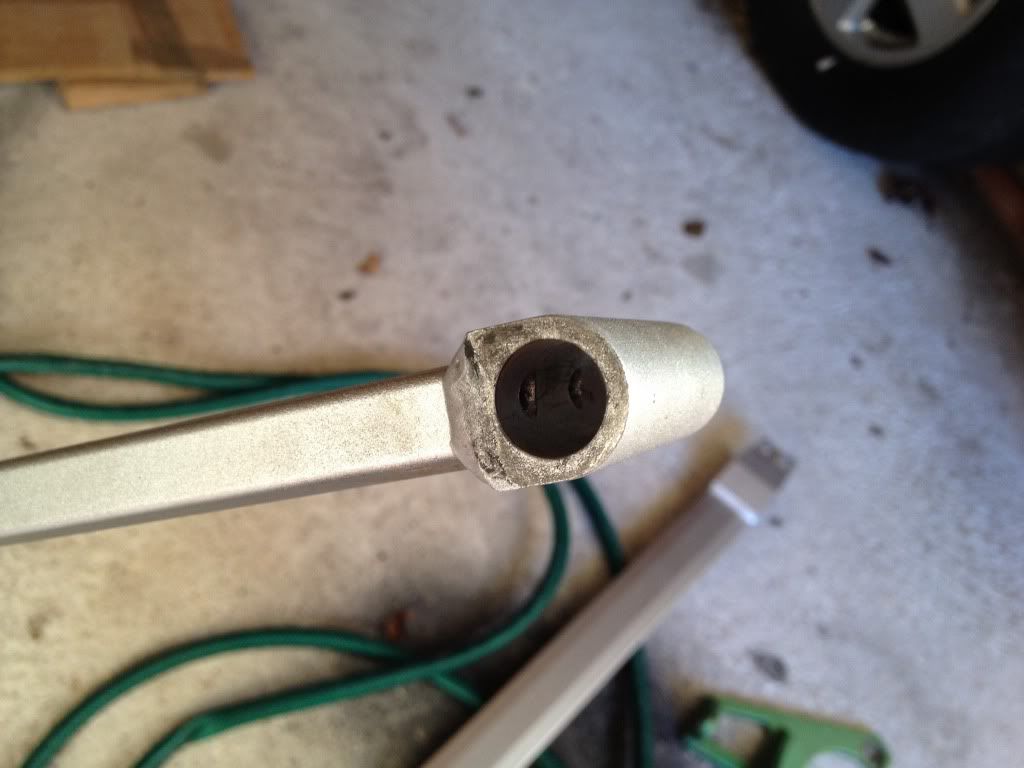
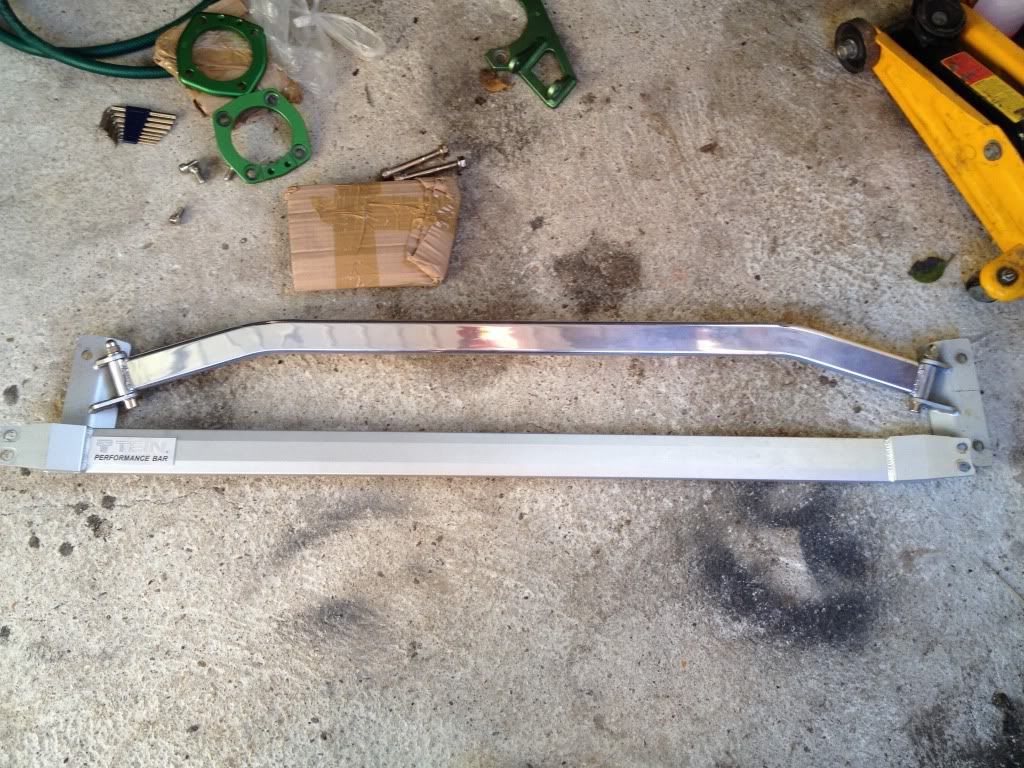
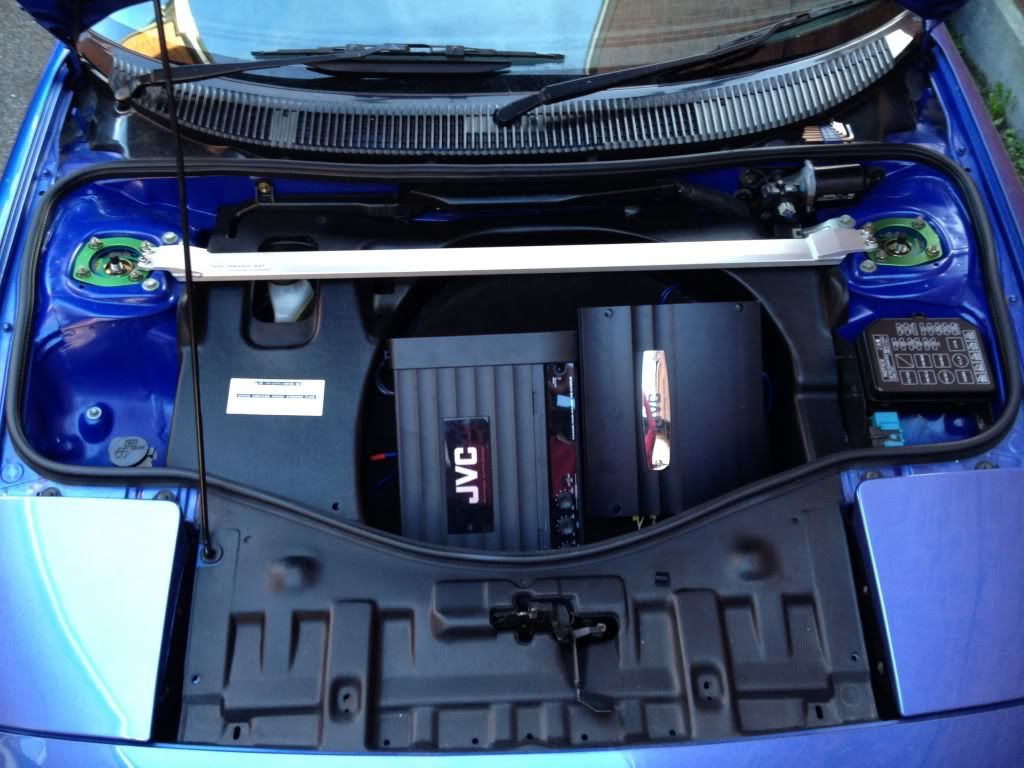
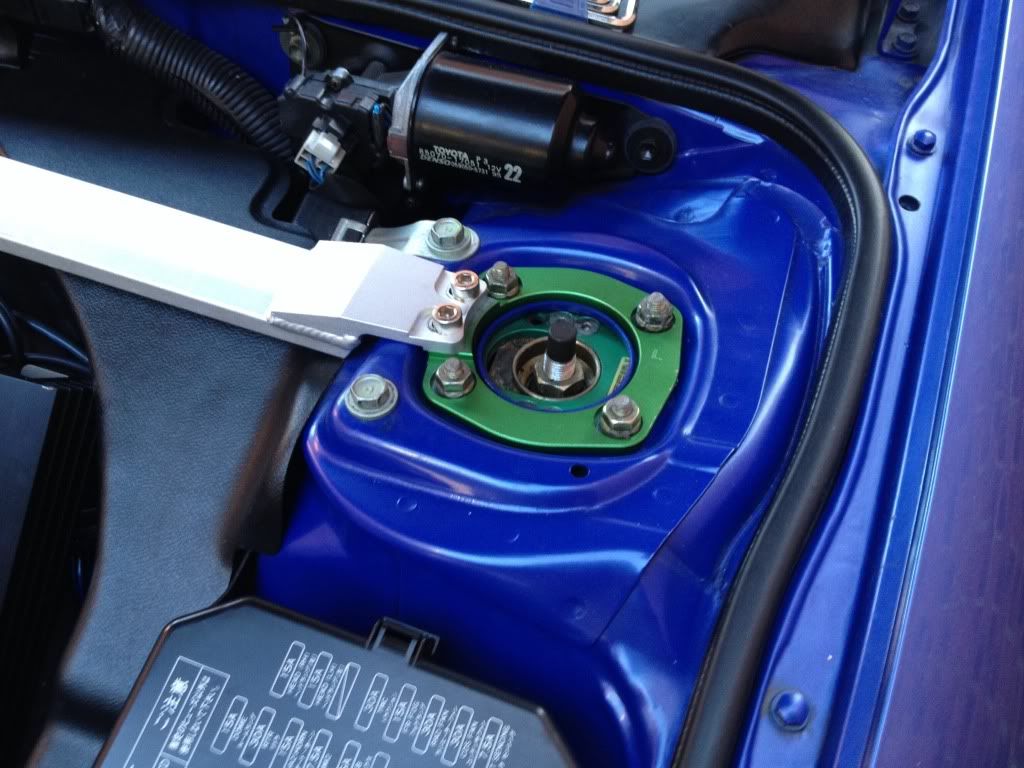
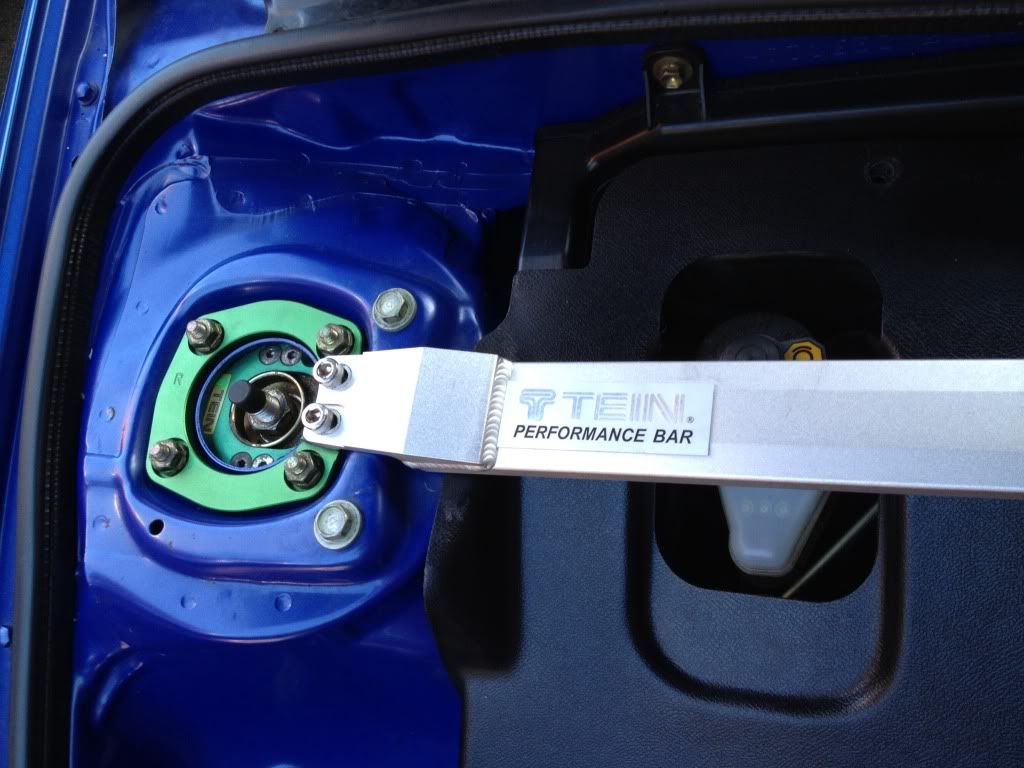
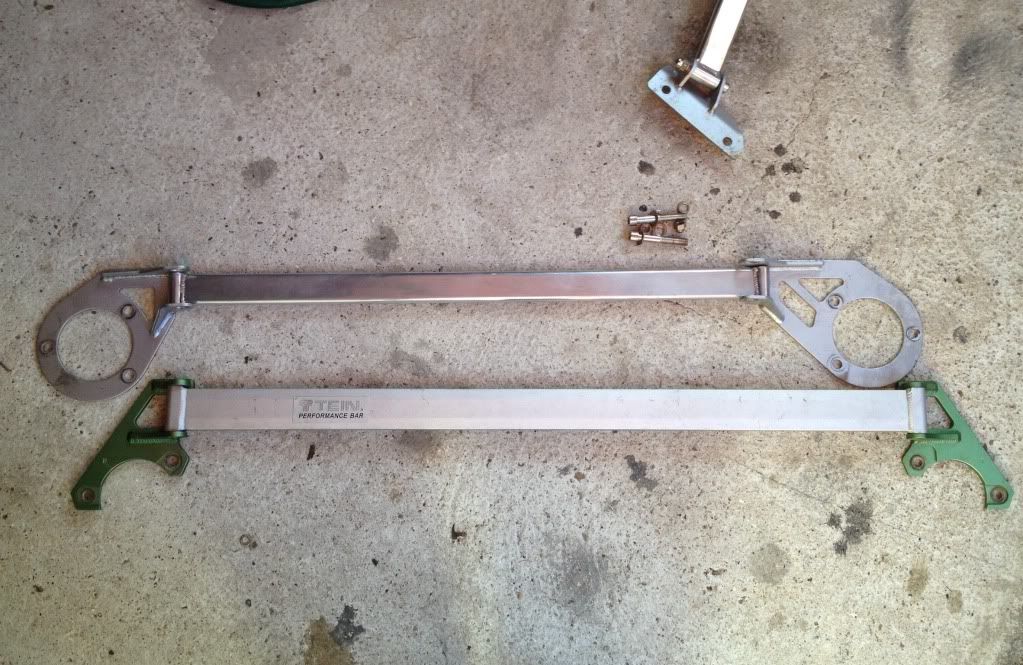
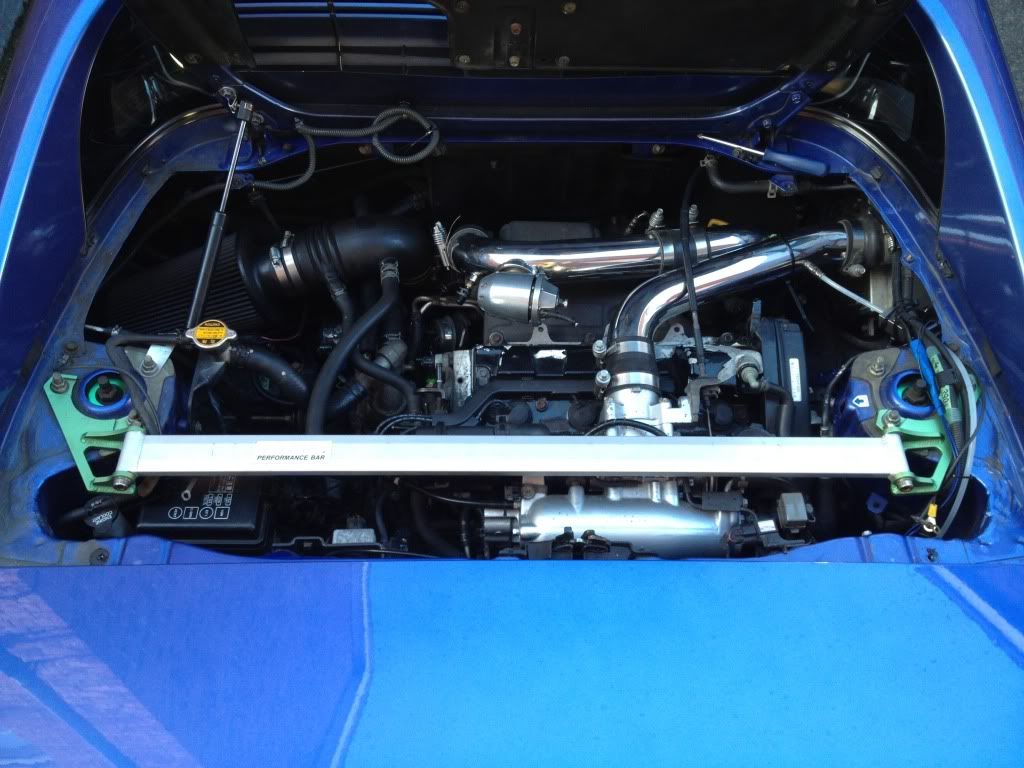
i will also be replacing my ebay strut braces with some more rare items, pics and details of those soon also!

:thumleft: :thumleft:

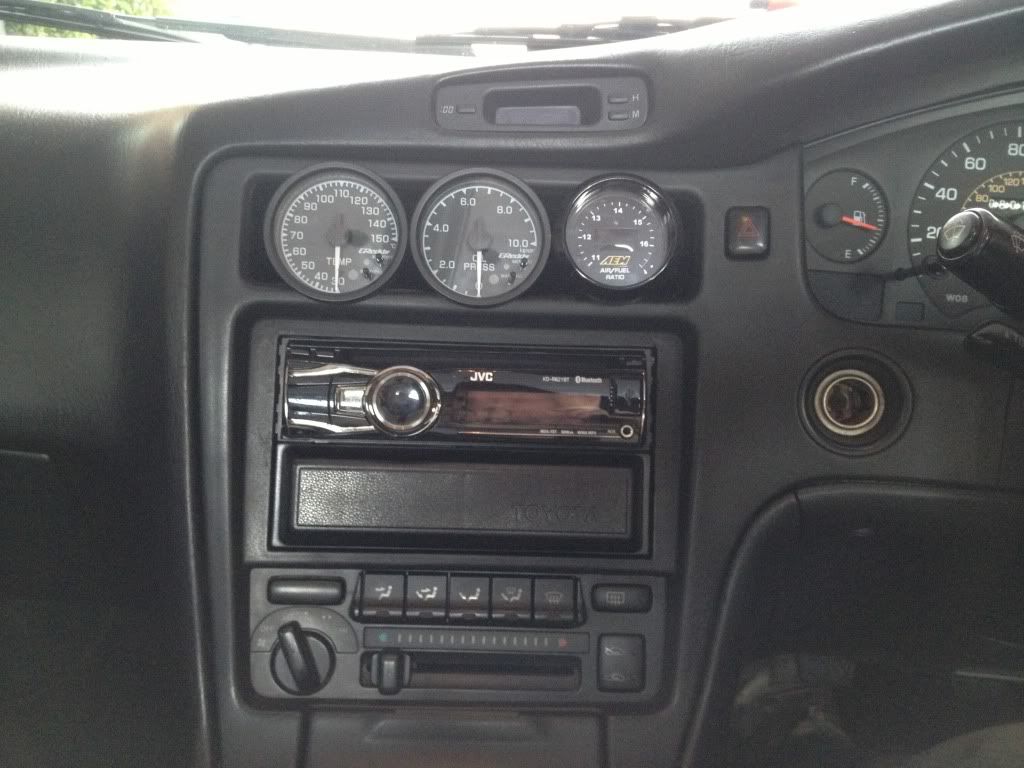
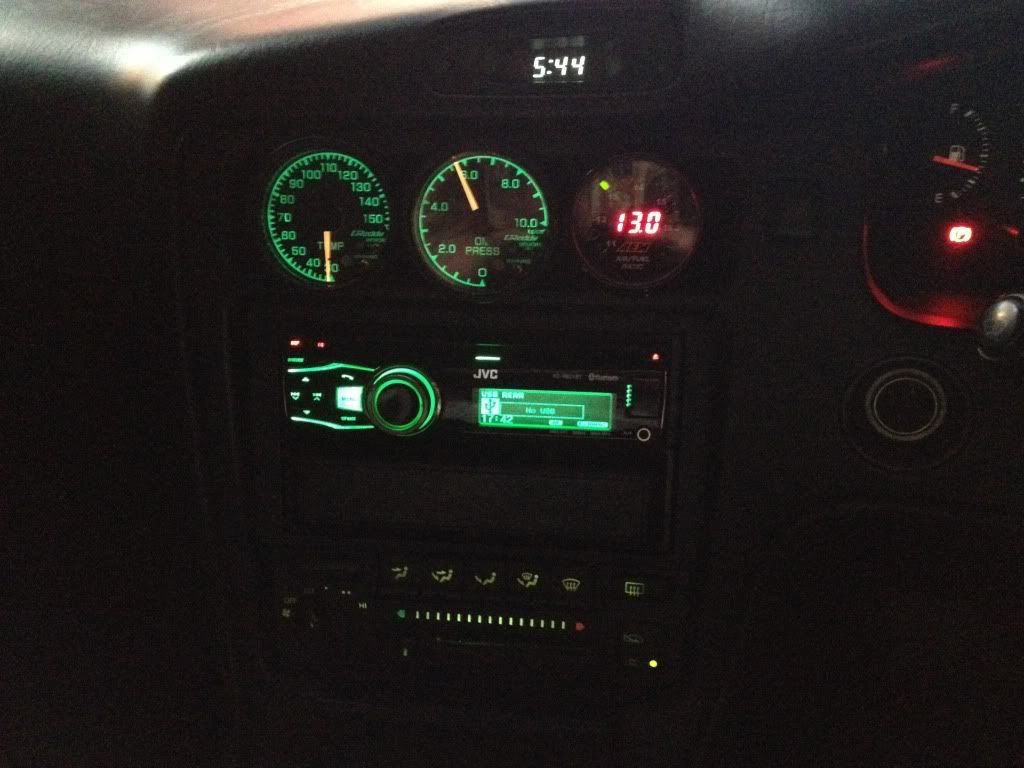
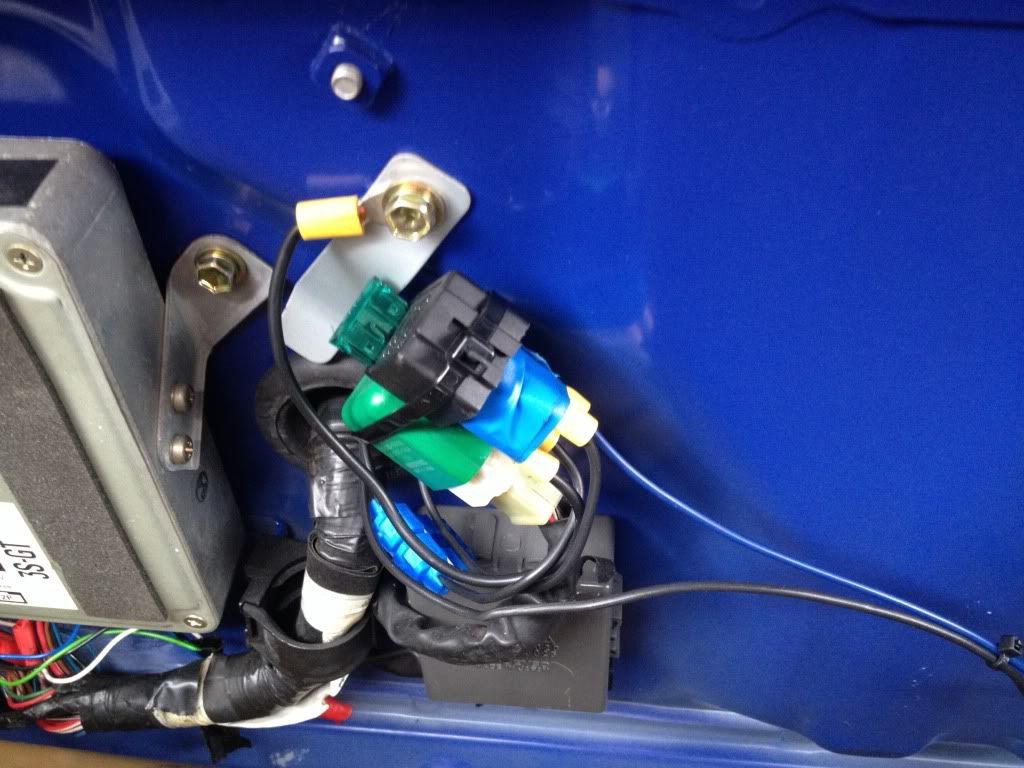
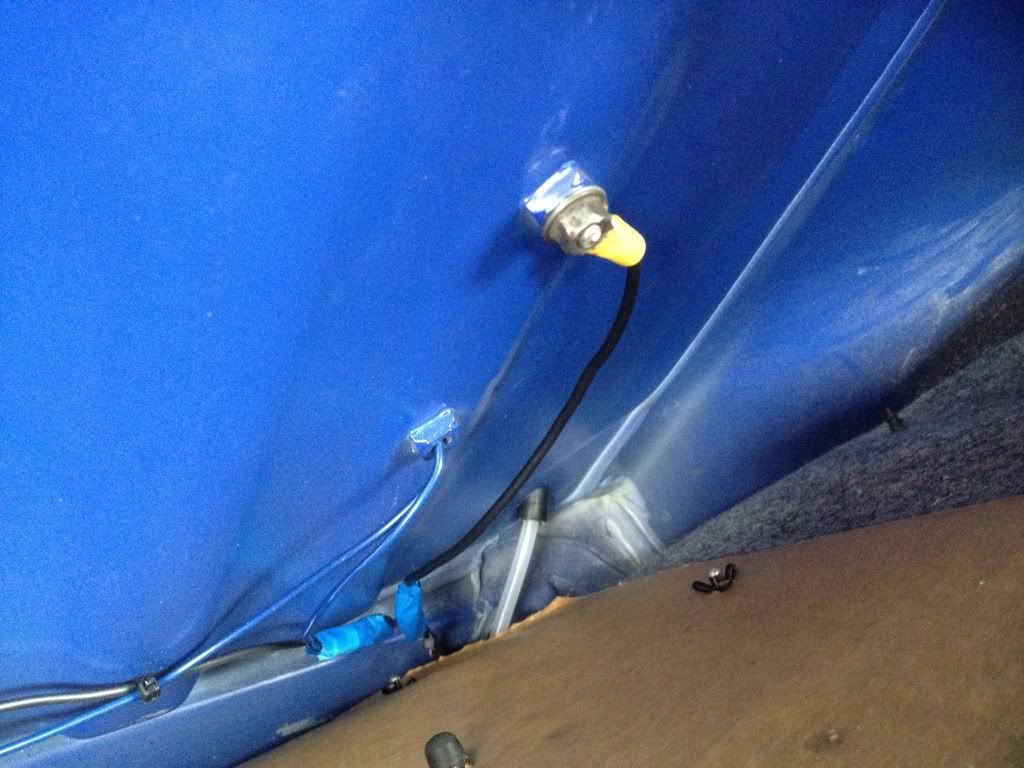
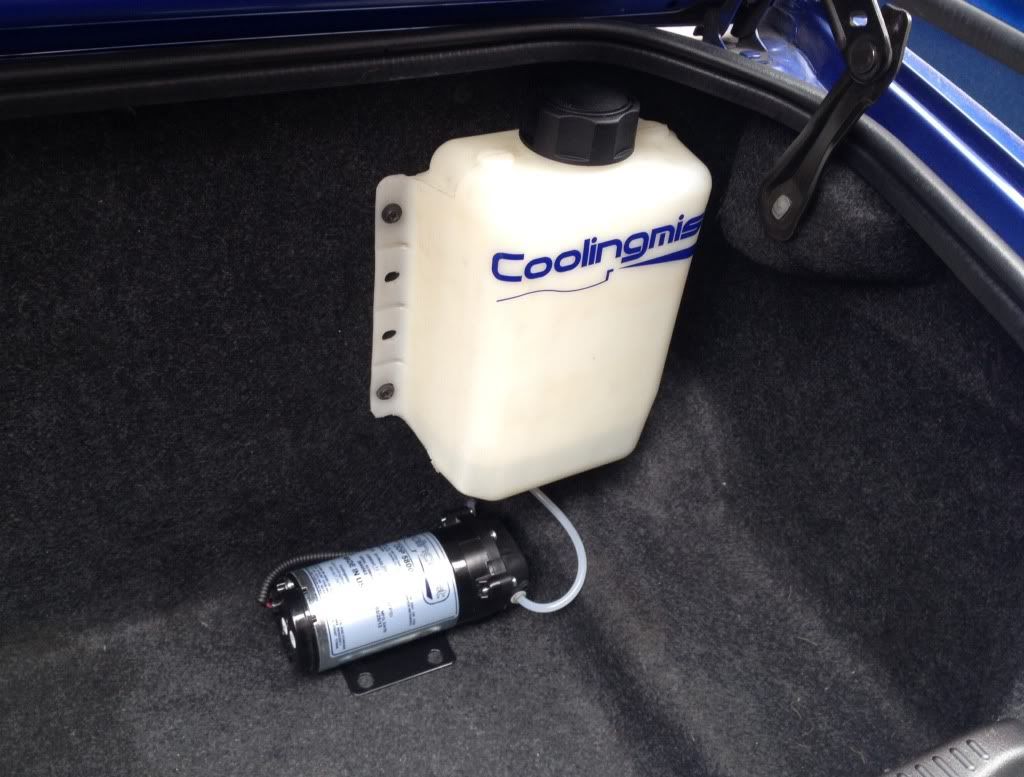
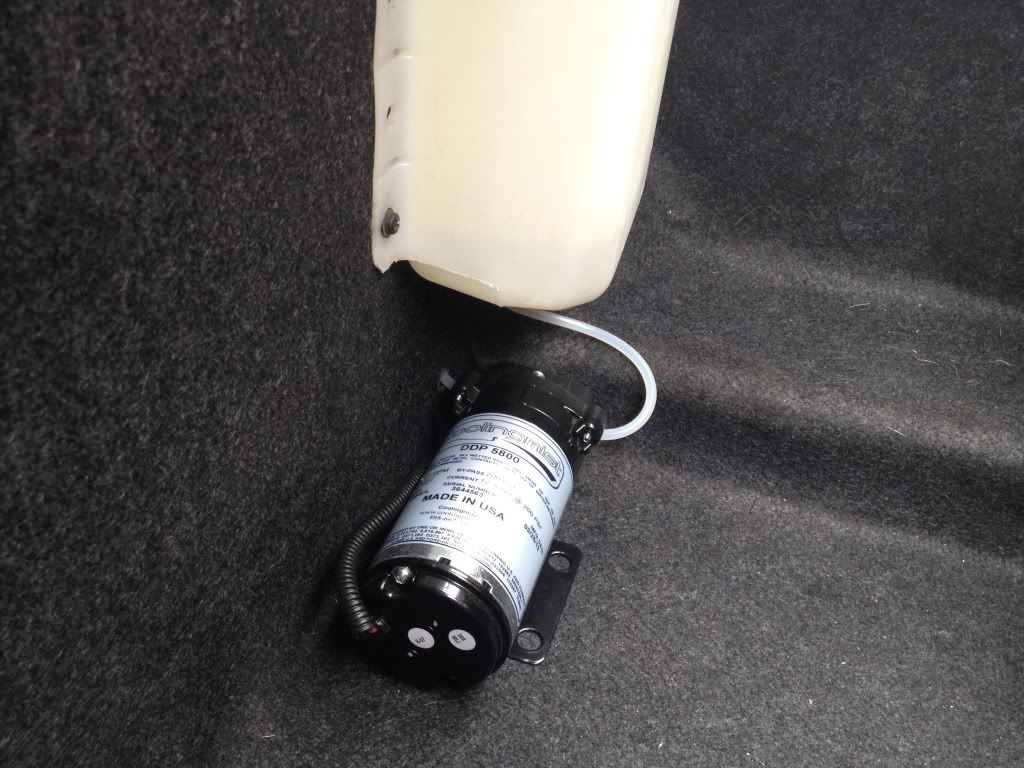
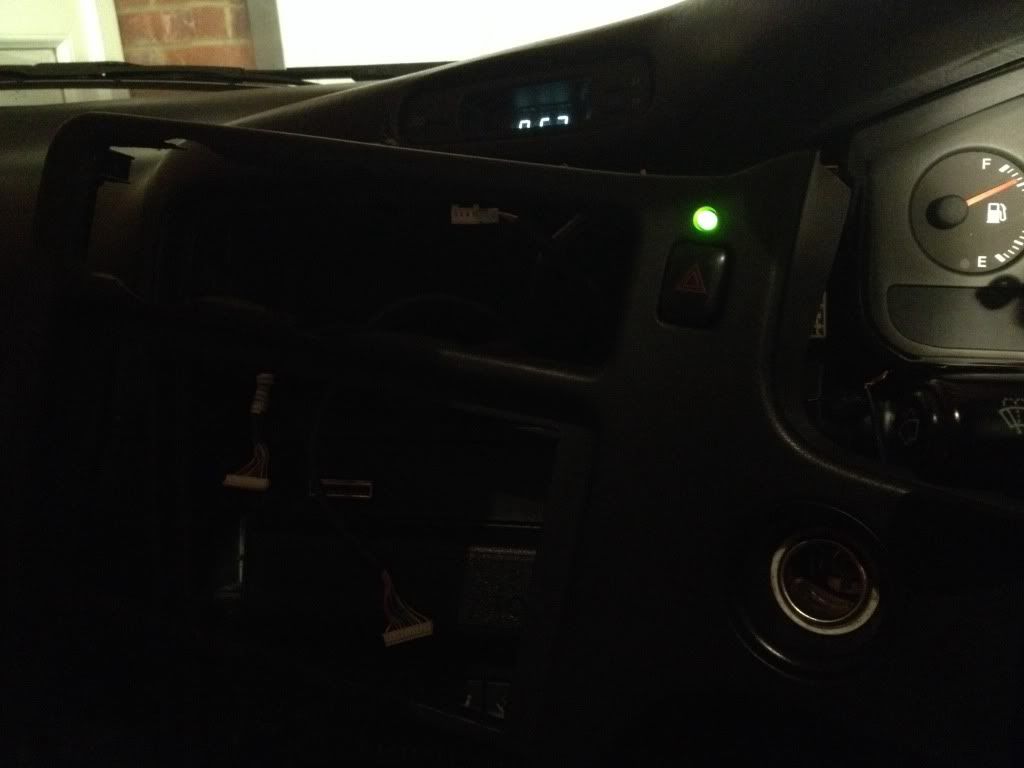
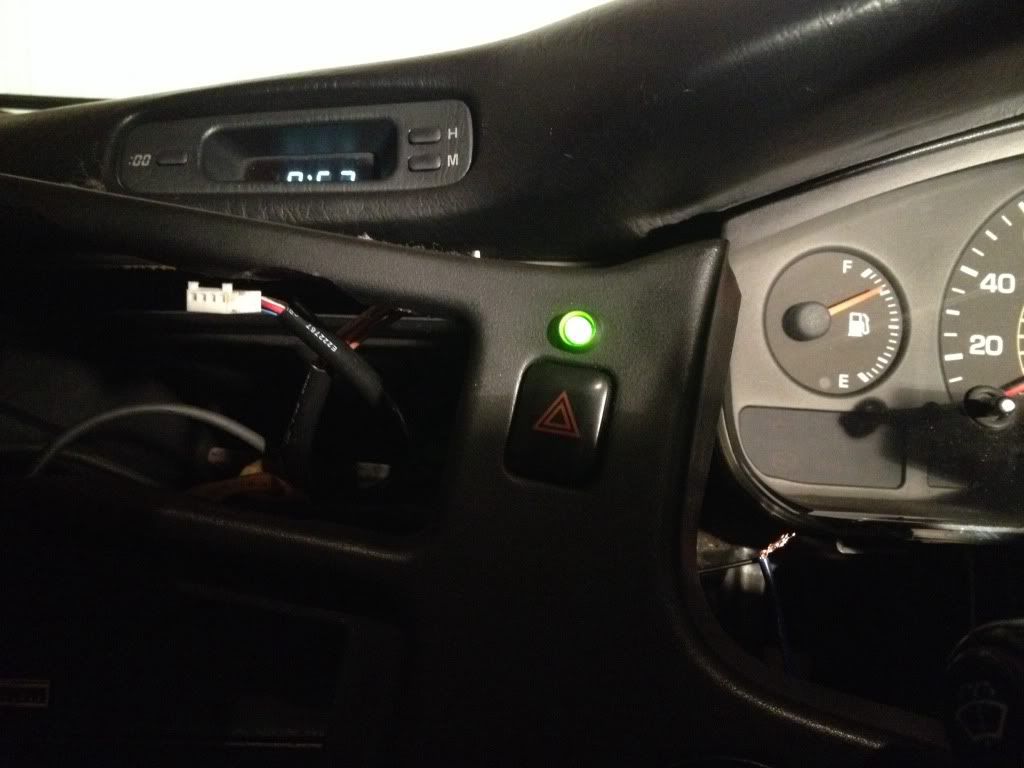
only other minor mods needed is to find a permanent location for my Water Injection cabin switch and LED
jimGTS
Posts: 14024
Joined: Tue Dec 14, 2004 1:40 pm
Location: North Kent

Re: Rev4 Turbo *mini photoshoot*

Post by jimGTS »

as per my other wheel thread, after a long search, finally found some wheels i think will suit the car much better!

Final Speed A-tech monoblock JDM wheels.


looks like a perfect wheel for what im after, simple, clean, very light, good widths/offsets and rare to boot.
specs are 17s,
8j et35
9j et37

just need to decide what colour to refurb them in.


Water injection LED finally positioned for good!

Powered it just for the pics, but it will only turn on soon as it sees a set amount of boost when the water injection pump turns on. Very few positions to consider when you've got your hands on the wheel.
The switch for the WI system I've decided to fit in the little cubby/coin tray by your right knee position out of sight.

Image
Image


also, will replicating Shinnys guide to having a quality illiminated speedo!
See:
http://www.mr2oc.co.uk/forums/58/154790.html
http://www.imoc.co.uk/forums/viewtopic.php?t=166187

ordered and received
http://www.ebay.co.uk/itm/330723073502

ordered and recieved
http://www.amazon.co.uk/Transparent-col ... heet+green

hopefully will have something similar to this to match my Greddy gauges
Image

.
i also have some rare Tein front and rear strut braces arriving from hmltangle just in time for xmas!

Image
Image
Image


WHO DARES ME TO PAINT THESE GREEN!


Image
Image
Image

Image
Image
Image
Image
slipping clutch
Posts: 1844
Joined: Sun Jan 30, 2005 1:22 pm

Re: Rev4 Turbo *mini photoshoot*

Post by slipping clutch »

Hi Jim, did you just do the one engine mount or all of them? and where did you get the bushes from please?
jimGTS
Posts: 14024
Joined: Tue Dec 14, 2004 1:40 pm
Location: North Kent

Re: Rev4 Turbo *mini photoshoot*

Post by jimGTS »

slipping clutch wrote:Hi Jim, did you just do the one engine mount or all of them? and where did you get the bushes from please?


They are the new 'track use' more solid engine mounts from powerflex.
I just did front and rear, not sure if they offer the sides. Anyhow it's the front and rear that put down that torque, so they are the only ones you need.

I got them on ebay, couple of places sell them.
slipping clutch
Posts: 1844
Joined: Sun Jan 30, 2005 1:22 pm

Re: Rev4 Turbo *mini photoshoot*

Post by slipping clutch »

Thanks Jim - I will take a quick trip across to the bay :)
jimGTS
Posts: 14024
Joined: Tue Dec 14, 2004 1:40 pm
Location: North Kent

Re: Rev4 Turbo *mini photoshoot*

Post by jimGTS »

few more bits!

Well been busy with those dials

With green LEDs, look better than this pic in the flesh, but still not great!

Image

So replaced with the 8 led bulbs recommended by shinny

Image

Green film cut to shape and slipped in (i also cut out redline and temp so red shone through)

Image

Image

Quick pic of all interior lights

Image

Test fit of wheels minus tyres obviously

Image
Image
Image
Image

And below my Xmas present to myself. Ha!!
Tein front and rear braces.


Image
Image
Image
Image
Image
Image
Image
Image
Image
Image
Image
Image
Image


Been busy trying to sort a driveshaft seal also and a change of gearbox oil. Ive went with Motul gear 300.
Never attempted anything like this before (removing the drivehaft) didnt go too bad.
The seal itself took more time to remove than the rest of it!

Upon fitting the new one however, I bent the bloody thing.
It's dam tough trying to get that seal in! So ordered another, and with the help of a proper seal driver tool borrowed from mrturbotom, knocked it in fine.

I went the 'didnt remove hub nut route'
Image
Image
Image
Image
Image

Image


Ive also acquired some OEM front and rear strut braces also from Tom, swapped for my old silver braces considering i now have room to run the OEM and Teins braces together.
Ive NEVER owned OEM braces before, they are surprisingly pretty dam solid!
Should make for a pretty solid setup! now to paint them Tein green, maybe!
;)

More stuff changed while the weather was crappy.

**New aftermarket rear speakers fitted
**Yellow stuff pads all round
**Rear oem strut brace fitted to accompany the new Tein bar


Pads need to wear in yet, but gearbox is a little smoother which is nice.
Ive also adjusted the clutch to bring the biting point a bit higher, it was engaging on the low side, this will help improve shifting no end along with my gear oil change! booya!

Image
DB Mr2
Posts: 398
Joined: Tue May 10, 2011 1:34 pm

Re: Rev4 Turbo *mini photoshoot*

Post by DB Mr2 »

Great progress Jim, is it wrong to find them strut braces sexually attractive?!
They look great against the blue paintwork. :thumleft:
jimGTS
Posts: 14024
Joined: Tue Dec 14, 2004 1:40 pm
Location: North Kent

Re: Rev4 Turbo *mini photoshoot*

Post by jimGTS »

DB Mr2 wrote:Great progress Jim, is it wrong to find them strut braces sexually attractive?!
They look great against the blue paintwork. :thumleft:


thanks
rare items it seems, and nicely match my tein suspension bits/topmounts and in turn the reason for my new green theme, ha.
J-1
Posts: 1305
Joined: Thu Jan 18, 2007 6:53 pm

Re: Rev4 Turbo *mini photoshoot*

Post by J-1 »

Looking good mate.
jimGTS
Posts: 14024
Joined: Tue Dec 14, 2004 1:40 pm
Location: North Kent

Re: Rev4 Turbo *mini photoshoot*

Post by jimGTS »

J-1 wrote:Looking good mate.


thanks! :thumleft:

more to come!
Post Reply

Return to “Member Profiles”