Project MRX350

Discussion and technical advice for 84-89 AW10 & AW11 MR2. 3A-LU, 4A-GE, 4A-GZE.

Moderators: IMOC Moderators, IMOC Committee Members

Post Reply
PW@Woodsport
Posts: 7642
Joined: Tue Dec 14, 2004 6:40 pm
Location: durham
Contact:

Re: Project MRX350

Post by PW@Woodsport »

A fair bit of overtime put in this week, the engine bay is now fully repainted, i still need to detail various bits but the main mounts and majority of the bay is done...

Image

Image

The front firewall has had a heatproof aluminium glass mat applied, when the engine goes in hardly any of this will be visible, i just wanted more than the stock matting here.

Image

Last Saturday i had my rad fan casings shotblasted, so i was able to finish the fan restoration with a fresh 2k black and new screws....

Image

Image

Hopefully tomorrow the engine goes in.
Image
craig
Posts: 43936
Joined: Sat Dec 18, 2004 3:44 am

Re: Project MRX350

Post by craig »

Great developments! :clap:
PW@Woodsport
Posts: 7642
Joined: Tue Dec 14, 2004 6:40 pm
Location: durham
Contact:

Re: Project MRX350

Post by PW@Woodsport »

Thanks Craig, even better developments today.

With the bay ready I slid the 2gr under the car and within a short period of time it was bolted in...

Image

Image

Image

Rear exhaust manifold clearance is excellent, the notch out is perfect...

Image

Nothing connected up yet....

Image

This just screams power not even running!

Image

Image

Image

Project overview, and some trial fitting of modified OEM sideskirts to wrap around the wide arches...

Image

I'm going with a supercharger engine lid, the full CF NA one I had bought (very very rare item) just won't clear the engine even with mods, so SC one it is. Next up is lots of torque mount making, plumbing and exhaust fabrication, getting close now.
Image
synXero
Posts: 3781
Joined: Fri May 28, 2010 12:04 pm
Location: London, Edinburgh, or the Highlands!

Re: Project MRX350

Post by synXero »

Can't wait to see it run!
PW@Woodsport
Posts: 7642
Joined: Tue Dec 14, 2004 6:40 pm
Location: durham
Contact:

Re: Project MRX350

Post by PW@Woodsport »

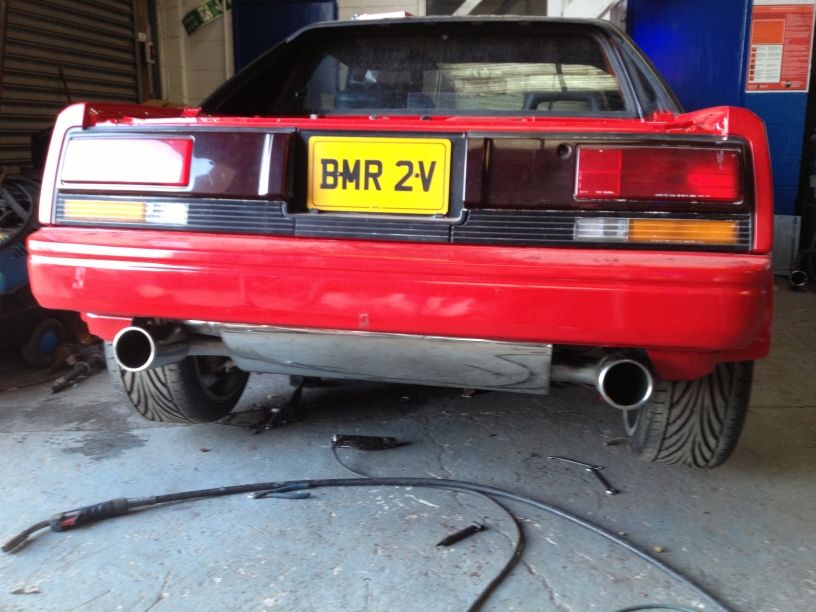
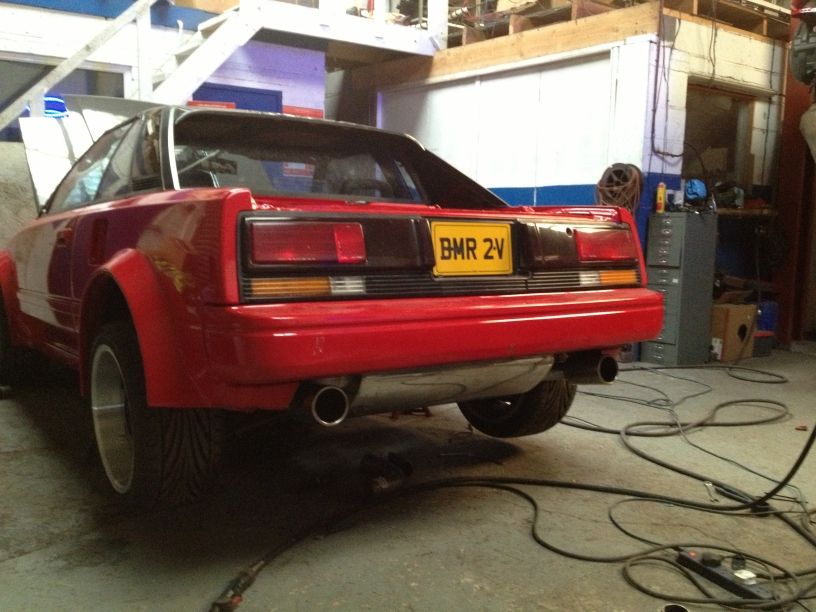
Because of my decision to use a supercharger engine lid i wanted a more elegant solution to moving the engine lid catch than i have seen before, previous attempts i've seen are a crude bracket just bolted to the old SC bracket as an extension, it just doesn't look right in my opinion and i want everything on this car, even though it's highly modified, to look like it was meant to be. 
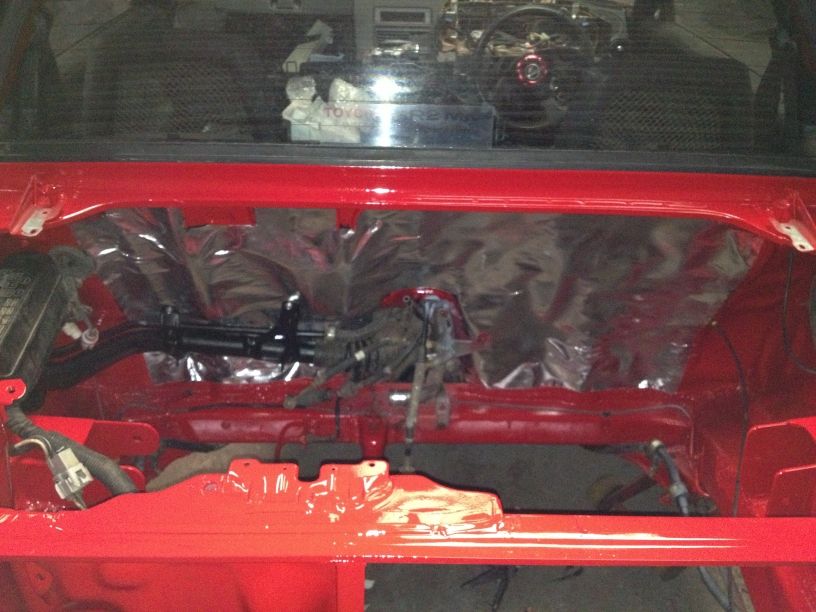
So a better catch relocation solution was needed, for those that don't know a SC catch is in the middle of the lid, the NA are offset to one side. 
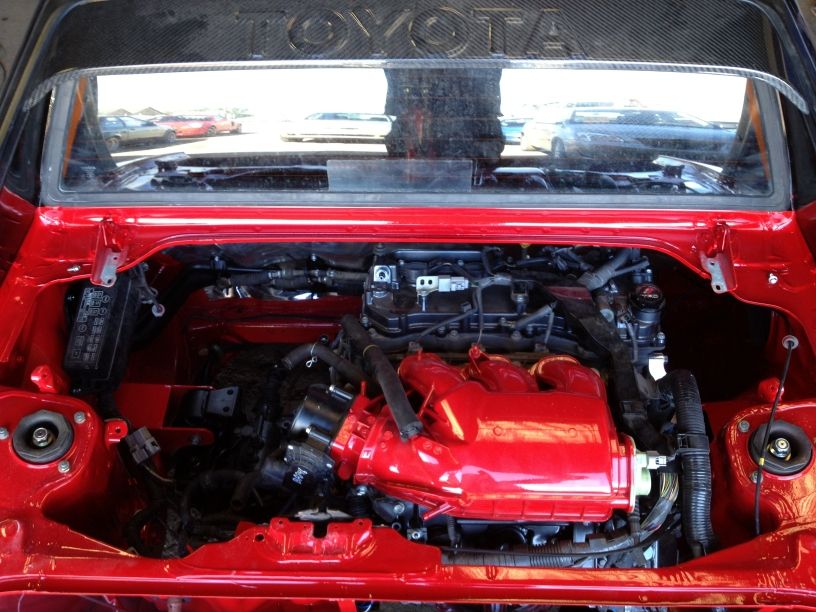
Now you could move the catch on the car if it was a 4a-ge, but not with a 2gr in the way.

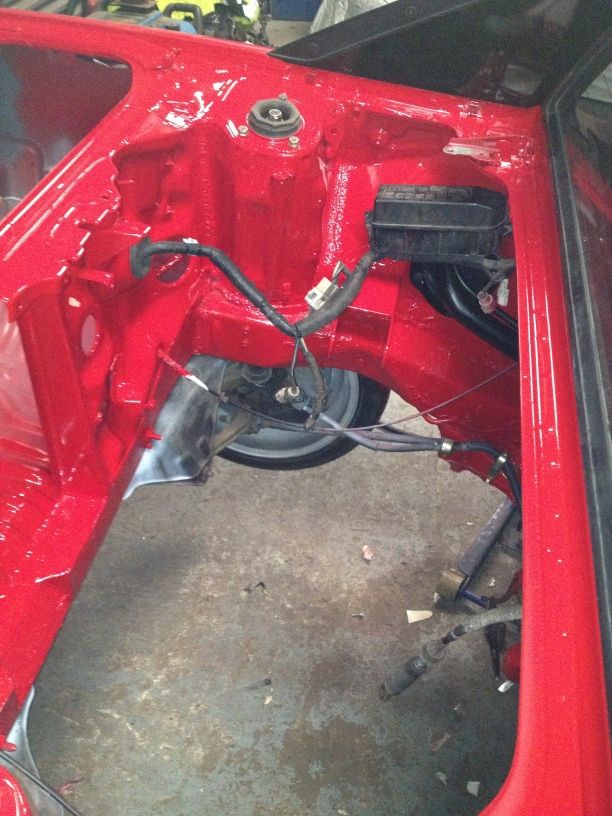
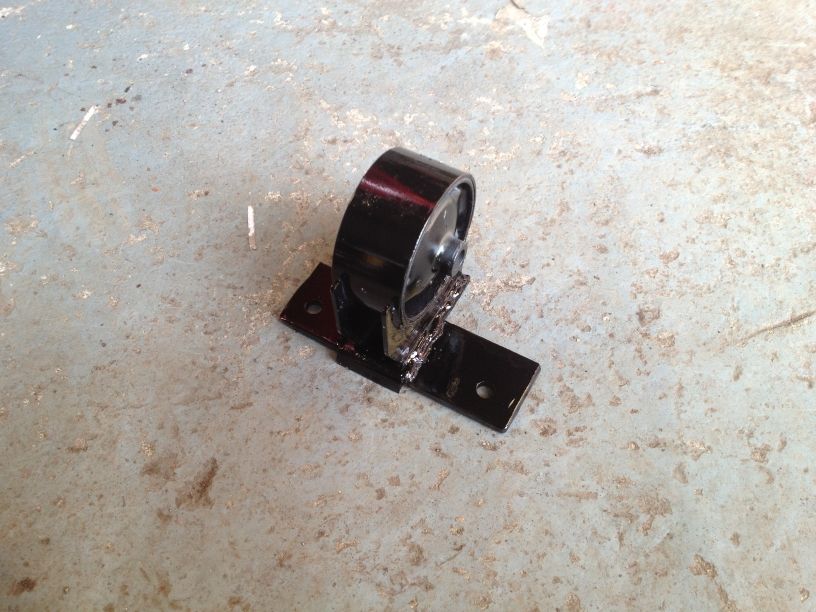
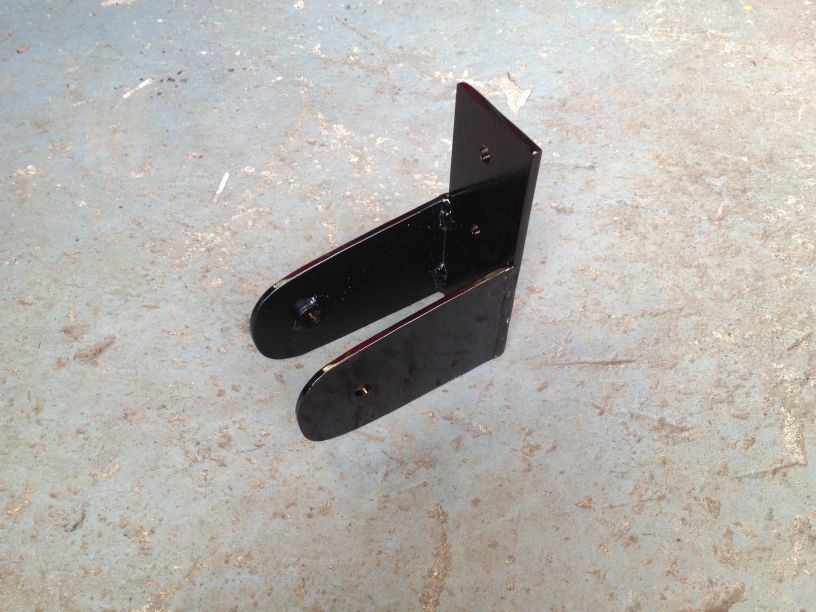
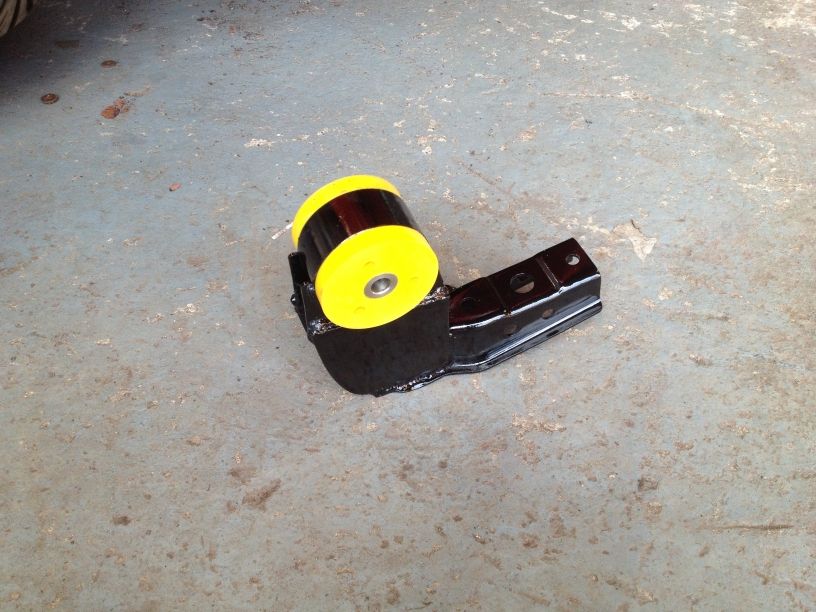
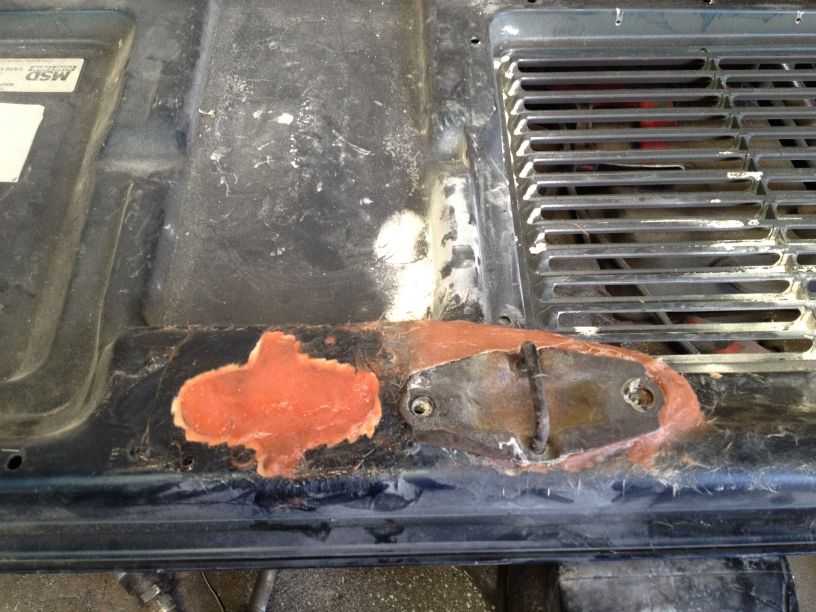
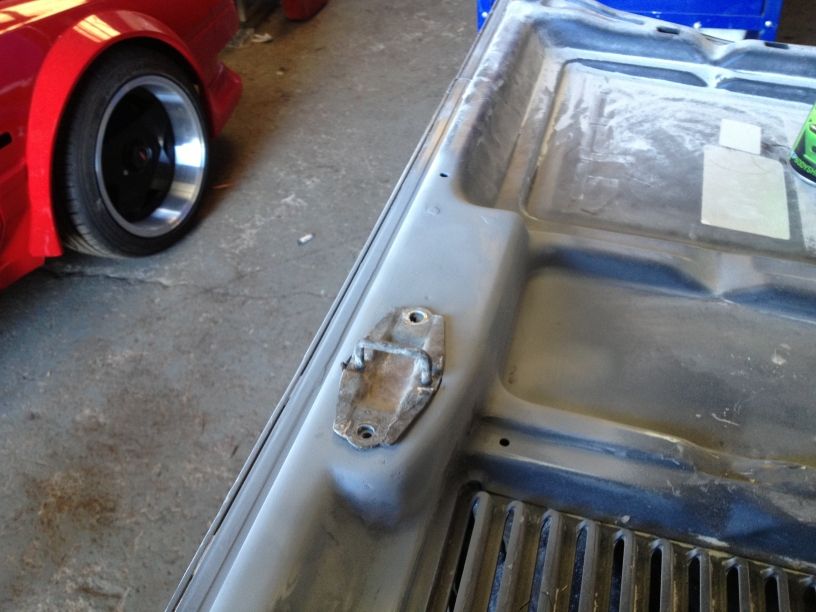
I started off with a Mk2 catch bracket, it lended itself to the job much better than a Mk1 catch bracket. 
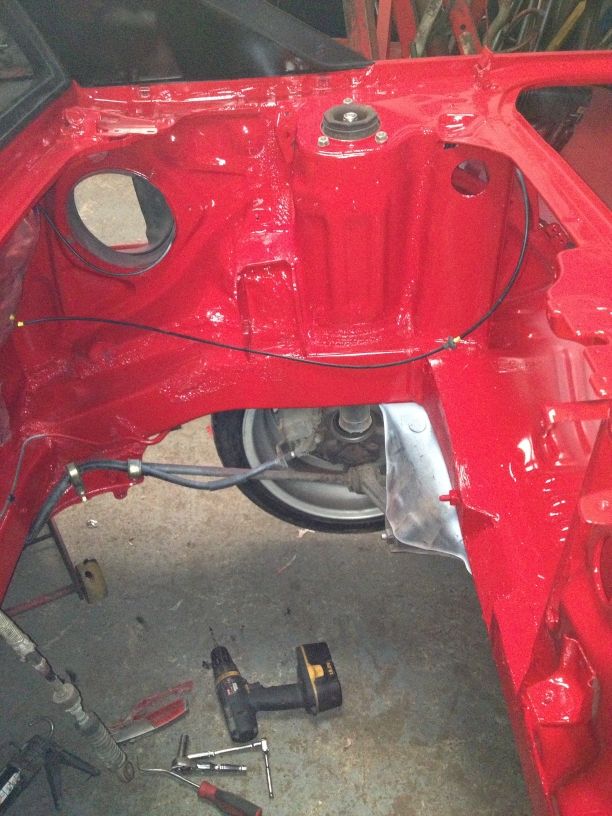
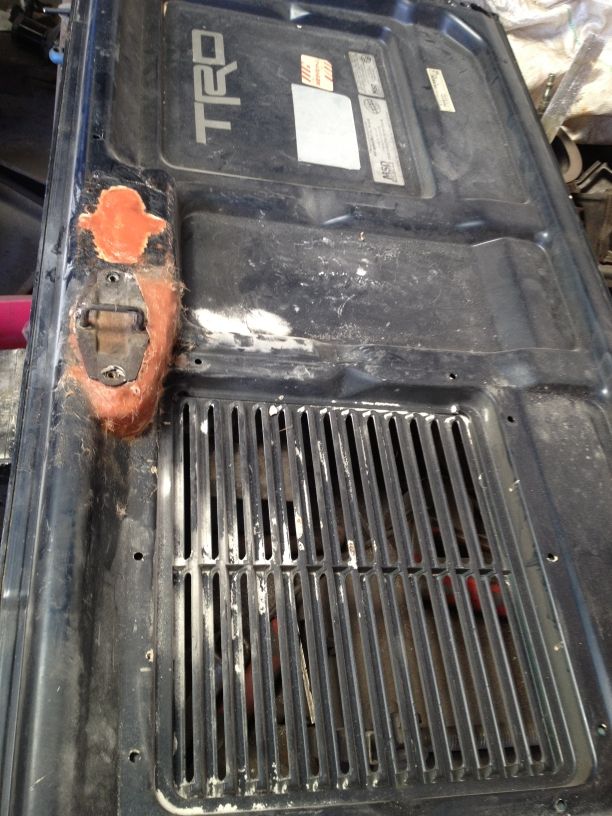
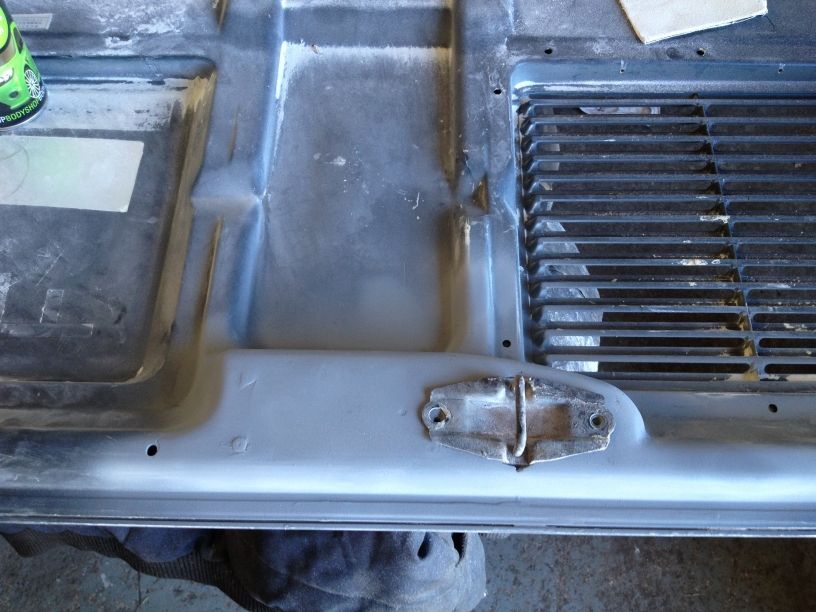
First it needed the legs shortening by 10mm, then i was able to drill through the existing support for one of the fixings, the right fixing needed a tube nut making captive within some P38, after that the whole area was built up with P38 to make it look OEM. 
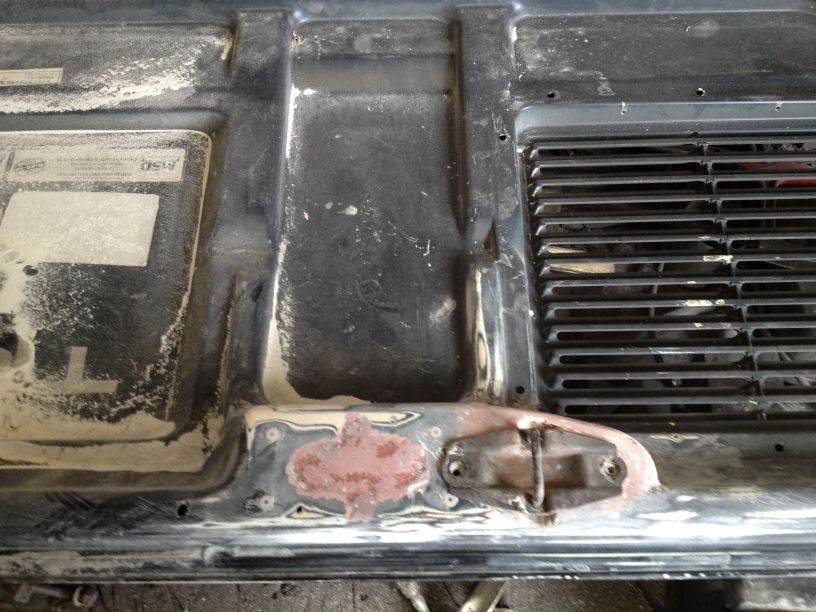
The original SC bracket was then cut off and blended over. It does look factory now although there is an odd gap where the old SC catch used to be, i will use a Toyota engine lid sticker in this area to make it look right again, something like this....

Image

I'll work it out later.

Image

Image

Image

Image

Image

The end result should be a SC lid that looks like it was made for the NA
Image
pk_090
Posts: 1968
Joined: Fri Jun 03, 2011 9:39 pm
Location: Stoke on trent, staffordshire

Re: Project MRX350

Post by pk_090 »

I personally like how it looks without side skirts Paul! This thread just keeps getting better and better. I am still up for swapsies if you are :mrgreen:
platmatt8 wrote:Lauren has got bigger balls than most men on this site

charged wrote:Mine's probably screaming 'stop raping me' :D
PW@Woodsport
Posts: 7642
Joined: Tue Dec 14, 2004 6:40 pm
Location: durham
Contact:

Re: Project MRX350

Post by PW@Woodsport »

A few people have said that, problem is i haven't finished the arches off properly to do without the skirts, one side is an inch short and those areas that sit behind the triangle sections have fixings showing. It would need a ton more work to get away without using the skirts that i'd always planned on using, so the arches were designed around that goal.

I think the skirts will really give it that OEM look, because they wrap around the wider arches just like the standard car it should look like a factory production item, that's the hope anyway, if it doesn't quite work i can always put the extra time into leaving them off.
Image
dawesy
Posts: 530
Joined: Mon May 31, 2010 4:13 pm
Location: Nottingam

Re: Project MRX350

Post by dawesy »

epic work again Paul.
love the almost OEM look of it all.
keep up the good work :thumleft:
Image
stenky
Posts: 356
Joined: Wed Mar 23, 2011 9:04 pm
Location: Slovakia

Re: Project MRX350

Post by stenky »

SC lid looks awesome! It really does :)
Image
PW@Woodsport
Posts: 7642
Joined: Tue Dec 14, 2004 6:40 pm
Location: durham
Contact:

Re: Project MRX350

Post by PW@Woodsport »

Thanks chaps, light nights and overtime now starting to pay off!

All torque mount assemblies now made and painted...

Image

Image

Image

Image

Both gear cables now modified and a Goodridge braided clutch line installed, i've also fitted the Camry torque damper to the front mount assembly, this acts to soften the delivery on hard acceleration and relaxes with no resistance on the overrun.

Image

Exhaust fabrication has begun, this stainless silencer was on my mate Phils Mk2 V6 a few years ago, i really loved the sound of that car so hopefully i will be able to recreate that.

Silencer hung and tacked up to the front bank only at this stage....

Image

Image

The rear bank will be flowed into the bend just before the larger flexi.

I wanted a much cleaner rear end look, so i've removed the rear panel so that silencer is on full view....

Image

Image

I love how it's coming together and can't wait to hear it run now.
Image
craig
Posts: 43936
Joined: Sat Dec 18, 2004 3:44 am

Re: Project MRX350

Post by craig »

:clap: :clap: :clap: :clap:

impressive stuff! Looking forward to seeing this completed. 8)
PW@Woodsport
Posts: 7642
Joined: Tue Dec 14, 2004 6:40 pm
Location: durham
Contact:

Re: Project MRX350

Post by PW@Woodsport »

Thanks Craig, my dream Mk1 is getting really close to completion now. Today saw the engine bay plumbing done, fuel system completed and intake pipe fabricated (sorry no pics).

Next week it will be wired and battery tray fitted up front (helps even out weight distribution too) , i'm still waiting for my ECU to arrive from the US (a third of the price they are here) so hopefully startup will be next weekend.

In the meantime here is some very old footage (2004 i think) of the UKs first Mk2 V6 (black car) and the third one (red), the silencer i am using comes from the black car.... if it sounds half as good i'll be very happy.

http://www.youtube.com/watch?v=mzVMlWEdxkQ
Image
PW@Woodsport
Posts: 7642
Joined: Tue Dec 14, 2004 6:40 pm
Location: durham
Contact:

Re: Project MRX350

Post by PW@Woodsport »

Just did some maths... this is the Lotus Evora engine so....

I get 45bhp more than Lotus do with this engine due to free flowing Berk manifolds and intake, so....

Lotus Evora weight 1383kg , power 280bhp = 201bhp per ton

Mk1 Mr2 weight 1050kg, the 2gr is 35kgs heavier than the 4a-ge so my car weighs around 1085kgs, minus carbon bonnet so say 1075kgs, power is 325bhp = 302bhp per ton

So it will be running around 100bhp per ton more than the Lotus Evora, fun times ahead :)

The next upgrade will be finding the Evora S Supercharger unit, that takes power in the Evora up to 345bhp, which is a 65bhp increase, so i'll be on the doorstep of 400bhp normally aspirated and enough torque to remove tree stumps :D

The Evora SC unit will be a fair few quid though, IF i can find one.
Image
PW@Woodsport
Posts: 7642
Joined: Tue Dec 14, 2004 6:40 pm
Location: durham
Contact:

Re: Project MRX350

Post by PW@Woodsport »

Doing after work overtime all this week in a bid to get her running, wiring now about 10% completed.
Image
darkphoenix1979
Posts: 34
Joined: Thu May 10, 2012 7:56 pm
Location: Swanscombe

Re: Project MRX350

Post by darkphoenix1979 »

Good luck, cant wait to see the finished article. Been showing alot of friends this thread, must say all are pretty in ore of the master piece you are building! :clap:
PW@Woodsport
Posts: 7642
Joined: Tue Dec 14, 2004 6:40 pm
Location: durham
Contact:

Re: Project MRX350

Post by PW@Woodsport »

Thanks! It's my ultimate MK1, once this is finished i am done with project Mk1s as i cannot better this one and i've put everything into it.

More wiring tonight!
Image
kaiowas
Posts: 1953
Joined: Tue Jun 07, 2005 3:06 pm
Location: Norfolk
Contact:

Re: Project MRX350

Post by kaiowas »

PW@Woodsport wrote:Thanks! It's my ultimate MK1, once this is finished i am done with project Mk1s as i cannot better this one and i've put everything into it.


What about the V8? It's gone a bit quiet on that front, did it ever get finished?
un1eash
Posts: 4453
Joined: Fri May 13, 2005 8:25 pm
Location: Leicester

Re: Project MRX350

Post by un1eash »

It got sold and a week later was on pistonheads.

300bhp per ton should be fun. Should be able to hit 60 in under 4 seconds.
PW@Woodsport
Posts: 7642
Joined: Tue Dec 14, 2004 6:40 pm
Location: durham
Contact:

Re: Project MRX350

Post by PW@Woodsport »

kaiowas wrote:
PW@Woodsport wrote:Thanks! It's my ultimate MK1, once this is finished i am done with project Mk1s as i cannot better this one and i've put everything into it.


What about the V8? It's gone a bit quiet on that front, did it ever get finished?


I finished it in terms of building a working driving V8 Mr2, but it needed a lot of finishing off cosmetically, got a good price for it from a trader who has massively marked it up, no idea where it is now.
Image
PW@Woodsport
Posts: 7642
Joined: Tue Dec 14, 2004 6:40 pm
Location: durham
Contact:

Re: Project MRX350

Post by PW@Woodsport »

DBW pedal wired, COR, ECU, AFR sensor relay done, OBD2 socket installed, i'd say around 50% wired now.
Image
Post Reply

Return to “MR2 MK1 1984-1989 NA & SC”