Right then, time to catch up on what's been happening.

.
Took the Westy to see Russ at Torque Tune the other day, to see what could be done to solve the rich running before the engine hit cam.
We popped it on the dyno and did a few runs to see what the fuelling was like at the various rev ranges and while it was spot on above 4.5k it was off the scale lower down.
This I already knew as it was flat and boggy lower down, then shot off like a scalded cat once the cams kicked it.
After some beard stroking and tinkering it was pretty apparent there wasn't a whole lot that could be done, in terms of adjusting the jets and the needles.
The needles
(Dynojet ones, apparently) were at their limits of adjustment, meaning there wasn't any movement left to reduce the flow at lower revs.
So basically because the cams are the way they are and it's running carbs it's difficult
(impossible) to get the AFRs right at both low and high revs.
Frustrating.
.
.

However.
.
.
He did have an idea which involved swapping the springs out for some heavier pieces.
This would mean there's more resistance to the vacuum of the carbs and the needles wouldn't be wide open so soon.
Effectively preventing excess fuel from pouring into the engine at lower revs, when it doesn't need it, causing it to bog.
Springs fitted we ran it on the dyno and while it's still running rich at points it does give a reading and it does make a big difference at lower revs

We took it for a test drive.
.
.
Massive improvement! Much more responsive at lower revs and a big reduction in the sluggishness
(yep, it's a word

) felt before.
I paid the man, took it home
(in the hail and rain, ouch!) and it felt like a new car.
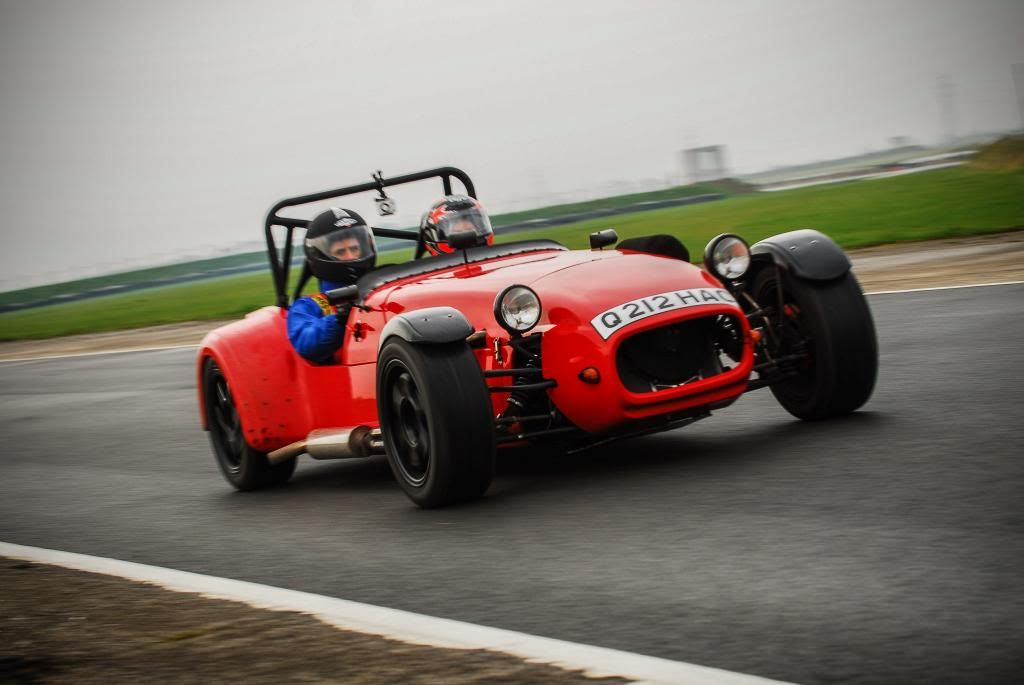
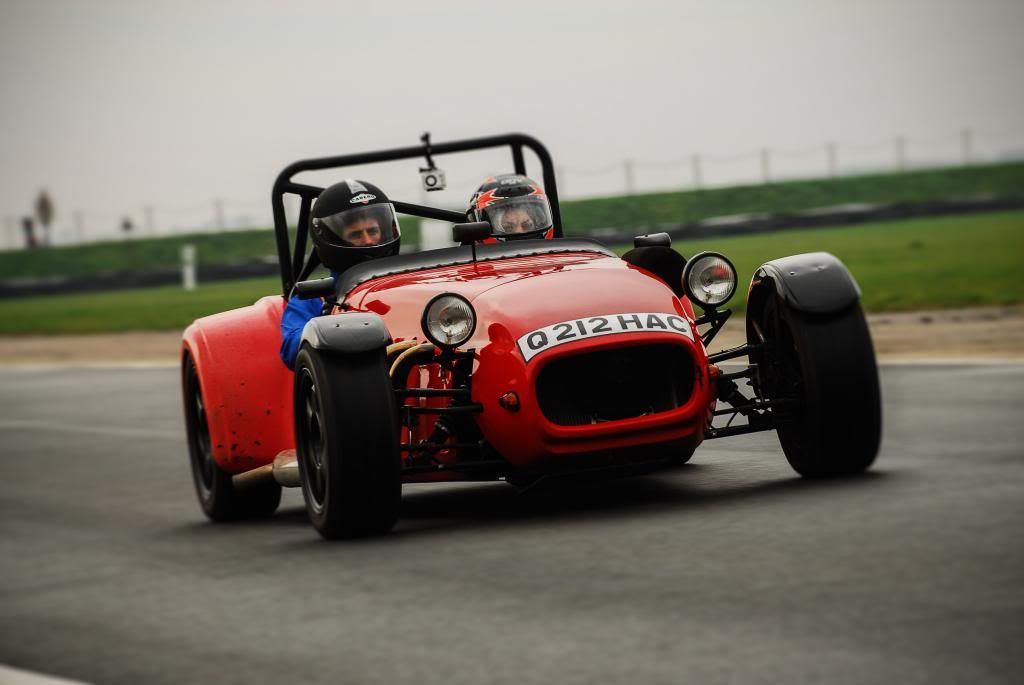
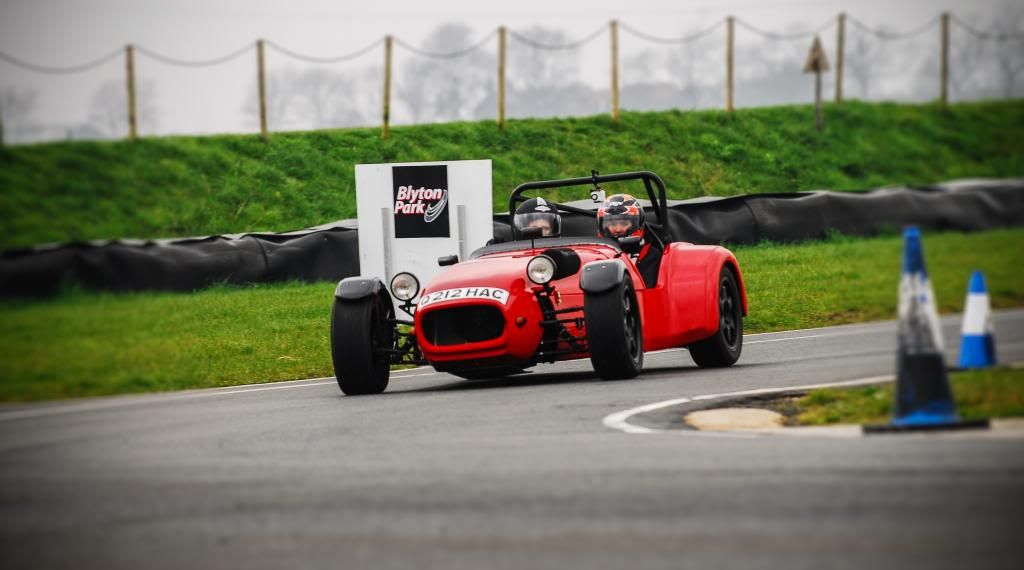
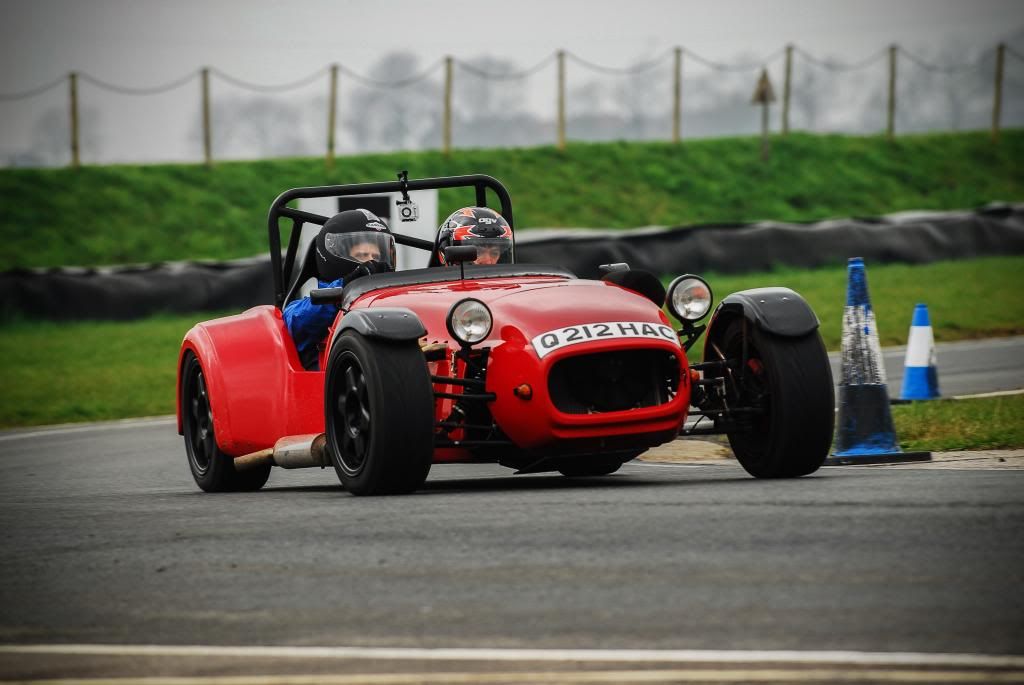
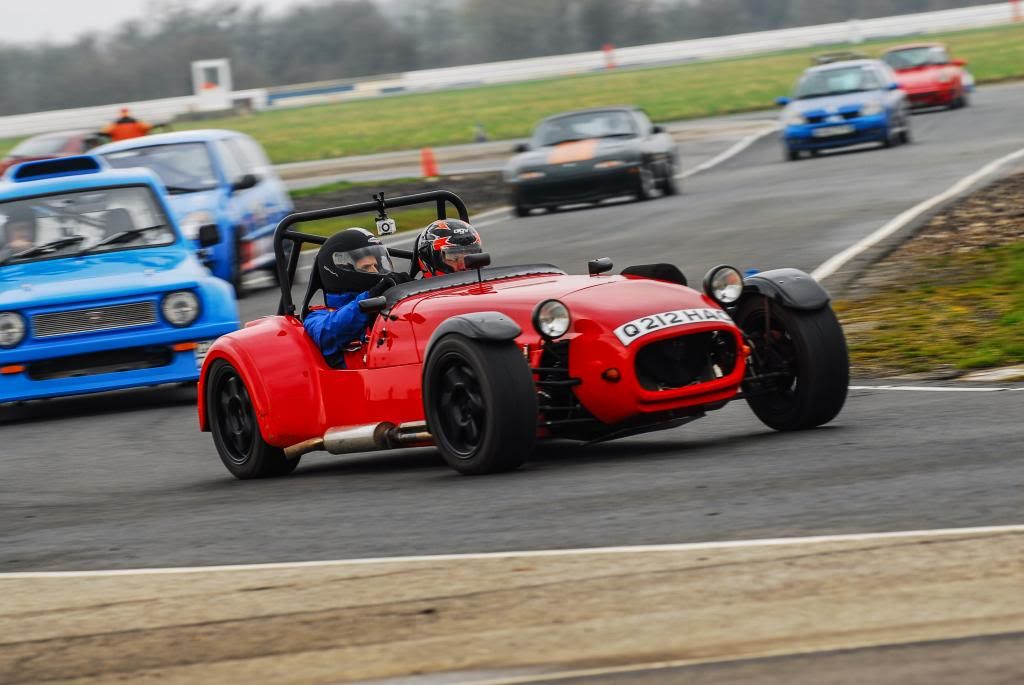
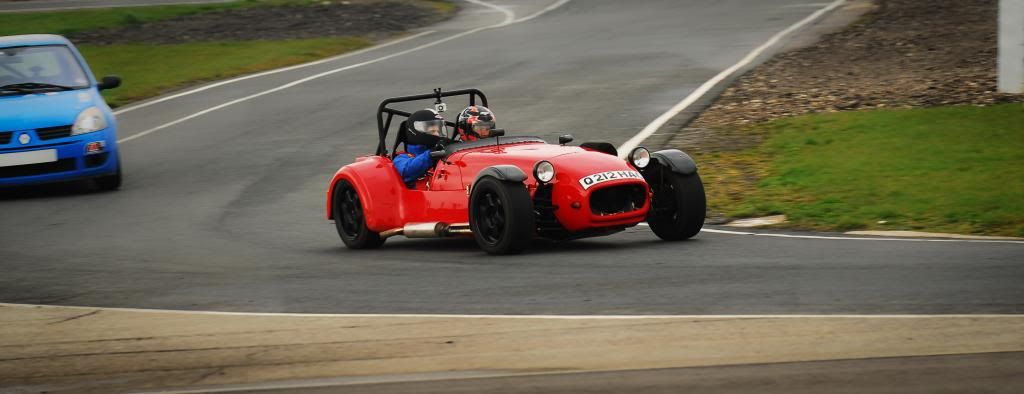
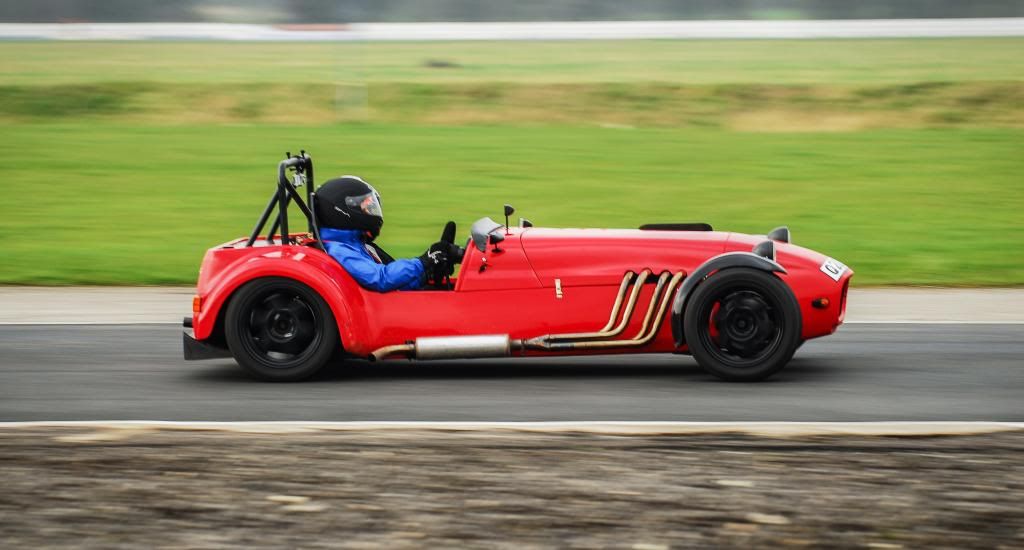
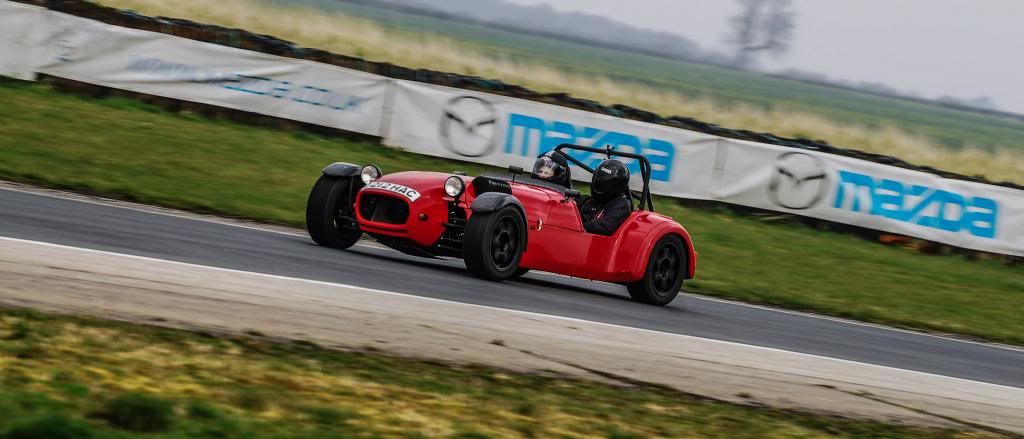
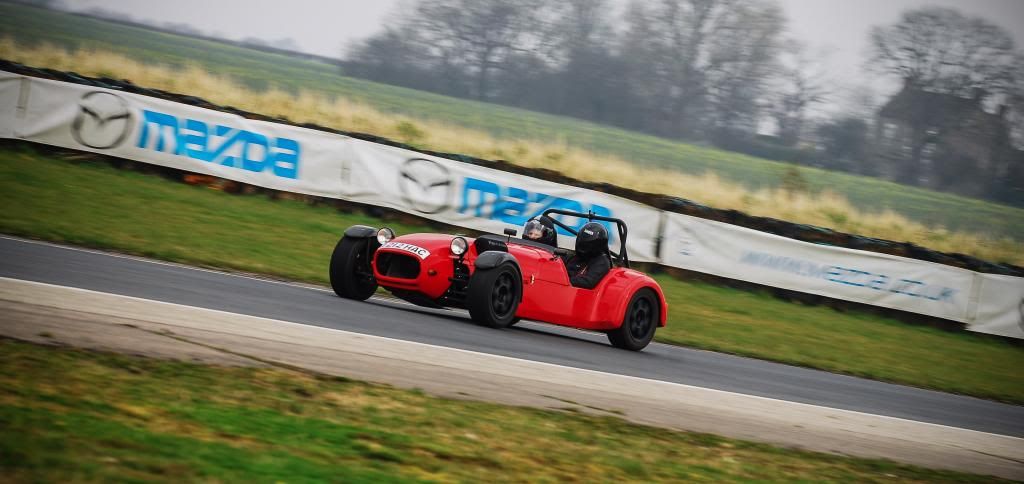
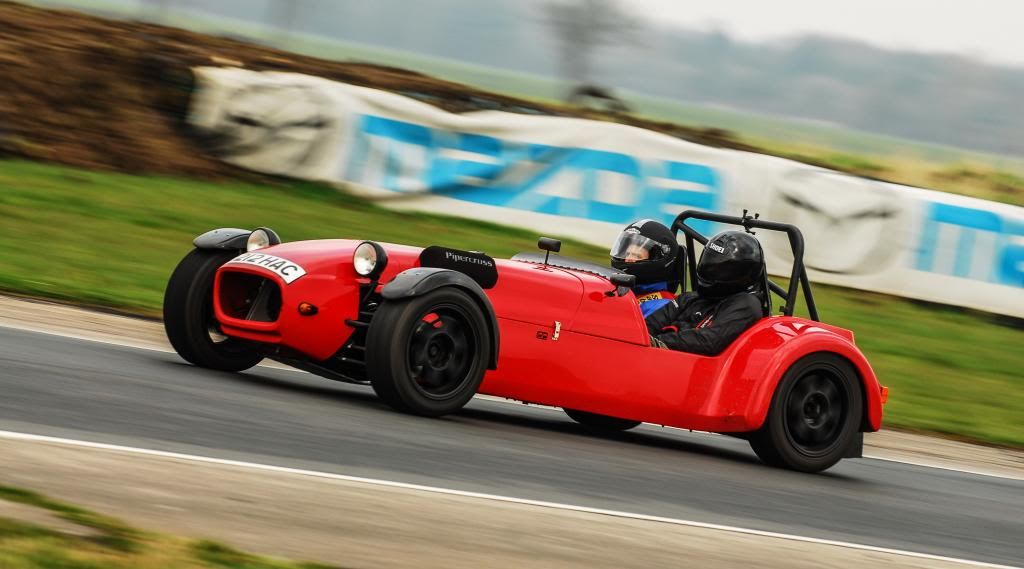
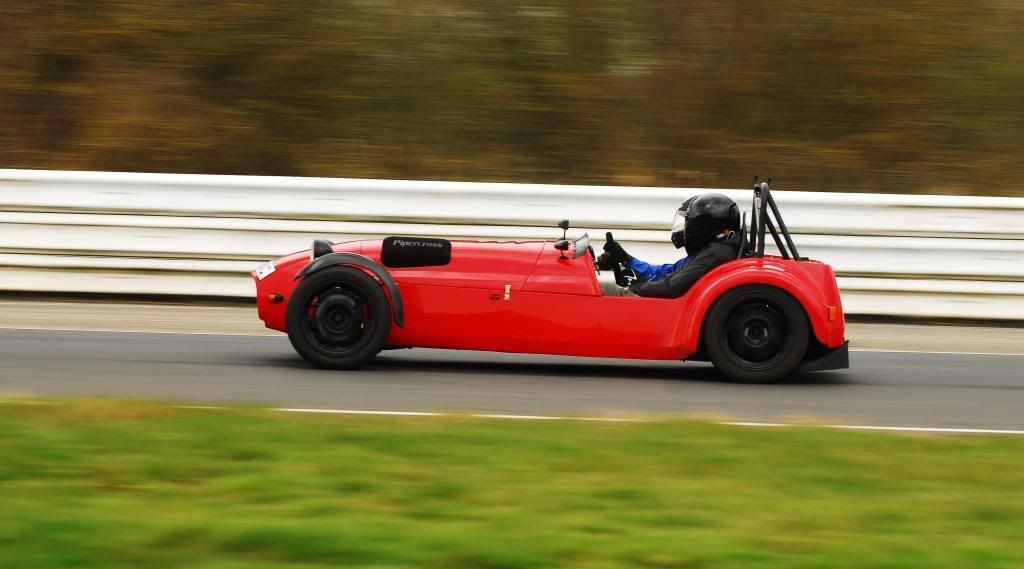
Next up was yesterday's charity track day at Blyton.
A superb day out and a good opportunity to get the Westy on track and get a feel for what it's capable of.
The engine ran well and pulled pretty damn hard, feeling the improvements from the tune a couple of days before.
I got some good information when driving it, in terms of observations about what felt right, what felt wrong and what needed to be done going forward.
There was a good selection of cars there, including other kit cars, a Cosworth Turbo engined Reliant Kitten!!, Franks
"Cunning Plan", Ben and Pete's MR2s, Porsche, Rage off-road buggy type things.
Some of them where bloomin' quick, especially one Hayabusa engined kit car which I was lucky enough to go out in.
That thing was insanely quick! I was all but ready to hand out money to anyone who could provide me with one right then!

There was a photographer there who got some good shots of the various cars, which I've
lightly tweaked in Lightroom and are below for your viewing pleasure:
Pete's Zombie Response Vehicle, which is a great little car

Black Stig!
(Nick
)


I'll leave Ben and Pete to add their's should they wish to

A few of the observations from the day, Westy wise, are:
1.
The geometry etc is WAY off and is apparent in the skittish behaviour when driving.
It doesn't feel planted and doesn't inspire confidence when driving.
It needs to go away for full alignment, corner weighting, ride height adjustment etc, which I'll sort over the next few weeks.
2.
The exhaust mani is now blowing, which I'll sort by fully removing the exhaust and sealing.
3.
The pedals are too close together, as seen below:
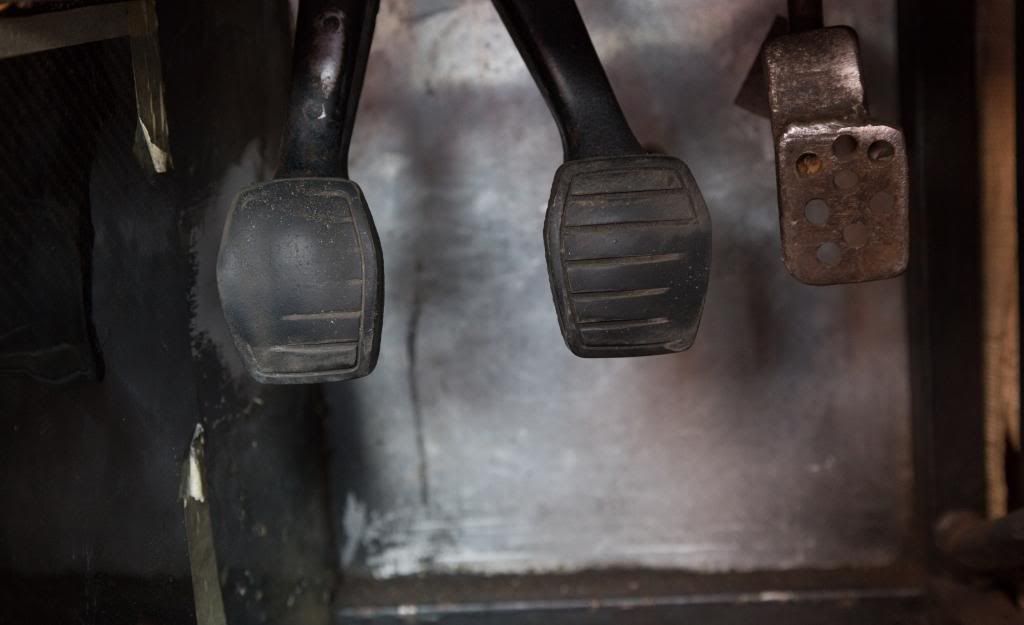
I'll work out the best way of adjusting them in the coming days.
I might trim them down too.
4.
The driver's seat isn't ideal.
Basically I had to bring the seat forward
(it's bolted directly to the chassis) as I was struggling to reach the pedals
(insert jokes and photos of Short Round here
).
The issue with moving the seat was that part of the chassis fouls the ideal location, meaning the seat needed to be slightly further forward then is ideal.
With the seat forward the pedals are in a better position but it means you're a little too close to the steering wheel and with a helmet on your neck is bent forward, which gets tiring.
To fix this I had the idea of putting a spacer under the front of the seat, causing it to be tilted further back and hopefully making everything sit nicely.
Time to have a go and find out.
.
.
This is the seat position as it was.
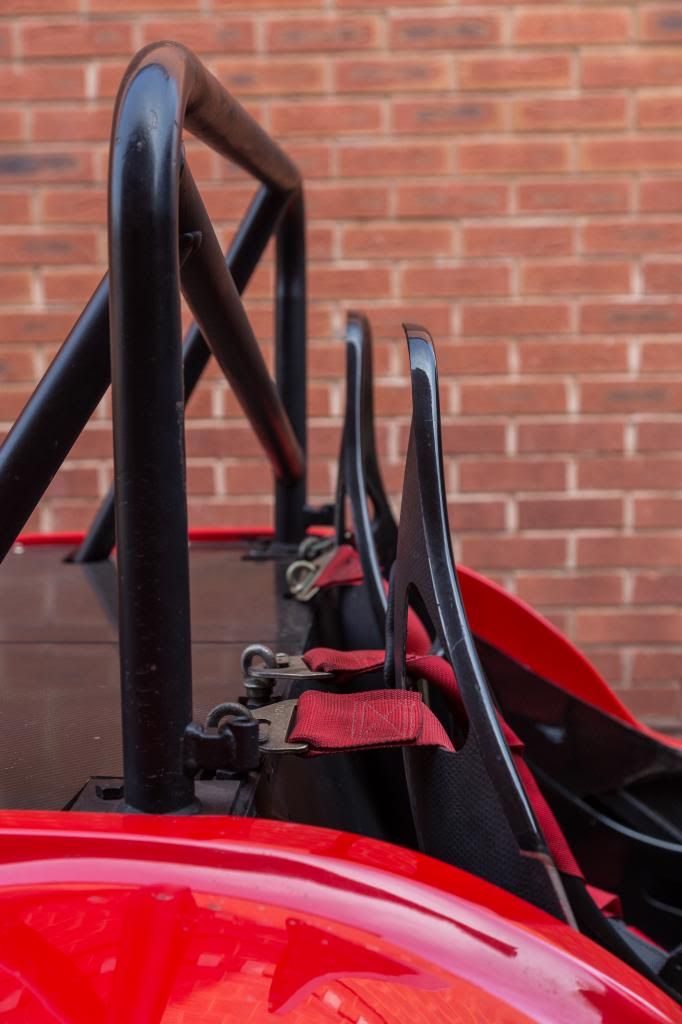
After doing some measurements and testing a few seating tilt positions I worked out that the seat needed raising 65mm at the front.
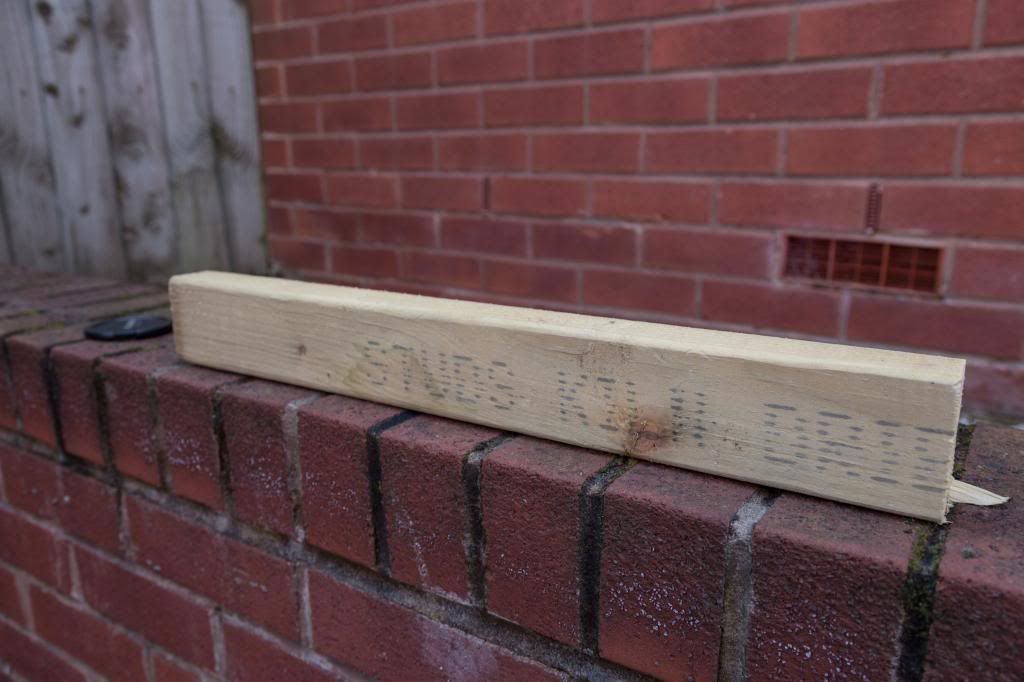
To act as the spacer I grabbed a piece of the spare timber when Project Decking and took about trimming it down to fit.
I used this wood as it's light and already weather treated, so won't rot over time if it's exposed to water etc.
Oh, it was the perfect height too

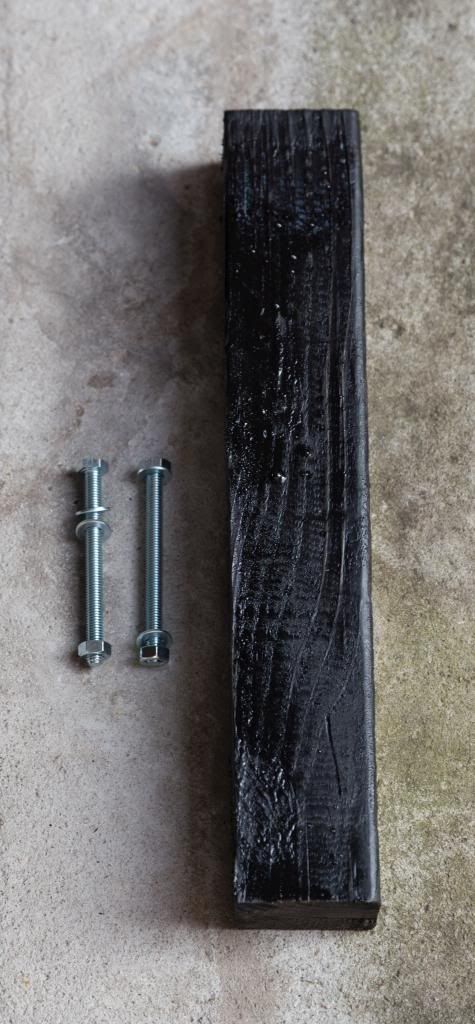
I painted the wood to match the interior and to act as an extra layer of protection.
I also sourced some M8 90mm bolts to hold everything in place.
Seat bolted back in it now looks like this:
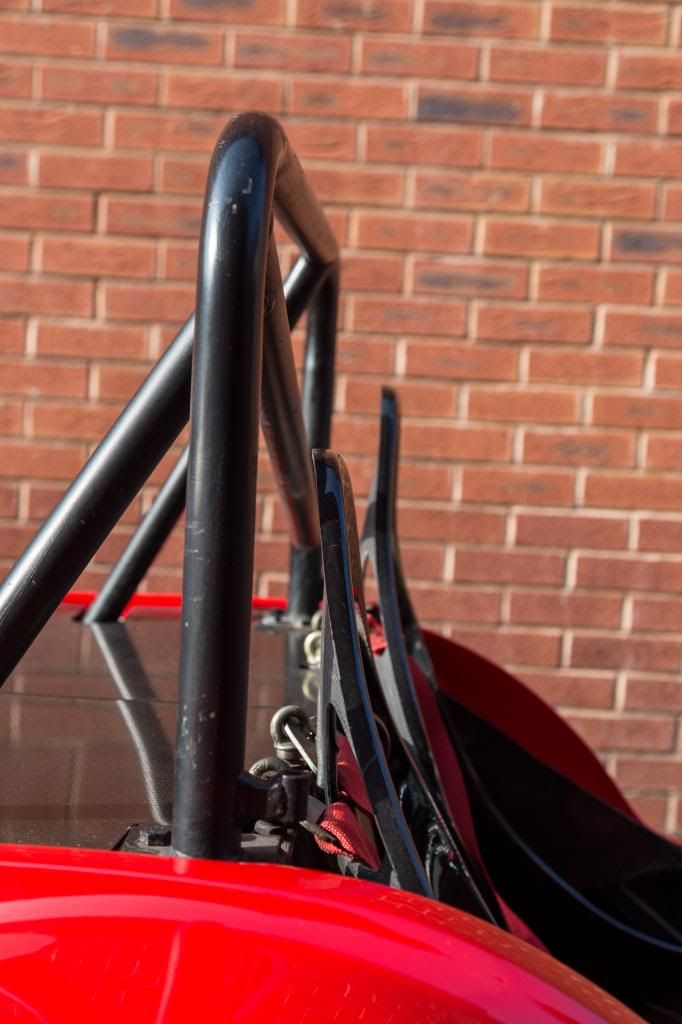
It's now perfect in terms of arm reach, ease of shifting, pedal distance and also allows for a helmet to be worn without constantly clattering it on the seats.
Hmm, guess that's all for now.
I know I'm bored of typing anyway so you're probably bored of reading, or just looking at the pictures


Well done and keep the updates coming.

