http://www.lancerregister.com/showthread.php?t=431667
My AW11 Fritzinger widebody. Some years of work in pictures
Moderators: IMOC Moderators, IMOC Committee Members
Re: My AW11 Fritzinger widebody. Some years of work in pictures
Anyone recognise this car from the REgency Stages last year  (scroll down to pic of Mk1 mr2) The arches are not as well executed as the Fritzinger but look interesting if available as a kit.
http://www.lancerregister.com/showthread.php?t=431667
http://www.lancerregister.com/showthread.php?t=431667
Re: My AW11 Fritzinger widebody. Some years of work in pictures
Never seen this kit. Must be custom made. A bit to sharp edges on the front wings, but nice moulded in an widened rear bumper.
Re: My AW11 Fritzinger widebody. Some years of work in pictures
Given the angularity of the extended wings I'd guess it was homemade, possibly from alloy sheet 
Re: My AW11 Fritzinger widebody. Some years of work in pictures
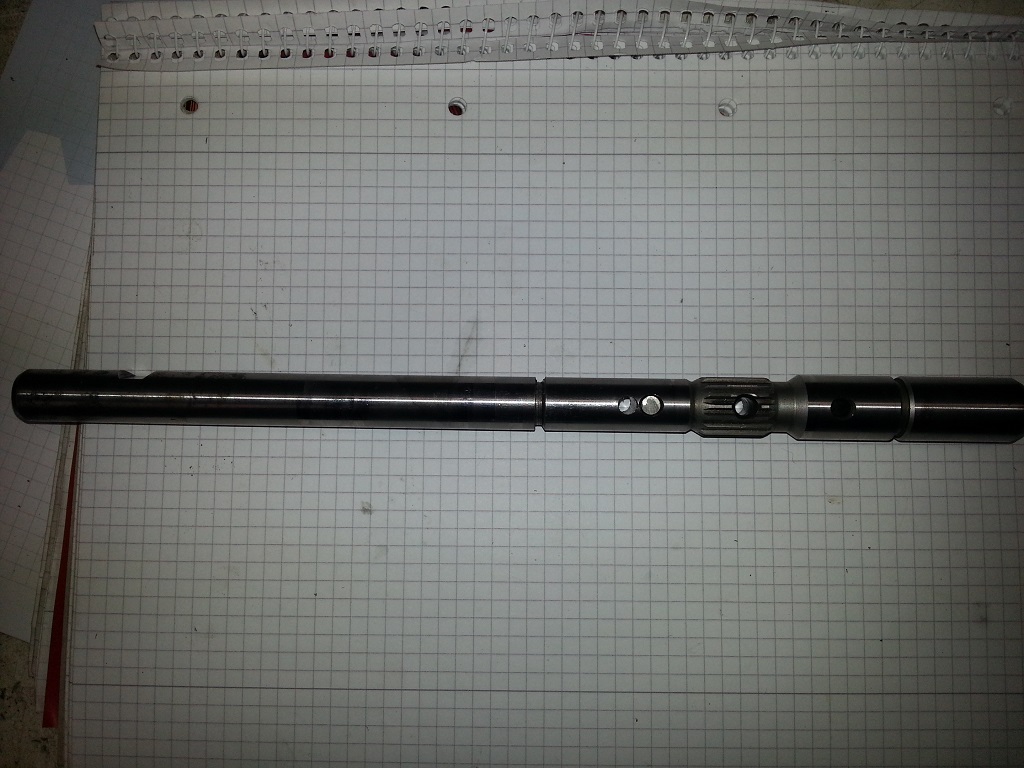
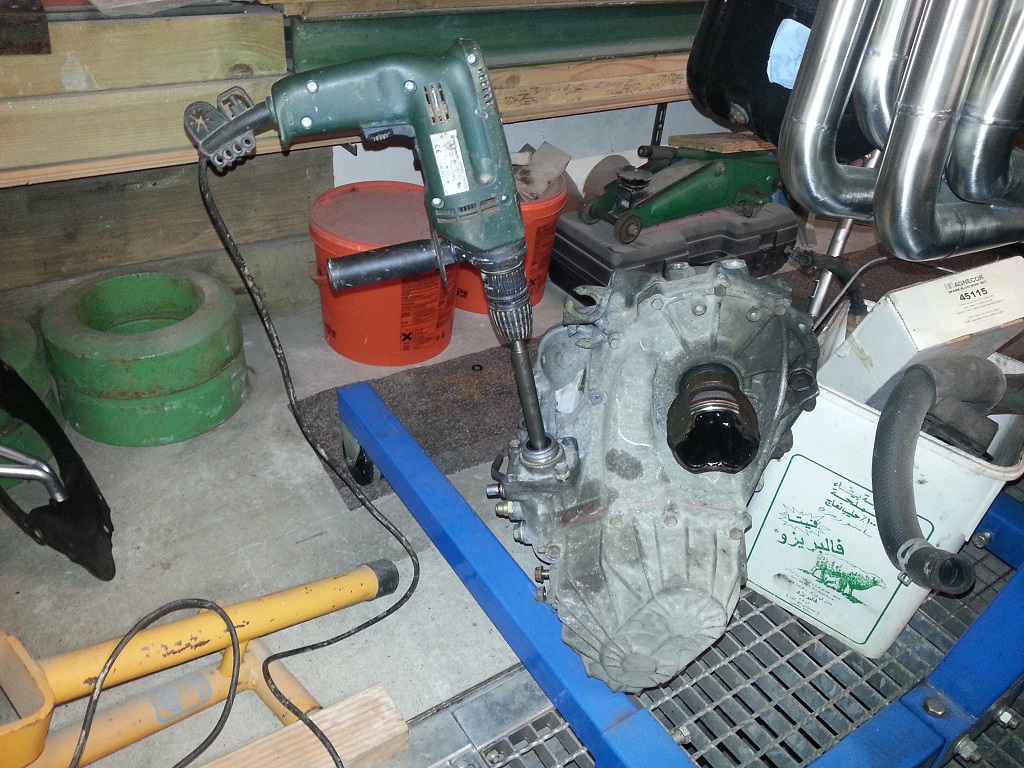
Finally made great steps forward on the gear box conversion. Found a machine shop who was able to mill a hole into the hardened shifter shaft:
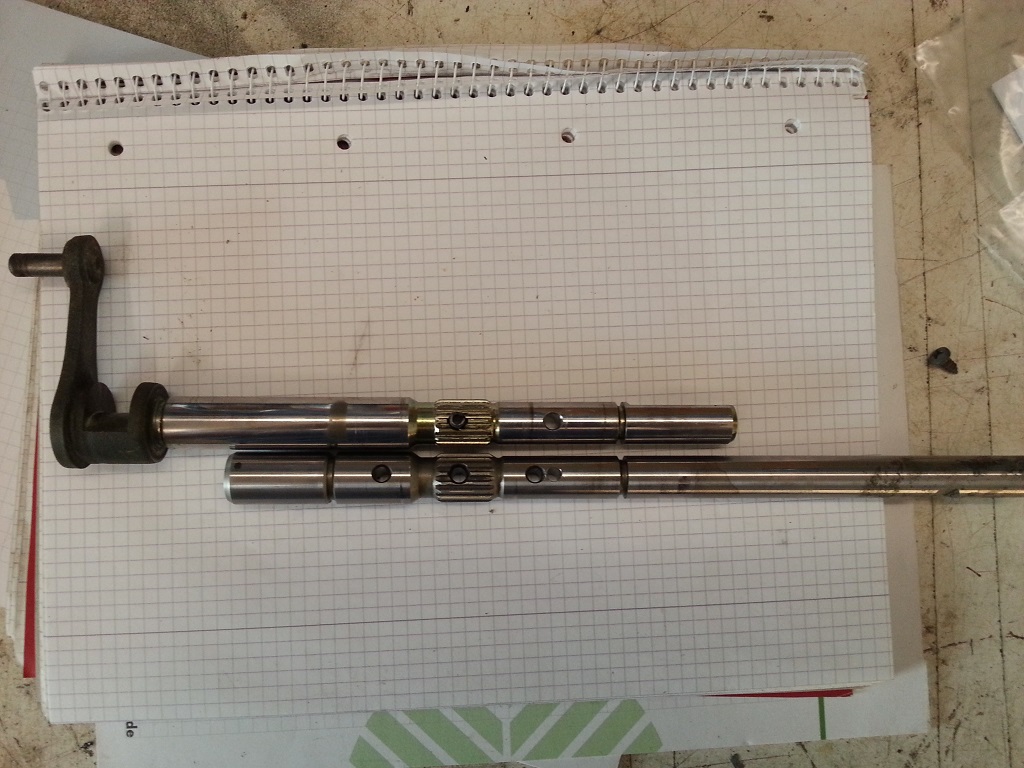
Pressed a hardened dowel pin into the unneeded borehole so stiff up the shaft in that sector:
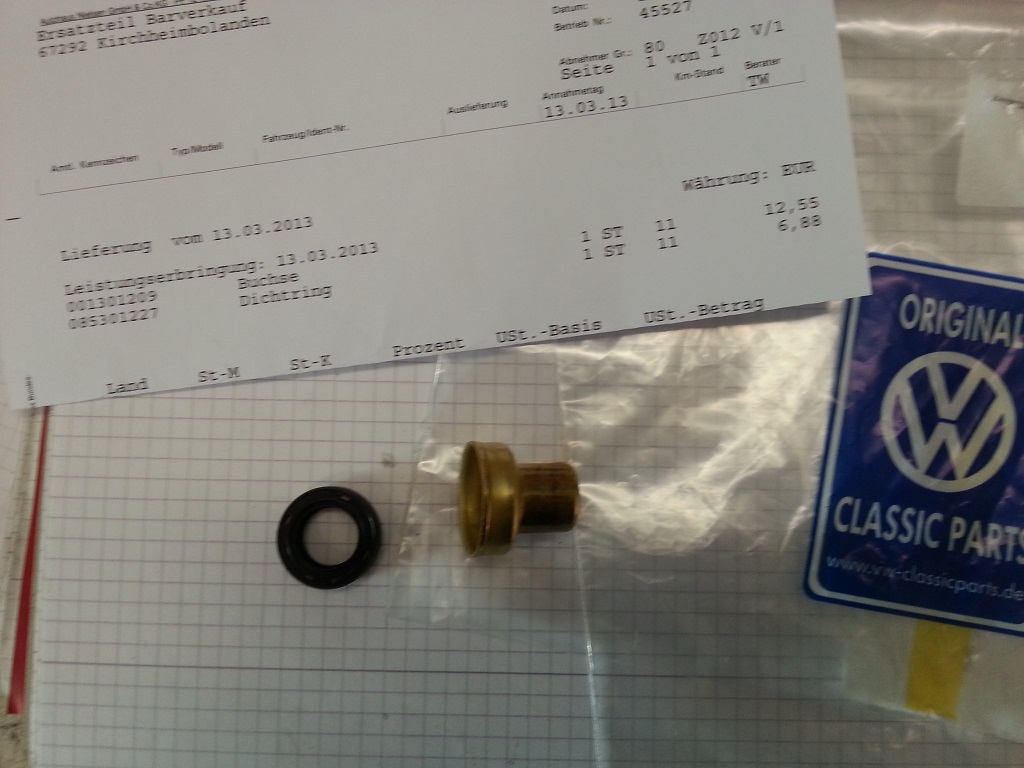
Also picked up the ordered VW parts for the shaft sealing:
So all was missing was the borehole in the gear box housing. Lucky as I am sometimes I could borrow a looong 15 mm drill at the machine shop additional to the short one I´ve borrowed from my grandfather:
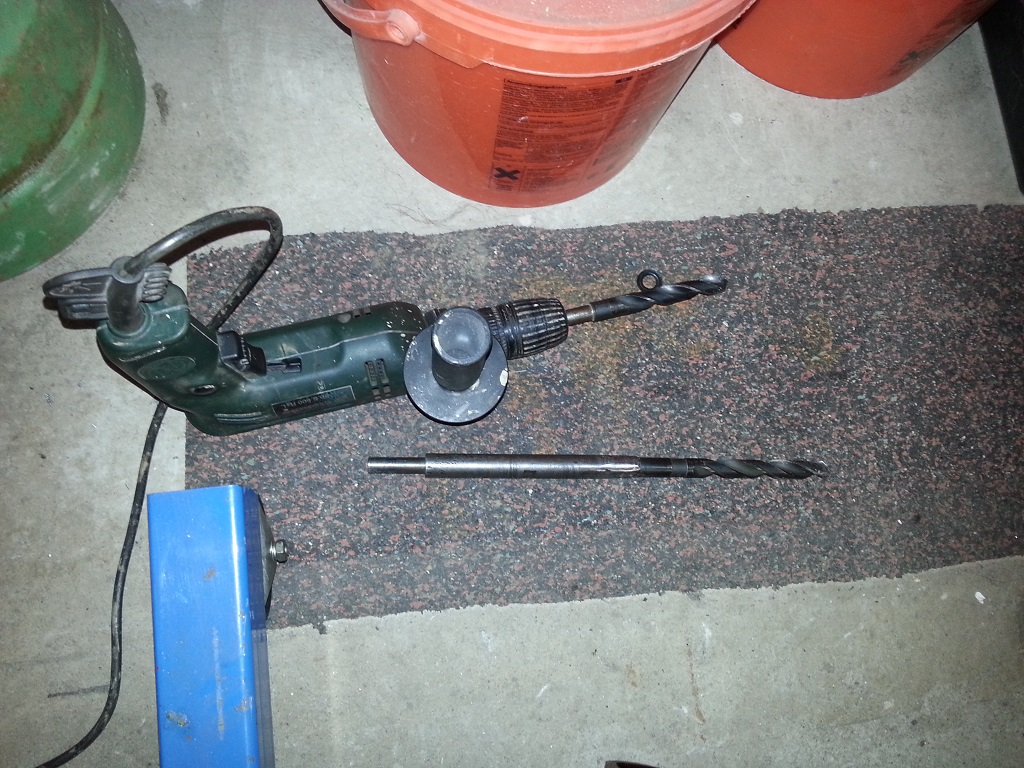
The giant extended drill fitted perfect into the rear end cap so it was guided by the shaft bearing on the front end and by the end cap on the rear end:
The result:
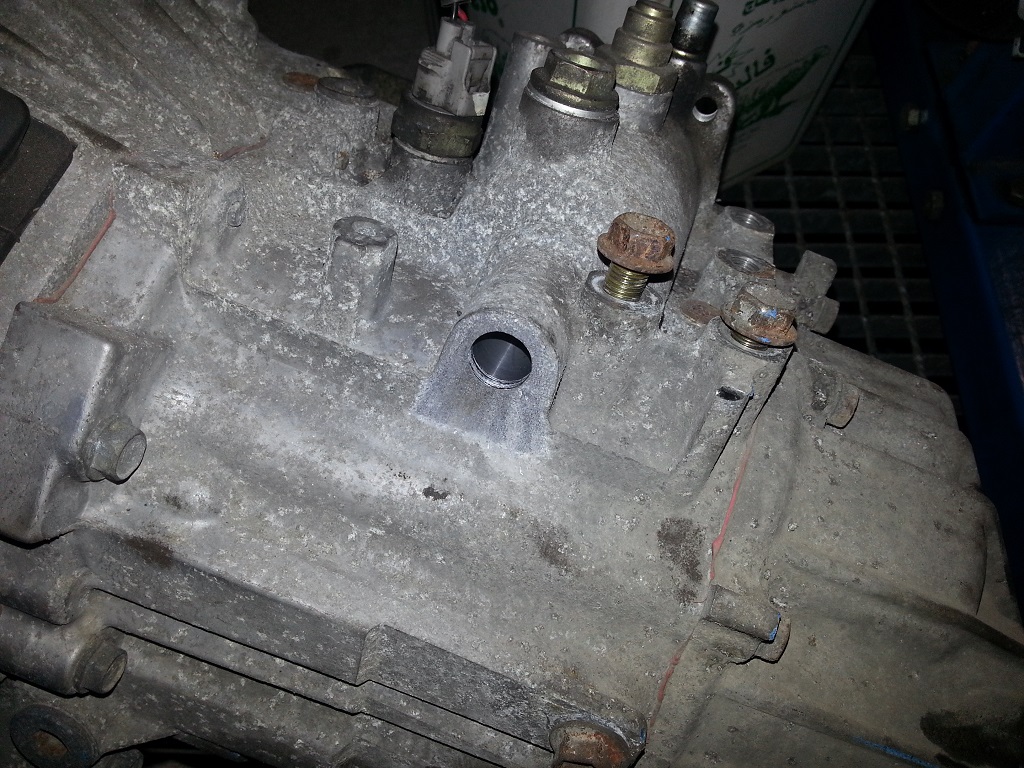
Widened the borehole to fit in the sealing ring carrier bush and test assembled the shaft, the end cap and the bush to the box housing:
Will do the final assembling and testing tomorrow.
Pressed a hardened dowel pin into the unneeded borehole so stiff up the shaft in that sector:
Also picked up the ordered VW parts for the shaft sealing:
So all was missing was the borehole in the gear box housing.
The giant extended drill fitted perfect into the rear end cap so it was guided by the shaft bearing on the front end and by the end cap on the rear end:
The result:
Widened the borehole to fit in the sealing ring carrier bush and test assembled the shaft, the end cap and the bush to the box housing:
Will do the final assembling and testing tomorrow.
Re: My AW11 Fritzinger widebody. Some years of work in pictures
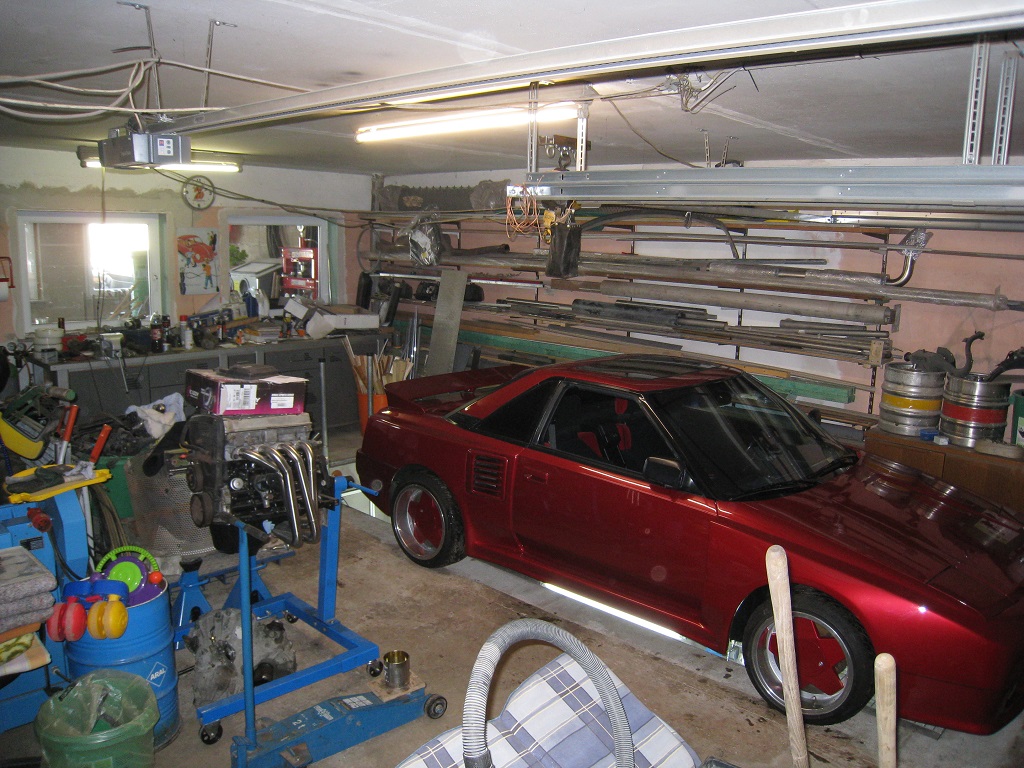
Finally managed to get my MR2 into my mate´s garage. Here "Dicker" waits to get us startet:
Before:
and two hours later:
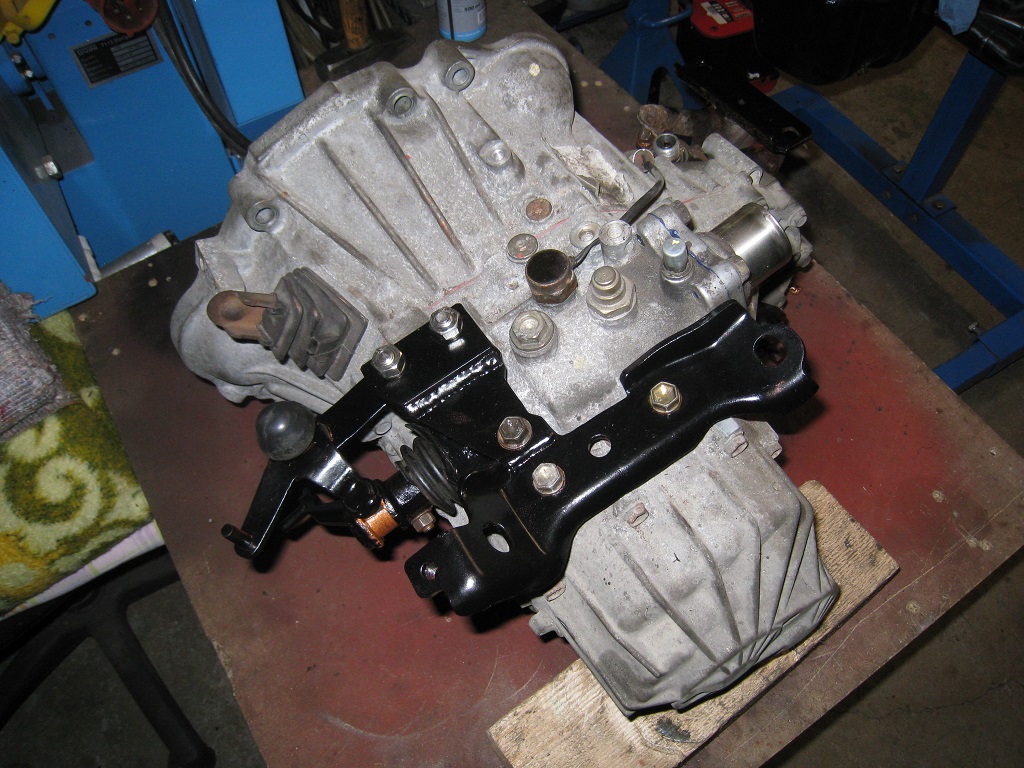
Spended the rest of the day to build a custom outside gearbox bracket with an extension to carry the arm for the shifting cabels and assembling the gearbox and swap some parts from the old to the"new" engine.
Before:
and two hours later:
Spended the rest of the day to build a custom outside gearbox bracket with an extension to carry the arm for the shifting cabels and assembling the gearbox and swap some parts from the old to the
-
PW@Woodsport
- Posts: 7642
- Joined: Tue Dec 14, 2004 6:40 pm
- Location: durham
- Contact:
Re: My AW11 Fritzinger widebody. Some years of work in pictures
Spended the rest of the day to build a custom outside gearbox bracket with an extension to carry the arm for the shifting cabels and assembling the gearbox
Why did you need to do that? When i build a 6 speed for my customers it all works with the stock brackets and cables, no need to make anything custom?

Re: My AW11 Fritzinger widebody. Some years of work in pictures
I don´t have the skills and tools to build a complete gearbox like You, Paul. So I use the Corolla gearbox including it´s housing wich means to build a custom bracket as only one thread is equal on the upper side of the box.
Plus: As I bought an additional set of brackets and a shifting mechanic from a C50 I can keep my old C50 in stock.
May need to swap it back in for the historic registration in 2016.Cars have to be 30 years old and original or contemporary modyfied therefor here in Germany.
Plus: As I bought an additional set of brackets and a shifting mechanic from a C50 I can keep my old C50 in stock.
May need to swap it back in for the historic registration in 2016
-
PW@Woodsport
- Posts: 7642
- Joined: Tue Dec 14, 2004 6:40 pm
- Location: durham
- Contact:
Re: My AW11 Fritzinger widebody. Some years of work in pictures
Ah understood, you used the Corolla casing, with you now 
Re: My AW11 Fritzinger widebody. Some years of work in pictures
Yes, and that brought me a new problem. I will need to swap the speedo drive. The Corolla box has a electonic sensor in and I need the mechanic drive but distroyed the one from the old box by try to get it out of it´s home. ](./images/smilies/eusa_wall.gif "Brick wall")
-
PW@Woodsport
- Posts: 7642
- Joined: Tue Dec 14, 2004 6:40 pm
- Location: durham
- Contact:
Re: My AW11 Fritzinger widebody. Some years of work in pictures
You'll often find old C52 speedo drives nigh on impossible to remove without breaking them, i made a special tool which is a Mk2 driveshaft nut welded to a collar, this then screws onto the drive and presses against the gearbox casing, slowly drawing the speedo drive out.
Even with that tool they still sometimes break.
Even with that tool they still sometimes break.
Re: My AW11 Fritzinger widebody. Some years of work in pictures
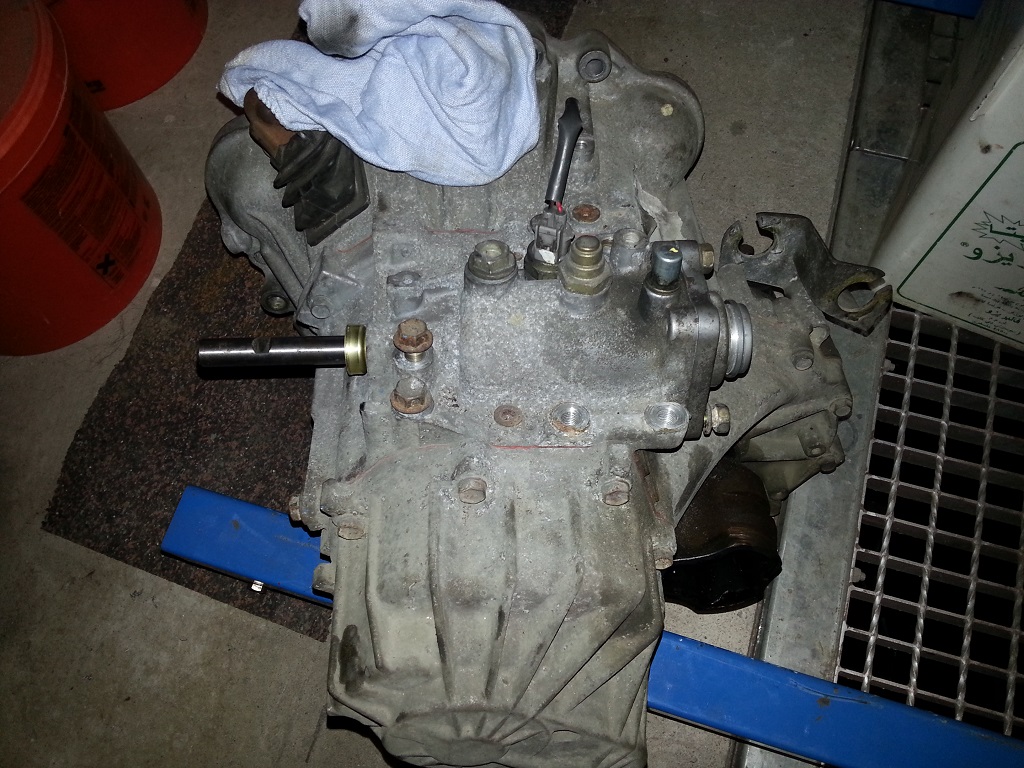
Assembled the gearbox today. Replaced the driveshaft sealings, the speed sensor by the used bought speedo drive and bolted the custom made bracket to the upper side:
Also compared the milled flywheel to a stock one:
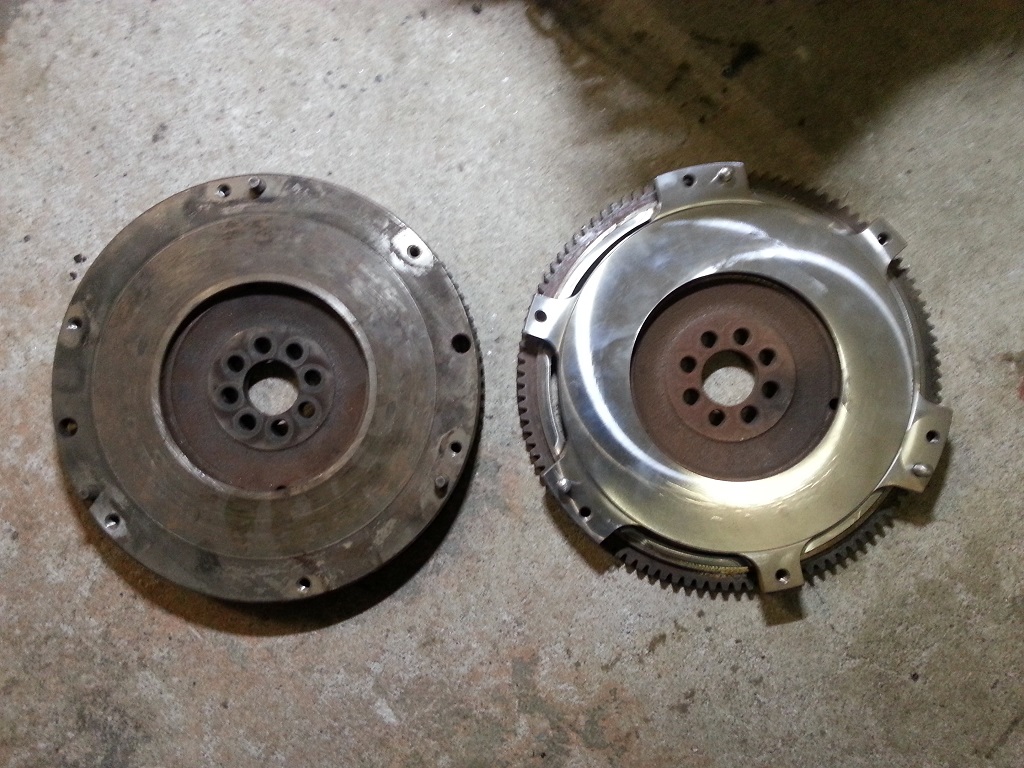
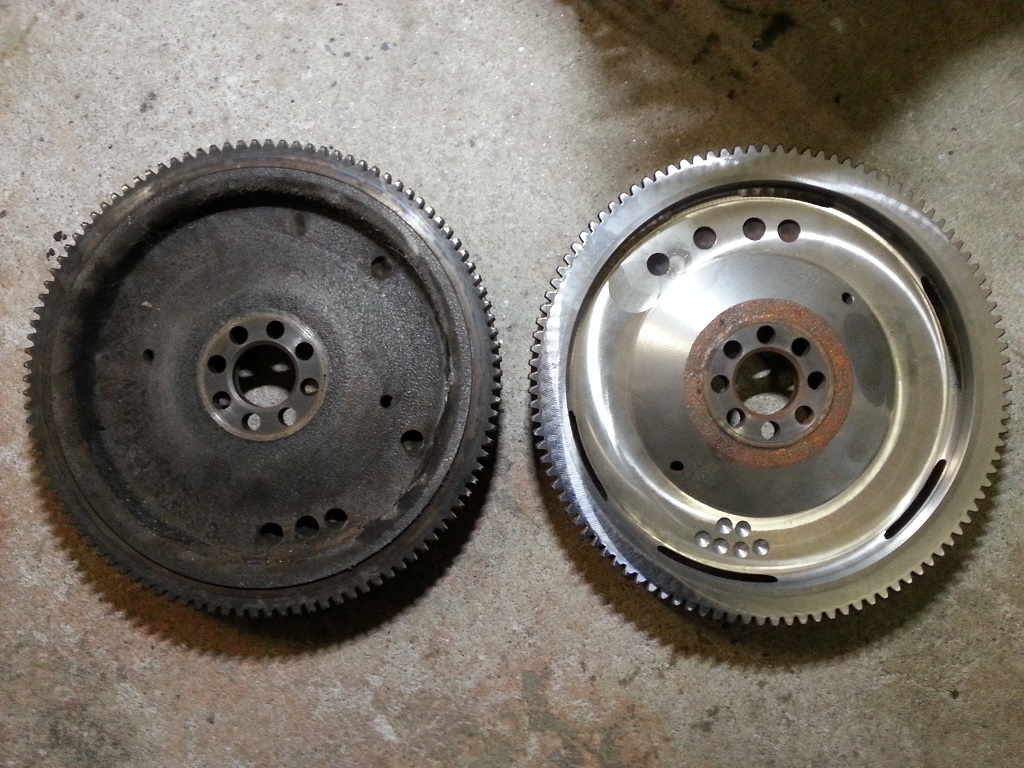
Lost two kilogramm on the mill. Weighted seven kilo stock.
Also compared the milled flywheel to a stock one:
Lost two kilogramm on the mill.
Re: My AW11 Fritzinger widebody. Some years of work in pictures
I've got a picture like that:

Lets just hope you don't end up with one like this:

The area where we had a problem appears to have been done better on yours though.
Lets just hope you don't end up with one like this:
The area where we had a problem appears to have been done better on yours though.
Re: My AW11 Fritzinger widebody. Some years of work in pictures
I´ve heard of lightened flywheels that failed. Hope mine won´t. Was made by a guy who has modified some more in the past. I think he know what he´s doing there. There wasn´t took away so much steel in the center section. He only skimmed the surface.
Was thinking to buy a factory made light flywheel before, but they are expensive compared to the my solution.
Was thinking to buy a factory made light flywheel before, but they are expensive compared to the my solution.
Re: My AW11 Fritzinger widebody. Some years of work in pictures
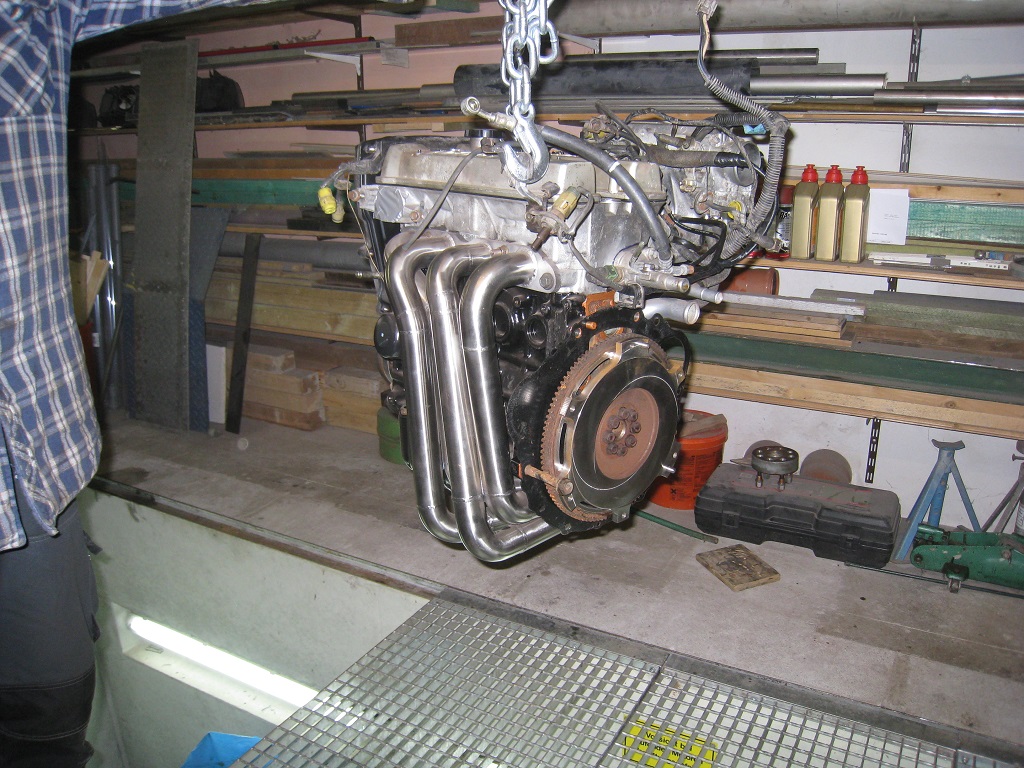
Made some huge progress in the last days. So here comes an update.
Assembled the engine more and more, beginning with an 4A-FE dustshield(needed to relocate the starter motor) ,the engine loom and the lightend flywheel:
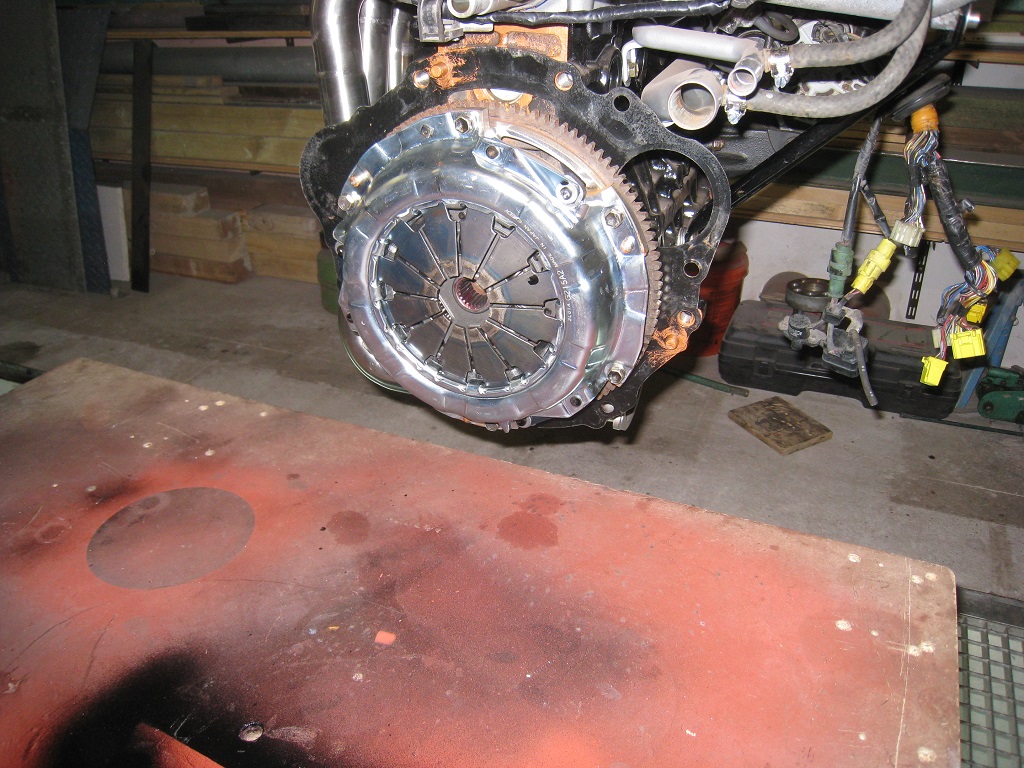
followed by the Exedy stage 1 upgrade clutch:
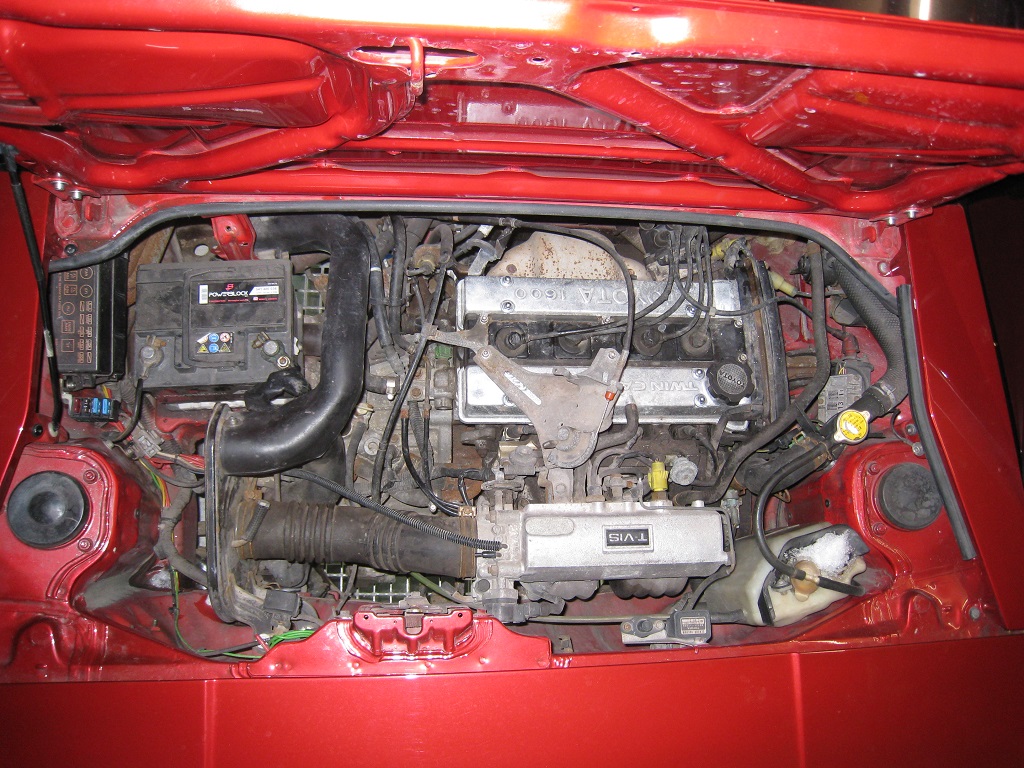
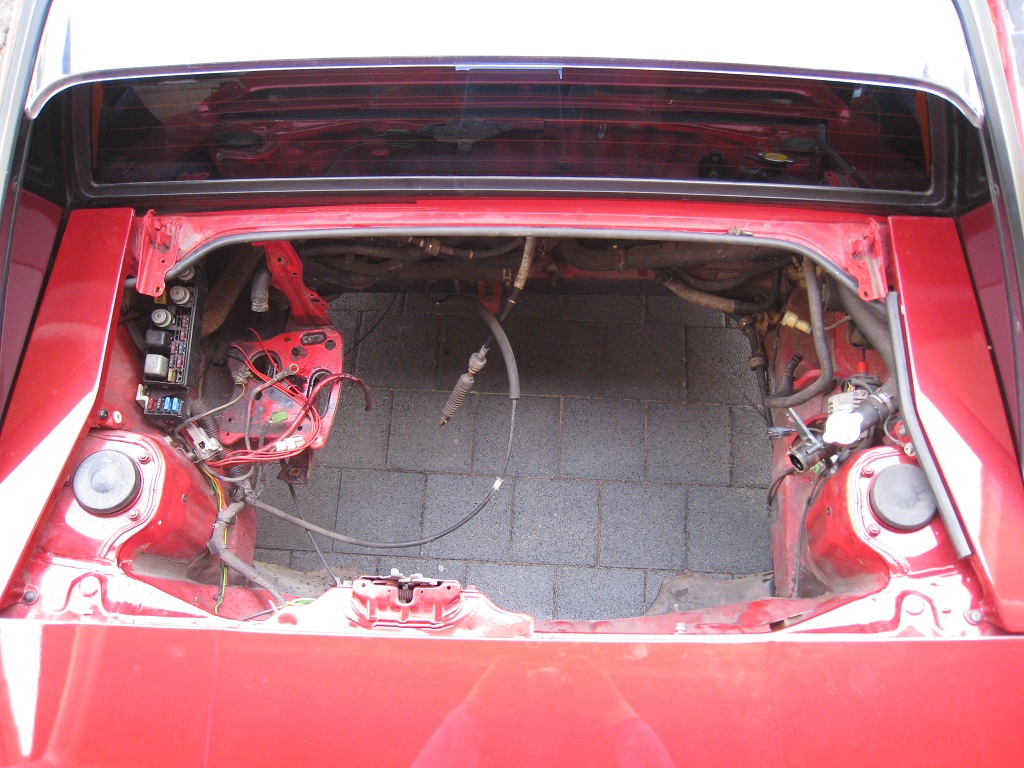
Then went back to the car to serve this problem:
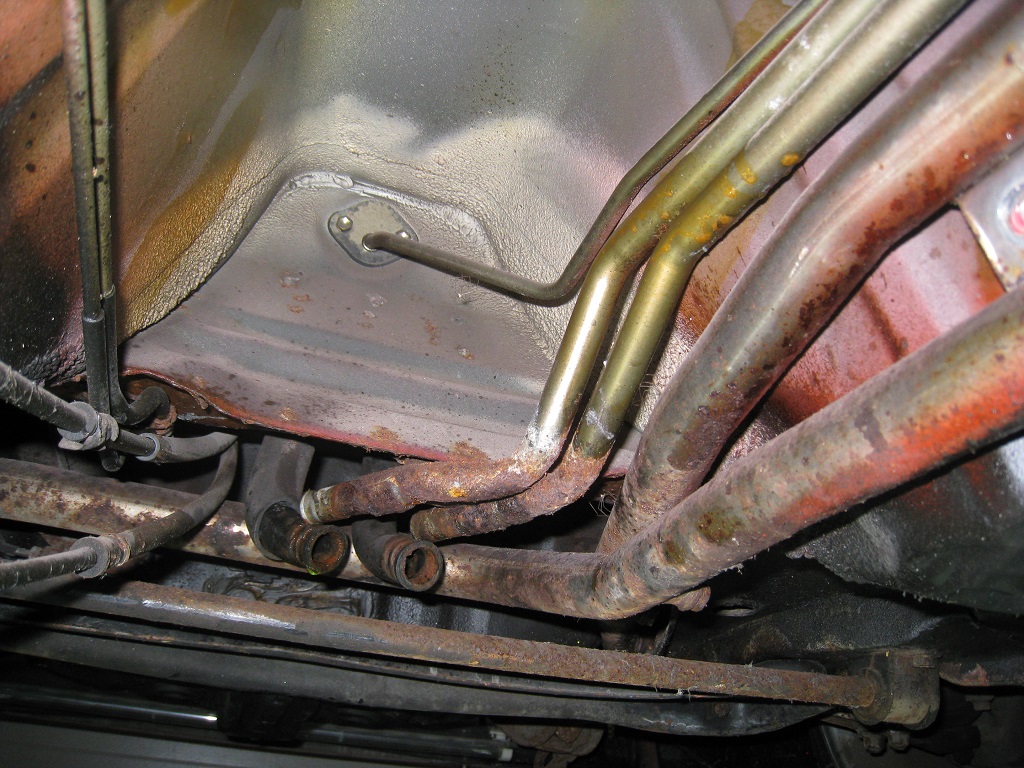
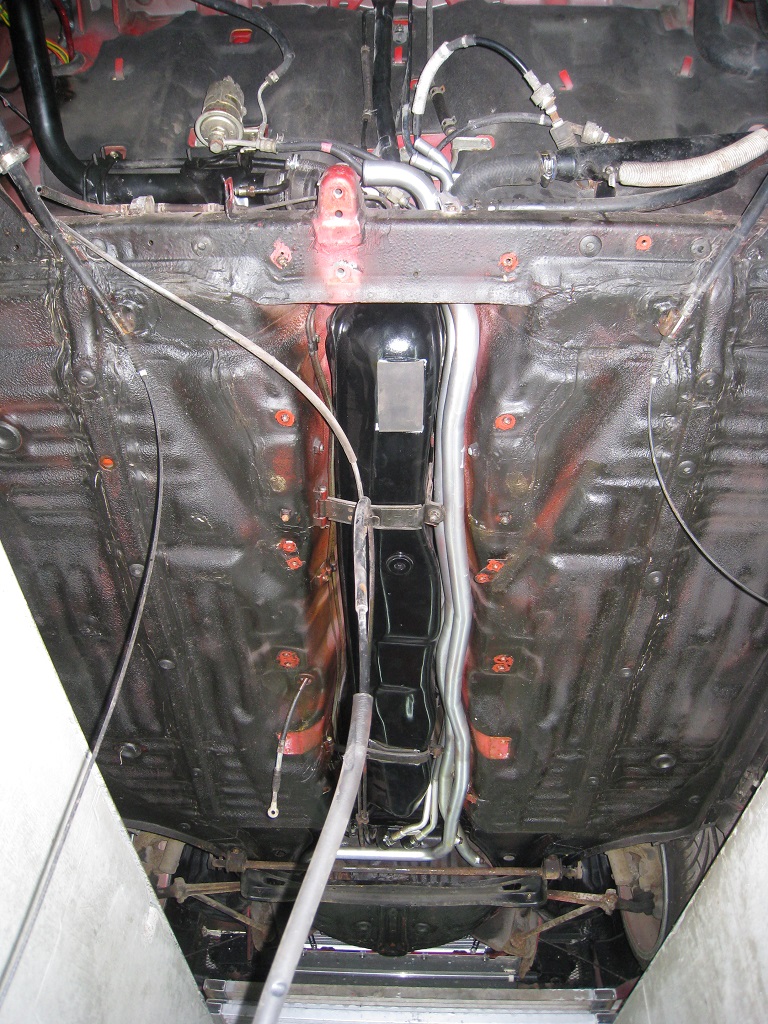
Replaced the water and heater pipes and the fuel tank by the parts from my donor car. The parts where worked up befor bolted to the car.
Old Mk1a vs. worked up Mk1b:
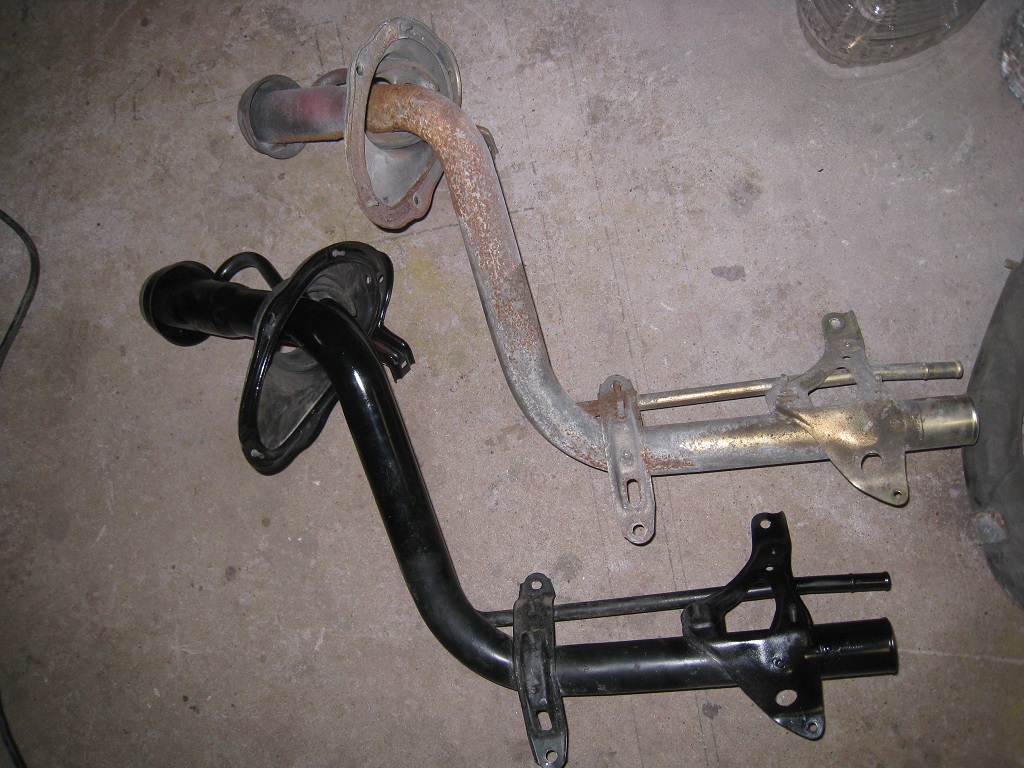
A shame that it will all be covered by the trim later:
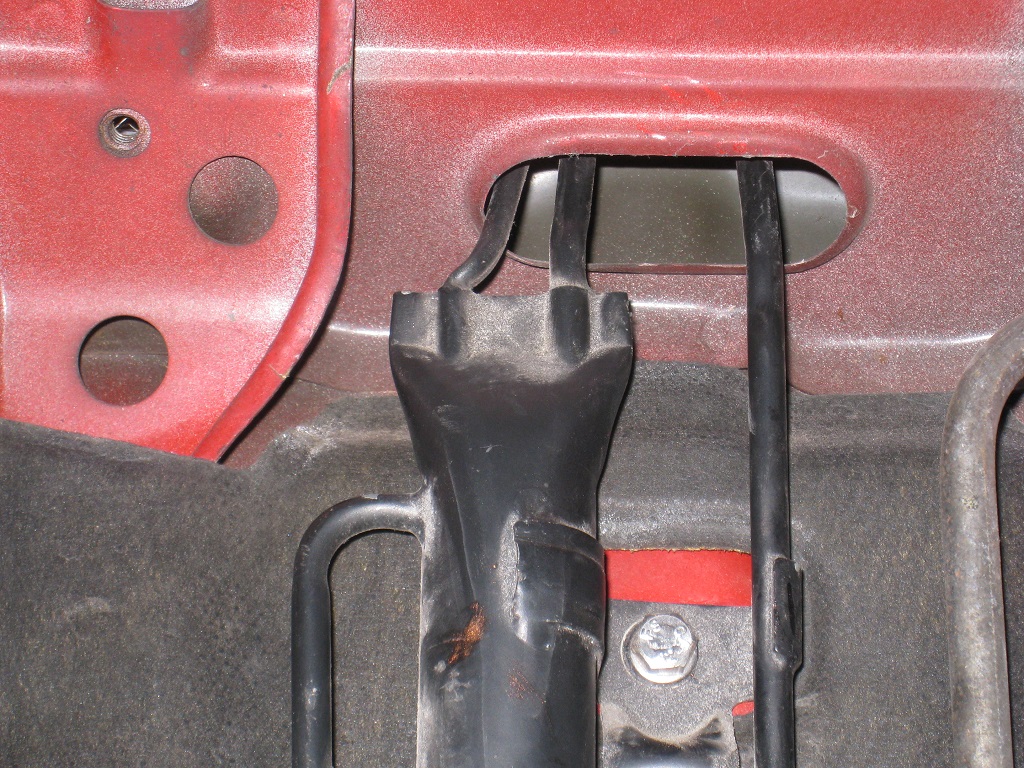
Used the tank breather from the Mk1b too and had to modify it as it got an additional pipe on the upper end that won´t fit the Mk1a:
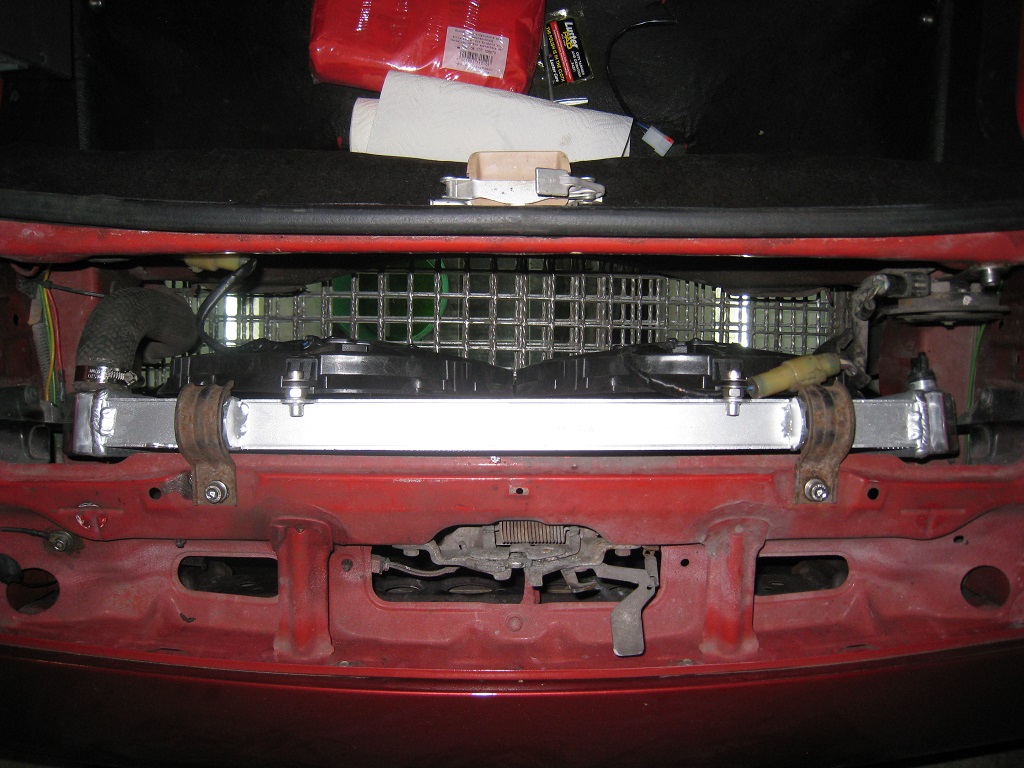
Also bolted the new alloy radiator to the front end. Fitted perfect but wasn´t the bigger Mk1b size as I thought. Therefor it fitted without the expected additional work on the brackets:
Assembled the engine more and more, beginning with an 4A-FE dustshield
followed by the Exedy stage 1 upgrade clutch:
Then went back to the car to serve this problem:
Replaced the water and heater pipes and the fuel tank by the parts from my donor car.
Old Mk1a vs.
A shame that it will all be covered by the trim later:
Used the tank breather from the Mk1b too and had to modify it as it got an additional pipe on the upper end that won´t fit the Mk1a:
Also bolted the new alloy radiator to the front end.
Re: My AW11 Fritzinger widebody. Some years of work in pictures
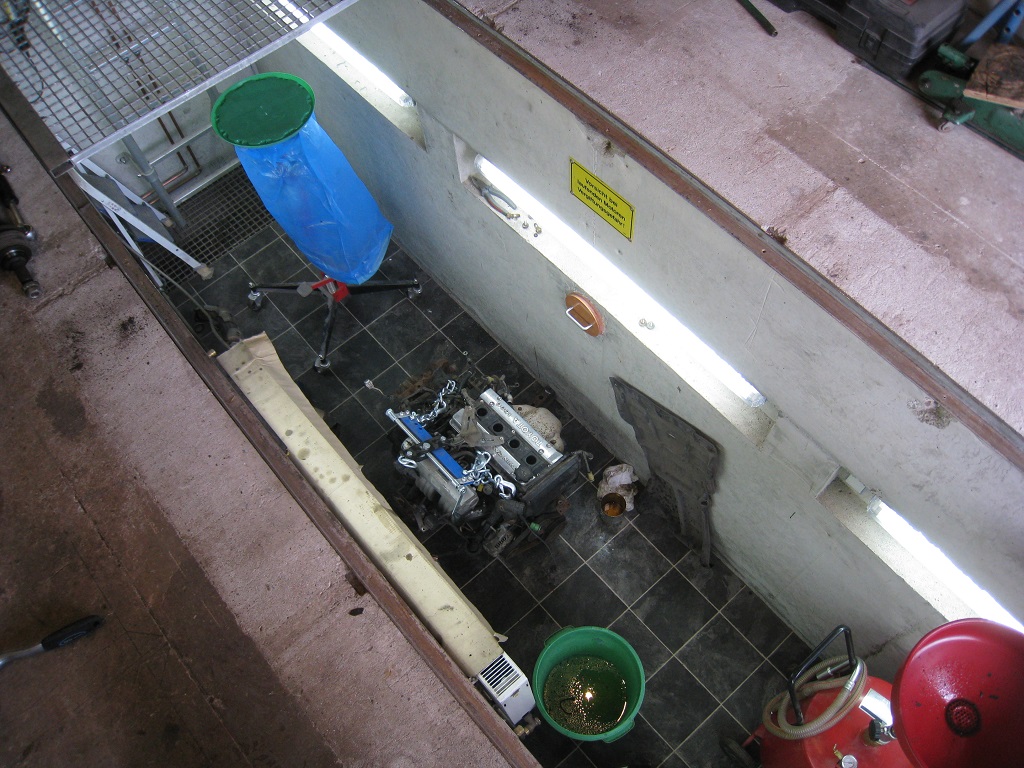
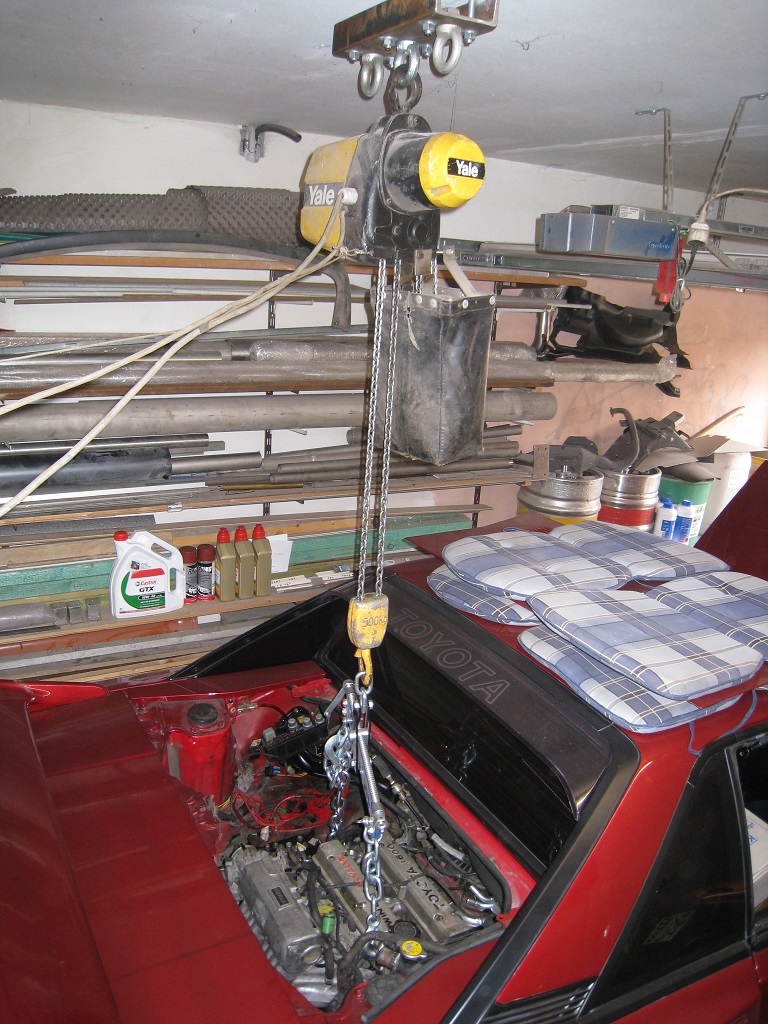
Today the shell and the engine had it´s wedding.
Hooked up the engine with the bolted on tranny and stored it in the pit:
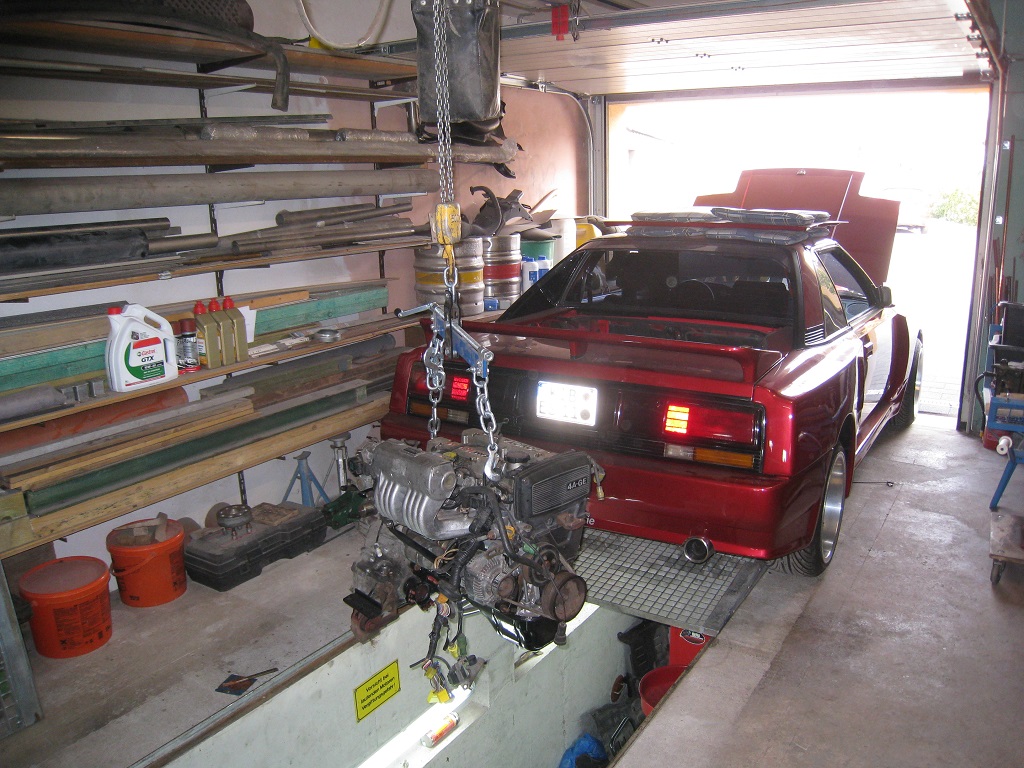
Pushed back the car over the engine and pulled the engine back up again:
Connected all the water hoses, cables and stuff, changed the valve covers to the polished ones from the old engine(after giving them a repolish with a cloth disc and abrasive wax) filled up fuel and coolant and try to fire it up.
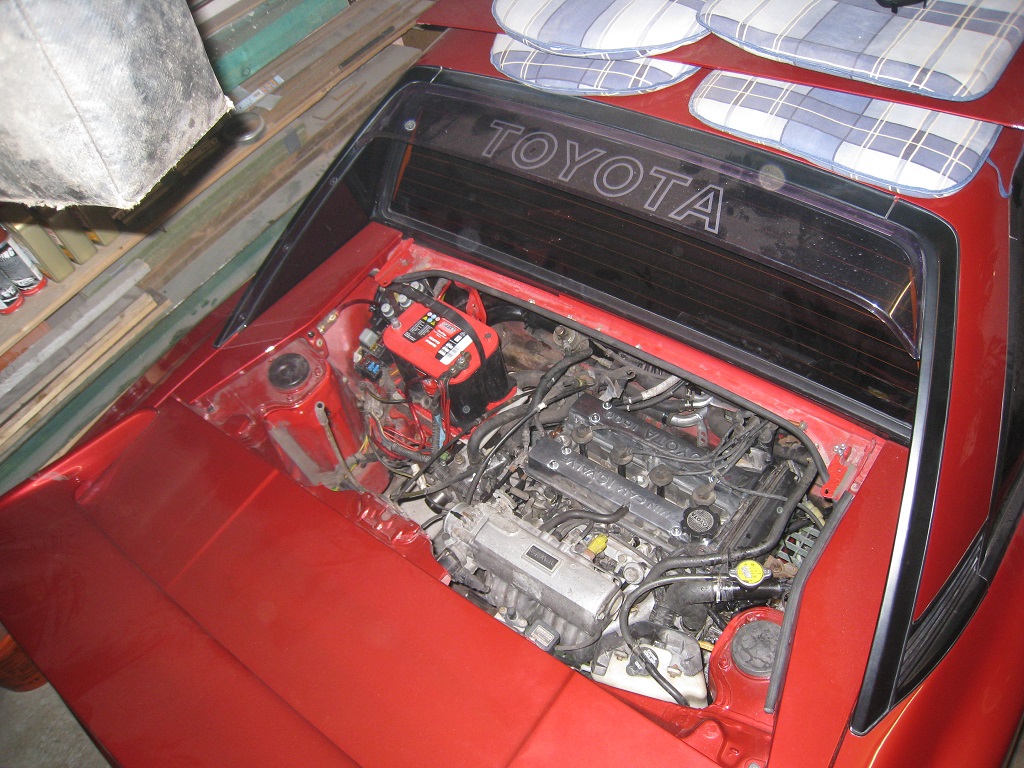
It didn´t start.  Seams like I will have to pull out the distributor once again as the engine failed with massive misfire.
Also will have to check the fuel rail as a fuel leak caused a small fire on the inlet plenum.
Hooked up the engine with the bolted on tranny and stored it in the pit:
Pushed back the car over the engine and pulled the engine back up again:
Connected all the water hoses, cables and stuff, changed the valve covers to the polished ones from the old engine
It didn´t start.
Also will have to check the fuel rail as a fuel leak caused a small fire on the inlet plenum.
Re: My AW11 Fritzinger widebody. Some years of work in pictures
XLarge wrote:
Very easy to get it a tooth out on the gear when re-assembling
Re: My AW11 Fritzinger widebody. Some years of work in pictures
I think so too.
Simply forgot to stick it in befor I put in the engine.
Simply forgot to stick it in befor I put in the engine.
Re: My AW11 Fritzinger widebody. Some years of work in pictures
Took out the distributor again today and put it back in with the correct setting. Also fixed the fuel leak (sealing of the fuel pressure regulator was rotten) .
And now it´s alive!
http://www.youtube.com/watch?feature=pl ... LN0JK8CJcI
And now it´s alive
http://www.youtube.com/watch?feature=pl ... LN0JK8CJcI