Haha that is soo true!
The journey of one man and his Mule(s)
Moderators: IMOC Moderators, IMOC Committee Members
-
scotty1982
- Posts: 395
- Joined: Fri Aug 14, 2009 10:52 pm
- Location: cambridge
Re: The journey of one man and his Mule(s)
I think anyone who's will recognise the aptitude. Especially as you spend half your time polishing the car and the other half thinking about it
Haha that is soo true!
Haha that is soo true!
Re: The journey of one man and his Mule(s)
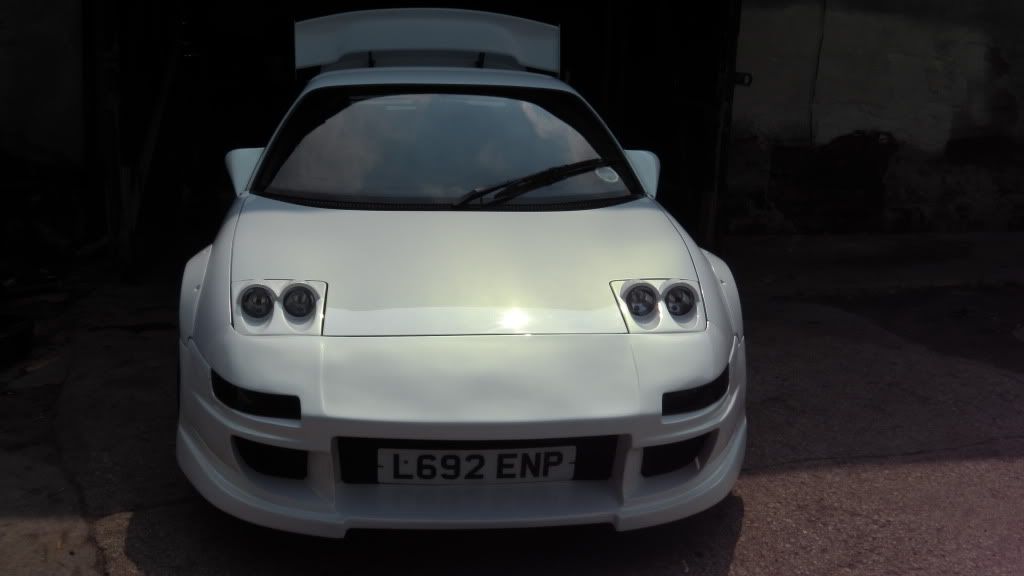
love this car, and defo love the aero cover on it, how do they fit? cant seem to see any hinges, can you just pop the lid from inside the car and lift it up like the original lid?
-
Magic Beans
- Posts: 4793
- Joined: Thu Nov 24, 2011 1:01 pm
- Contact:
Re: The journey of one man and his Mule(s)
Nails wrote:love this car, and defo love the aero cover on it, how do they fit? cant seem to see any hinges, can you just pop the lid from inside the car and lift it up like the original lid?
There's no hinges, there's a lip around the top which slots in first, allowing the base to sit above the standard lid release.
-
Magic Beans
- Posts: 4793
- Joined: Thu Nov 24, 2011 1:01 pm
- Contact:
Re: The journey of one man and his Mule(s)
Took the day off yesterday to do a few bits in general. Peter was also kind enough to allow me to use has yard and tools to start on the braked, thanks Peter 
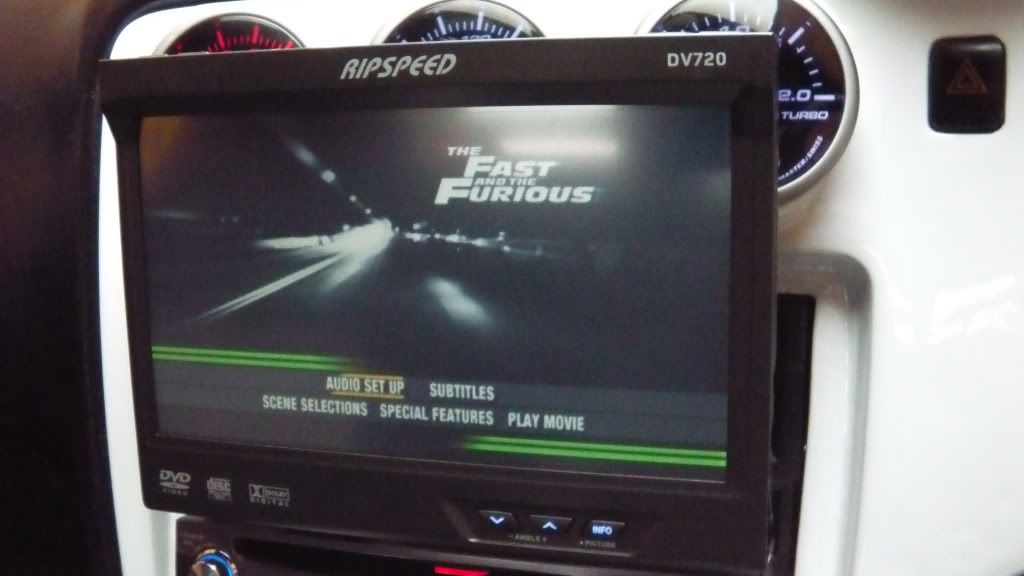
Everything packed up in the car and off I went. I thought a movie film might be good on the way up, although generally I don't use the ICE in cars. This seemed appropriate 
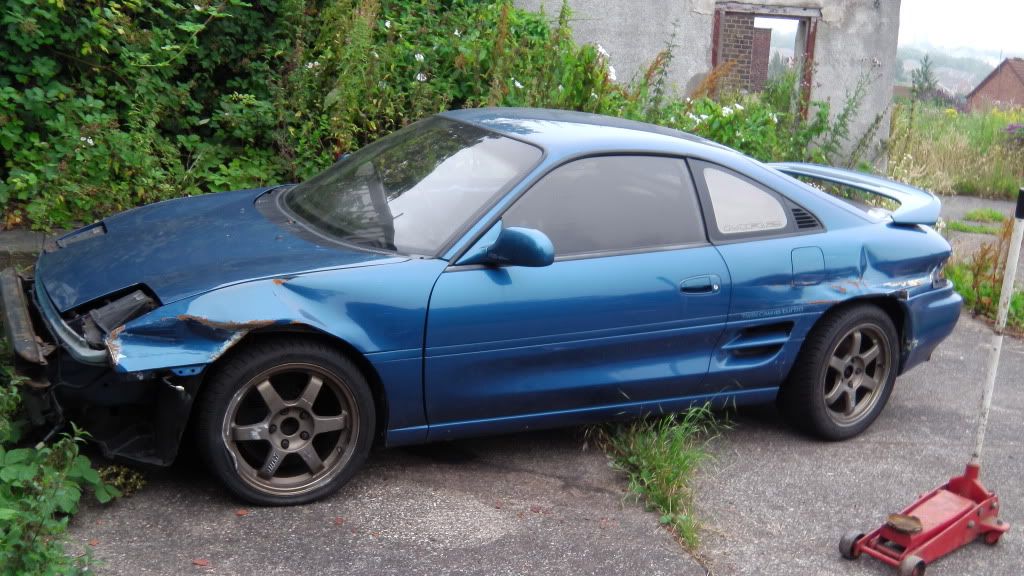
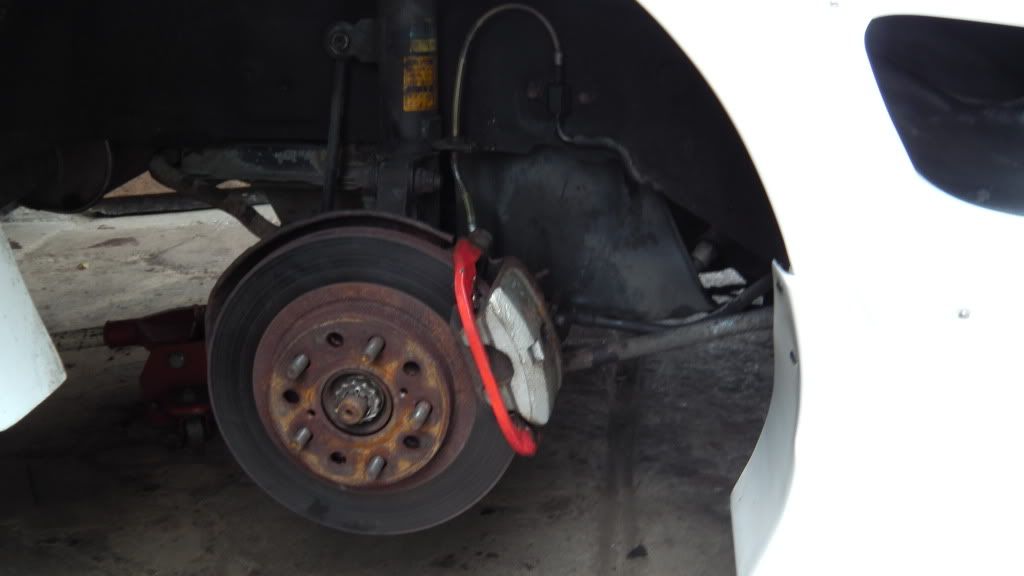
Up with the bum end, ready for the Carbotechs and hoses. Unfortunately I've not got the EBC drilled and grooved discs for the back yet, so I'll have to fit them another day
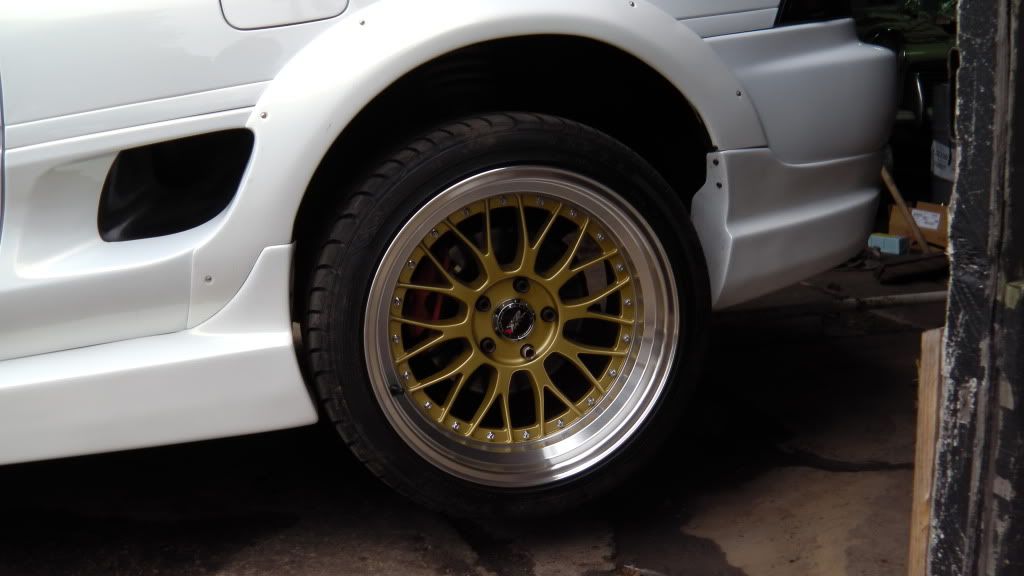
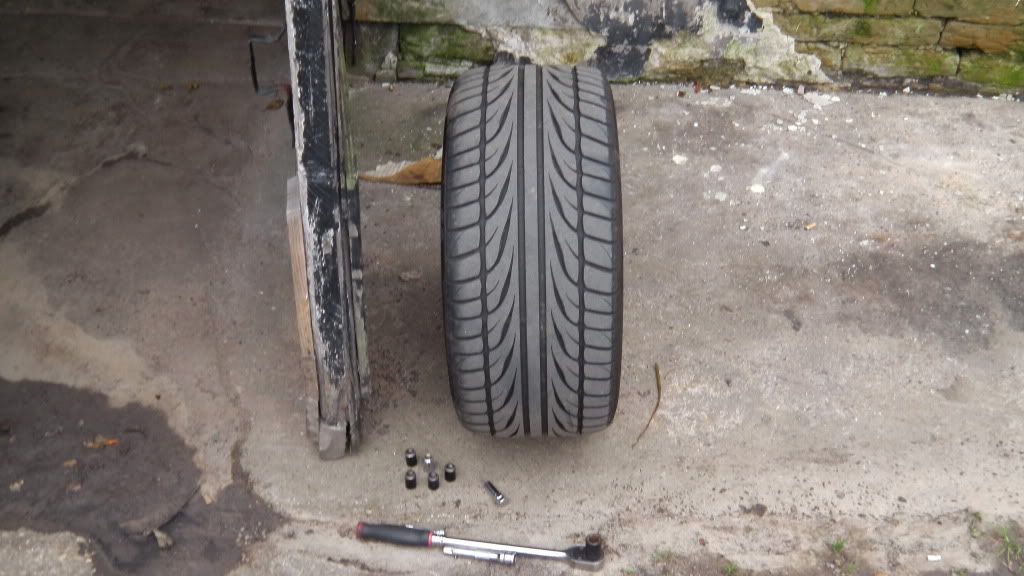
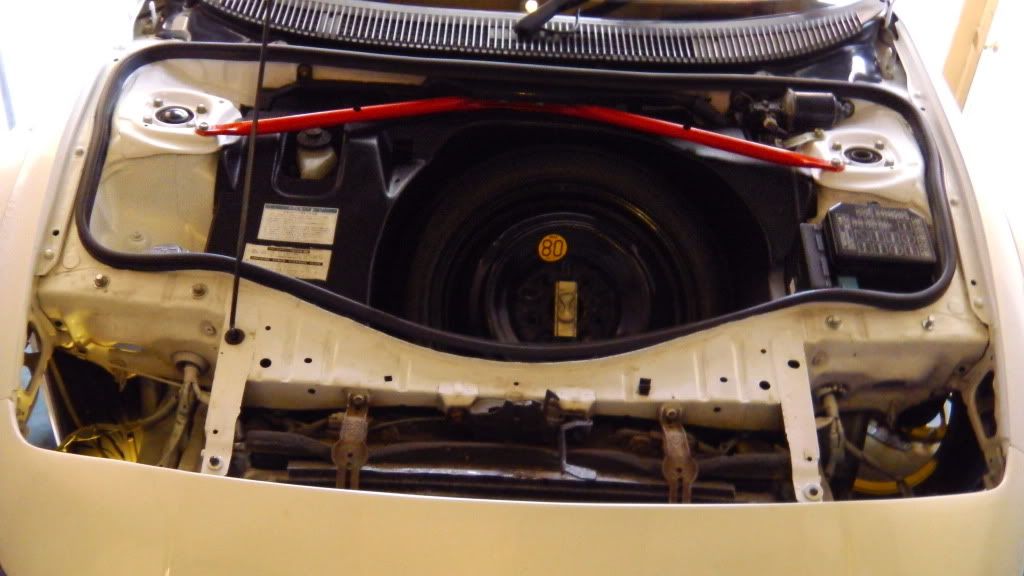
That's a big old wheel!
As soon as the wheel was off it became apparent that something was amiss, as the wheel wouldn't turn at all! Upon inspection it was identified that the caliper was complete seized 

Luckily I knew where there was a spare. Hello old friend 
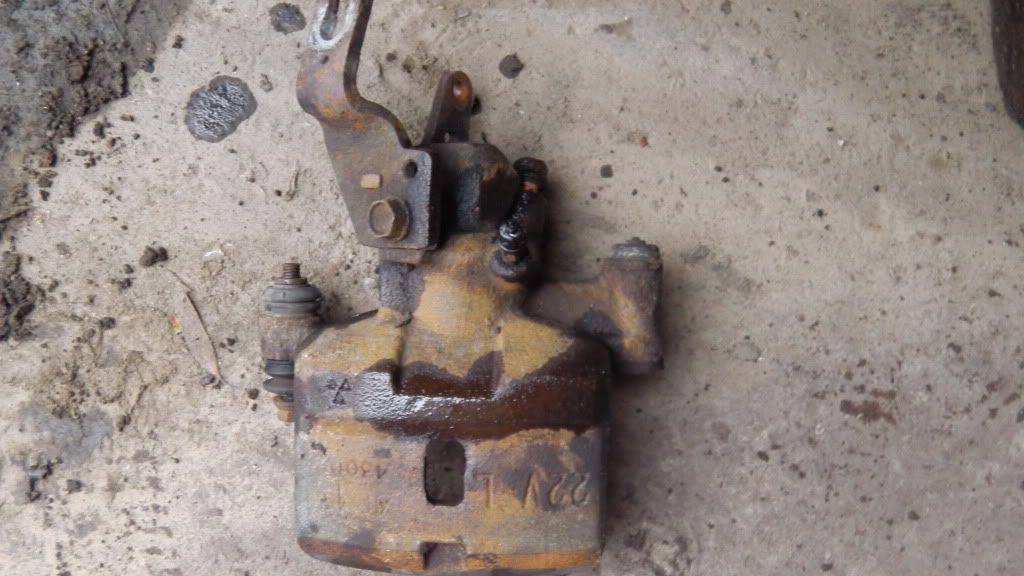
Off with the seized one
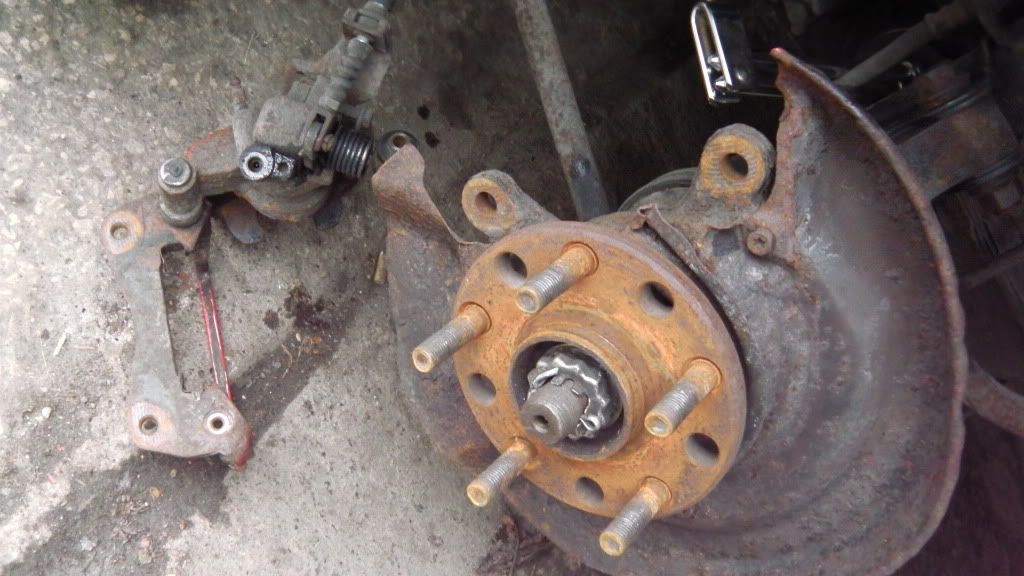
On with the new one. It'll need painting red, to match the other now.
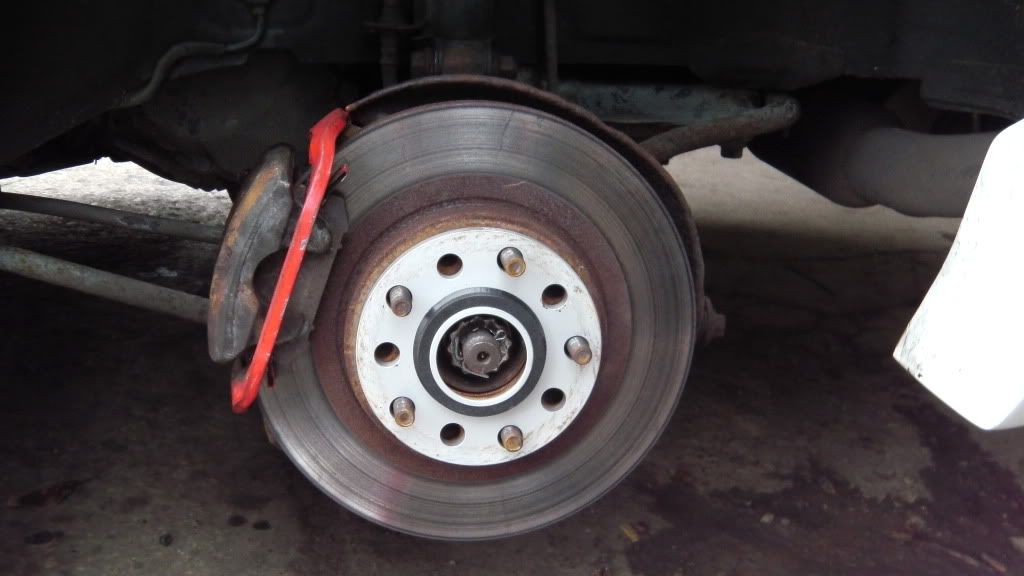
Carbotechs and Goodridge hoses fitted
On to the other side and guess what... also seized solid. In fact the rubber was destroyed! Well, I know the drill by now. So out with the bad in with the good. Done!
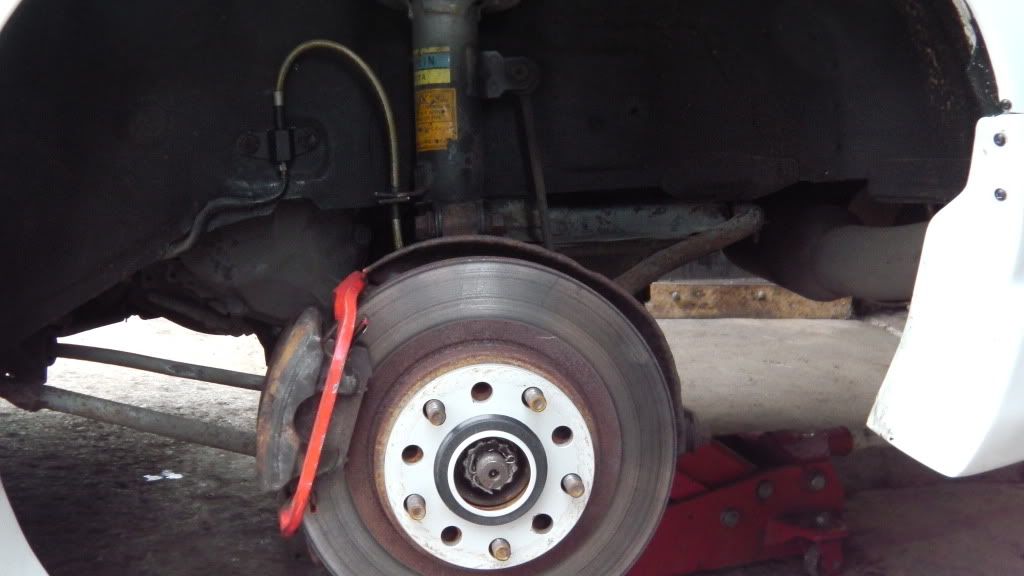
Job done and back on the ground. Ran out of time, so the fronts will have to wait.
I left Peter to carry on grafting and headed home. Unfortunately a random stone impact, which initially just sounded like a chip, turned into this
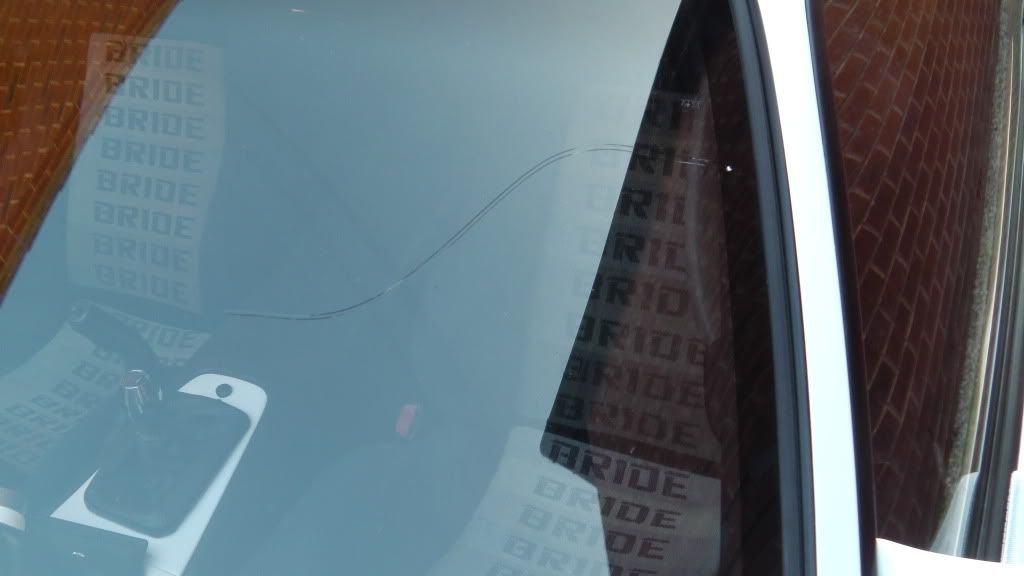
Another job for the list then.
Big thanks to Peter for his time and resources. The brakes are massively improved and the fronts haven't been touched yet!
Everything packed up in the car and off I went.
Up with the bum end, ready for the Carbotechs and hoses.
That's a big old wheel!
As soon as the wheel was off it became apparent that something was amiss, as the wheel wouldn't turn at all! Upon inspection it was identified that the caliper was complete seized
Luckily I knew where there was a spare.
Off with the seized one
On with the new one.
Carbotechs and Goodridge hoses fitted
On to the other side and guess what.
Job done and back on the ground.
I left Peter to carry on grafting and headed home.
Another job for the list then.
Big thanks to Peter for his time and resources.
-
scotty1982
- Posts: 395
- Joined: Fri Aug 14, 2009 10:52 pm
- Location: cambridge
Re: The journey of one man and his Mule(s)
Repost with out me doing anything!
Shame about the crack in the window. U just don't need it.
Shame about the crack in the window.
Last edited by scotty1982 on Fri Jul 27, 2012 8:53 pm, edited 2 times in total.
Re: The journey of one man and his Mule(s)
you got a plan for the wheel nut issue then? all looking very smart...
-
Magic Beans
- Posts: 4793
- Joined: Thu Nov 24, 2011 1:01 pm
- Contact:
Re: The journey of one man and his Mule(s)
riot68 wrote:you got a plan for the wheel nut issue then? all looking very smart.
Going to drill the stud out.
It's a pain regarding the glass, however it's better that than the paint
-
Magic Beans
- Posts: 4793
- Joined: Thu Nov 24, 2011 1:01 pm
- Contact:
Re: The journey of one man and his Mule(s)
Now a lot of the little jobs are done and with the transplant date getting early closer, it's time to set about converting this pretty lady into something more feral 
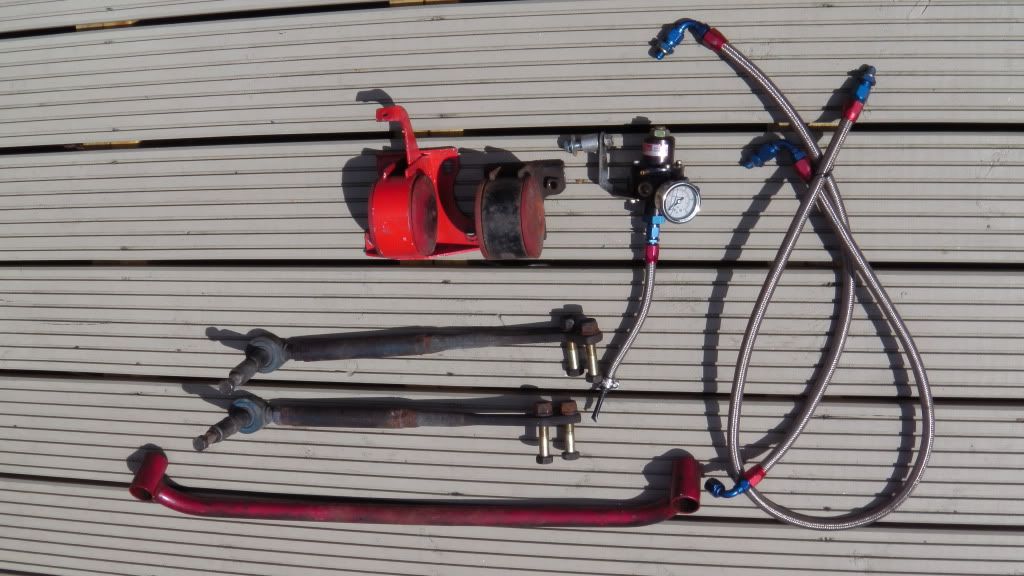
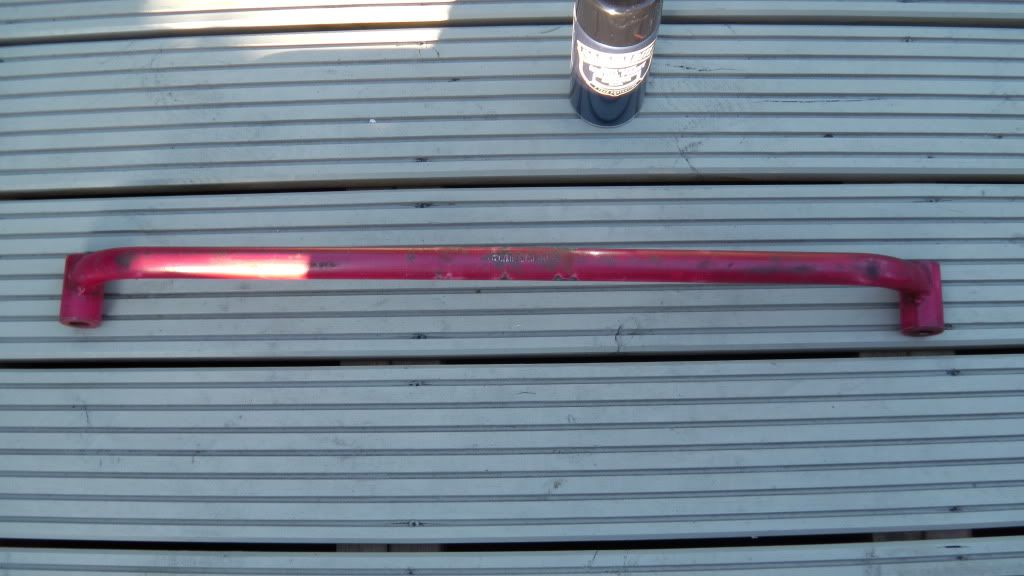
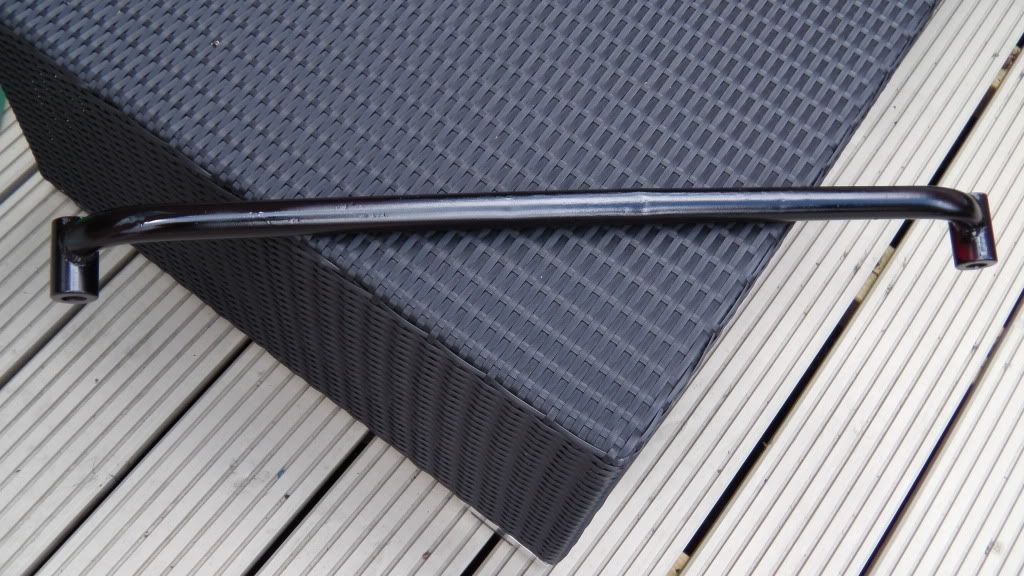
First up, I took delivery of a bunch of bits from what's left of Rob B's former beast. We've got poly bushed engine mounts, Mallory fuel pressure regulator and braided lines, Toms under body brace and a pair of Cusco pillow balls. All in an effort to make this car fully sorted, both in terms of the engine and the chassis
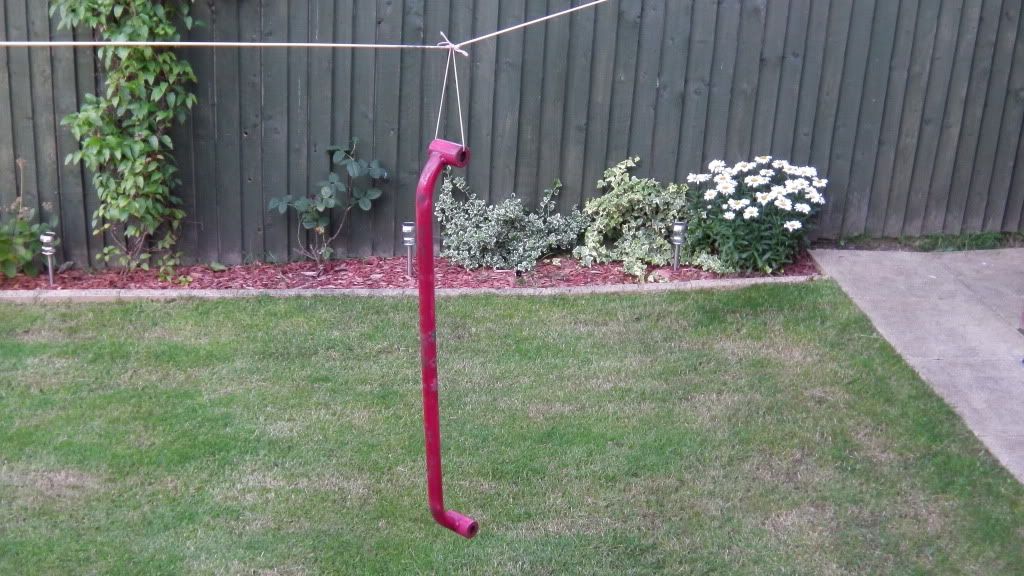
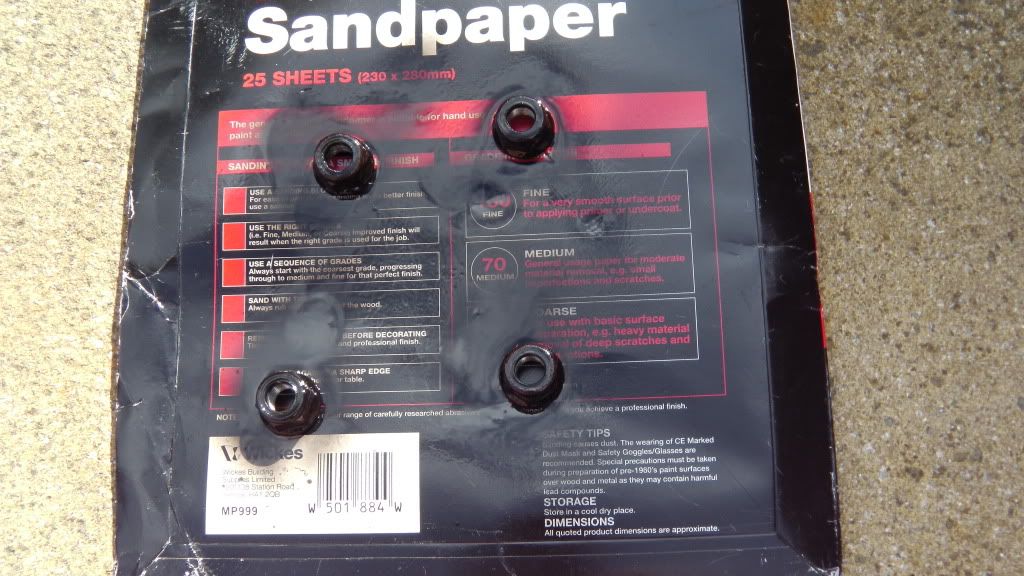
The Toms brace was a little tatty so it had a sand down ready for paint
Off to the"Paint booth"
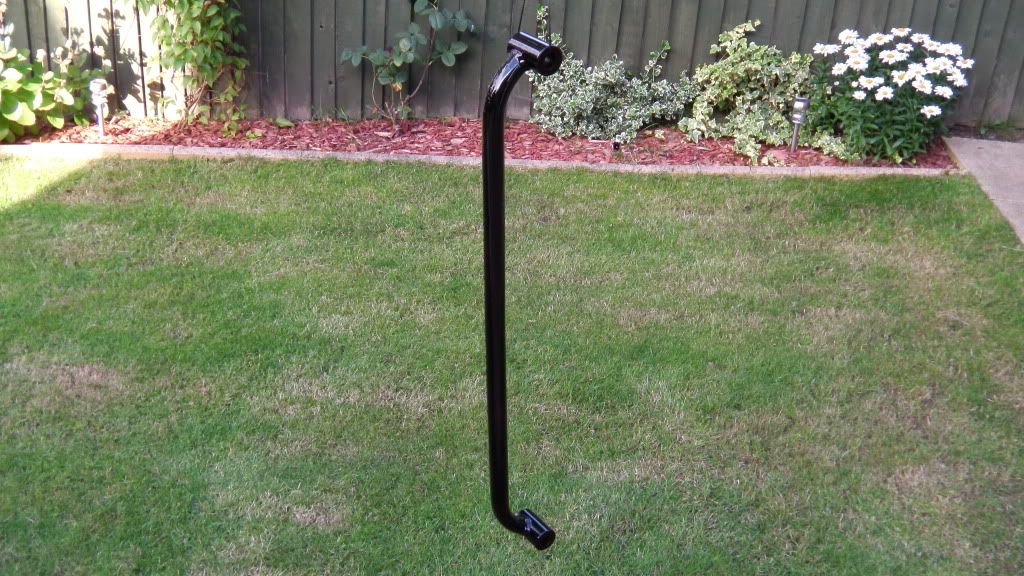
I toyed with the idea of doing some of the chassis bits in blue, to match the engine. However it seemed a bit OTT so opted for good old black Hammerite, for a tougher finish.
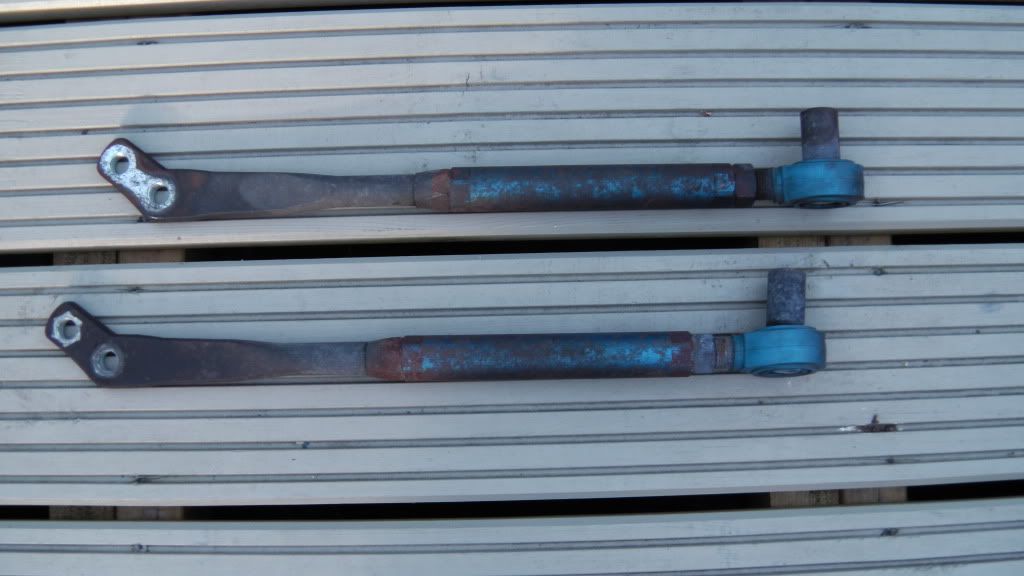
Same for the Cuscos

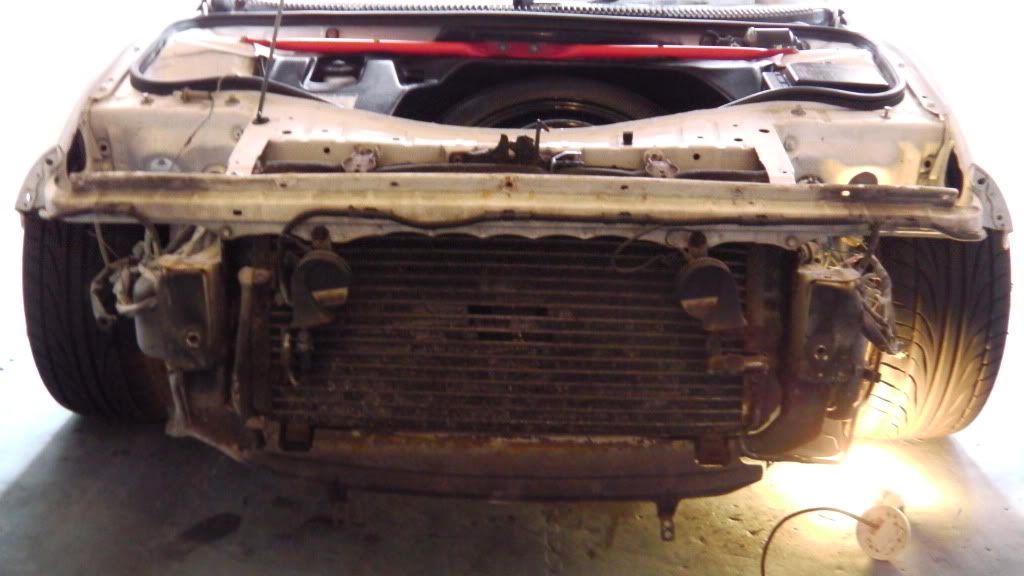
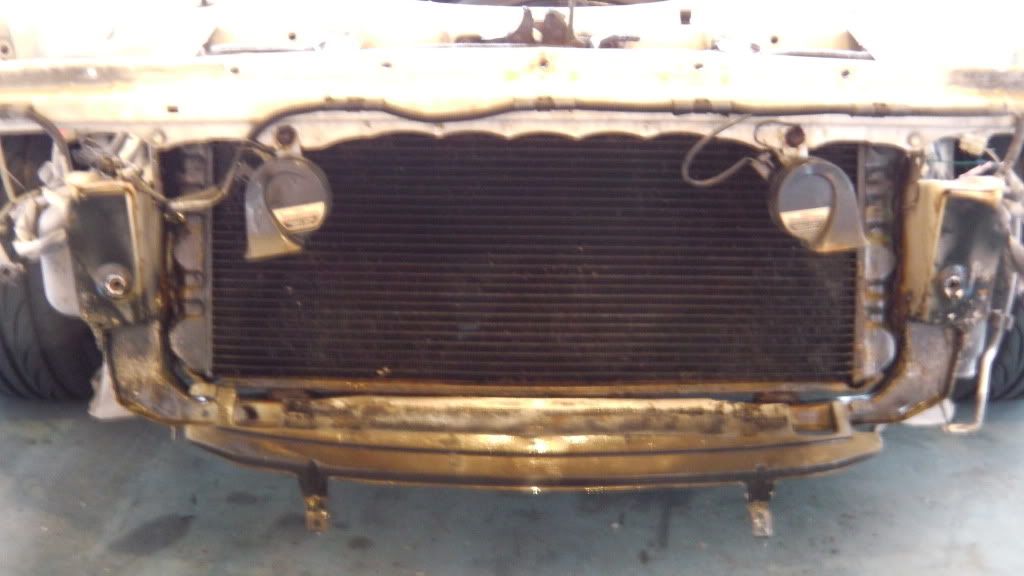
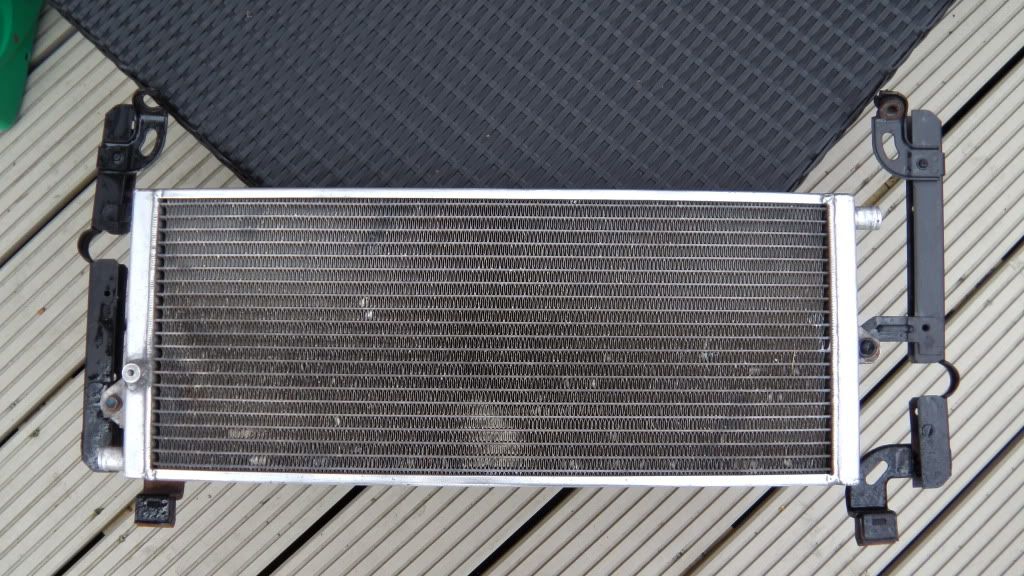
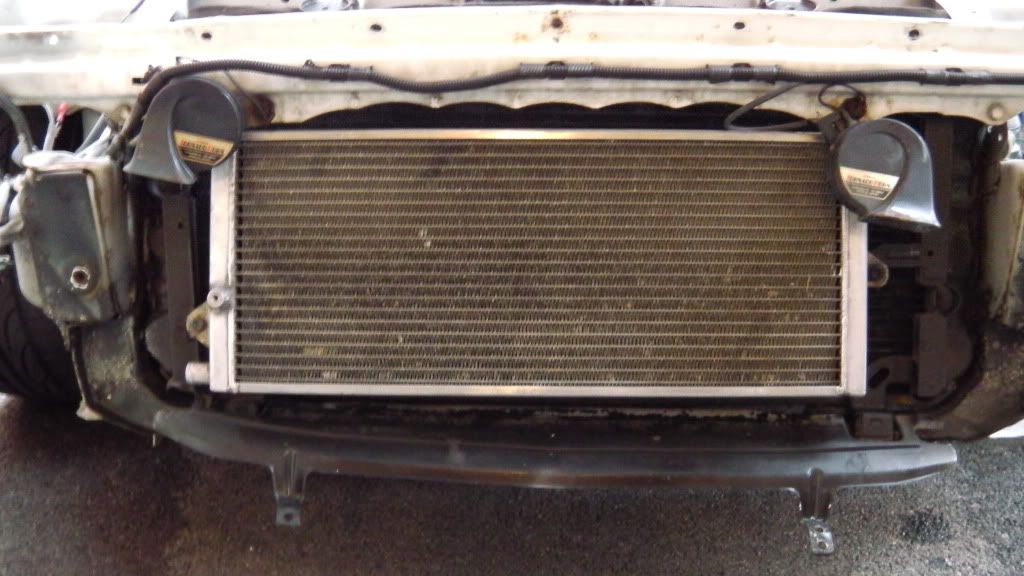
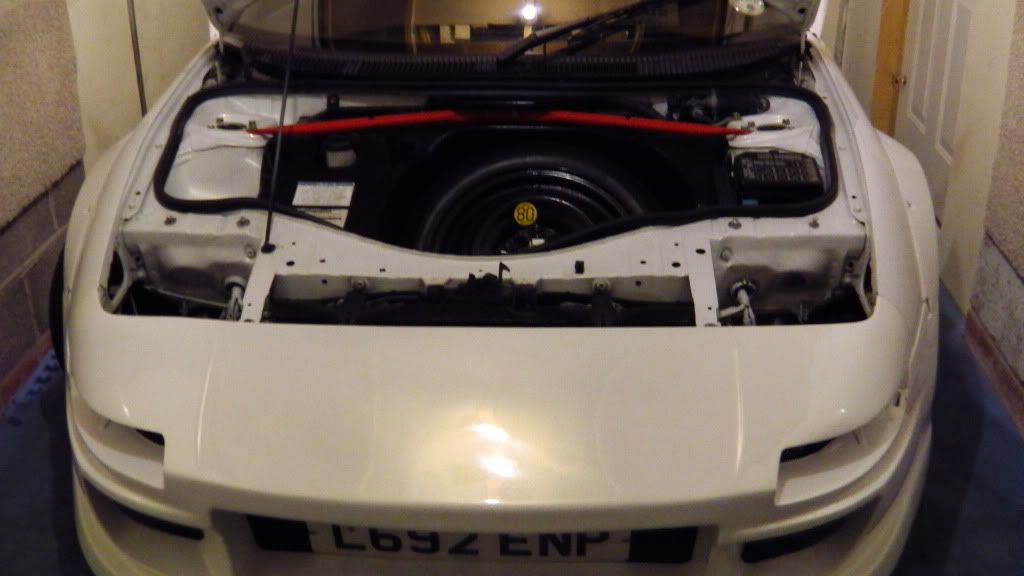
Those bits done it's time to fit the chargecooler rad
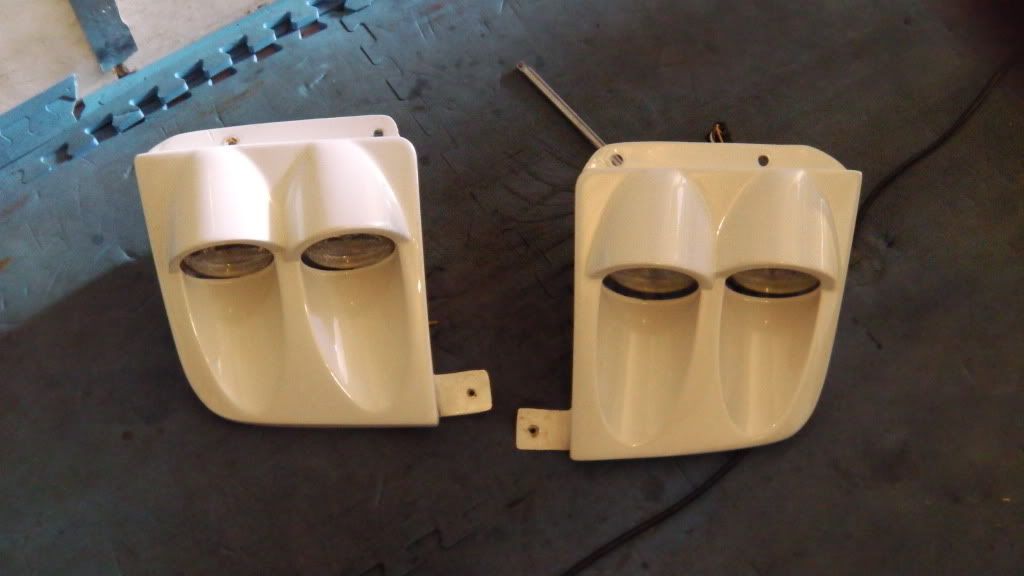
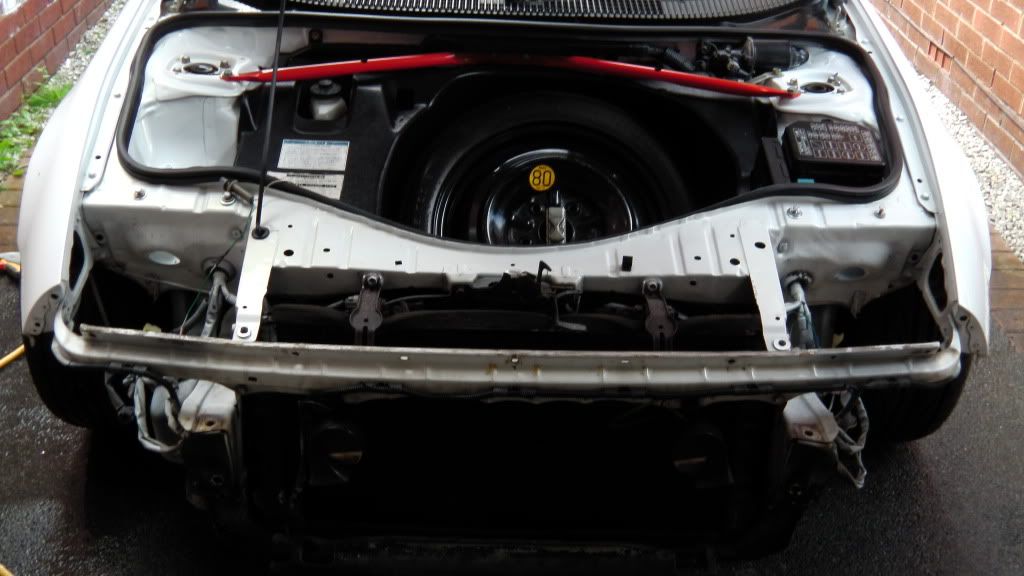
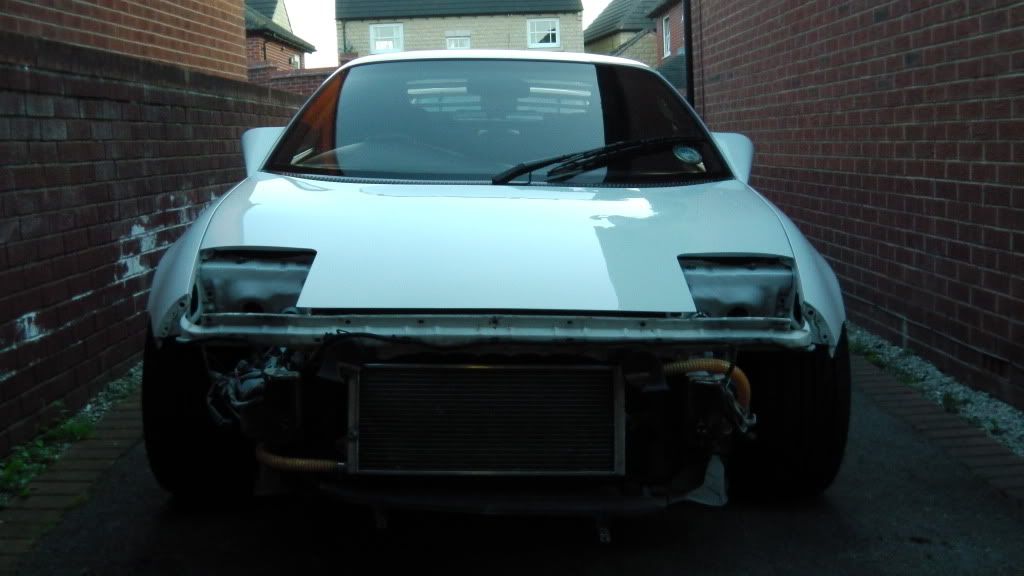
Lights removed, which massively helps things
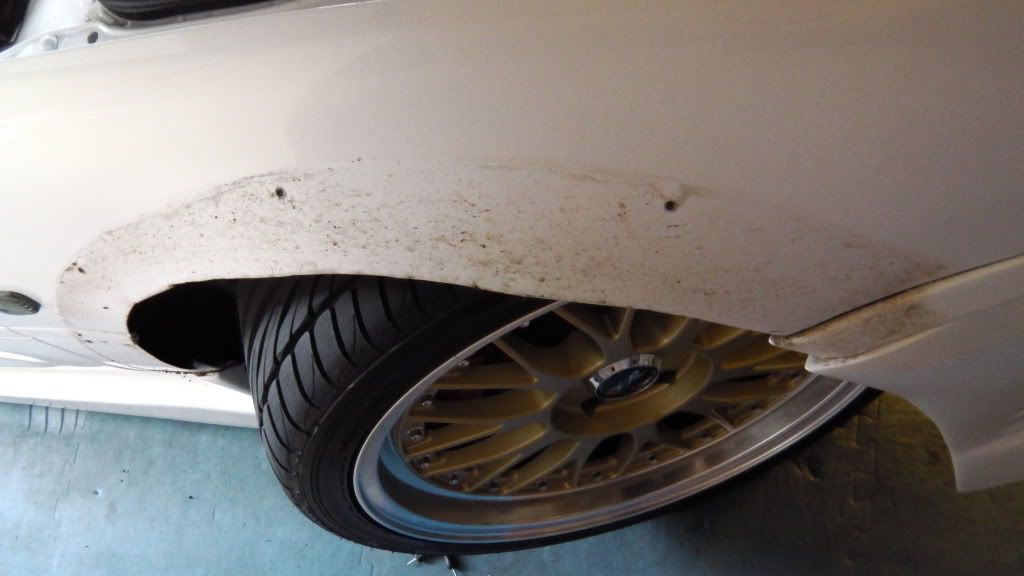
The arches had to come off
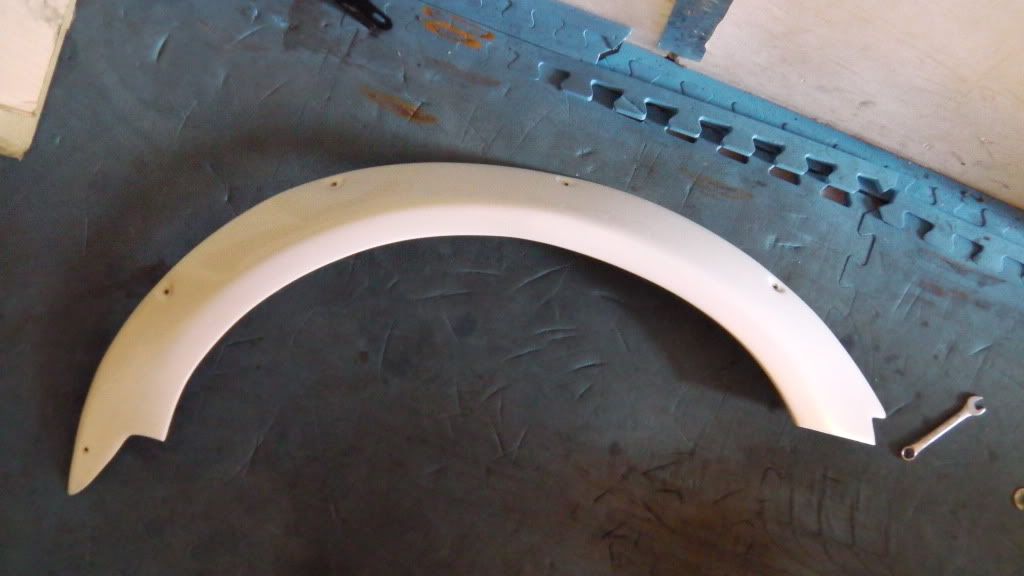
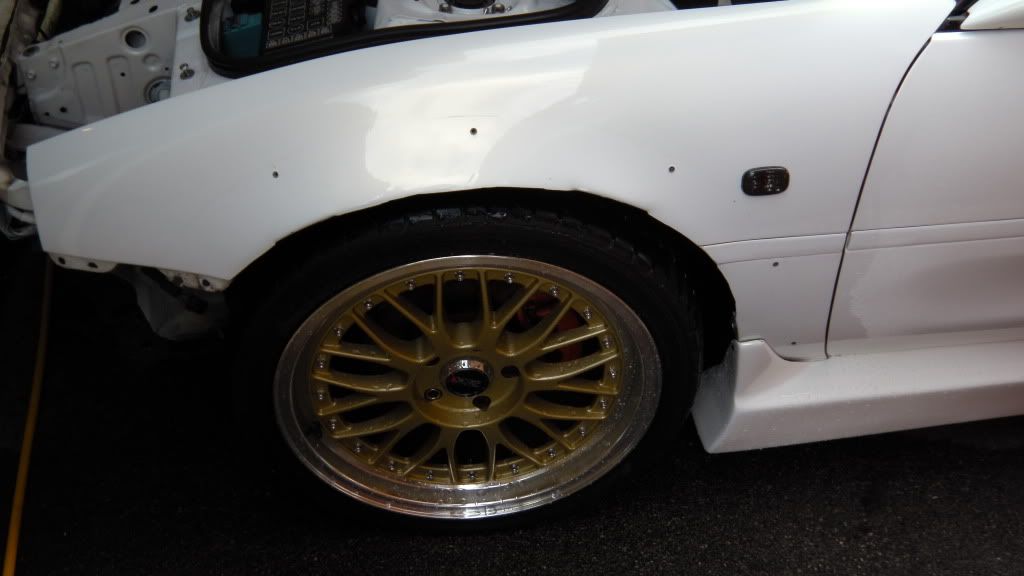
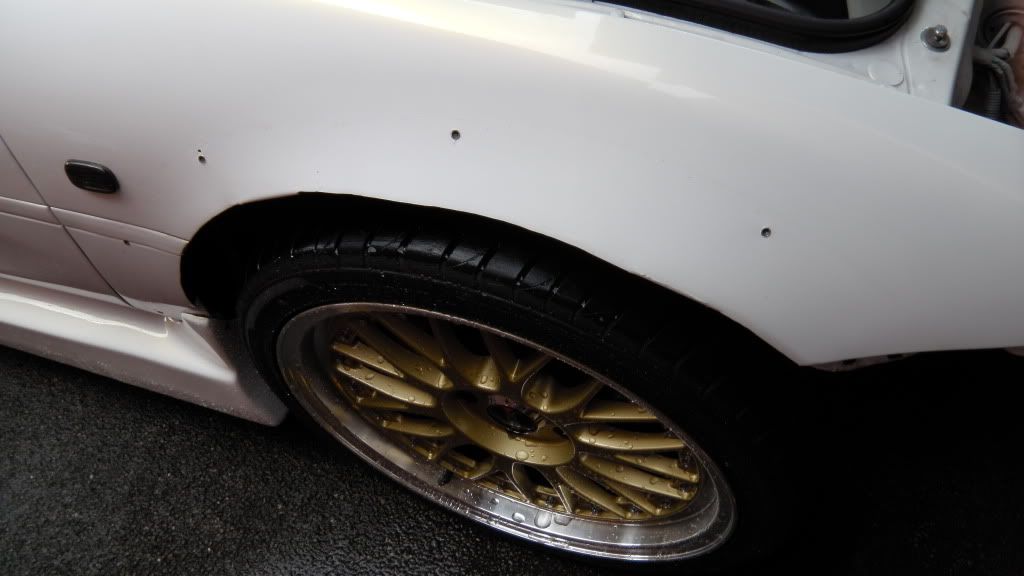
Dirt!  One for you Martin, as it shows the arches have been cut to allow the larger wheels in
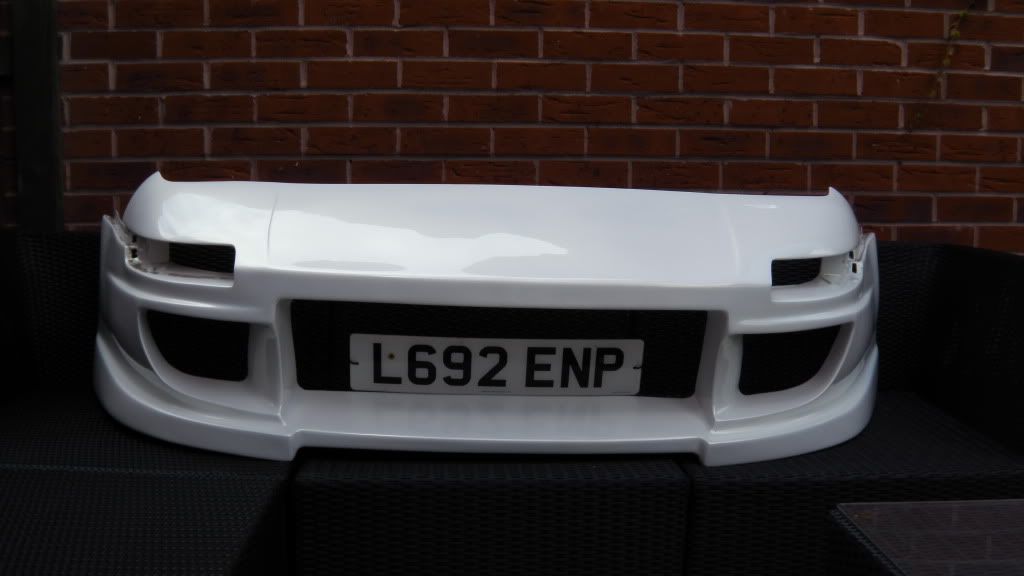
Bumper off. The fact these bolts haven't been in place for 18 years made the job sooo much easier
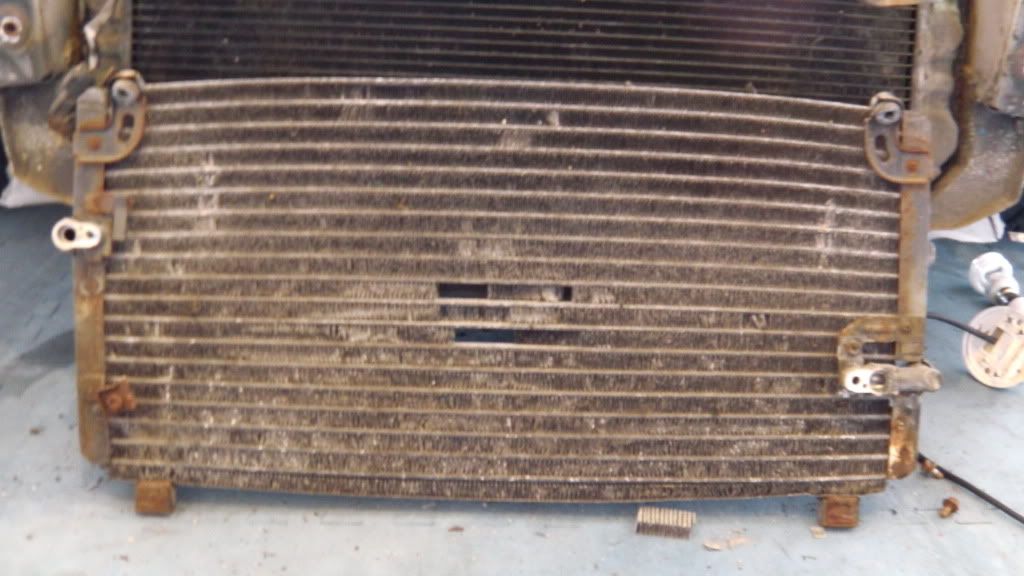
Dried and ready for installation
Well, it's a good jobs this was always destined for the bin anyway. Luckily the main radiator is in really good shape
Time for a wash
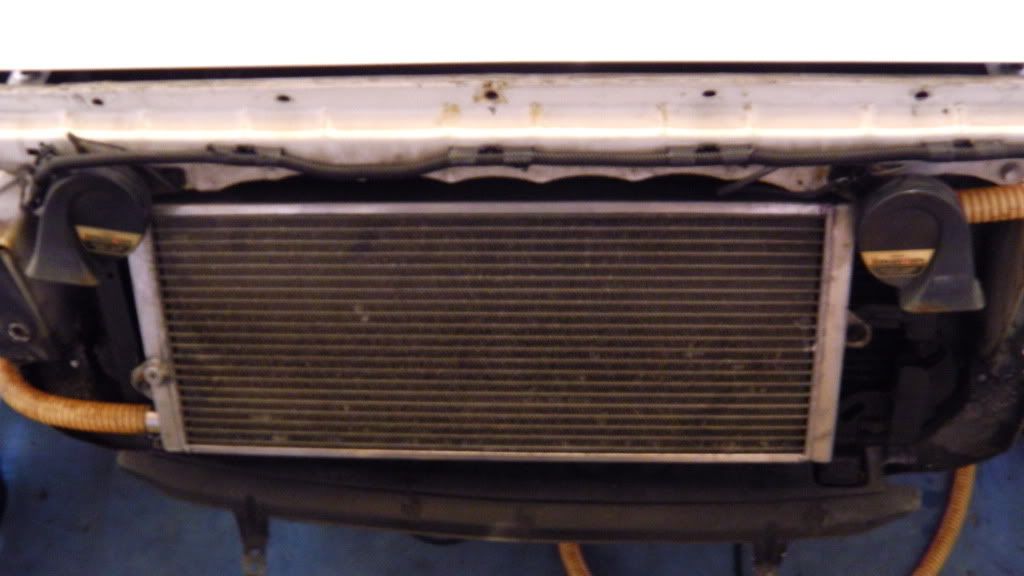
CC rad ready to go in. With a touch of enamel paint on the frame, to keep things clean, tidy and protected
Mounted
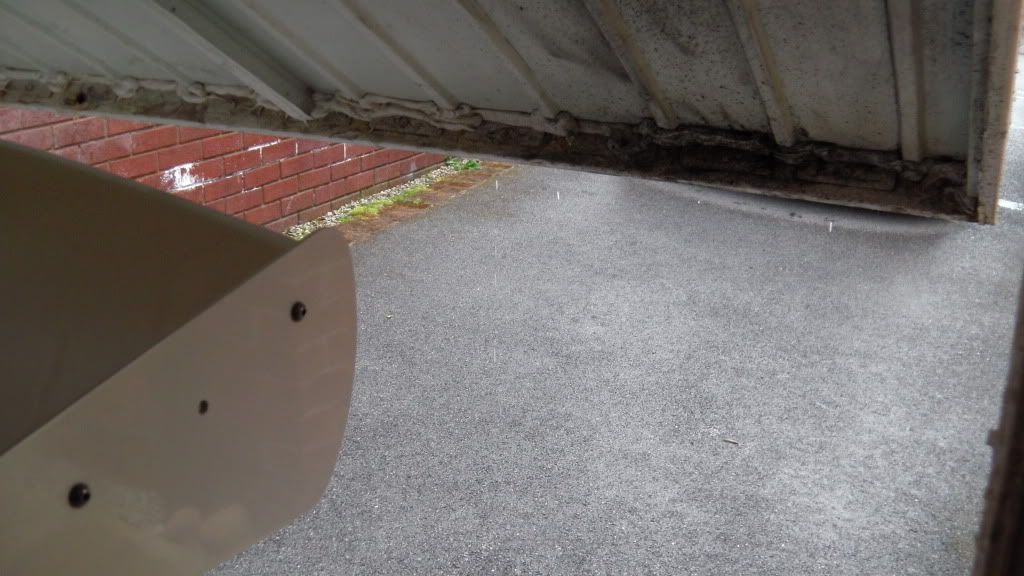
Mule parts go on, rain comes down 
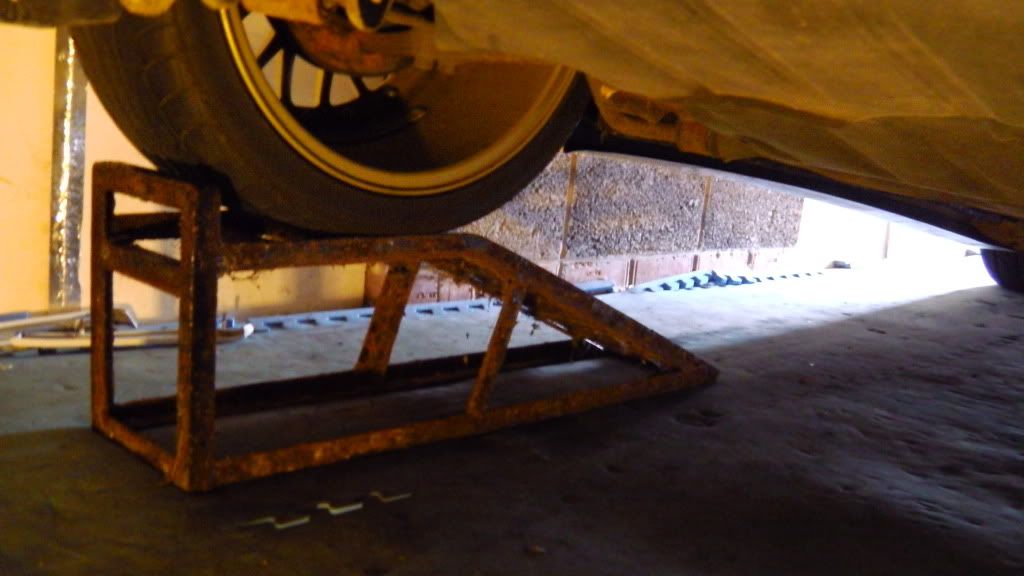
Time to try out the ramps I was gifted by the father in law. They've spent a fair amount of time at their farm, sitting out in the rain. Will they hold up

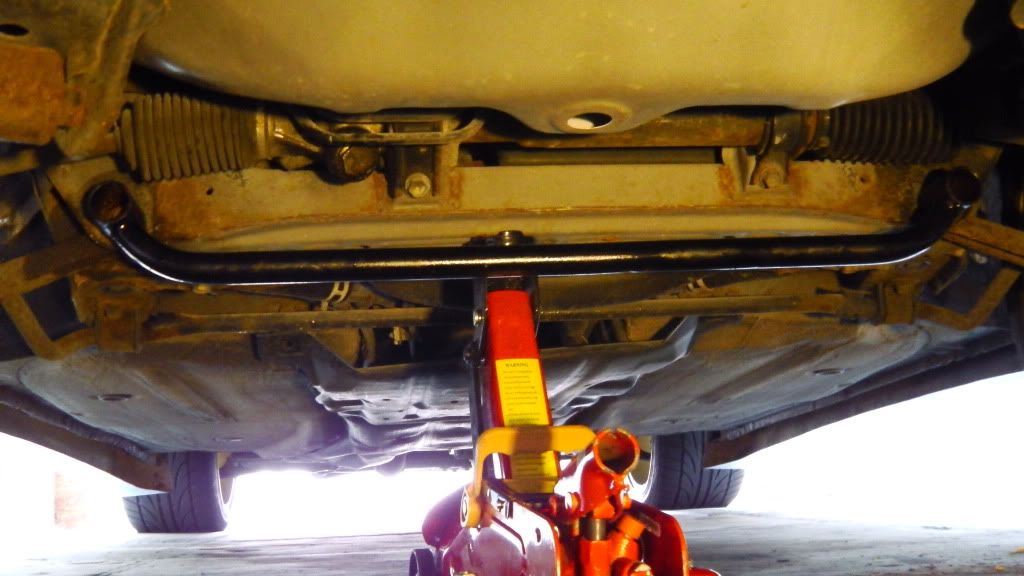
Apparently they will Time to take my brave pills and head off underneath then  Off with the ramps and out with the jack, as the brace was first up
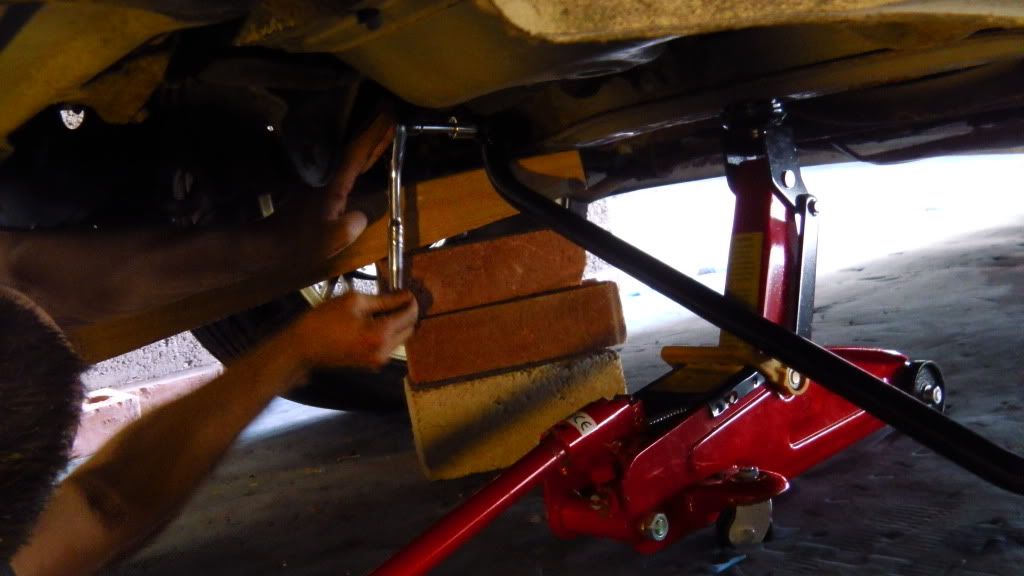
It took a fair amount of effort to get this bloody bolt out!
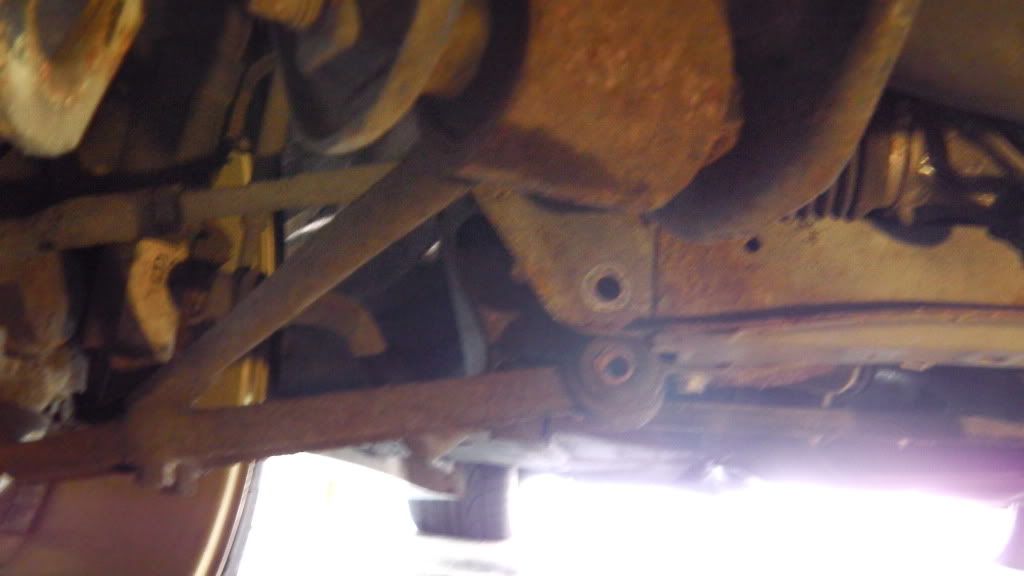
One side in it raised the question of how the hell am I going to get the arm back in place?! The jack was being used, so time to improvise. Luckily I have a nice supply of spare timber from "Project Decking"
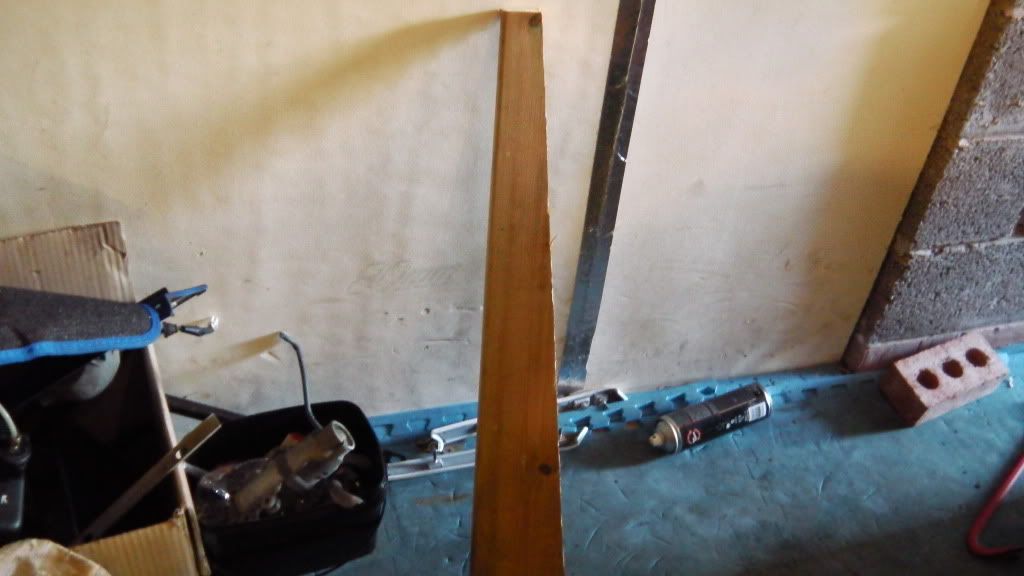
Sawn to the right angle it was used in conjunction with a few blocks, as a crude means of levering it up.
Done Would I recommend this as a job to do yourself: No, never 
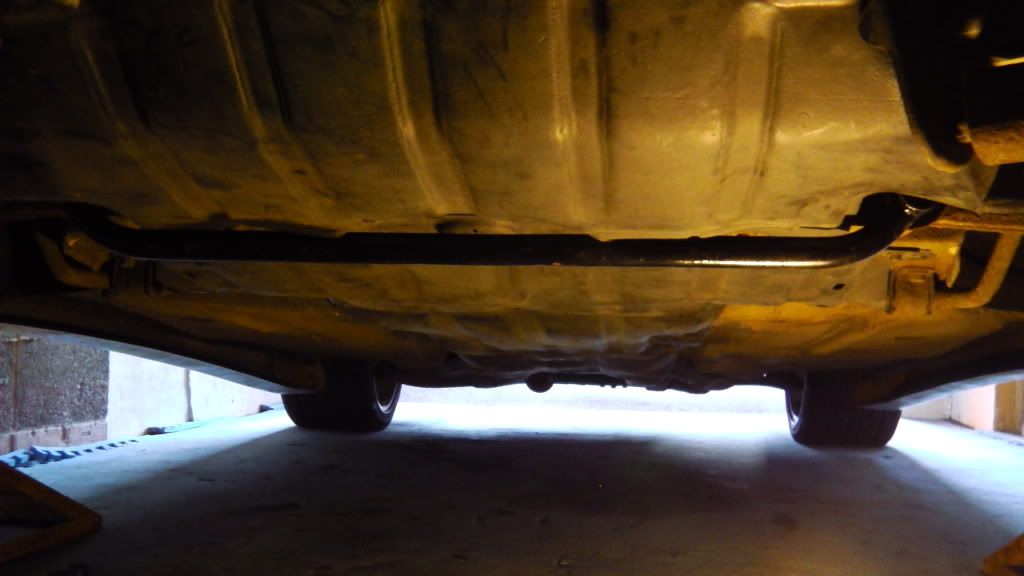
Another lovely job done, running the water hoses for the CC rad. I'll spare you the horror photos of what's it's like to be squeezed under the car The amount of times I had to shuffle from the front to the back of the underside of the car. My back's cut to ribbons and a little sore 
Shortly after I broke the bulb in the work light, which I took as a sign to eat, sit, relax, then upload photos
First up, I took delivery of a bunch of bits from what's left of Rob B's former beast.
The Toms brace was a little tatty so it had a sand down ready for paint
Off to the
I toyed with the idea of doing some of the chassis bits in blue, to match the engine.
Same for the Cuscos
Those bits done it's time to fit the chargecooler rad
Lights removed, which massively helps things
The arches had to come off
Dirt!
Bumper off.
Dried and ready for installation
Well, it's a good jobs this was always destined for the bin anyway.
Time for a wash
CC rad ready to go in.
Mounted
Mule parts go on, rain comes down
Time to try out the ramps I was gifted by the father in law.
Apparently they will
It took a fair amount of effort to get this bloody bolt out!
One side in it raised the question of how the hell am I going to get the arm back in place?! The jack was being used, so time to improvise.
Sawn to the right angle it was used in conjunction with a few blocks, as a crude means of levering it up.
Done
Another lovely job done, running the water hoses for the CC rad.
Shortly after I broke the bulb in the work light, which I took as a sign to eat, sit, relax, then upload photos
Last edited by Magic Beans on Mon Jul 30, 2012 10:44 am, edited 1 time in total.
Re: The journey of one man and his Mule(s)
good stuff! 
Re: The journey of one man and his Mule(s)
spot on chap, wish my sub install had gone so well...
-
Magic Beans
- Posts: 4793
- Joined: Thu Nov 24, 2011 1:01 pm
- Contact:
Re: The journey of one man and his Mule(s)
riot68 wrote:spot on chap, wish my sub install had gone so well.
Sounds ominous.
Re: The journey of one man and his Mule(s)
Magic Beans wrote:riot68 wrote:spot on chap, wish my sub install had gone so well.
Sounds ominous.
Install went well, just sounds poo.
http://www.imoc.co.uk/forums/viewtopic.php?t=163948
-
Magic Beans
- Posts: 4793
- Joined: Thu Nov 24, 2011 1:01 pm
- Contact:
Re: The journey of one man and his Mule(s)
Sounds like the pre outs are pretty low. So the volume level has to be so high it causes distortion, little like if you have two devices connected together which both have volume controls and the source is turned up to the max.
I've got that Alpine head unit I mentioned in the past. You're more than welcome to have that buddy
I've got that Alpine head unit I mentioned in the past.
-
slipping clutch
- Posts: 1844
- Joined: Sun Jan 30, 2005 1:22 pm
Re: The journey of one man and his Mule(s)
Good work Phil, and thanks for the arch piccy. Very useful - now if only I could get my car to run properly I might be tempted to start on the body work again.
-
Magic Beans
- Posts: 4793
- Joined: Thu Nov 24, 2011 1:01 pm
- Contact:
Re: The journey of one man and his Mule(s)
slipping clutch wrote:Good work Phil, and thanks for the arch piccy.
Uh oh.
Re: The journey of one man and his Mule(s)
Looking sweet Phil- excellent progress being made
How heavy is that under body brace? Is it stainless or ali?
How heavy is that under body brace? Is it stainless or ali?
-
Magic Beans
- Posts: 4793
- Joined: Thu Nov 24, 2011 1:01 pm
- Contact:
Re: The journey of one man and his Mule(s)
ashman wrote:Looking sweet Phil- excellent progress being made
How heavy is that under body brace? Is it stainless or ali?
Thanks Ashley
It probably weighs around 2kg.
I'm pleased to report that after a long but productive night it's finished and back together
Photos
Night all.
-
Magic Beans
- Posts: 4793
- Joined: Thu Nov 24, 2011 1:01 pm
- Contact:
Re: The journey of one man and his Mule(s)
Right then, as promised here's a few photos
The first job was to finish pulling in the water hoses
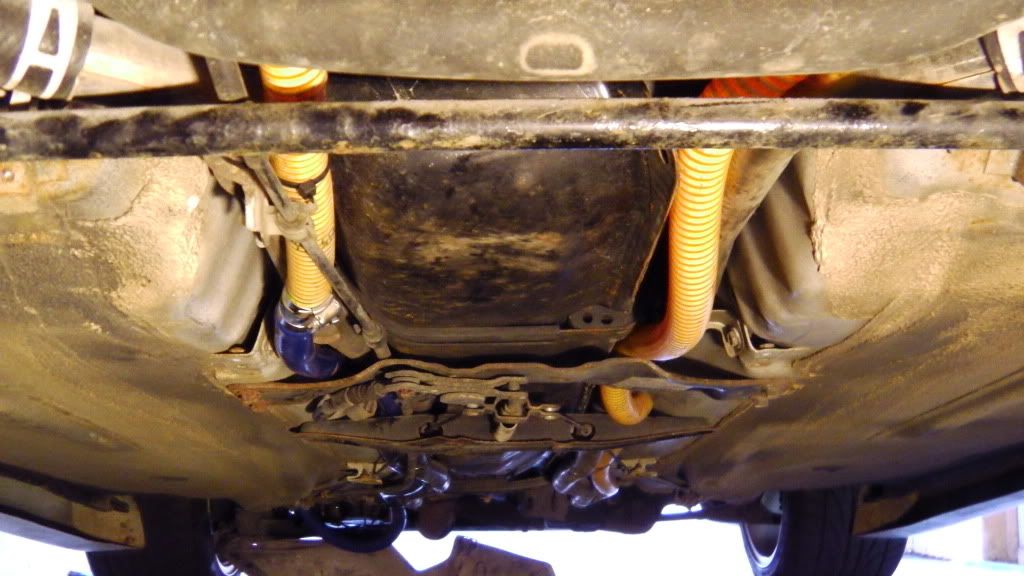
The hose for the core clipped in, ready to be connected when the engine's swapped.
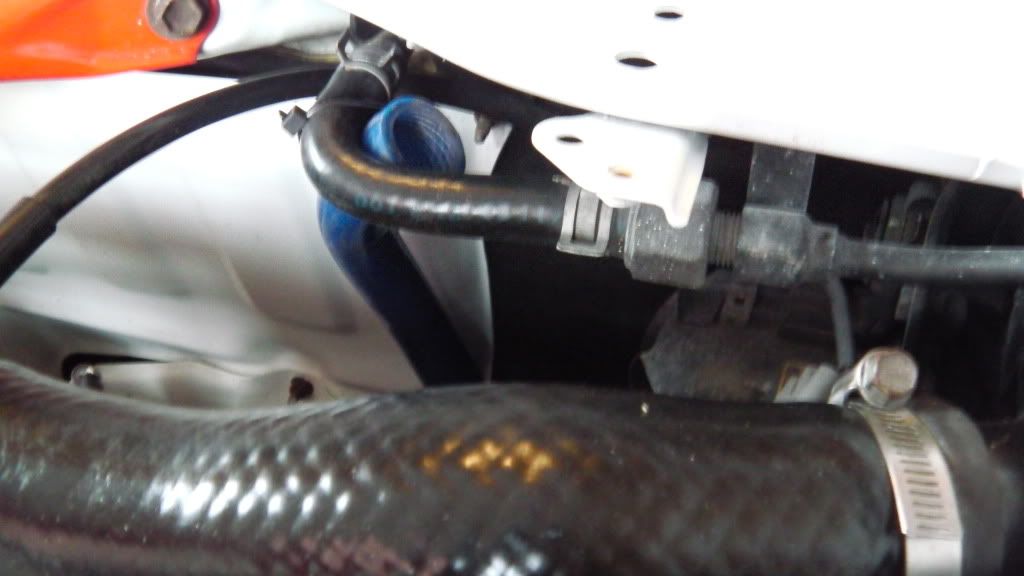
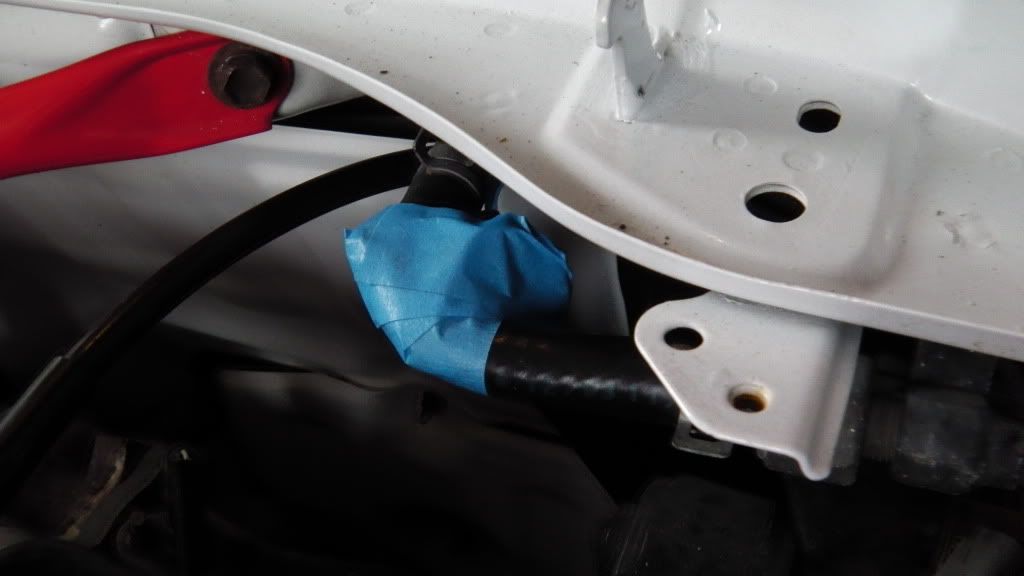
Taped up to prevent dirt etc getting in. I've done this with all the ends, just in case
Panels going back in place
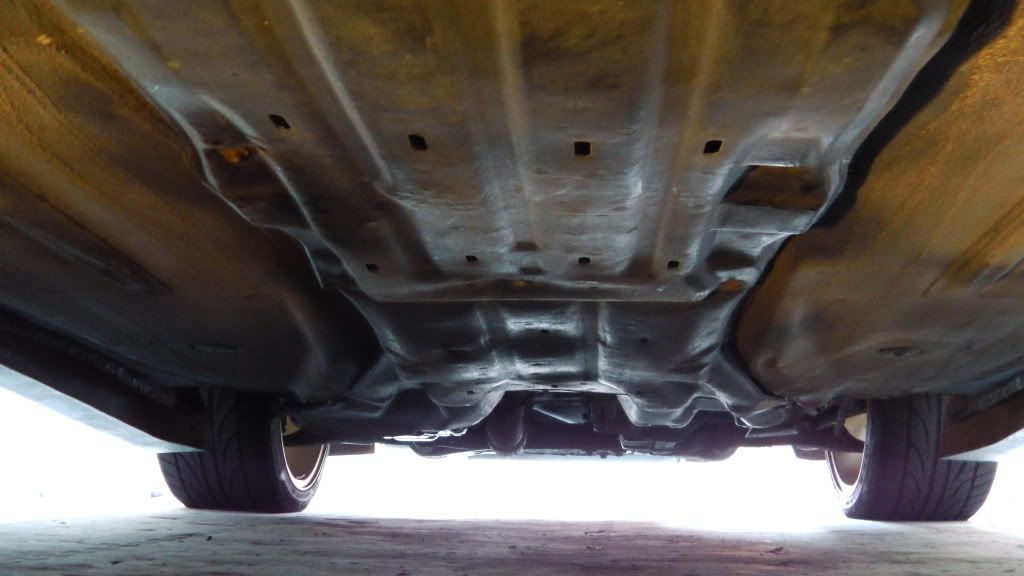
Done! I really won't miss sliding from one end of the car over and over again 
Out she goes so the garage can have a good sweep out
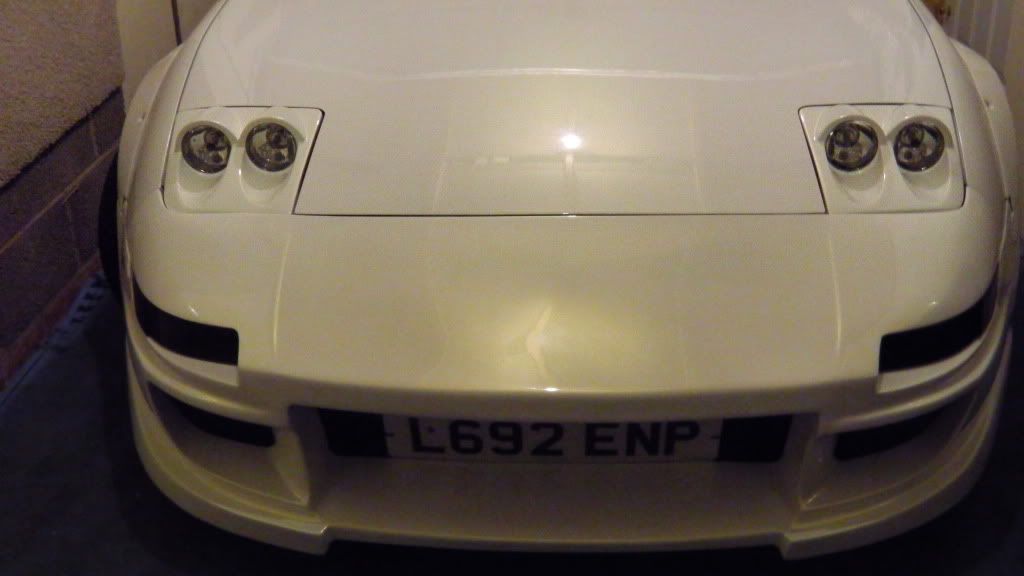
Bumper and arches back on
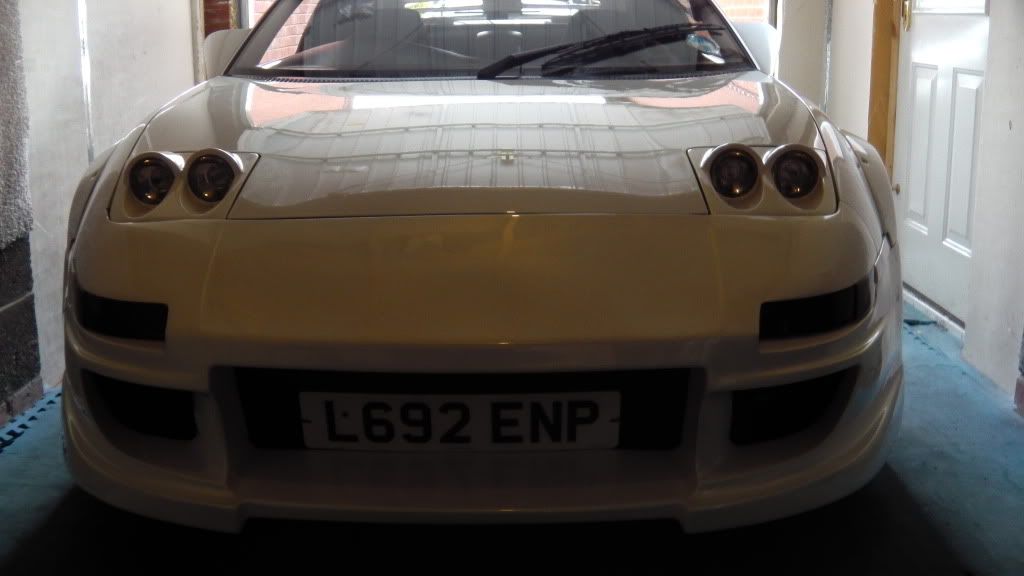
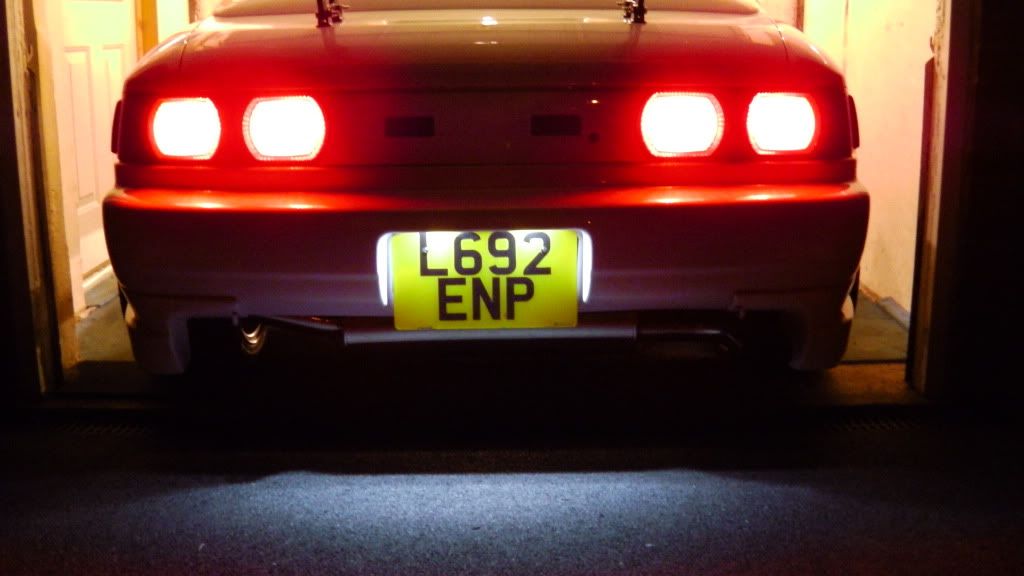
A nice photo of the rear end light mods 
Front lights and sidelights back on

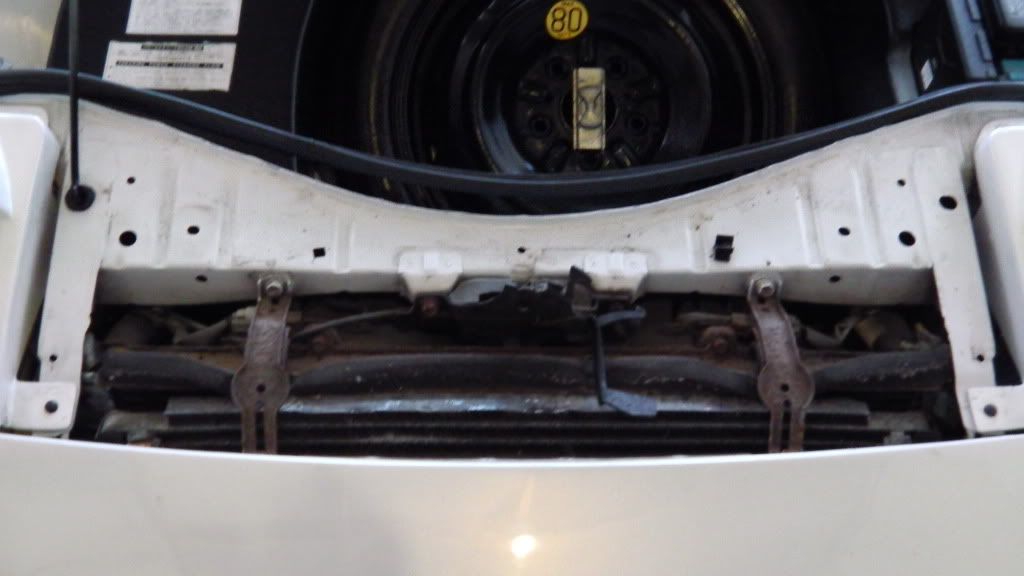
Slam panel on. Along with those annoying expanding screw clips, which are a pain to get out
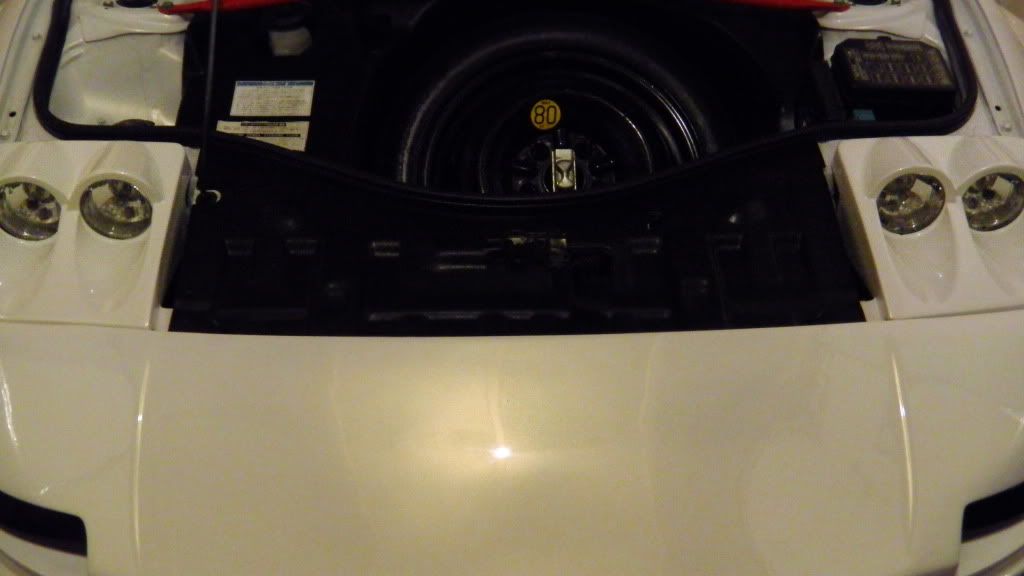
Done
There she is, tucked out ready for action I hope the hose don't leak this time  Although I put a dab of sealant on the connections when they went on.
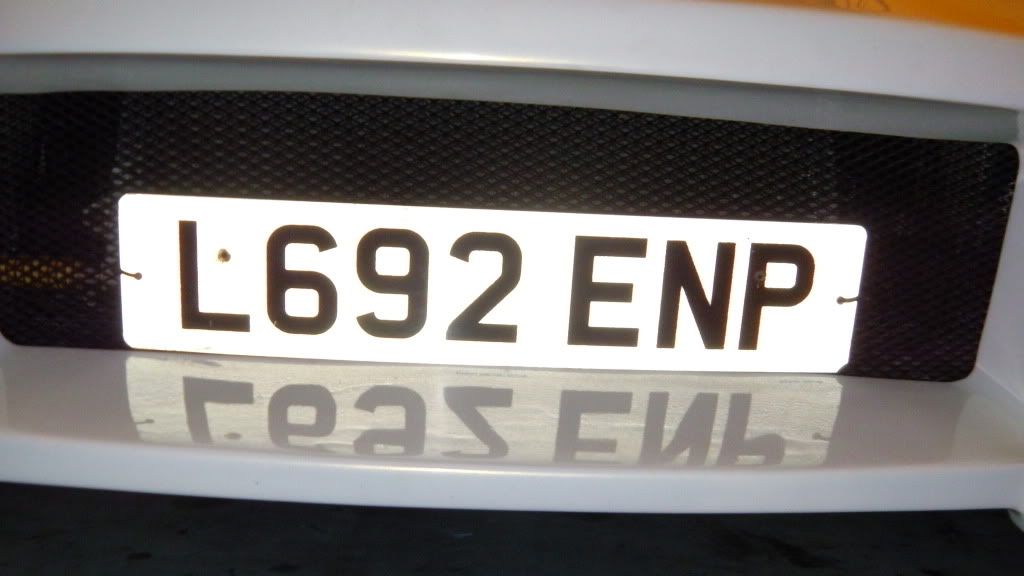
What to do with that license plate now
Swirl pot and engine mount prepping next
The first job was to finish pulling in the water hoses
The hose for the core clipped in, ready to be connected when the engine's swapped.
Taped up to prevent dirt etc getting in.
Panels going back in place
Done! I really won't miss sliding from one end of the car over and over again
Out she goes so the garage can have a good sweep out
Bumper and arches back on
A nice photo of the rear end light mods
Front lights and sidelights back on
Slam panel on.
Done
There she is, tucked out ready for action I hope the hose don't leak this time
What to do with that license plate now
Swirl pot and engine mount prepping next
-
Magic Beans
- Posts: 4793
- Joined: Thu Nov 24, 2011 1:01 pm
- Contact:
Re: The journey of one man and his Mule(s)
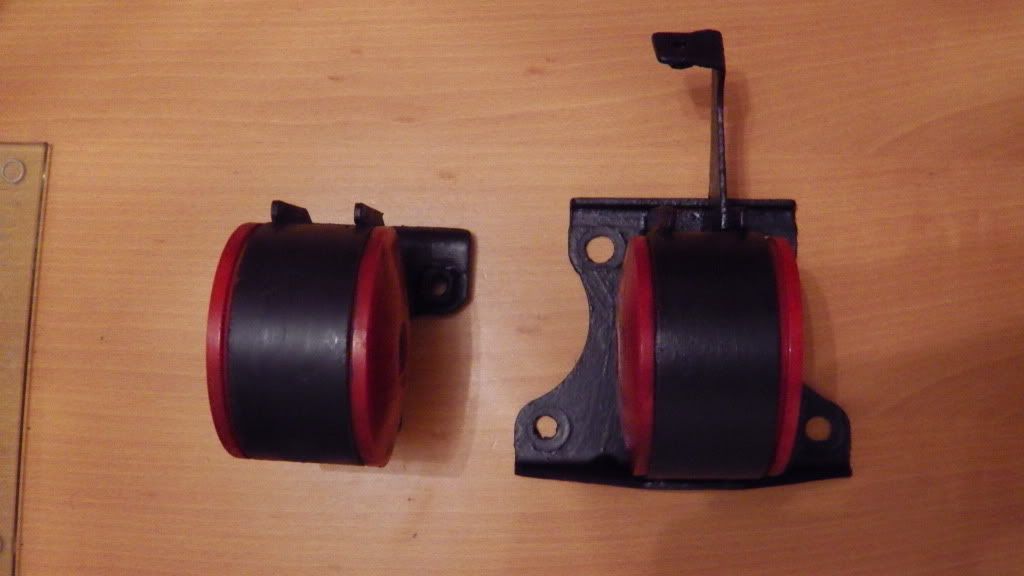
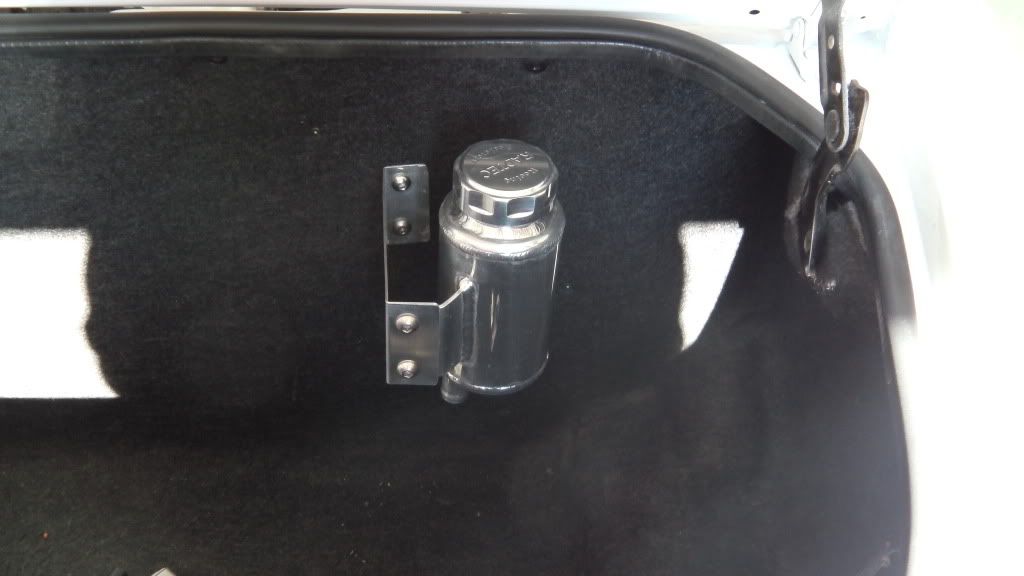
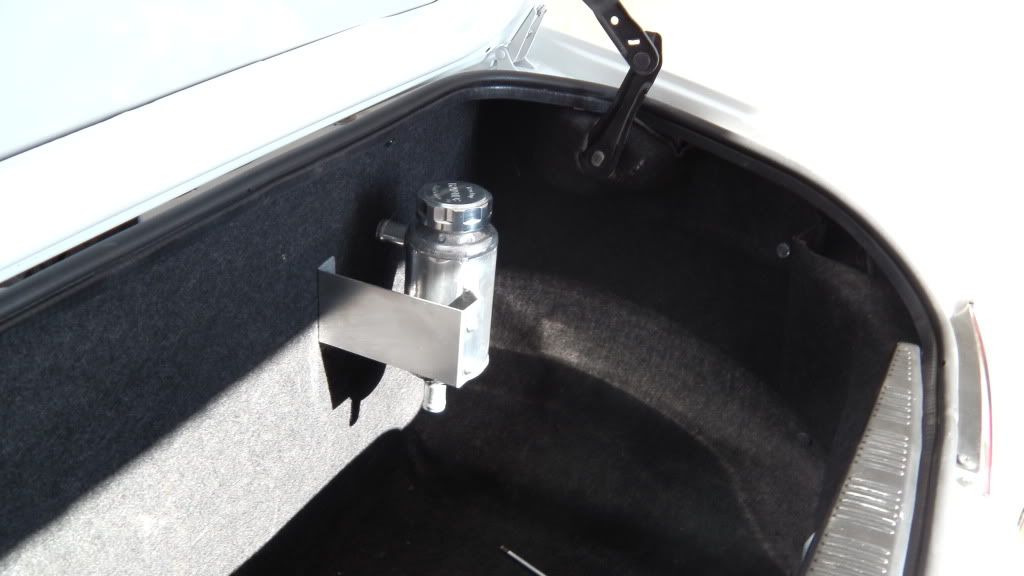
A few more jobs ticked off the list, two of which are cleaning and painting the engine mounts, the other was mounting the swirl pot.
Poly engine mounts as they were
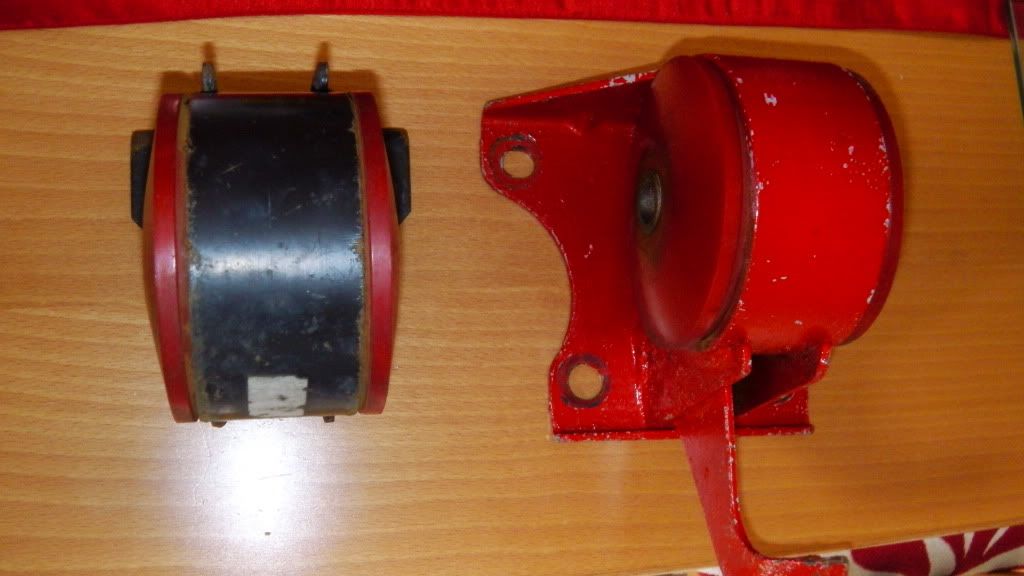
Now. Cleaned and protected
Swirl pot time. This time it's not rushed and done at a time when my brain's glycogen was all gone Carpet out, holes in
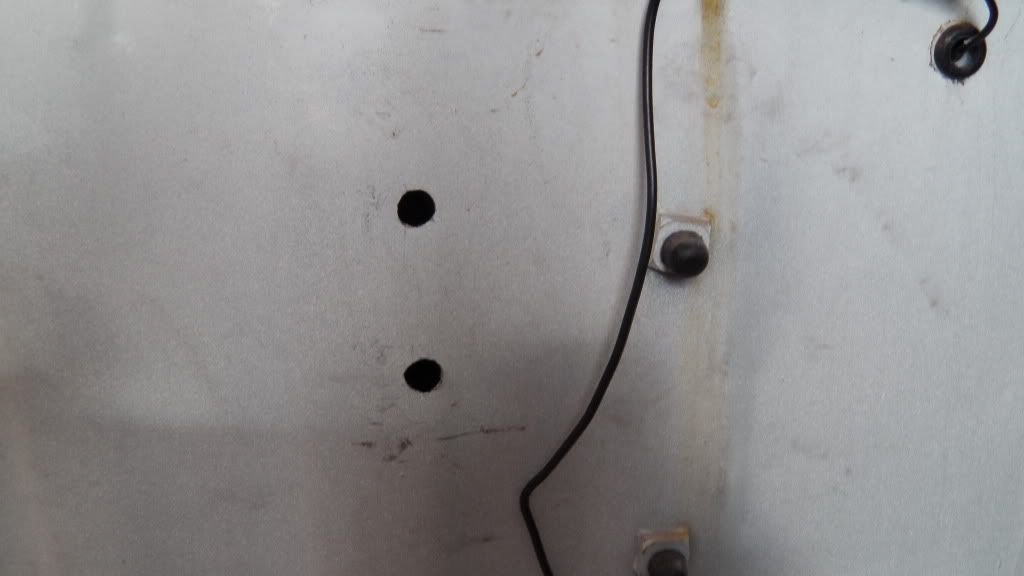
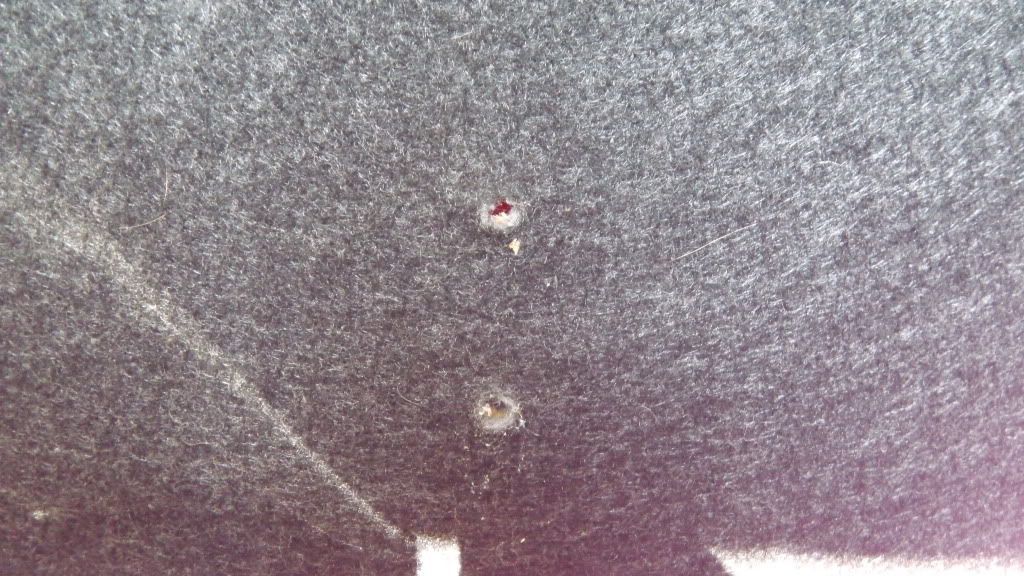
Matching holes in the carpet
Bracket in
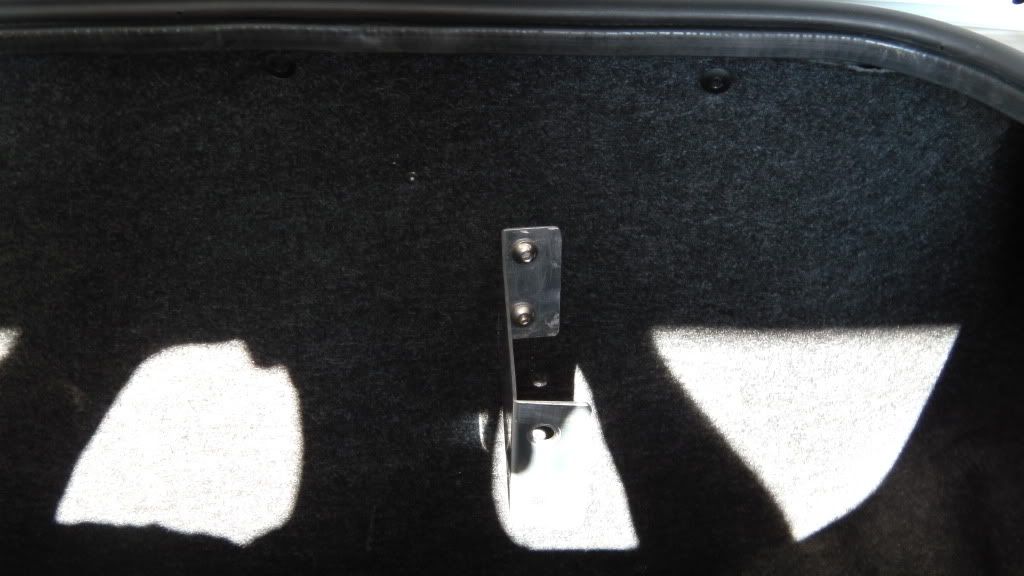
Done
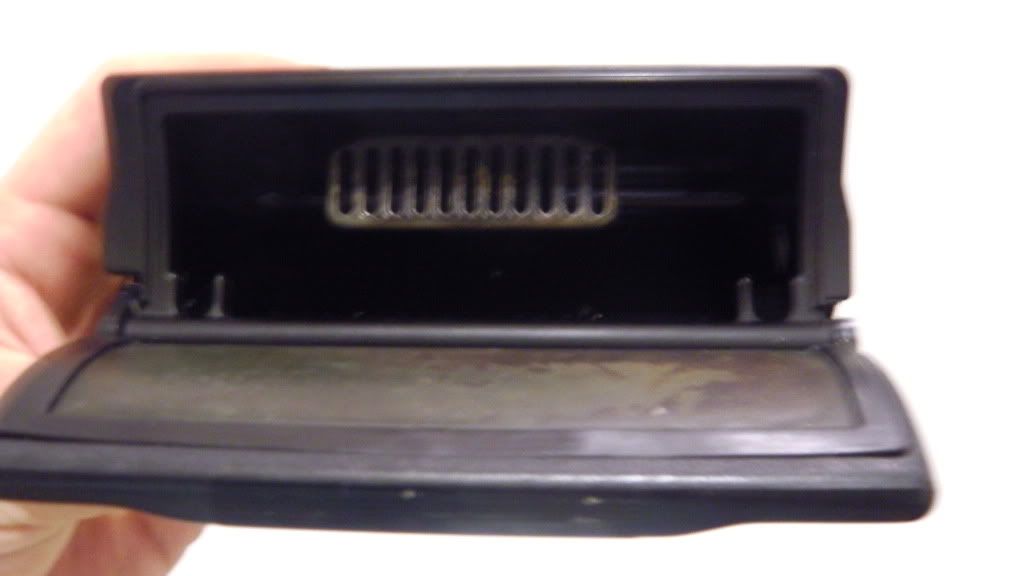
Another little side project I'm working on. But what could it be... 
Poly engine mounts as they were
Now.
Swirl pot time.
Matching holes in the carpet
Bracket in
Done
Another little side project I'm working on.